In this Photoshop tutorial, I will show you the steps I took to Create Ancient City Under Siege By Dark Wizard Scene in Photoshop. Have a go!
This is an intermediate level difficulty tutorial and some steps can be tricky.
Note: The Photoshop tutorial is done in Photoshop CC – therefore some screenshot may have slighting different layout as in the earlier version. Some brushes are exclusive to Photoshop CS6.
Here is a preview of the final effect I have for this tutorial: (click to enlarge)
PSD File Download
You can download the PSD File for this tutorial via the VIP Members Area for only $ 6.95/Month (or less)! You will not only get this PSD File, but also 100+ other PSD Files + Extra Goodies + Exclusive Photoshop tutorials there. Signup now and get exclusive :) Find out more about the VIP Members Areas
OK Let’s get started!
To complete this tutorial, you will need the following stocks:
Wizard by AilinStock
Step 1
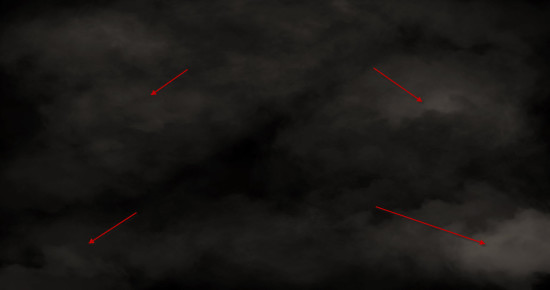
Create a new document sized 1500px * 794px with black background. Use a the cloud filter or a cloud brush, paint some subtle cloud effect around the canvas as shown below:
Step 2
Load the mountain stock into Photoshop. Select this portion of the image as shown in the below screenshot:
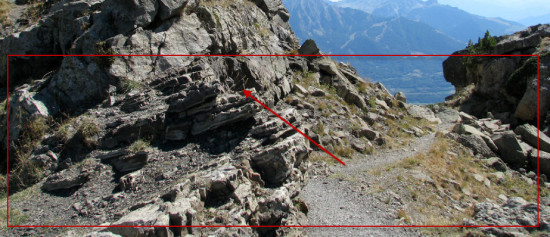
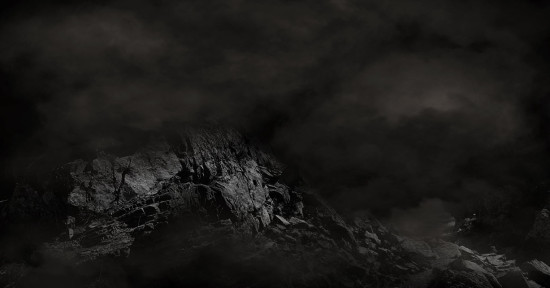
Copy and paste the selection to our document, resize it to our canvas size. Use a soft eraser fade the edges as shown below, so the mountain blends into our background:
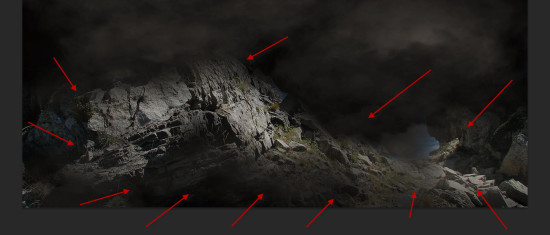
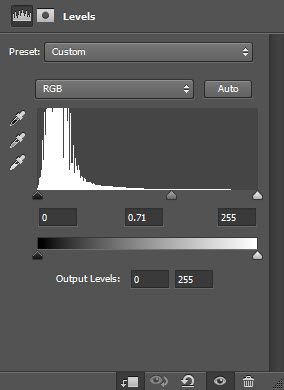
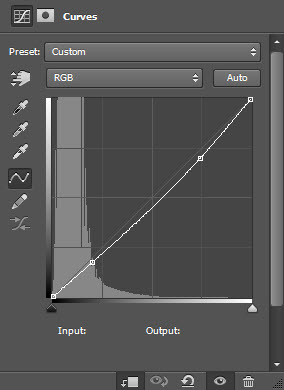
Apply the following 3 adjustment layers as clipping masks to the mountain layer:
Black and White
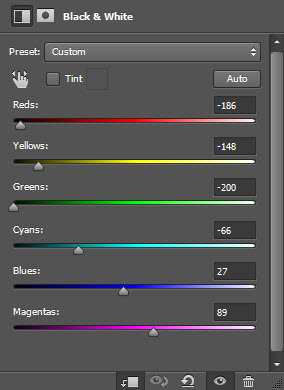
Levels
Curves
and here is the effect so far:
Step 3
We will work on creating a cityscape in this step. Load the city stock into Photoshop and select the following portion:

Copy and paste the selection to our document, place it into the following position. Use a soft eraser to fade the top of the city:
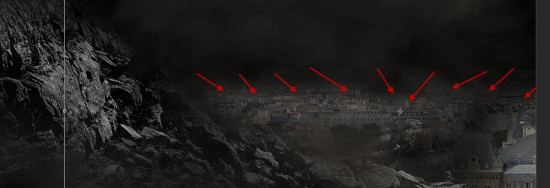
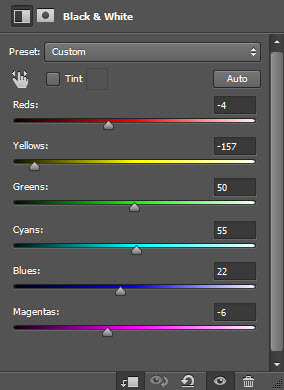
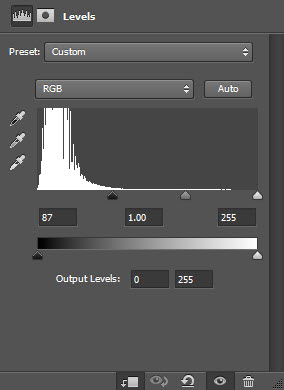
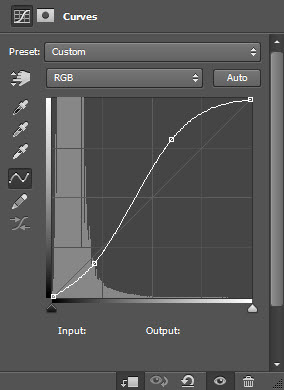
Apply the following adjustment layers as clipping masks to the city layer:
Black and White
Levels
Curves
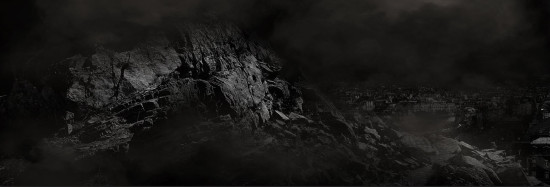
and here is the effect so far:
Step 4
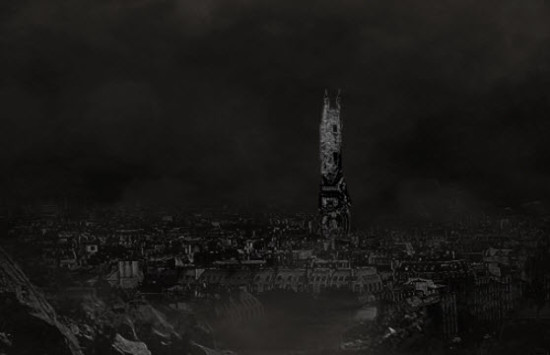
We will add a tower onto our city centre in this step. Load the tower stock into Photoshop and select the tower:
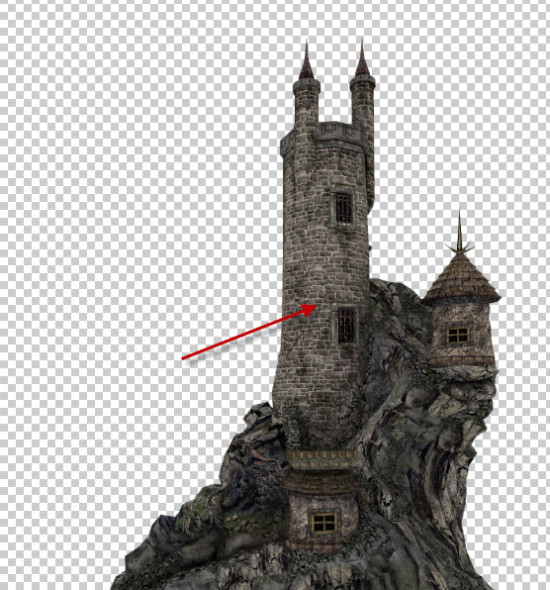
Copy and paste the selection to our document, place it to the position shown below:
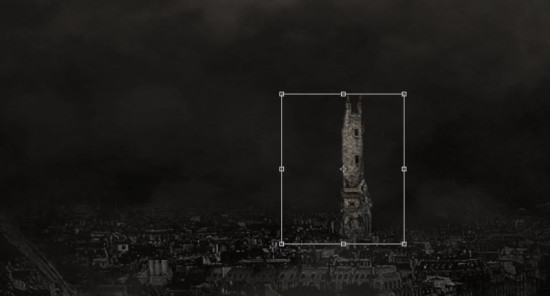
Apply the following adjustment layers as clipping mask to this tower layer:
Black and White
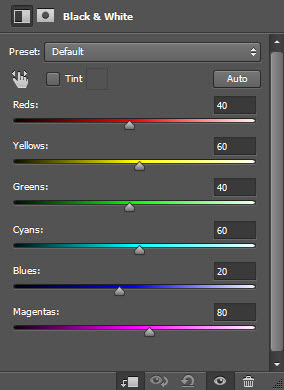
Levels
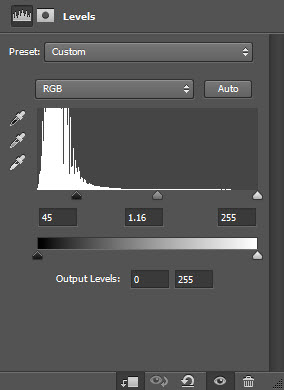
and here is the effect so far:
Step 5
We will working on adding the wizard in this step. Load the wizard stock into Photoshop and select the following portion:
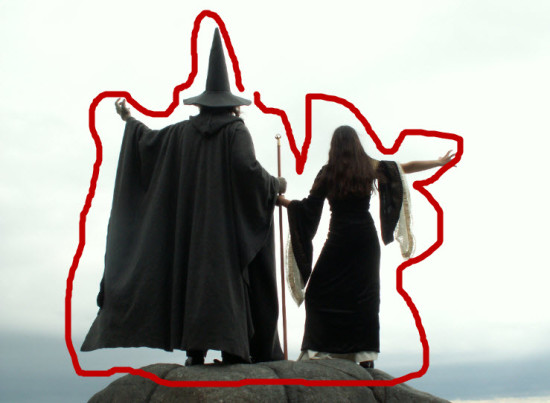
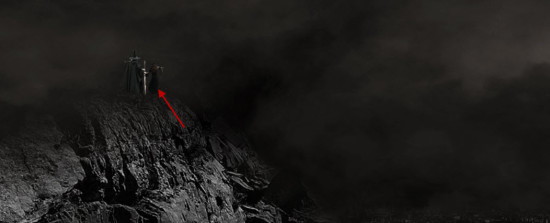
Place it on top of the mountain overlooking the city as shown below:
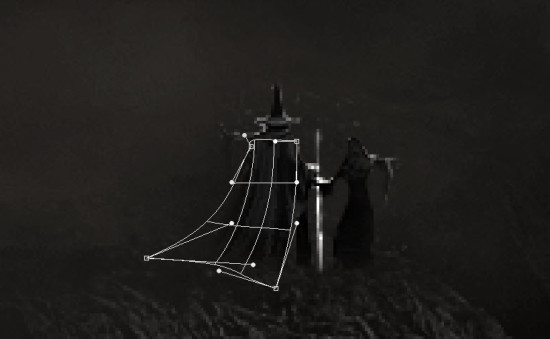
Select the wizard’s robe the use the Warp Tool to warp it slightly, so it looks like the wind is blowing it to the left:
Apply the following adjustment layers as clipping masks to this wizard layer:
Black and White
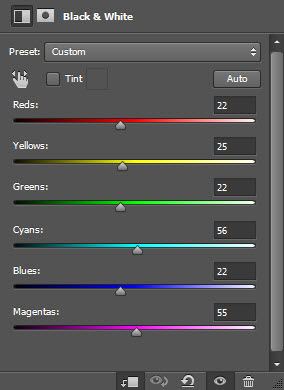
Levels
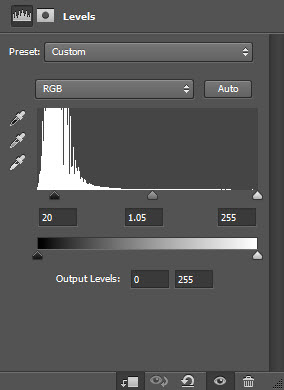
Curves
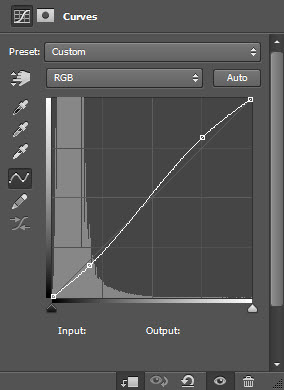
and here is the effect so far:
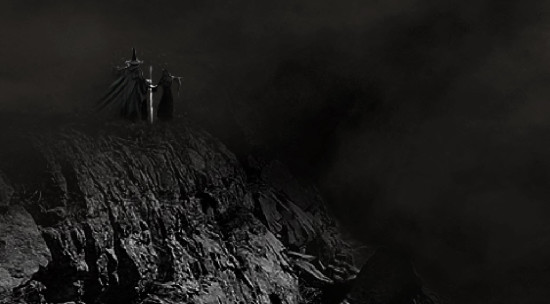
Step 6
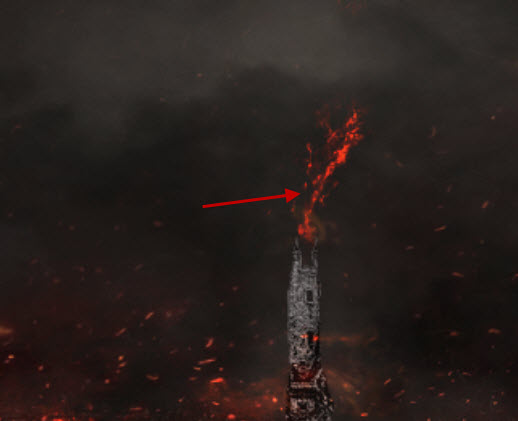
We will add the fire effect to our design in this step. Load the fire stock image int Photoshop, use the Lasso Tool (with 40px feather) to select a portion of the fire:
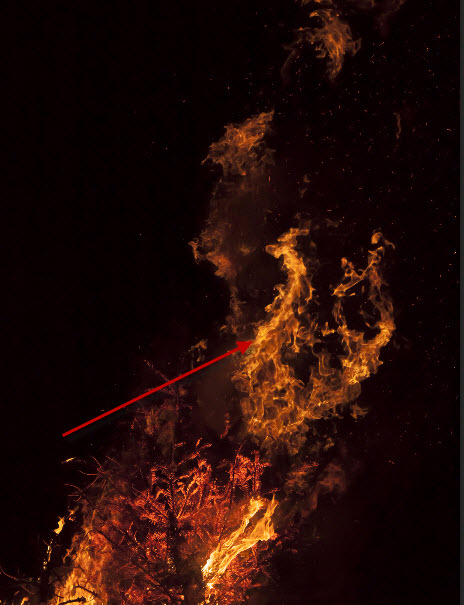
Copy and paste the selection over to our document, place it to the position shown below:
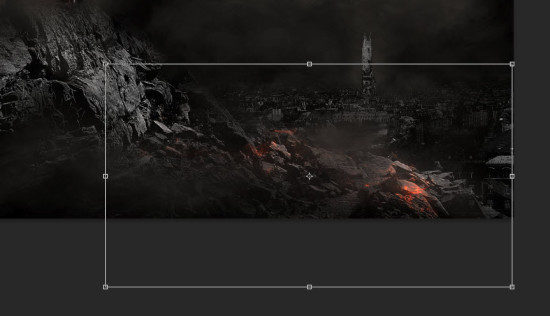
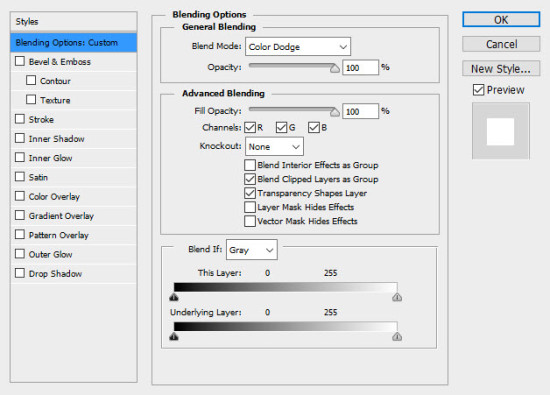
Change the layer blending of the fire layer to “Color Dodge”:
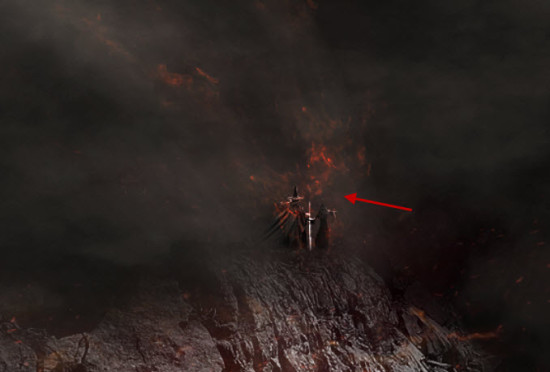
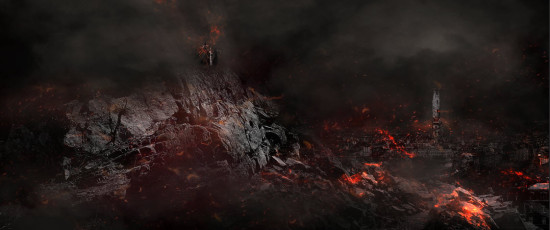
Repeat the process above, add more fire to the following areas as shown below, make sure you adjust and vary the size of the fire accordingly:
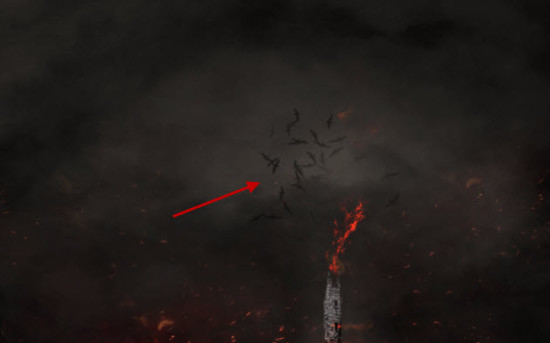
Use the bird brush, paint some birds on top of the tower:
Step 7
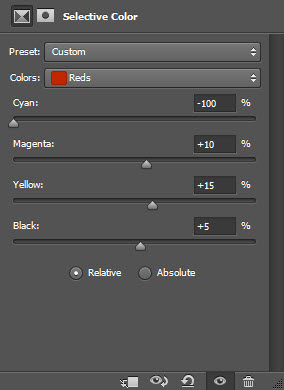
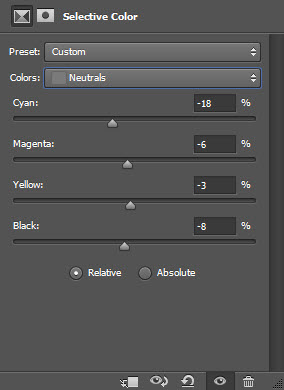
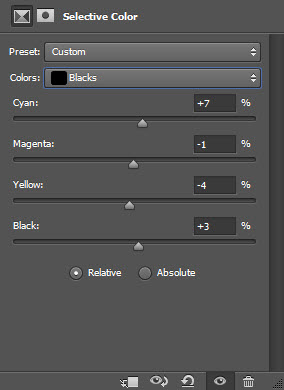
We’re almost done! For the final touches, I applied the following Selective Color adjustment layer on top of all previous layers to add some colours to our image:
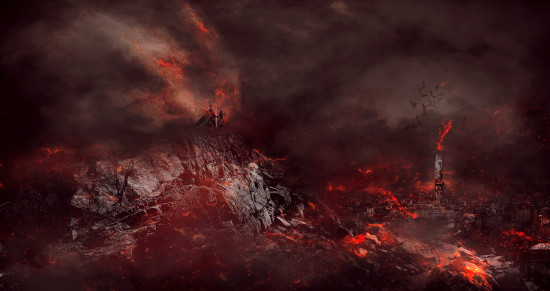
and here is my final effect: (click to enlarge)
That’s it for this tutorial! Hope you enjoy it and find it useful! If you have any questions about the steps, please contact me or leave a comment below. I will try my best to answer them.
Till next time, have a great day!


