What are printer’s marks? There are several printing marking types too—what are printer’s marks called, which printer’s mark do you need, and why use them at all? This article is the perfect primer for beginners.


Printer’s Marks Explained: The Basics
What Are Printer’s Marks?
Think of printer’s marks as a guide, specifically for the printing process. They aren’t marks that your viewer or consumer will see. Instead, they are designed to ensure your final print is as intended. This includes things like color accuracy and how the piece is trimmed and folded.
A recipe is a fair analogy—a cooking recipe determines how much of what goes into what you’re cooking (and how!). The person eating the result wouldn’t know every aspect of the process just by tasting it—but that process certainly affects their experience.
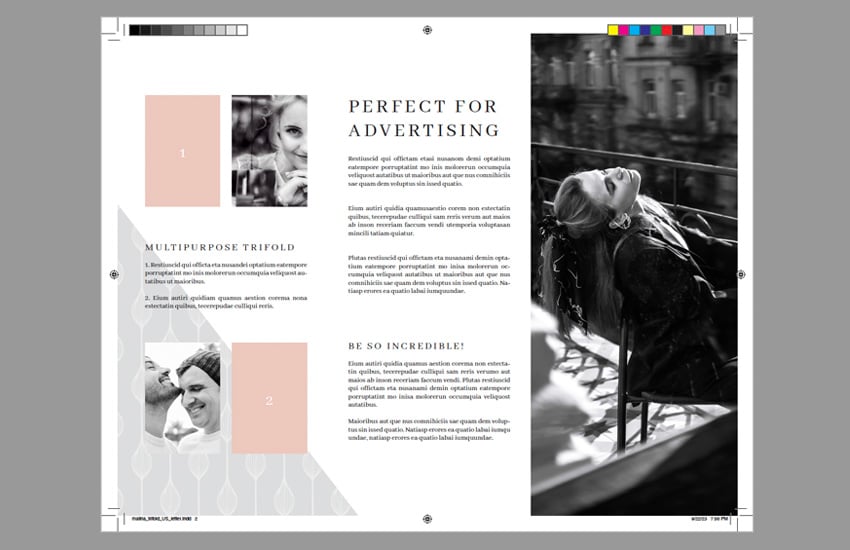
Here’s an example of a print design with printer’s marks.
Do You Always Need Printer’s Marks?
You won’t always need every printer’s mark that’s out there. For example, I don’t need fold marks if I’m not designing a piece that would require any sort of scoring or folds. On the other hand, it’s rare for me to design any printed piece without some kind of safety marks.
However, it is important to be familiar with the different kinds of printing marks, especially if you tend to regularly create printed work and/or you intend to create work for clients.
How Do I Know Which Printer’s Marks to Use?
We’ll go through the most common printing marking types in this article. However, your print job might have unique needs. How do you know which marks would be best? Believe it or not, one of the best pieces of advice here is to talk with your printer.
- Most printers have an online presence—and this tends to include information like print specifications and even templates to help with things like print marks.
- Don’t hesitate to reach out to your printer and ask questions. Ask for samples too; many printers will be happy to show you things like print samples and paper samples before you print a big job. If you want recommendations for print marks, guides, and safeties: ask. A good printer will offer to help!


What Is Pre-Press?
While not a printer’s mark, it’s important to take a moment to mention pre-press. This is the stage in the printing process before your work is actually printed.
So, for example, this would include Preflight—a file check to make sure everything has been accurately set up and included for your print. You can also Preflight your work on your own. Curious about how? Check out this tutorial:
Proofing would also be a part of pre-press—a proof is a representation of the final project before your job goes to print, like a test copy. Proofs typically come in a digital soft copy or a hard copy (physical). Hard-copy proofs can vary from loose, unbound pages to something entirely bound and finished.
This is a major part of the process where your printer’s marks are going to matter. If you have any questions or you need some of the parts of your printer’s marks explained, make sure you do that as soon as possible—preferably before proofing. Hard-copy proofs are rarely free, and reprinting an entire job can get pricey!
What Is the Trim or Crop in Printing?
The trim or crop in your print design is the indicator of where your work should be cut or trimmed to its intended size. In printing, you’ll see these marks referred to as “trim marks” or “crop marks”—two different ways to describe the same thing.
Your trim marks are an essential part of the printing process. They make sure that your finished project has the correct dimensions. Otherwise, you could be looking at issues like unintended borders or even incorrect edges.
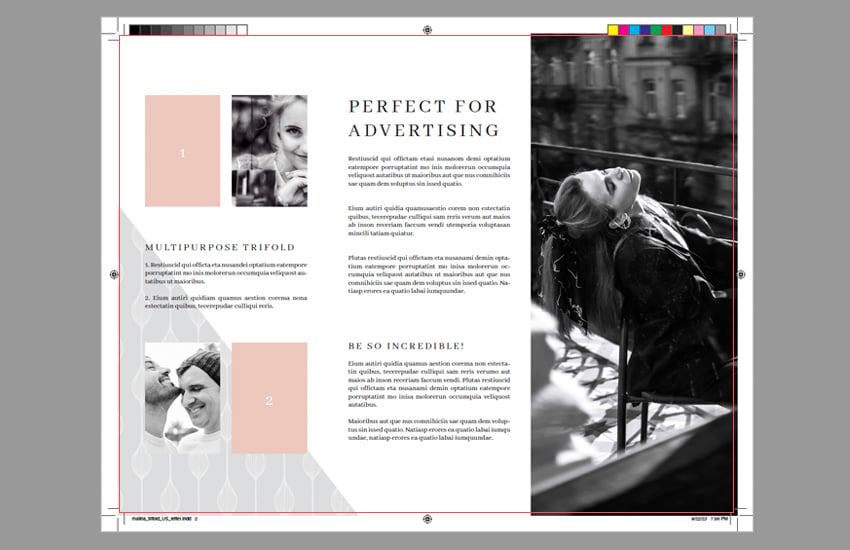
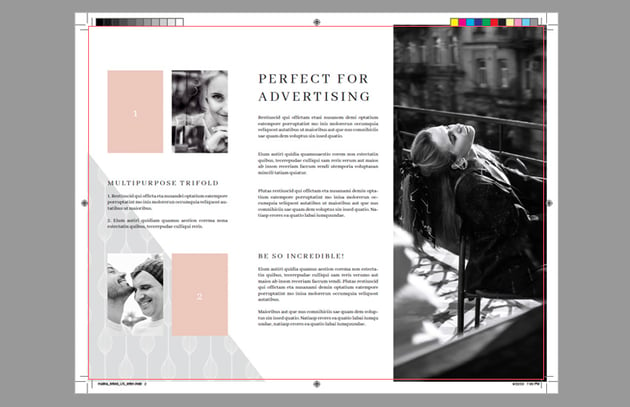
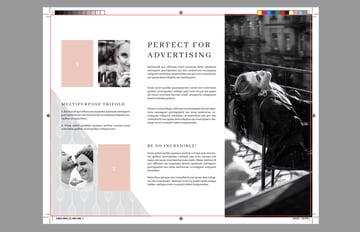
So what’s the deal? Why wouldn’t your trim just automatically be your document size? Well, many print design documents will have marks and specifications outside of the document size (like your bleed, for example). You’ll notice, in the above example, that some of the image will be cut off.
In addition, take a moment to imagine cutting a document without a guide. It would be pretty tough to get that cut to be straight, right? Trim marks can be very handy, even if you’re printing at home—I use them with my home office paper cutter to get clean, professional results. They really help guide the trimming process.
What Is Bleed in Printing?
The bleed sounds very ominous, doesn’t it? In printing, the bleed refers to a printing mark outside of the trim. This is a really important printing mark if you have parts of your design that are intended to reach the very edge of the page—or “full bleed”. Think of the bleed as a safety margin that helps ensure that there are no unintended borders or gaps when your work is trimmed due to things like minor variations.
So, for example, let’s say you have an image that you intend to print. The intention is that this image fills the entire space of your print—all the way from edge to edge. You’ll want to give your print a bleed, using bleed marks. Here’s a visual example:
In the first example, imagine that the trim was off by just a few millimeters. We’d see a little gap here, and that’s just not what we intended. In the second example, a minor variation wouldn’t be noticeable at all because our image has a bleed with excess that will be trimmed off.
What Are Safety Marks?
Safety marks can have a couple of purposes and contexts when we’re talking about printing. The “safety” usually refers to a margin of some kind that keeps essential information from being too close to the edge of a print. For example, it is typically advisable to keep text within a safety margin to ensure that none of the text is cut off during the trimming process (or that it doesn’t appear too close to the edge, in general).
For example, it’s common to see documents use a 0.5″ margin—one of the common choices when working in software like Adobe InDesign. Content that is too close to the edge of the page could appear cramped, in addition to running into trim issues.
Here’s a visual example where we see a document with a 0.5″ safety margin (or safety marks)—any vital content, like text, is kept within this space. The other example has no safety—so imagine if there was a slight margin of error when the paper is trimmed. We could lose some of this content.
What Are Registration Marks for in Printing?
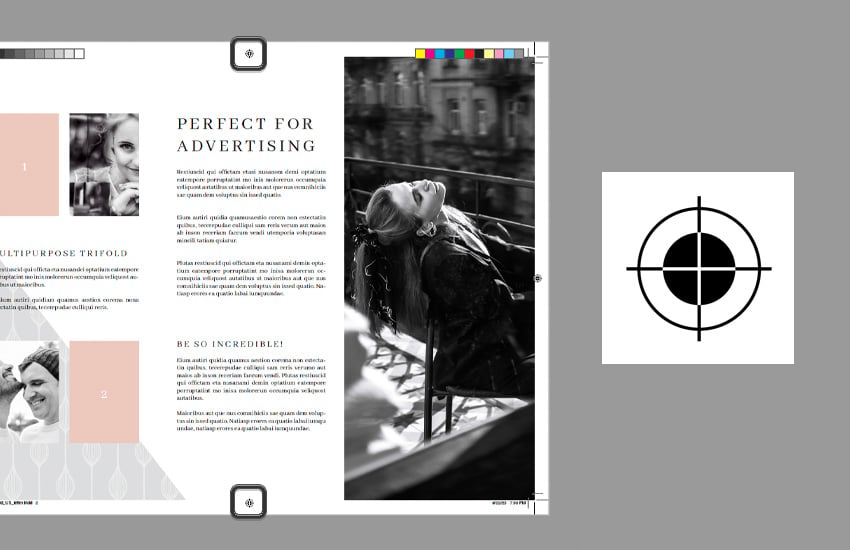
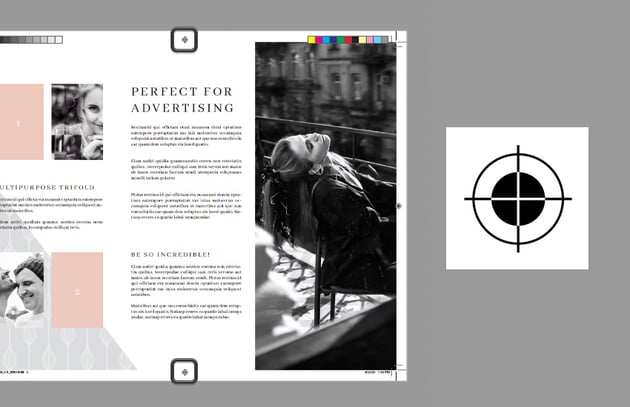
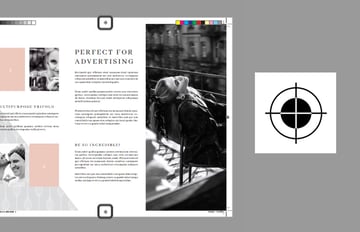
Registration marks look like little targets with a crosshair. They’re largely used for alignment purposes, particularly when your print has more than one process applied.
For example, using more than one color application or adding foil stamping may require more than one printed process. If that alignment isn’t just right, the applications would likely be off. The registration marks are trimmed off in production, as they are located outside of the trim.
What Are Color Bars for in Printing?
Color bars are typically printed in a strip—a strip using specific ink colors, like CMYK, and/or varying shades of gray. This is basically a reference tool for quality control. This way, the printer can check to make sure the colors and values are printing as they should.


So, for example, if there was some kind of unexpected error, there would be a clear point of reference. The color bars would make it easier to check and see if a particular color is off, rather than debating the color consistency within the print itself.
What Is the Slug in Printing?
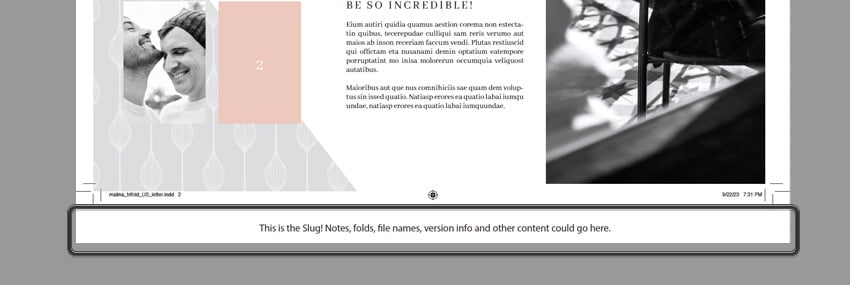
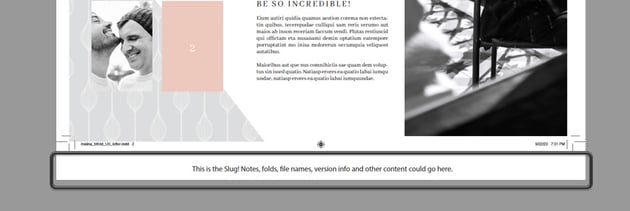
The slug is sometimes referred to as “Page Information” or “Production Notes”. It’s another type of space in production that will be trimmed off during the printing process.
Think of this as a space where you could put essential notes that might not be clear otherwise. For example, you could include a version number. You could include notes that let the printer know the first page is intentionally blank—something that could be misunderstood as an error. File names, references, and other production notes can go here. In this example, my design has a 1″ Slug at the bottom of my design document.
What Are Fold Marks in Printing?
Fold marks are very much as they sound—these printer’s marks are designed to indicate where your printed piece is designed to be folded, rather than cut. Let’s say, for example, that you’re printing 100 greeting cards. That’s a lot of cards, but many professional printers can score and fold your work for you.
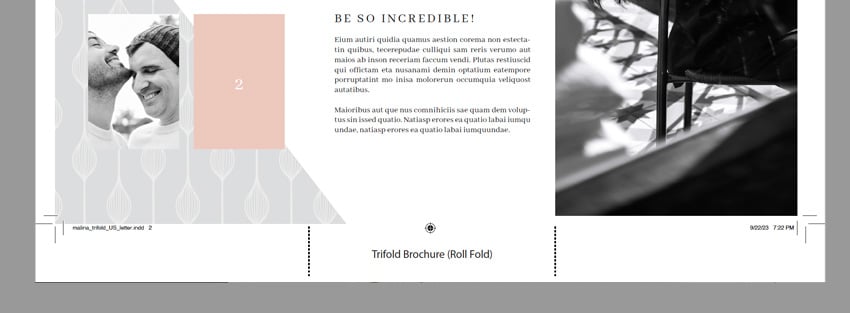
Fold marks are often depicted as dashed or dotted lines—and, like other printer’s marks, they are usually not printed onto the project (because they aren’t something you’d want the consumer to see). Instead, a common solution is to note them in the slug. There are many types of folds: accordion, z-fold, gate fold, and more. Make sure to ask your printer about any particular guidelines you should follow, as different printers may have different recommendations.
In the case of our example, below, there are dashed lines in the slug to indicate a roll fold for this tri-fold brochure.

Working With Your Printer: A Checklist
When I’m designing a project for print, I like to get my details sorted as early in the process as possible. This includes figuring out the logistics of my print—things like size, specifications, and even where/how I’m going to print the project. Here’s a sample checklist of things you may want to note when working with a printer:
- Does the printer have templates available for your project type? For example, they may have a business card template you can use, and it’ll likely list recommended specifications, like bleed and trim. You can use this to your advantage.
- Do you plan to have full-bleed imagery? Using a 0.125″ bleed is a common suggestion, but it’s not a bad idea to ask your printer if your project type or the material you’re printing on might warrant a little more.
- Are there any specific marks your project requires? Ask in advance to avoid issues in pre-press. Projects with unusual aspects like folds, detailing, or perforations will require considerations that something like a poster would not.
- What proofing options are available? Most printers offer some sort of soft, digital proofing at no charge. However, this just won’t compare to a hard-copy proof. Keep in mind that this usually has a cost, so budget accordingly.
Print Marks When You’re Printing at Home
But what about printing projects on your own, at home? For example, I’ve printed everything from packaging prototypes to posters, business cards to brochure designs in my home office. Do you need printer’s marks when you’re not working with a professional printer?
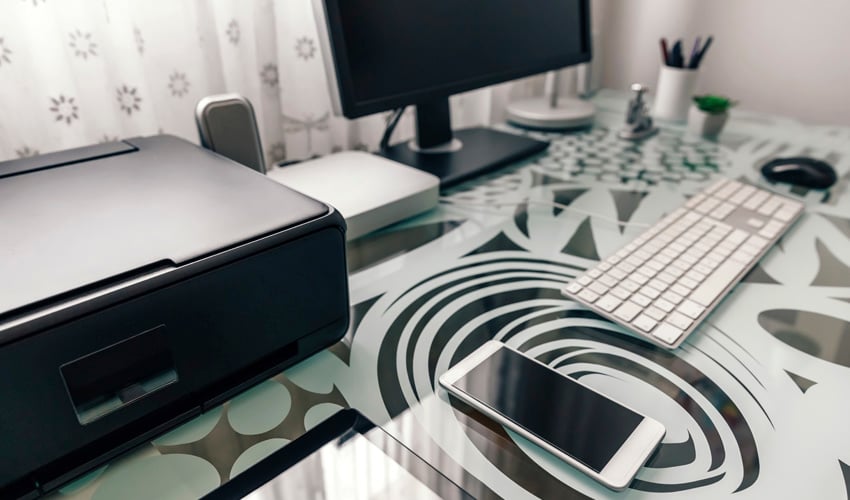
Absolutely yes, especially if you’re looking to create professional results on your own. For example, I have a large-format printer and a large paper cutter. Without trim marks, cutting my work would be a nightmare—imagine the variations! Without bleed marks, I wouldn’t get a perfect, full-bleed art print every time. Even when making my own greeting cards, I tend to print fold marks in a small slug, so I can go in with a ruler and a scoring tool.

What Projects Will You Print?
There are many printing marking types out there, and while you might not necessarily need to use every printer’s mark in every project, it’s a very good idea to be familiar with the basics. Remember, when in doubt, ask your printer. If you’re printing on your own, consider which types of printer’s marks will help you finish your project.


Learn to Prepare Your Work for Print in This Free Course
Want to learn even more about preparing your work for print? Whether you’re working in Adobe Illustrator, InDesign, or Photoshop, this course will set you on the right path. You can watch along, right now!

Or you can check out the full course with written walkthroughs, right here at Envato Tuts+
Download Professional Print Templates on Envato Elements
Looking for some extra help? Check out these awesome print design templates from Envato Elements. They can be an awesome design shortcut—use them to easily create and print a professional design. Or use them as a starting point, and customize them in any way you like. Check them out!
The best part is, you get unlimited access to thousands of creative assets, all for one low monthly price. Need a new business card design? It’s included. Want to change up the fonts? All included. It’s the ultimate addition to any designer’s toolkit.
1. Brochure Design Template (PSD, AI, EPS, FIG, INDD, PDF)
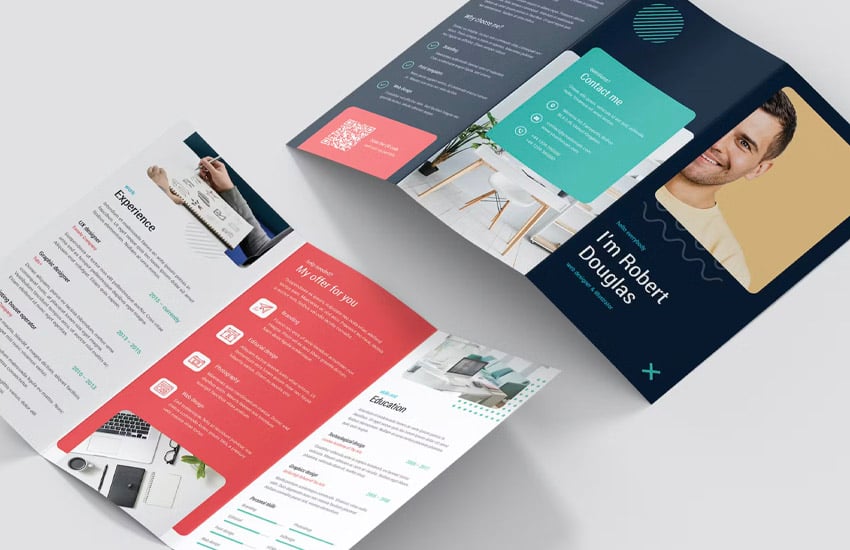
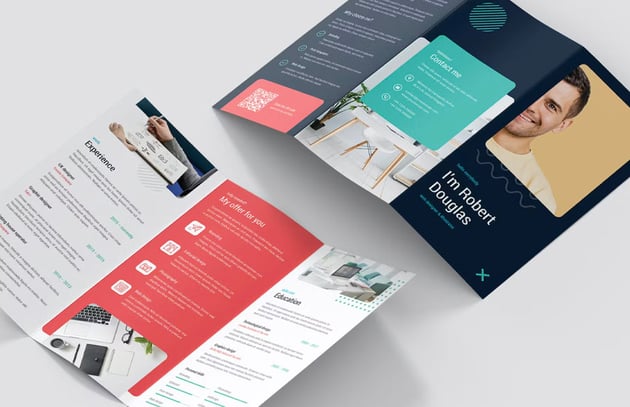
This stylish brochure design is ready to go—simply add your content, and you have a completed design in a flash. Or use this as a starting point to jumpstart your design process. It comes in a variety of file formats for your convenience too.
2. Business Card Design Template (PSD, JPG)
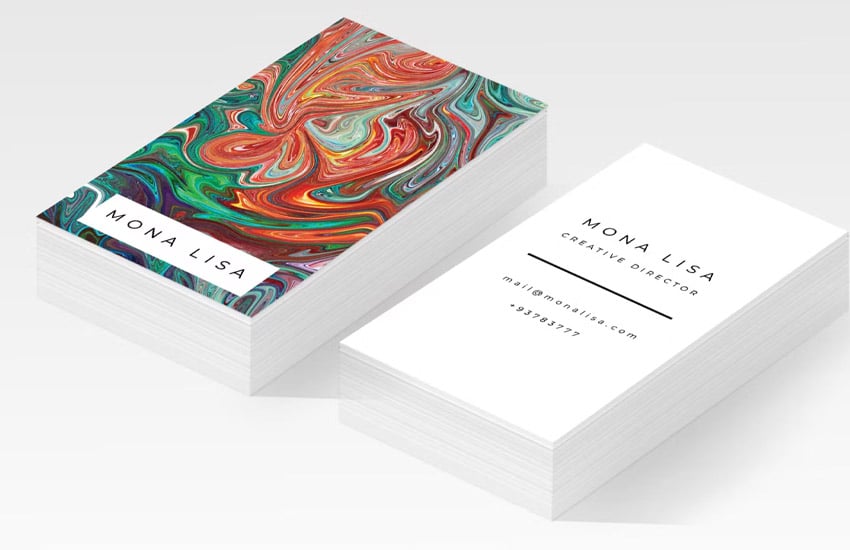
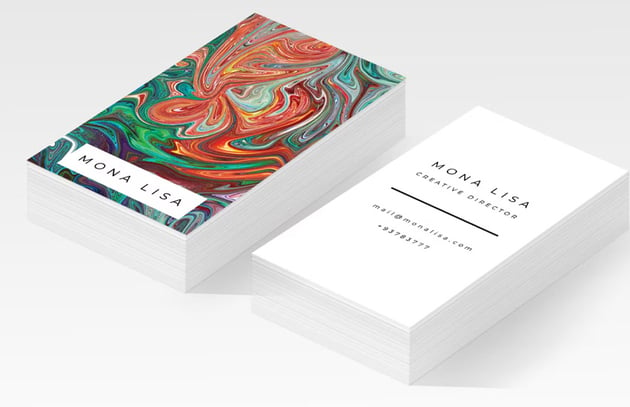
Need a new business card? Download this business card design template and easily customize it in Adobe Photoshop. Add your own imagery and text, and you have a brand new business card, ready to print, in a snap.
3. Food Menu Template (AI, PSD)
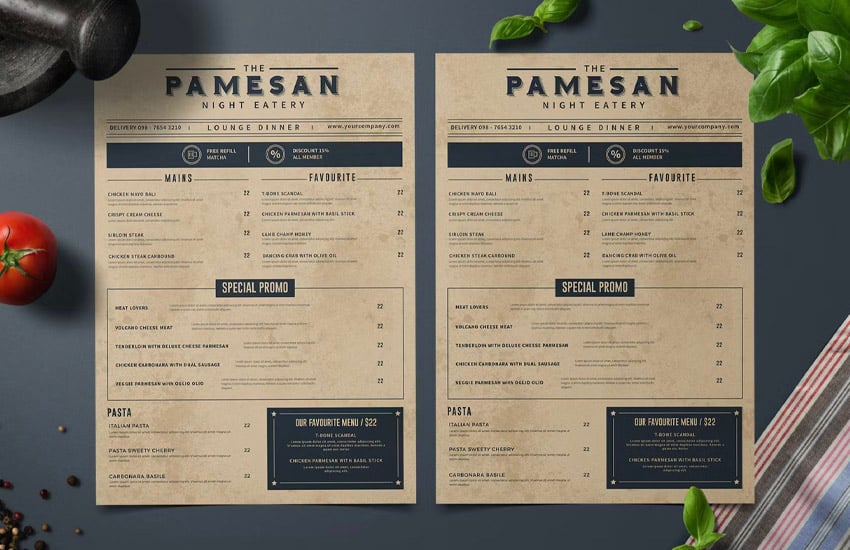
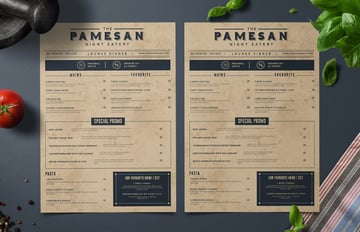
This menu design has a rustic vibe. It’s a typography-centric design—and all you’d have to do is download it and change the text accordingly to have a complete design quickly and effectively. Prefer to take it in a whole new direction? You can do that too.
4. Real Estate Property Flyer (INDD)


This real estate flyer is perfect if you’re advertising a property for sale. Place images to showcase the home, building, or lot, and add your text. Open this design in Adobe InDesign, and exporting with full printer’s marks is a snap.
5. Magazine Design Template (INDD)


Here’s an entire magazine template that you can download and customize in any way you like. Use it for a lookbook, a catalog, or even an indie zine. You could use this beautifully designed template in so many ways.
Looking for Print Design Inspiration?
Looking for some print design inspiration? Check out these awesome collections, right here at Envato Tuts+. There’s plenty to see and download today.
Learn More About Print Design
There’s even more to learn about printing here on Envato Tuts+. From software techniques to design theory, you’ll find all kinds of resources. Here are some tutorials and articles you should check out right now.