
Images are an enormous part of the modern online experience. To use them effectively, you’ll need to know how to reduce image file size for your website.
As average connection speed has increased, images have become less of a deadly burden on page load times. With the bandwidth sufficient to push a huge amount of content to a single user, a web server can serve images just as fast as clients can download them. At this point in the technological development of the internet, images provide more value than they reduce usability. It’s no surprise to see that images make up a huge part of social media, news stories, personal websites, corporate websites, and e-commerce sites. A web page without some kind of image is vanishingly rare. Even if it’s an image associated with an advertisement instead of the content, just about every web pages has an image on it.
That said, there is still a restriction on images: mobile connections. Users don’t want to download huge image files to display on a small screen, especially over a metered data connection. So while desktop users might have all the bandwidth they could ever hope for, mobile users are still sucking through the straw of over-the-air data connections. Any web developer worth their salt knows that mobile users comprise a huge portion of web traffic to a site, and in some cases even constitute the majority of users. So designing a site that doesn’t take their needs into account is both inconsiderate and behind the times.
The upshot is that reducing image size when saving images for the web is still of significant importance to web developers. Whether you use a backend service to automatically compress images before they’re served or you compress the images before dropping them on to your server, you’ll need to take care with image compression. Over-compress the image, and you’re looking at a grainy, artifact-filled mess. Under-compress the image, and you’re using up bandwidth that you don’t need. Find the right balance and discover how to reduce image file size correctly using the tools below.
ImageOptim
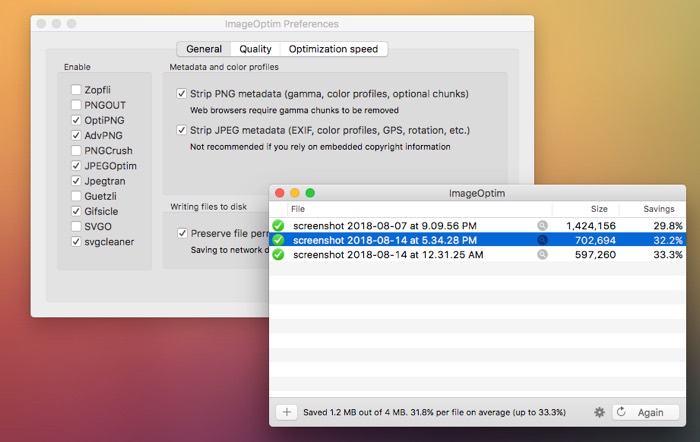
The first-line option for image compression for any developer should be ImageOptim. This macOS desktop application compresses JPGs, PNG, and SVG image files. Uniquely, it offers a wide selection of compression algorithms, allowing developers to hand-tweak image quality until it meets the necessary threshold. If you don’t want to be bothered with complex image compression programs, use ImageOptim. Just drag images on to the icon, wait a minute, and blammo: images are ready. If you’re on Windows (poor sods) or Linux, alternatives to ImageOptim are also available.
JPEGmini
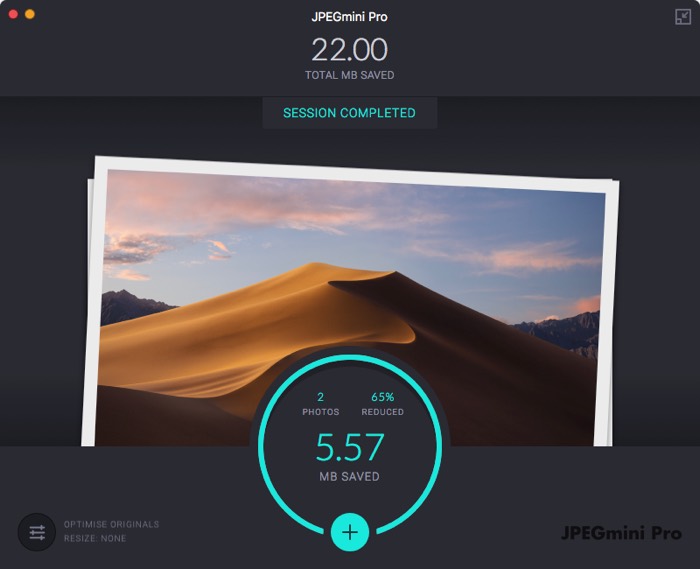
JPEGmini desktop app compresses JPEGs highly effectively. It sports an attractive modern interface and provides and effective image compression algorithm. Unique among the items on this list, JPEGmini also offers to resize files during compression. The app works best with very large JPEGs, exceeding one or two megabytes. For smaller file sizes, little compression is achieved. The program is built for photographers who want to compress images before posting online, so it does best with high-resolution, detailed images from quality sensors. The main downside is the lack of compatibility with any other image type. However, for high-quality images, nothing is better than JPEGmini. Users can find a Mac and PC version, as well as plugins for Photoshop and Lightroom.
TinyPNG
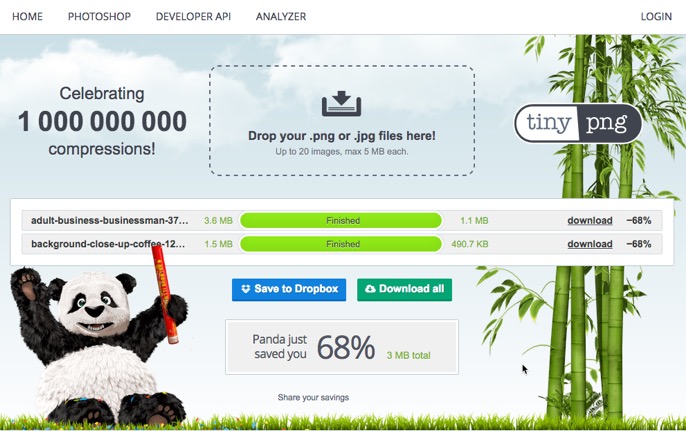
This in-browser web tool, TinyPNG, will work with both JPGs and PNGs. The free version will compress any file below 5 MB, and it can simultaneously compress up to 20 images per cycle. Refreshing the page resets the cycle, allowing for another 20 compressions. Image size reduction often exceeds 50 percent, and compression speed is faster than most other available tools. It’s not uncommon to see reductions as much as 90 percent with especially inefficient starting files. Power users can bypass the web interface via the API, building your own tools that use the compression algorithm on the backend. If you’re married to Photoshop for image processing, TinyPNG provides a $50 plugin to port the functionality into Photoshop’s interface. TinyPNG Pro ($25 per year) removes the limitation on image count and file size, and heavy users of the API (greater than 500 images/month) pay a bulk rate based on the number of images processed each month. It’s a favorite of our writers, and worth the money.
Compressor
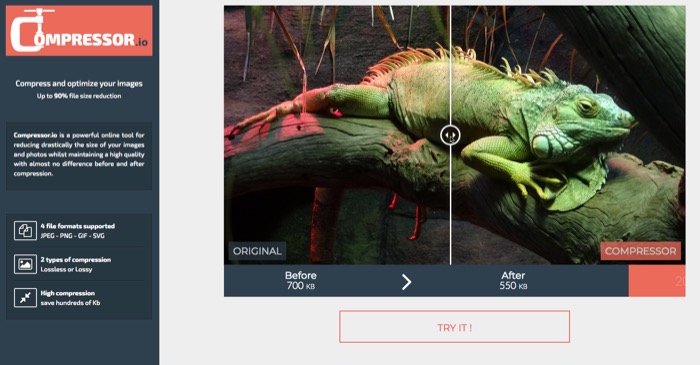
Like TinyPNG, Compressor is an in-browser tool made for shrinking files. It accepts JPGs and PNGs as well as GIF and SVG files, with a limit of 10 MB. It also offers a little more control: users can choose between lossy and lossless compression. Unfortunately, you can only upload one photo at a time, and its compression is not as powerful as TinyPNG’s algorithm. It does producer slightly higher quality images, but you’d really need to be zooming into 100 percent to notice the difference.
Kraken
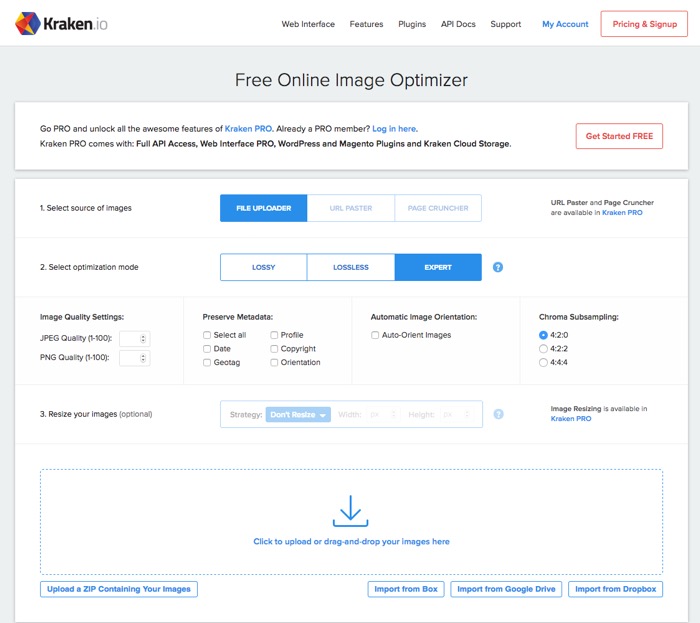
Kraken is a professional tool for users that need the greatest control and the highest volume. There is a free version that you can try out, and even that is surprisingly feature-rich. This includes an expansive pane of expert settings for well-versed users, including quality levels, metadata management, and even chroma subsampling method selection for JPGs. Users looking to get the full experience with Kraken Pro also get but image resizing, import from URL and full-page compression, full API access, WordPress and Magento plugins and Kraken cloud storage. Plans run from $5 to $79 per month, depending on your volume of megabytes compressed. The free version is limited to 1 MB, but all the image compression tools are still fully functional.
If you’re interested in optimizing your websites’ presentation, you might be interested in the following posts: