As we constantly work on many projects and in-house innovations, our UX professionals are massively familiar with the golden rules of using Figma. At UX studio, we develop ourselves and help everyone at the company grow continually. We have our well-established onboarding system, in-house pieces of training, and many other ways of knowledge sharing.
It is a fundamental concept for us to teach each other, and we also want to learn everything about Figma. So, I asked my colleagues what they consider the most important commandments of using this popular tool – read this article to check out what they mentioned!
Figma Is Your Best Design Friend
Figma is a vector-based collaborative design tool made for creating digital products. Probably you already know that. Whether you use the web or desktop app, you can design final UI screens and prototypes, too. Real-time collaboration lets you work with your colleagues, but you can still choose to work alone. You can deliver your designs to the developers using the same tool you used to create them, which makes life much easier.
Although there are excellent tools, Figma became the most popular for user experience design quite fast, as it only has less than a decade-long history. The company’s success might lie in its attitude. It always works on updates to essential features, continuously pushing product development forward.
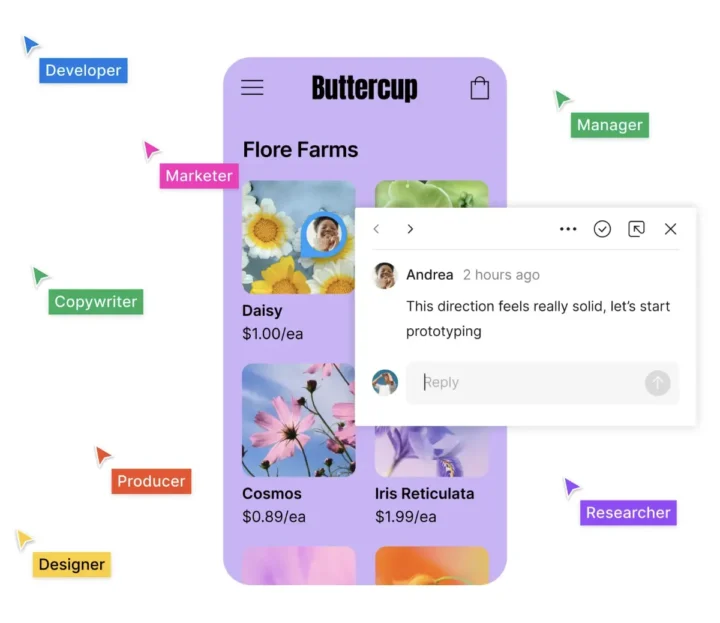
When discovering this great tool, you might initially feel overwhelmed because it has so many features. After figuring out how to use those features, you might think the world is yours: you can believe you just got a Swiss army knife in your pocket. But beware – knowing Figma doesn’t necessarily make you a good designer. It is a tool that helps you in your product design project, even at the beginning of the discovery phase. And, of course, it will make designing much faster, smoother, more effective – all in all, easier.
To make the most of Figma, having a collection of golden rules that guide us to a simpler professional life as designers is helpful. To gather all the useful tricks and tips, I asked our amazing UX studio designers to reveal their best practices for using Figma. Based on that, our 10+1 commandments were born.
Our 10+1 Commandments For Using Figma
Are you dreaming of saving yourself from extra and unnecessary project work? Or do you want to do the work properly and hand over nice and understandable files? Whichever you find more important, there are solutions to your needs.
UX studio designers Gábor Némethi, Janka Holicska, Laura Sima, Gábor Szabó, and Agostina Marmai know what you have to do. Follow our professionals’ bits of advice on using the great not-so-new-anymore Figma, and see what happens to your work process.
1. Forget about groups – make auto layout your best friend
Auto layout might be one of the hottest features of Figma nowadays. As the content changes, it mirrors responsive design. It imitates how the product would work in reality. Using this feature, you can save the developers and your colleagues from many headaches.
When I asked our designers about the most important things about this tool, the first answer came very quickly: “Make auto layout your bestie and say goodbye to groups for the sake of everyone’s mental health.”
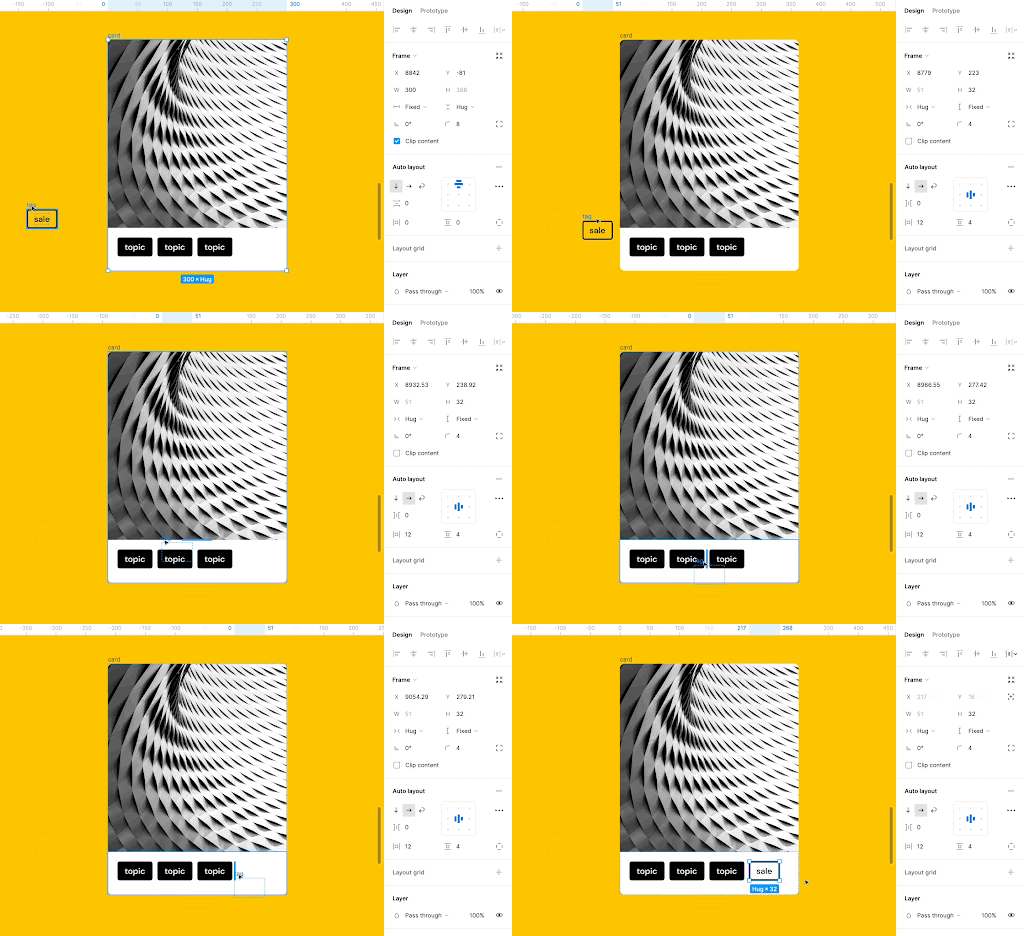
“Use auto layout on every component level, set up constraints properly, to represent responsive design. This gives you a lot of understanding of the box model and spares you from a lot of effort when you have to make dimension-based adjustments (per flows).”
2. “Always. Name. Your. Layers (and your frames).”
Naming your layers is important because it creates order in your file – making your and others’ work smoother. If you do this, you won’t get lost in the chaos of thousands of layers, which would make your process much more complex and slower.
“Name your layers (at least on finalized stuff). There’s a search function in Figma now – that spectators will also use, so proper naming should start from an atomic level. Moreover, some features, like variants or smart animate, function well only after proper naming.”
A consistent naming strategy makes everything understandable and makes your static screens come alive. Of course, naming everything in Figma also pays off in the earlier phases of the work. If you are driven to do things properly, allocate time, even before creating your final designs.
3. Have separate pages for playground, prototypes, and handover
Different pages for different types of work can lead to better and more organized cooperation with your colleagues. It generally creates a clean and easy-to-use environment, even only for your individual job. “Clearly separate what you must work on and what developers must work from to avoid confusion. This can quickly evolve into a very low-effort design versioning.”
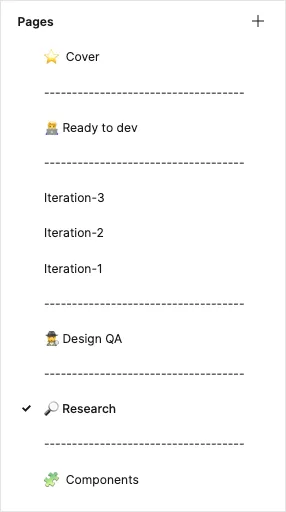
Remember that separating your pages is good for humans and makes your Figma file’s life easier, too. “Create separate pages for all the different flows and prototypes to avoid running low on memory.”
4. Create a table of contents
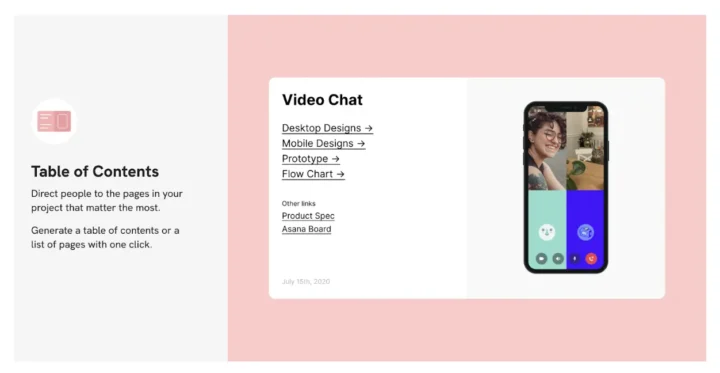
Finding your way in Figma is sometimes difficult when the file gets bigger. Your coworkers and stakeholders can also get overwhelmed by too many screens and pages, especially if unfamiliar with the tool. To overcome this, you can create a table of contents so everyone can easily find what they want.
“Use a Figma index (table of contents) with hyperlinks when your file gets big and complicated and use it as the file cover. Links are not updating, so make sure you are constantly checking if the index is up-to-date. This is also a great opportunity to communicate the logic and structure of the file for newcomers.”
5. Periodically review your file structure
Having a clear table of contents is one thing, but you should still think about tidiness. Make sure that keeping your files clean is a necessary task that you should take into account. It will be easier to see everything through and thus work better and faster.
The overall goal would be always to have everything organized. “Something like coders have: to create “clean” files that everyone could understand, even if you are working alone. This could include naming conventions, structuring your file, etc.”
Design system hygiene should be considered a top priority: “allocate time for DS / Figma hygiene. Define what Figma cleaning means in the context of your current project and make sure that the client/PO/manager understands that this is an effort to calculate with.”
6. Iterate on your Figma structure
Make sure that you create a Figma file structure that is flexible enough to make adjustments when it is needed. You are the designer, so you need to find your way around the file, but remember, the developers will have to be able to work from that file. Also, keep the client in mind who asked for the product to be designed – they need to find what they are looking for easily. Last but not least, your designer colleagues must have the files logical for them, too, so they can work effectively.
“Make the structure clear and logical to spectators, and talk to the client and devs to see what structure would fit their workflow (with room for improvement from your POV, obviously).”
7. Start from existing flows
Being consistent in your work is essential. You should use what you already have so that you not only save yourself from extra work but everything will be done with the same mindset and style, making an easy-to-follow file.
For a straightforward and clean structure, you should use your once-created flows as templates when you jump onto the next part of the work. As our designers suggest, “use a template that you can duplicate before starting to work on a new flow (page) to make your file consistent and your life easier, and invest time into making your file tidy.”
8. Duplicate screens instead of deleting them & highlight them with clear status indicators
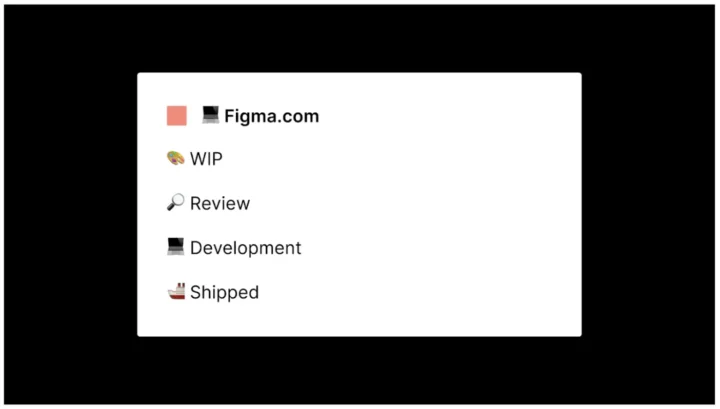
When iterating, duplicate your screens instead of deleting them – it is helpful to show your client your work progress so you can explain your decisions. You might also want to return an older idea, so keeping them in a suitable place in Figma is good. This is more of a design process commandment, but you should keep that in mind when designing with this tool.
“Use clear version and status indicators, even in your playground, to make your workflow clearer – in the long run, it will be easier to reason for your decisions.”
9. Use simple documentation to make it easy for everyone
When designing a digital product, you, as the creator, probably know why you put one screen after another. You understand how it would be used after development because you were the one who had the idea in your mind. However, it might not be obvious to everyone why you structured your file as you did. Because of this, you must document your files in an easily understandable way.
“Use low-effort, light documentation. Nobody wants pages of documentation. The simple combo of screen flow arrows and annotations will work like magic. Remember: Figma screens next to each other is only logical to you. Make the extra effort to clarify the actions and the causes of those actions.”
10. Create rules for commenting and use it as a backlog
Figma allows its users to comment on the files you are working on – the designer, the researcher, the client, the developer, and everyone invited to that file can note their ideas and opinions there. However, it can get messy if you don’t take care and create rules for using this option. “If you drop an insight or task on Figma comments, you’re the thread owner. You have to manage or close the thread based on your judgment.”
“If the previous point is clear to everyone, and there’s no design task management in place so far, use Figma comments as your design backlog. You should also clean up outdated Figma comments in Figma hygiene efforts.”
+1 Know when to use what in Figma
“Know when to use specific features of Figma. If you’re at the beginning of a project and you start ideating, it’s not the time to think about components or variants. Doing so might waste time on the organization rather than discovering new and better solutions. I was overwhelmed by the number of features in Figma. Also, another designer mentioned in one of the squad weekly meetings that sometimes she feels pressure to use everything Figma has to offer, but it’s not always needed.”
However, “it’s okay to use components in a conceptual phase as you might want to incorporate the benefits of components early into your workflow. Just ensure it’s separated from the final design system, and place your component into the final DS when you consolidate the conceptual ones as implementable elements.”
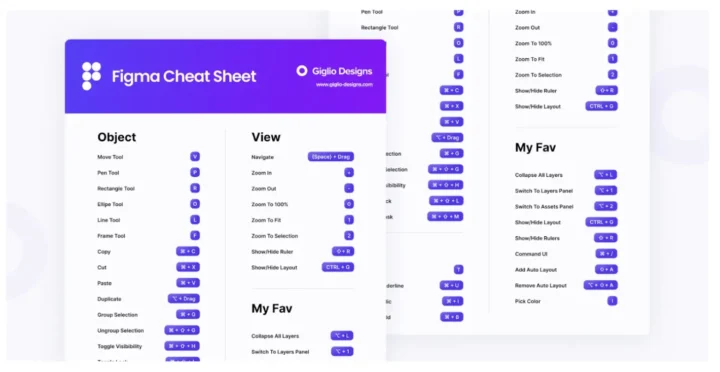
What can also be beneficial is the constructive use of the keyboard. “Accelerate your design process by learning to use keyboard shortcuts effectively.” This can save you time while comfortably working on your designs.
Final Thoughts
As you can see, we UX studio designers have quite a nice collection of Figma best practices. Our designers experiment a lot with different ways of working with Figma on different projects, which makes our collective experience diverse. Having more than ten years of experience in the field and an always-evolving professional background let us feel confident about using this super UX design tool effectively. So you can believe me. We know what we are talking about.
Use our 10+1 commandments to speed up your professional life in product design, simplify your and your colleagues’ lives, and make the most of using Figma. It will pay off.
Can’t get enough? / Want to learn more?
Looking to further increase your UX skills and knowledge? Look no further! Our blog offers valuable insights and tips on UX design, research, and strategy that will help you take your skills to the next level.
Whether you’re a seasoned UX professional or just starting out, our blog has something for everyone. So why wait? Check out our blog today and start learning!
