The first issue of iconic music magazine Rolling Stone was put on sale on 7 November 1967. Featuring John Lennon on the cover, the San Francisco-founded publication went on to become the go-to magazine for music fans worldwide.
In this tutorial, we’ll pay tribute to the iconic graphic style of Rolling Stone, which was created by the original art directors, John Williams and Lloyd Ziff. The script-style logo and red, white and black color palette have become synonymous with the magazine and have remained largely unchanged for many decades, with only a few minor modernisations.
Here you’ll learn how to create a tribute magazine cover in Adobe InDesign and replicate the iconic style of classic Rolling Stone covers.
Want to make a quick start on your own magazine design? Check out the selection of professional and easy-to-edit magazine templates on Envato Elements and GraphicRiver. Alternatively, you can check out these recommended magazine cover templates:
What You’ll Need to Create Your Magazine Cover
As well as access to Adobe InDesign, you’ll also need to use Adobe Photoshop to edit the image used in the design. You’ll also need to download the following image and fonts from Envato Elements:
Install the fonts on your computer, and you’re ready to get started.
1. How to Set Up Your Cover Document in InDesign
Step 1
Open InDesign and go to File > New > Document. Set the Width of the page to 8.5 in and Height to 11 in, a standard US magazine cover size.
Uncheck Facing Pages to create a single page. Add 0.3125 in Margins and a 0.25 in Bleed, and then click Create.

Step 2
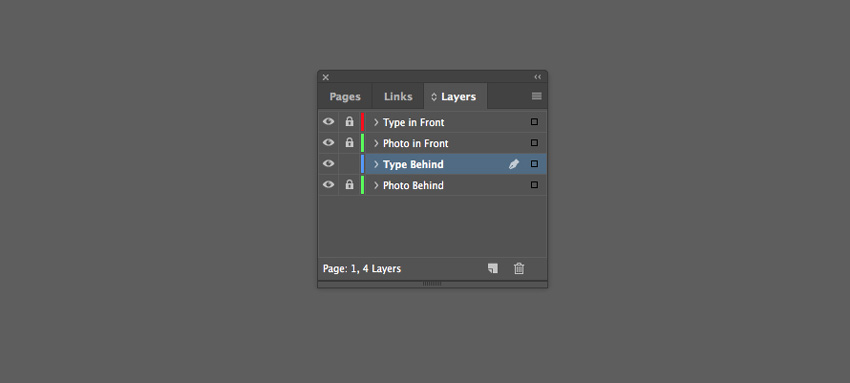
Expand the Layers panel (Window > Layers) and double-click on Layer 1 to rename it Photo Behind.
Create three more new layers in this order—Type Behind, Photo in Front and, at the top of the pile, Type in Front.

Then lock all the layers except the Type Behind layer.
Step 3
Expand the Swatches panel (Window > Color > Swatches), and choose New Color Swatch from the panel’s drop-down menu.
Name the swatch Rolling Stone Red, and set the levels below to C=0 M=100 Y=93 =0. Click Add, and then Done.

2. How to Create a Masthead for Your Cover
Step 1
Working on the Type Behind layer, use the Type Tool (T) to create a text frame across the top of the page.
Type in the title of your magazine, and from either the top Controls panel or the Character panel (Window > Type & Tables > Character), set the Font to Redoura Bold.
Increase the Font Size so that the logo extends across the width of the page, and tweak the Tracking (letter-spacing) and Kerning (spacing between individual letters) to pull letters together and create a more logo-like effect.

Step 2
From the Swatches panel, switch the Font Color to Rolling Stone Red.

Click on the ‘T’ symbol sitting behind the ‘T’ Fill Color symbol at the top-left of the Swatches panel, to bring up the Stroke Color option. Add a [Paper] Stroke Color.
From the Stroke panel (Window > Stroke), increase the Weight of the stroke to 5 pt.

Step 3
Select the text frame and Edit > Copy, Edit > Paste in Place. Use the arrow keys to shuffle the new text frame slightly down and to the right.
Switch the Font Color and Stroke Color of the text in this frame to [Black].

On the frame, Right-Click > Arrange > Send to Back.


Step 4
Add a long text frame above the logo, listing some of the artists featured in the issue.
Set the Font to Karoll Bold Round.

3. How to Add a 3D Photo to Your Cover
Step 1
Open the portrait photo in Photoshop, and duplicate the Background layer.

Working on the Background copy layer, use the Lasso Tool (L) to trace the silhouette of the person, working your way around the whole edge and looping it across the bottom to create an enclosed selection.


Step 2
Click on the Refine Edge button on the top Controls panel.
In the window that opens, check Smart Radius and adjust the Radius slider until the selection is more accurate around the silhouette. When you’re happy with the result, click OK.

Copy and Paste the selection onto a new layer.

Step 3
Switch off the two background layers so that only the top layer is visible, and go to File > Save As, saving this as a Photoshop file named ‘Portrait_no bg.psd’.

Switch the Background layer back on, and File > Save As as a Photoshop file named ‘Portrait_with bg.psd’.

Step 4
Head back to InDesign and lock the Type Behind layer. Unlock the layer below, Photo Behind.
Use the Rectangle Frame Tool (F) to create an image frame across the whole page, extending it up to the edge of the bleed on all sides.
Go to File > Place and choose the ‘Portrait_with bg.psd’ image, and Open. Make sure you’re happy with the position and scale of the image before moving on to the next step.

Step 5
In the Layers panel, click on the arrow to the left of the Photo Behind name to expand the layer.
Drag the ‘Portrait_with bg’ element down onto the Create New Layer button to duplicate it.


Unlock the Photo in Front layer, before dragging the copy of ‘Portrait_with bg’ up onto this layer.

Then lock the Photo Behind layer.

Step 6
Select the image frame now sitting on the Photo in Front layer, and go to File > Place.
Choose the ‘Portrait_no bg.psd’ file and Open.

4. How to Add Article Teasers to Your Magazine Cover
Step 1
Lock the Photo in Front layer and unlock the top layer, Type in Front.
First, focus on creating a large-size article teaser, to tie in with the image you’ve used on the cover.
Choose a space on the cover (here I’ve opted for the bottom-right corner) and use the Type Tool (T) to create large text frames, setting the Font to Black Velvet 2.

Set the Font Color to attention-grabbing Rolling Stone Red.

Step 2
You can make the text more legible by applying a subtle drop shadow.
Select the text frame(s) and go to Object > Effects > Drop Shadow. Set the Opacity to around 30%, and add about 15% Noise. Play around with the Size and Spread options until you’re happy with the shadow, and then click OK.

Step 3
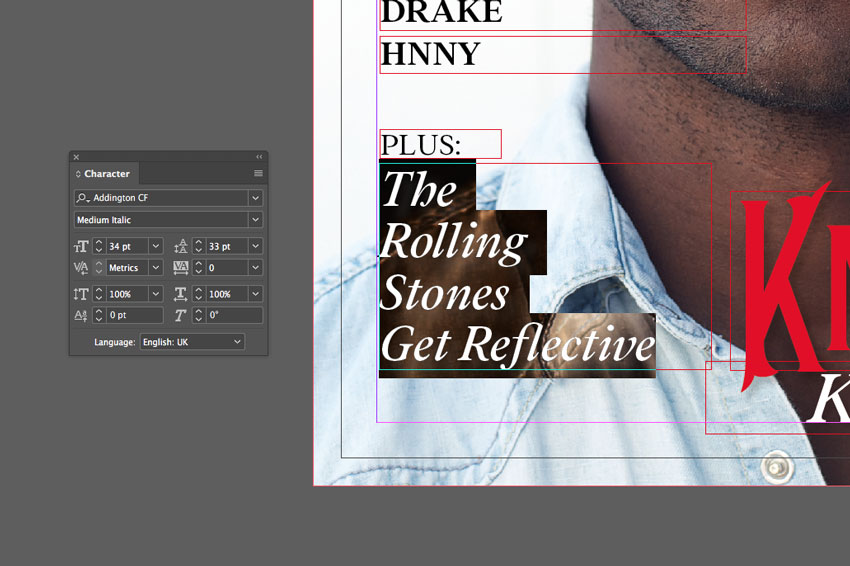
Add supporting text around the main title, set in Velasco Serif and a [Paper] Font Color.

Set the other supporting text in Addington CF Medium Italic.
Make sure to add a subtle drop shadow effect (Object > Effects > Drop Shadow) to these text frames too.

Step 4
Create more text frames down the right side of the image, setting the Font to Karoll Bold Round and a [Black] Font Color.

Step 5
You can create a divider to separate items of text using the Line Tool ().
Use the Stroke panel (Window > Stroke) to set the Weight to 13 pt and the Type to Thin-Thick.

Step 6
Populate the space around the edges of the image with more text frames, varying the fonts, but sticking to a [Black] Font Color.


Step 7
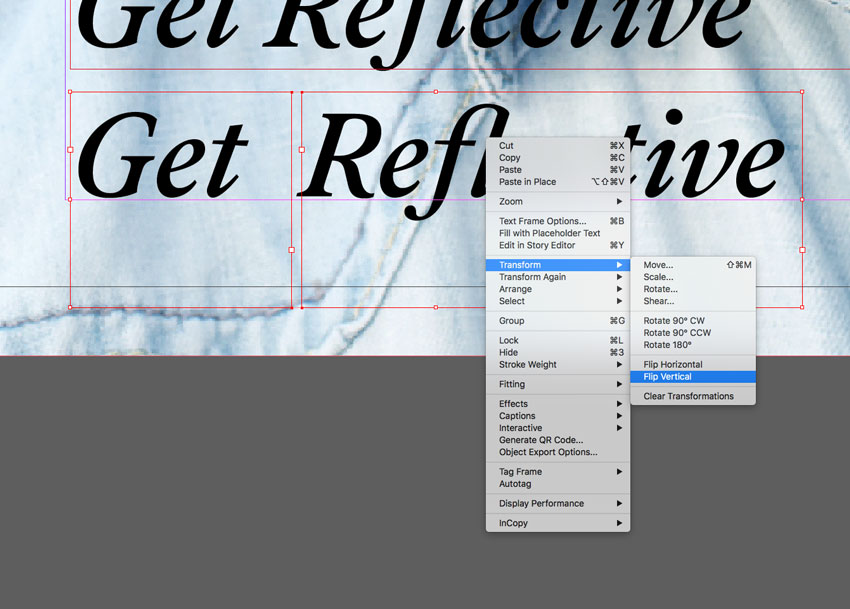
You can use quirky type techniques to emphasise the theme of the article. In this example, I Copy and Paste ‘Get’ and ‘Reflective’ into individual text frames…

…before Right-Clicking > Transform > Flip Vertical.
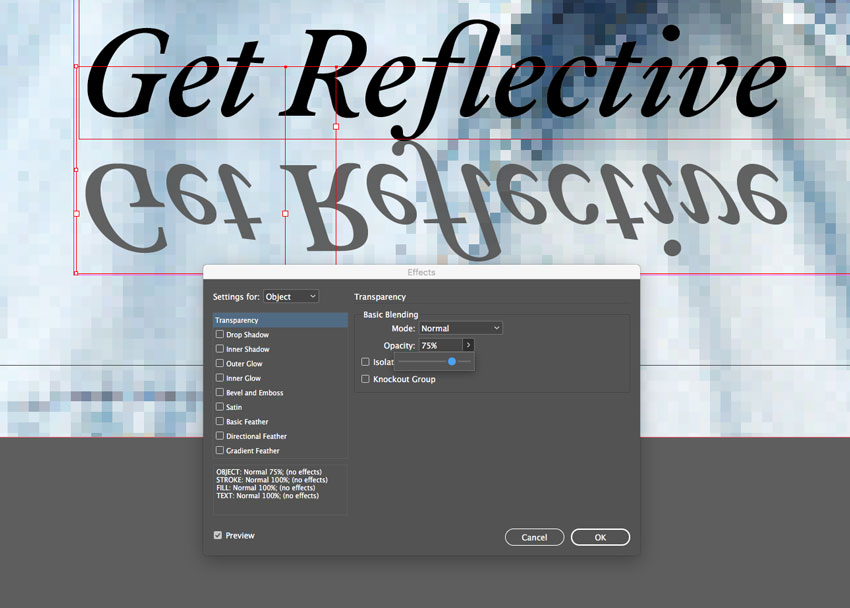
I line up the text frames underneath the original text…

… before going to Object > Effects > Transparency, and bringing the Opacity down to 75%.
Step 8
Magazine covers sometimes feature pull-quotes set in frames, to make a feature of a particular article or the fact that the magazine is a special issue.
You can create a frame using the Rectangle Tool (M), and adjust the Weight and Type from the Stroke panel (choose a Thin-Thick Type to match the style of the dividers).

Set text frames inside the frame, setting the main text in Velasco Serif.

Highlighting key words in a bright color, like Rolling Stone Red, helps to draw attention to particular pieces of text.

5. How to Share Your Magazine Cover
You can share your magazine cover as an image online, on social media for example, or export it as a PDF for printing.
To do either, head up to File > Export.
For online, choose JPEG or PNG from the Format menu at the bottom of the window. For printing, choose Adobe PDF (Print).

Click Save, and follow the options in the windows that open, before clicking Export to create a shareable version of your cover artwork.
Conclusion: Your Finished Magazine Cover

In this tutorial, we’ve covered a wide range of techniques for creating effective magazine covers. You now know how to:
- Create layers and CMYK swatches in your InDesign document.
- Create a masthead for your magazine cover.
- Edit a photo to give your cover a three-dimensional effect.
- Format typography to create stylish article teasers on your cover.
- Export your cover to create an image you can share online or have professionally printed.
Looking for a time-saving solution for creating your own complete magazine design? Make sure to check out the huge range of easy-to-adapt magazine templates over on Envato Elements and GraphicRiver.
Discover more magazine design tutorials to keep developing your print design and typography skills:
-
![]()
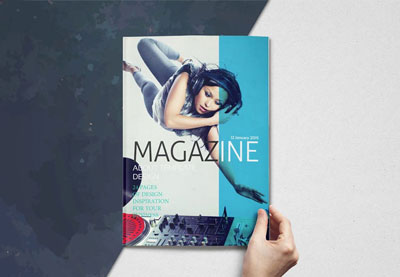
In this tutorial, you’ll learn how to create a simple and stylish magazine spread using Affinity Publisher, the great-value and easy-to-use alternative to…
-
![]()
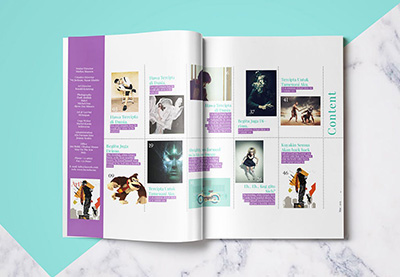
This back-to-school guide will show you how to get started designing your own magazines, from adapting templates to creating your own contents pages. You’ll…
-
![]()
Imagine your design on the covers of magazine. Check out this list of premium magazine templates from Envato Market and Envato Elements.
-
![]()
In this tutorial, I’ll show you how to make a magazine by editing an existing InDesign magazine template and create something that looks completely special…
-
![]()
Revamp your magazines with exciting magazine cover templates! Check out this list of creative InDesign and Photoshop magazine templates below.