In this Photoshop tutorial, I will show you how to Create Typography Using Simple Geometric Shapes in Photoshop. This is a fun and simple tutorial, aim to get you familiar with the Shape Tool in Photoshop. Have an attempt!
This is an intermediate degree difficulty guide plus some actions can be tricky.
Note: The Photoshop guide is done in Photoshop CC – therefore some screenshot might have slighting layout that is different in the earlier version. Some brushes are exclusive to Photoshop CS6.
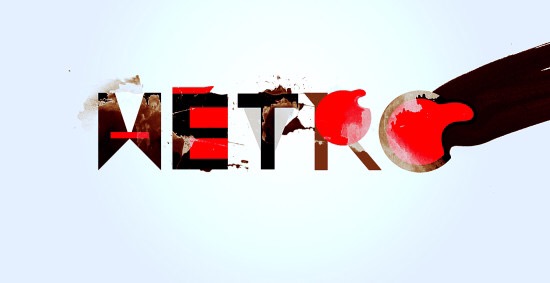
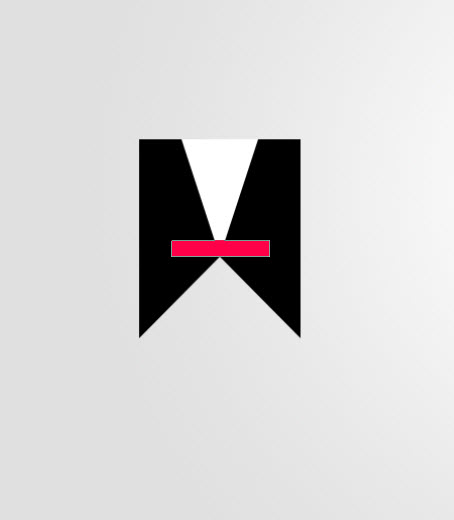
Here is a preview of the final effect I have actually because of this guide: (simply click to expand)

OK Let’s get going!
To complete this guide, you’ll need the next stocks:
Grunge Photoshop Brushes (Pick any one from the list)
Step 1
Create a brand new document size 1400px * 720px with a light-grey background, utilize a large soft white brush to paint an area light in the middle for the canvas:

The word we are producing is: “METRO”. We’ll begin with the page “M”.
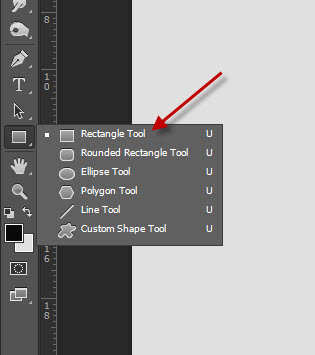
Grab the “Rectangle Tool” from the Tool Box:
On the Option Bar, use the following settings because of this black rectangle:(************)
![]()
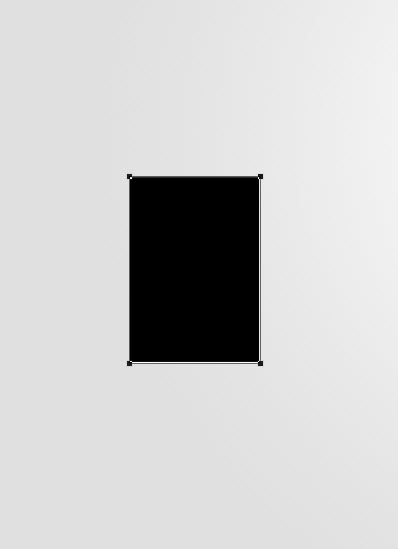
Make the following shape on our canvas:
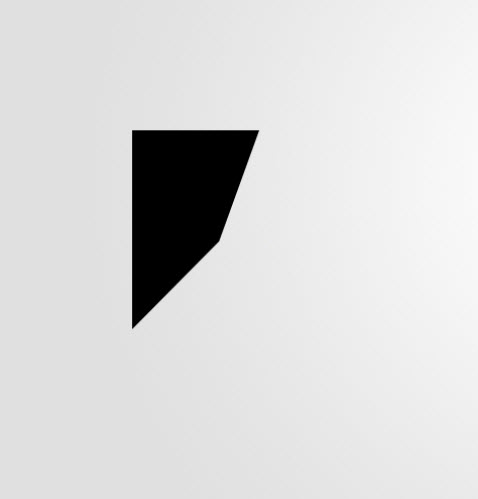
Use the Free Transform Tool, distort the rectangle into the following shape by dragging the bottom-right corner of the rectangle towards the centre:
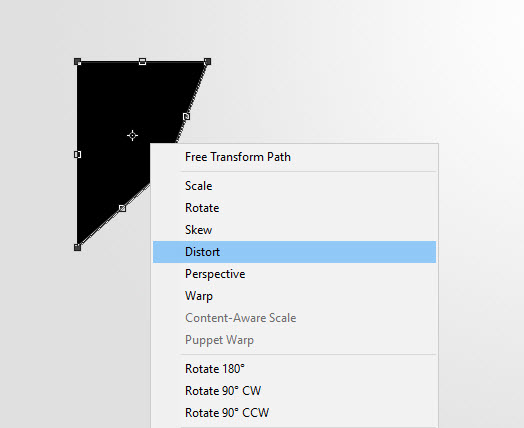
This is the shape you’re aiming to achieve:
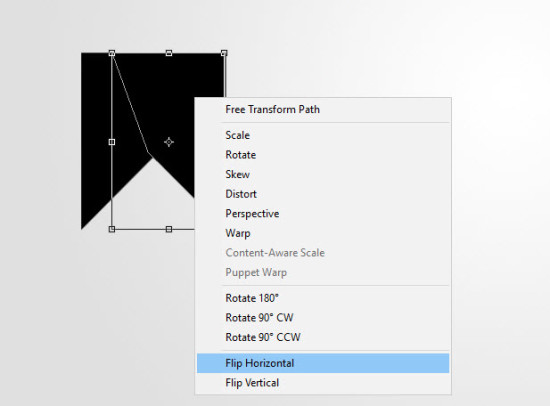
Duplicate this layer and flip it horizontally, and form the following shape:
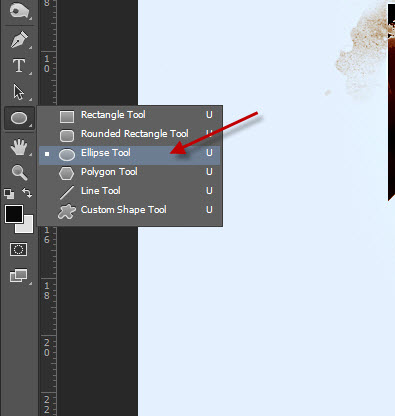
Then grab the Polygon Tool from the tool box:
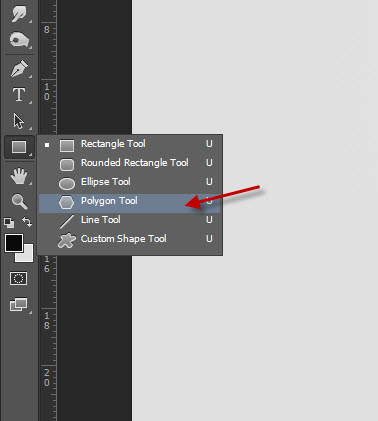
Apply the following settings for the polygon tool on the option bar:
![]()
Create a triangle shape as below:
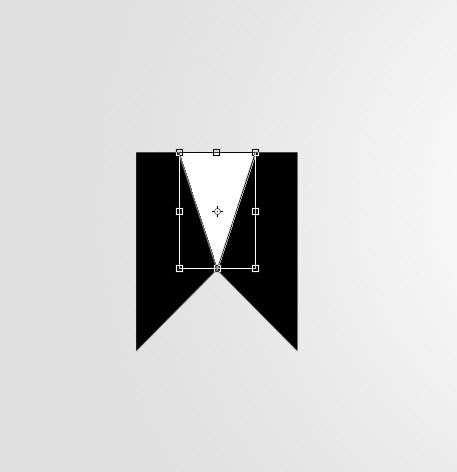
Add a pick rectangular shape in the centre for our letter, and here is the effect so far:
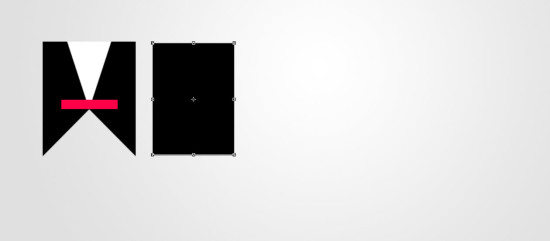
Step 2
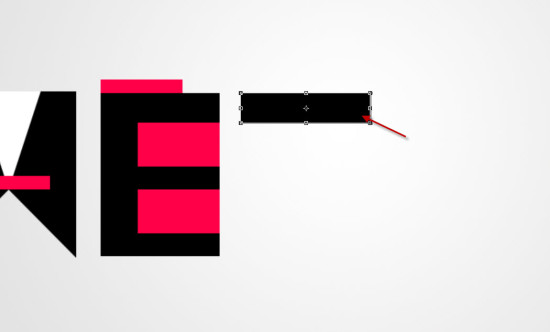
We will work on the letter “E” in this step. Use the tool that is rectangle and draw the next rectangular shape once again:
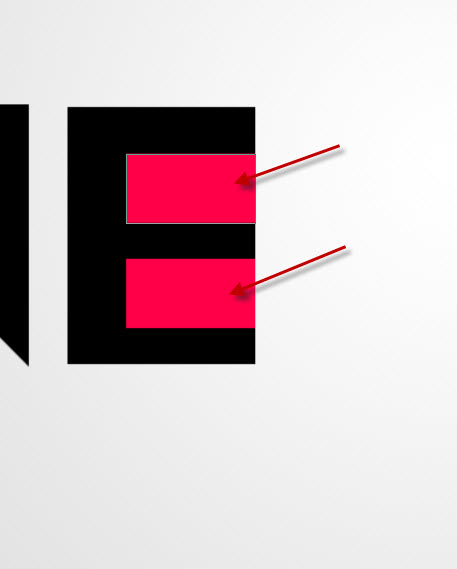
Use Rectangle tool once more, draw 2x red rectangular forms in to the following area:
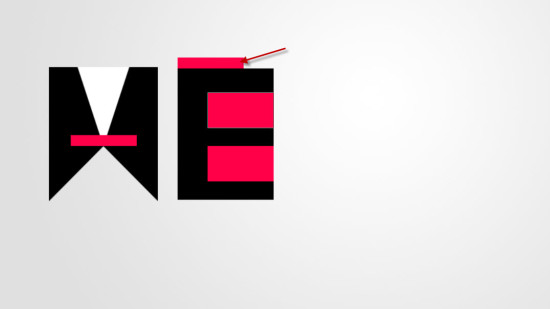
Add another red rectangle shape over the top as shown below:
Step 3
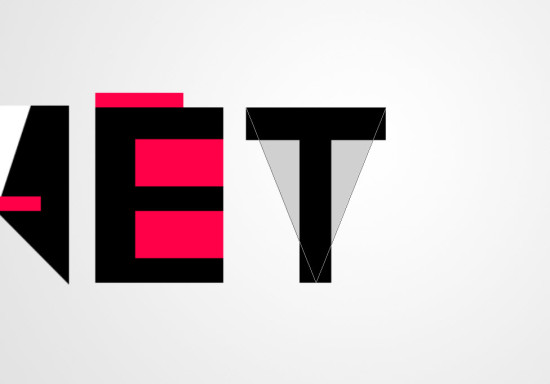
We will continue to work regarding the page “T” in this task. Draw a shape that is rectangular below:
Then draw another rectangular shape below to finish the letter T:

Add a triangular shape behind the letter T, set its fill colour to light grey, so the “T” stands out:
Step 4
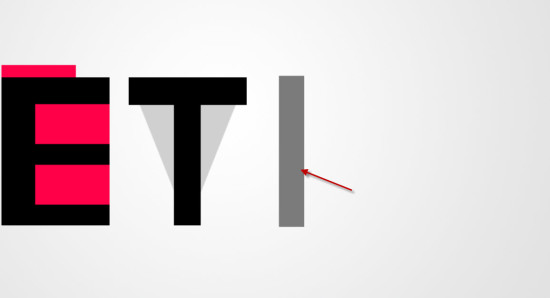
In this step we create the letter “R”. Use rectangle tool to create the following shape with grey colour:
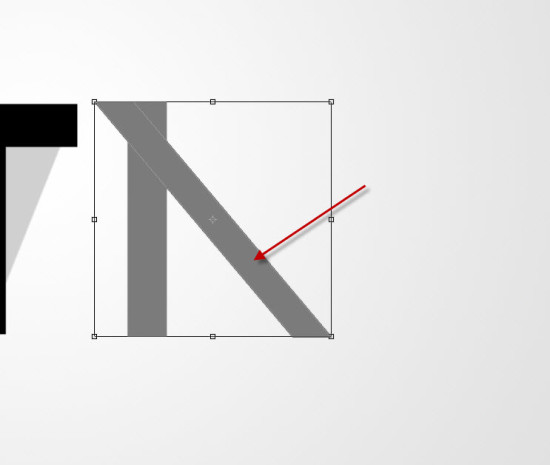
Duplicate this layer, use the “Skew” option in Free Tranform tool, turn the duplicate layer into the following shape:
Draw a pink circle to finish the letter “R” off because of the “Ellipse Tool”:

Step 5
We will continue to work on the page “O” in this task. Draw a circle with black colored fill as shown below:
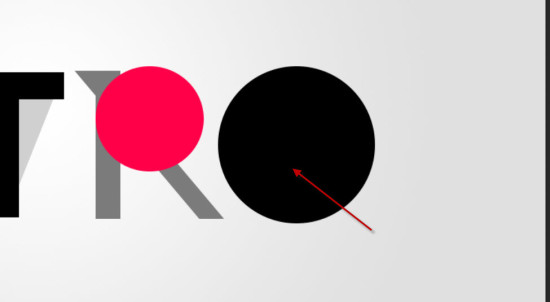
Draw a smaller group in the black colored group with red fill to create a “O” shape:

Step 6
We will finish this text off by adding a few grunge painting effect. Create a layer that is new over the history layer, use the brush you downloaded at the start of the tutorial, paint some pattern behind the text:
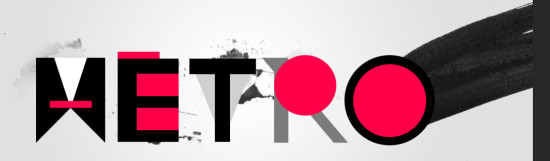
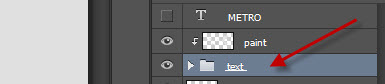
Group all texts levels together into 1 folder, create a fresh layer and set it to clipping mask to the brand new folder:
Paint some grunge pattern on the text as shown below:

Step 7
This final step is optional.
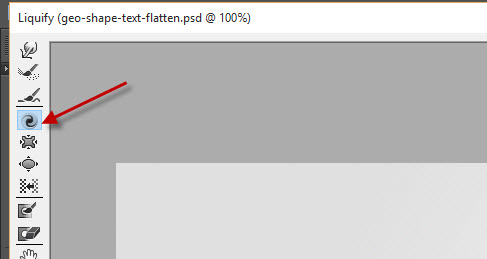
You can truly add some filter that is liquify for this text. Flatten the image, duplicate the background then layer. Under “Filter > Liquify”, make use of the “Twirl Clockwise Tool”:
With the next settings:
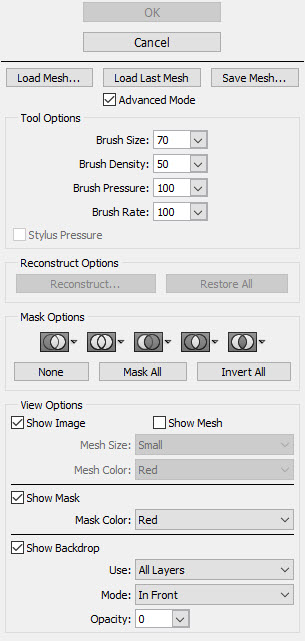
Apply this to the next area:

(

That’s it for this tutorial|for this tutorial*********) I further adjusted the colour of the texts slightly with the colour balance adjustment layer, and here is my final effect: (click to enlarge)
That’s it” class=”synonym”>for this tutorial*********) I further adjusted the colour of the texts slightly with the colour balance adjustment layer, and here is my final effect: (click to enlarge)
That’s it
! Hope it is enjoyed by you and discover it useful! If you have any questions about the steps, please contact me or leave a comment below. I shall take to my better to respond to them.
Till the next occasion, have actually an excellent time!