In this tutorial, we’re going to review PDO CRUD—a form builder and database management tool. PDO CRUD helps you build forms for your database tables with just a few lines of code, making it quick and easy to bootstrap a database application.
There are plenty of extensions available for database abstraction and specifically CRUD (create, read, update, and delete) generation for PHP and MySQL. And of course, you’ll also find commercial options that provide ready-to-use features and extended support. In the case of commercial options, you can also expect quality code, bug fixes, and new enhancements.

Today, we’re going to discuss the PDO CRUD tool, available at CodeCanyon for purchase at a very reasonable price. It’s a complete CRUD builder tool which allows you to build applications just by providing database tables and writing a few lines of code.
It works with multiple database back-ends, including MySQL, Postgres, and SQLite. In this advanced PHP CRUD tutorial, we’ll see how to use PDO CRUD to build a CRUD system with the MySQL database back-end.
Note: Si quieres aprender cómo hacer un CRUD en PHP y mySQL, da clic aquí.
Installation and Configuration
In this section, we’ll see how to install and configure the PDO CRUD tool once you’ve purchased and downloaded it from CodeCanyon.
As soon as you purchase it, you’ll be able to download the zip file. Extract it, and you’ll find the directory with the main plugin code: PDOCrud/script. Copy this directory to your PHP application.
For example, if your project is configured at /web/demo-app/public_html, you should copy the script directory to /web/demo-app/public_html/script.
Next, you need to enter your database back-end details in the configuration file. The configuration file is located at /web/demo-app/public_html/script/config/config.php. Open that file in your favorite text editor and change the following details in that file.
$config["script_url"] = "https://my-demo-app";
/************************ database ************************/
//Set the host name to connect for database
$config["hostname"] =  "localhost";
//Set the database name
$config["database"] = "demo_app_db";
//Set the username for database access
$config["username"] = "demo_app";
//Set the pwd for the database user
$config["password"] = "demo_app";
//Set the database type to be used
$config["dbtype"] = "mysql"
As you can see, the details are self-explanatory. The $config["script_url"] is set to the URL which you use to access your site.
Once you’ve saved the database details, you’re ready to use the PDO CRUD tool. In our example, we’ll create two MySQL tables that hold employee and department data.
- employees: holds employee information
- department: holds department information
Open your database management tool and run the following commands to create tables as we’ve just discussed above. I use PhpMyAdmin to work with the MySQL database back-end.
Firstly, let’s create the department table.
CREATE TABLE `department` (
  `id` int(11) UNSIGNED NOT NULL AUTO_INCREMENT PRIMARY KEY,
  `department_name` varchar(255) NOT NULL DEFAULT ''
) ENGINE=MyISAM DEFAULT CHARSET=utf8;
Next, we’ll create the employee table.
CREATE TABLE `employee` (
  `id` int(12) UNSIGNED NOT NULL AUTO_INCREMENT PRIMARY KEY,
  `dept_id` int(11) UNSIGNED NOT NULL,
  `first_name` varchar(255) NOT NULL DEFAULT '',
  `last_name` varchar(255) NOT NULL DEFAULT '',
  `email` varchar(255) NOT NULL DEFAULT '',
  `phone` varchar(255) NOT NULL DEFAULT ''
) ENGINE=MyISAM DEFAULT CHARSET=utf8;
As you can see, we’ve used the dept_id column in the employee table, which holds the id of the corresponding department stored in the department table.
Once you’ve created the tables in your database, we’re ready to build a CRUD application interface using the PDO CRUD tool!
How to Set Up Basic CRUD
In this section, we’ll see how you can set up a basic CRUD interface using the PDO CRUD tool by writing just a few lines of code.
The Department Table
We’ll start with the department table.
Let’s create department.php with the following contents. If your document root is /web/demo-app/public_html/, create the department.php file at /web/demo-app/public_html/department.php. Recall that we’ve already copied the script directory to /web/demo-app/public_html/script.
<?php
require_once "script/pdocrud.php";

$pdocrud = new PDOCrud();
echo $pdocrud->dbTable("department")->render();
And now, if you point your browser to the department.php file, you should see something like this:

Phew! With just two lines of code, you have a ready-to-use CRUD UI which allows you to perform all the necessary create, read, update, and delete actions on your model. Not to mention that the default listing view itself contains a lot of features, including:
- search
- built-in pagination
- export records to CSV, PDF or Excel format
- bulk delete operation
- sorting by columns
Click on the Add button on the right-hand side, and it’ll open the form to add a department record.
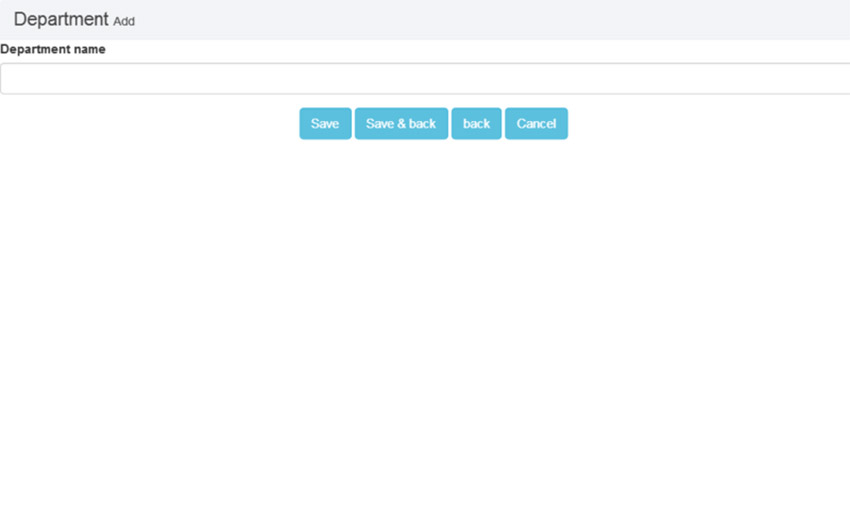
Let’s add a few records using the Add button and see how it looks.
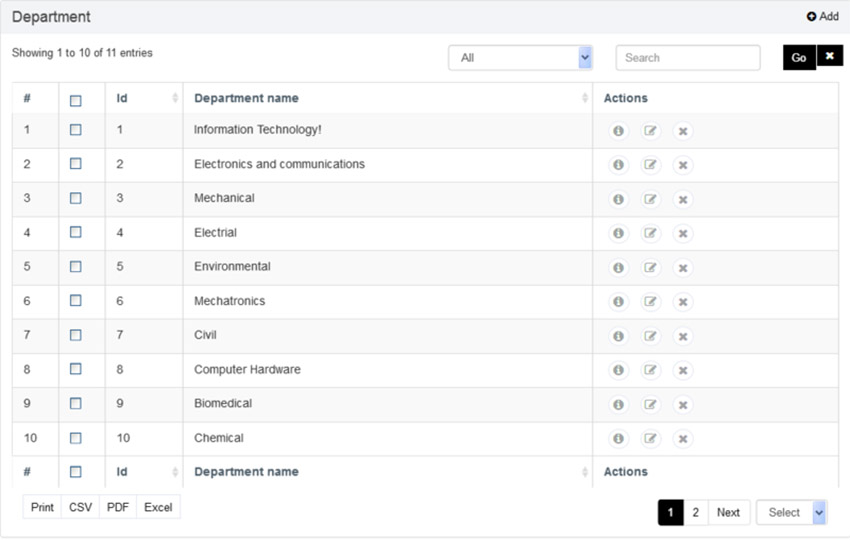
As you can see, this is a pretty light-weight and neat interface. With almost no effort, we’ve built a CRUD for the department model! Next, we’ll see how to do the same for the employee table.
The Employee Table
In this section, we’ll see how to build a CRUD for the employee table. Let’s create employee.php with the following contents.
<?php
require_once "script/pdocrud.php";

$pdocrud = new PDOCrud();
echo $pdocrud->dbTable("employee")->render();
It’s pretty much the same code as last time; we just need to change the name of the table. If you click on the Add button, it also brings you a nice form which allows you to add the employee record.
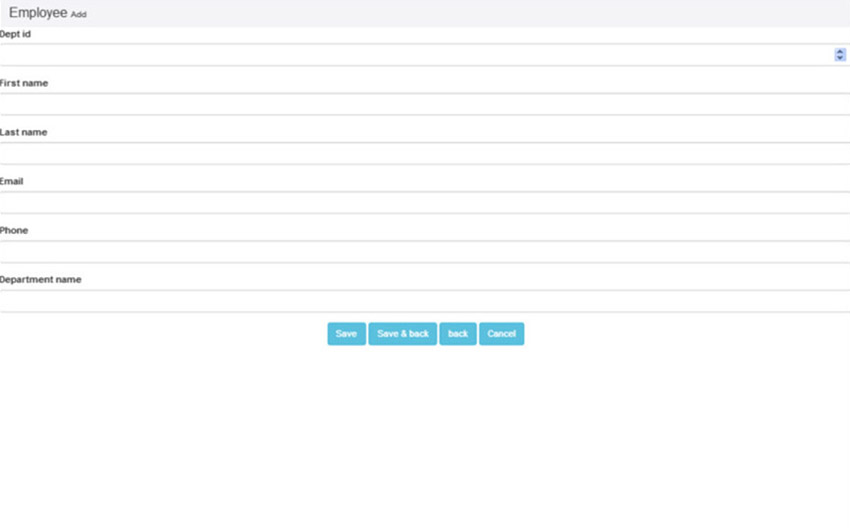
You might have spotted one problem: the Dept id field is a text field, but it would be better as a drop-down containing the name of the departments. Let’s see how to achieve this.
<?php
require_once "script/pdocrud.php";

$pdocrud = new PDOCrud();

// get departments
$data =  $pdocrud->getPDOModelObj()->select("department");
$options = array();
foreach($data as $record) {
    $options[$record['id']] = $record['department_name'];
}

// change the type of the dept_id field from textfield to select dropdown
$pdocrud->fieldTypes("dept_id", "select");
$pdocrud->fieldDataBinding("dept_id", $options, "", "","array");

echo $pdocrud->dbTable("employee")->render();
In this code, we’ve accessed the department table through PDO CRUD so that we can associate the department name with the department ids. Then, we’ve updated the binding options for the department id field so that it will render as a dropdown (select) list.
Now, click on the Add button to see how it looks! You should see the Dept Id field is now converted to a dropdown!
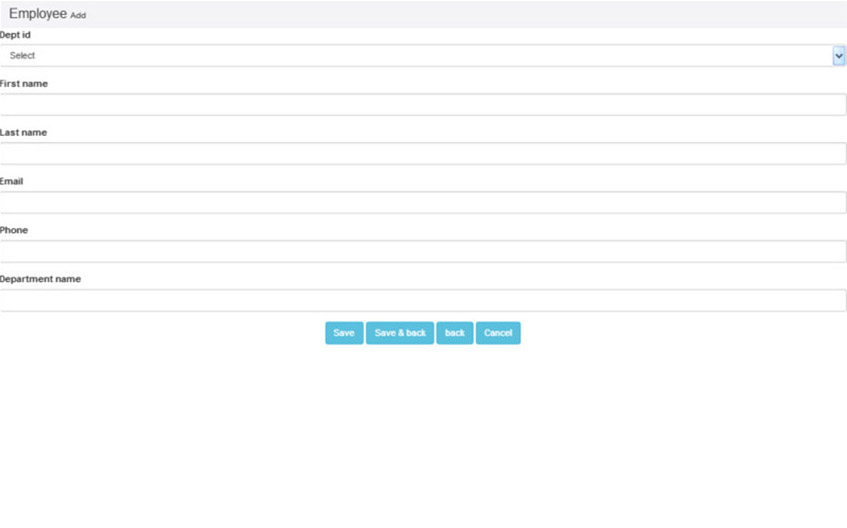
Let’s add a few employee records and see how the employee listing looks:
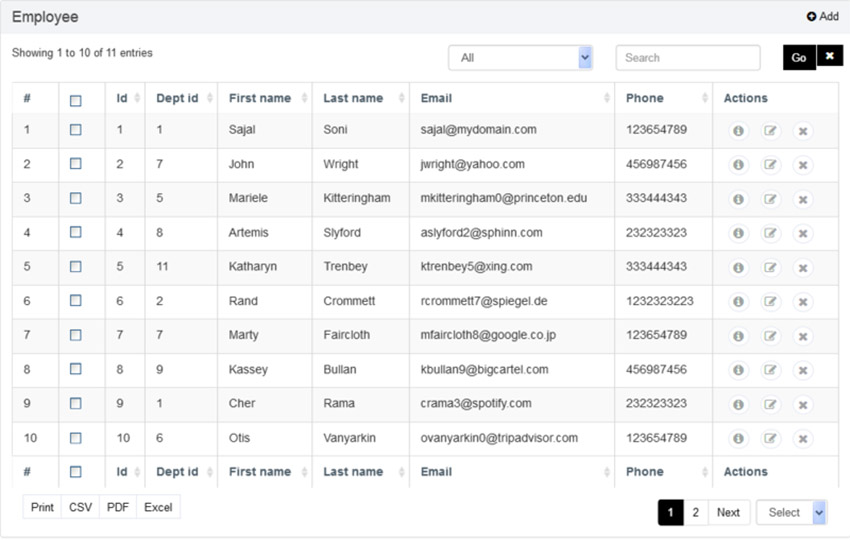
That looks nice! But we have another small issue here: you can see that the Dept id column shows the ID of the department, and it would be nice to display the actual department name instead. Let’s find out how to achieve this!
Let’s revise the code of employee.php with the following contents.
<?php
require_once "script/pdocrud.php";

$pdocrud = new PDOCrud();

// change the type of the dept_id field from textfield to select dropdown
$data =  $pdocrud->getPDOModelObj()->select("department");
$options = array();
foreach($data as $record) {
    $options[$record['id']] = $record['department_name'];
}
$pdocrud->fieldTypes("dept_id", "select");
$pdocrud->fieldDataBinding("dept_id", $options, "", "","array");

$pdocrud->crudTableCol(array("first_name","last_name", "department_name", "email","phone"));
$pdocrud->joinTable("department", "employee.dept_id = department.id", "INNER JOIN");
echo $pdocrud->dbTable("employee")->render();
Here, we’ve created a join between the employee and department tables with $pdocrud->joinTable, and then told PDO CRUD to render only the employee name, department name, and contact info with $pdocrud->crudTableCol.
And with that change, the employee listing should look like this:
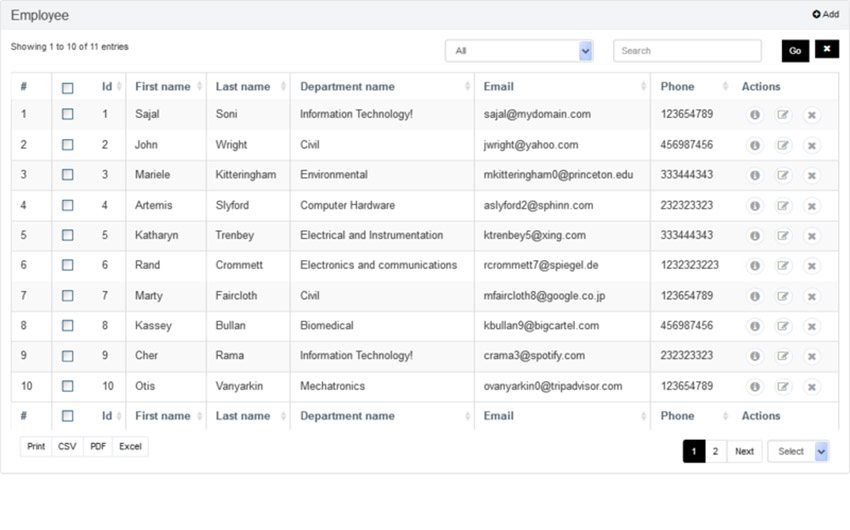
As you can see, the PDO CRUD script is pretty flexible and allows you every possible option to customize your UI.
So far, we’ve discussed how to set up a basic CRUD interface. We’ll see a few more options that you could use to enhance and customize your CRUD UI in the next section.
Customization Options
In this section, we’ll see a few customization options provided by the PDO CRUD tool. Of course, it’s not possible to go through all the options since the PDO CRUD tool provides much more than we could cover in a single article, but I’ll try to highlight a couple of important ones.
Inline Edit
Inline editing is one of the most important features, allowing you to edit a record quickly on the listing page itself. Let’s see how to enable it for the department listing page.
Let’s revise the department.php script as shown in the following snippet.
<?php
require_once "script/pdocrud.php";

$pdocrud = new PDOCrud();
$pdocrud->setSettings("inlineEditbtn", true);
echo $pdocrud->dbTable("department")->render();
As you can see, we’ve just enabled the inlineEditbtn setting, and the inline editing feature is there right away!
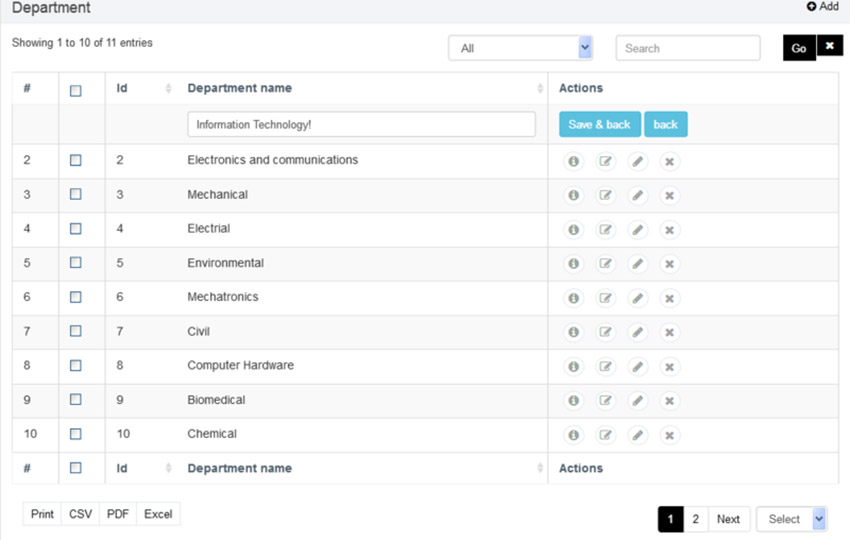
This is a really handy feature which allows you to edit records on the fly!
Filters
As you might have noticed, the department listing page already provides a free text search to filter records. However, you may want to add your own custom filters to improve the search feature. That’s what exactly the Filters option provides as it allows you to build custom filters!
We’ll use the employee.php for this feature as it’s the perfect demonstration use-case. On the employee listing page, we’re displaying the department name for each employee record, so let’s build a department filter which allows you to filter records by the department name.
Go ahead and revise your employee.php as shown in the following snippet.
<?php
require_once "script/pdocrud.php";

$pdocrud = new PDOCrud();

$data =  $pdocrud->getPDOModelObj()->select("department");
$options = array();
foreach($data as $record) {
    $options[$record['id']] = $record['department_name'];
}
$pdocrud->fieldTypes("dept_id", "select");//change state to select dropdown
$pdocrud->fieldDataBinding("dept_id", $options, "", "","array");//add data using array in select dropdown

$pdocrud->crudTableCol(array("first_name","last_name", "department_name", "email","phone"));
$pdocrud->joinTable("department", "employee.dept_id = department.id", "INNER JOIN");
$pdocrud->addFilter("department_filter", "Department", "dept_id", "dropdown");
$pdocrud->setFilterSource("department_filter", $options, "", "", "array");
echo $pdocrud->dbTable("employee")->render();
We’ve just added two lines, with calls to addFilter and setFilterSource, and with that, the employee list looks like the following:
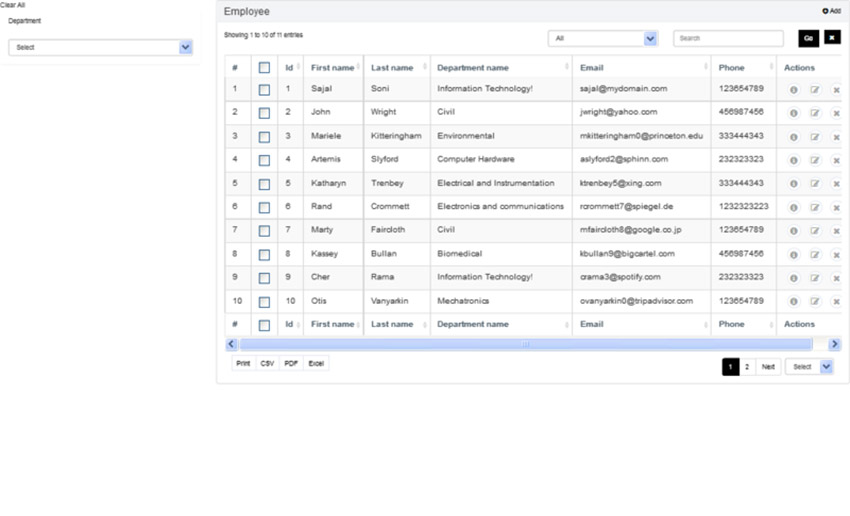
Isn’t that cool? With just two lines of code, you’ve added your custom filter!
Image Uploads
This is a must-have feature should you wish to set up file uploads in your forms. With just a single line of code, you can convert a regular field to a file-upload field, as shown in the following snippet.
I’ll assume that you have a profile_image field in your employee table, and that you’re ready to convert it to a file-upload field!
<?php
require_once "script/pdocrud.php";

$pdocrud = new PDOCrud();
$pdocrud->fieldTypes("profile_image", "image");
echo $pdocrud->dbTable("employee")->render();
That’s it! Users will now be able to upload an image to the profile_image field.
CAPTCHA
Nowadays, if you want to save your site from spamming, CAPTCHA verification is an essential feature. The PDO CRUD tool already provides a couple of options to choose from.
It provides two options: CAPTCHA and ReCAPTCHA. If you select the CAPTCHA option, it presents a mathematical puzzle for the user to solve. On the other hand, if you select the ReCAPTCHA option, it presents a famous I’m not a robot puzzle!
If you want to add a simple CAPTCHA puzzle, you need to add the following line before you render your CRUD.
$pdocrud->formAddCaptcha("captcha");
On the other hand, if you prefer ReCAPTCHA, you can achieve the same by using the following snippet.
$pdocrud->recaptcha("your-site-key","site-secret");
You just need to replace the your-site-key and site-secret arguments with valid credentials from Google.
So far, we’ve discussed options that enhance the functionality of your application. Next, we’ll see how you could alter the skin and thus the look and feel of your application.
Skins
If you don’t like the default skin, you have a couple of options to choose from. The PDO CRUD tool provides dark, fair, green and advanced skins as other options to choose from.
For example, the following listing is based on the green theme.
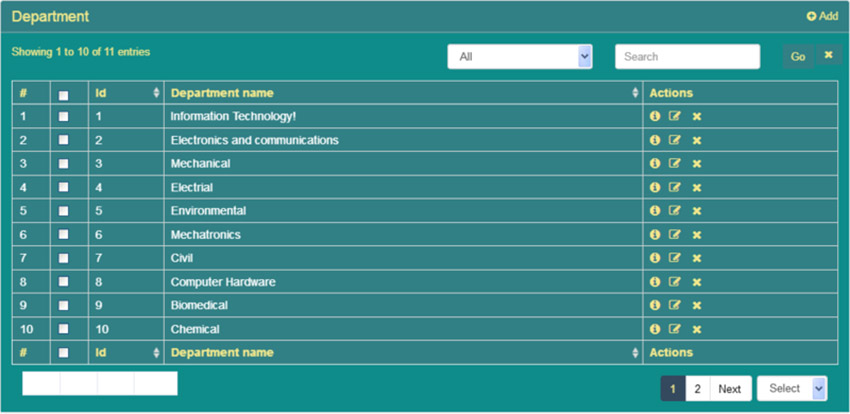
It looks nice, doesn’t it?
Pure Bootstrap
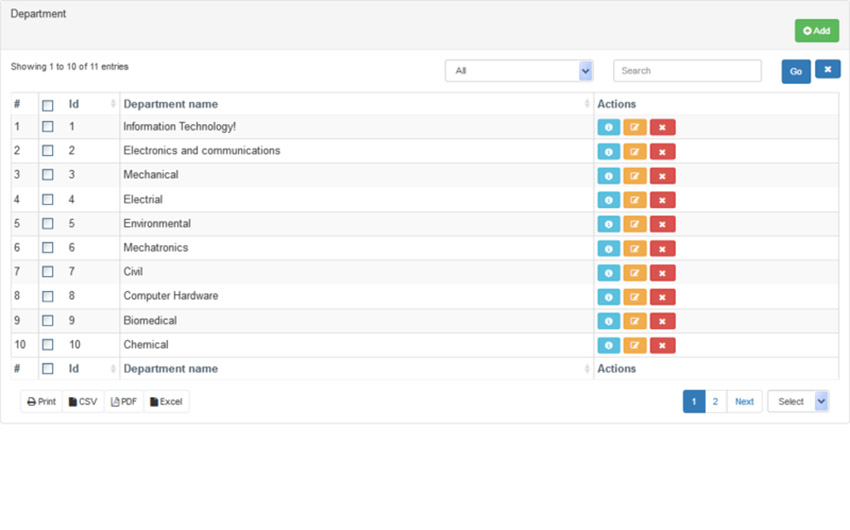
Although the default skin already supports responsive layouts, the PDO CRUD tool also supports Bootstrap library integration!
You need to use the following snippet should you wish to build your layout using the Bootstrap library.
<?php
require_once "script/pdocrud.php";

$pdocrud = new PDOCrud(false, "pure", "pure");
echo $pdocrud->dbTable("department")->render();
And here’s what it looks like:
5 Top Premade PHP CRUD Interfaces From CodeCanyon
CodeCanyon is home to dozens of well-reviewed, easy CRUD PHP interfaces. If you don’t want to browse through all of the PHP CRUD builders on the site, check out these five options:
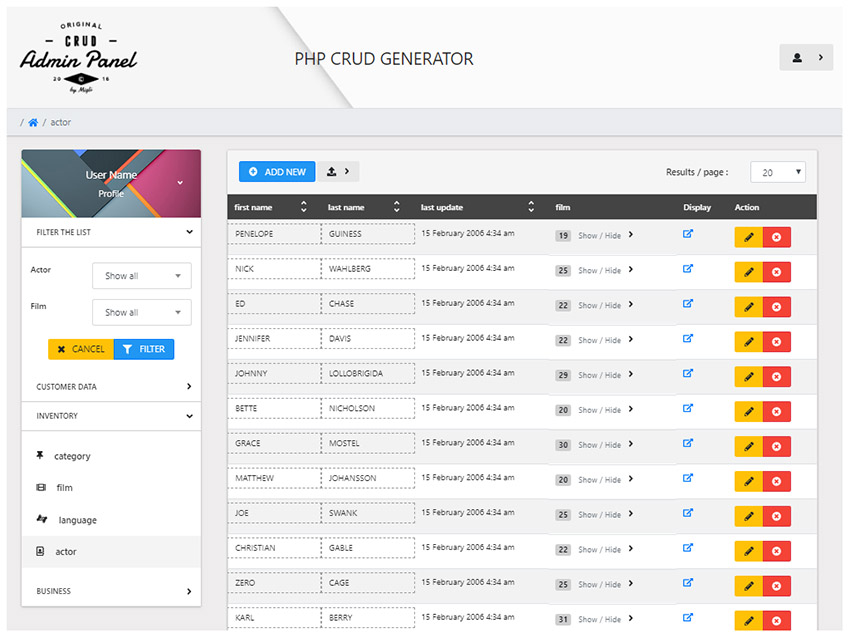
1. PHP CRUD Generator
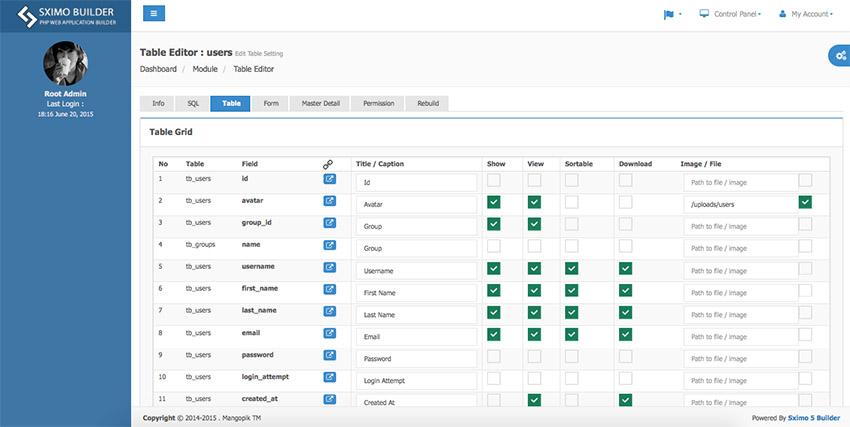
With more than 20 Bootstrap themes and great advanced features, this premade interface looks great and performs well. It does a great job of performing analysis on your data. PHP CRUD Generator also comes with tools that let you make your ideal Admin panel.
2. xCRUD—Data Management System (PHP CRUD)
xCRUD is a CRUD PHP builder that’s simple enough for most people to use while being powerful enough to be useful. You can work with multiple tables at the same time and access your data quickly with this data management system. A simple plugin also offers you WordPress integration. With a more than 4.5 star rating, xCRUD is one of the best PHP CRUD builders available.
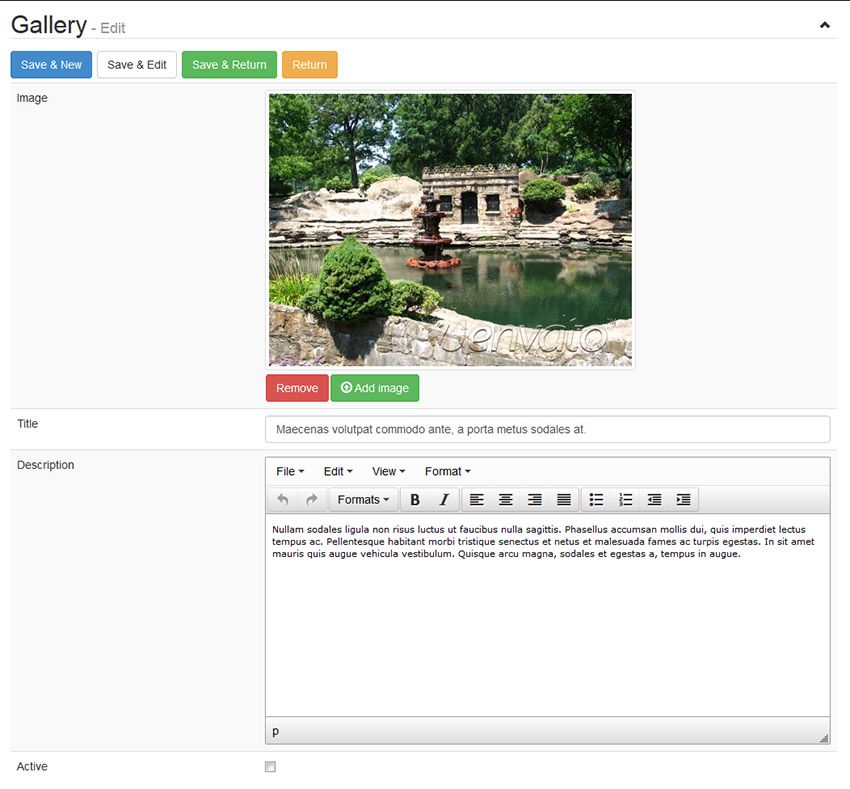
3. Laravel Multi-Purpose Application
Do you need an HTML5 CRUD application with all the bells and whistles? Then Laravel is a good choice for you. This easy PHP CRUD application is filled with features like:
- front-end and back-end template
- email blasts to users and groups
- forgot password feature
- blocked and allowed IP addresses
4. Admin Lite—PHP Admin Panel and User Management
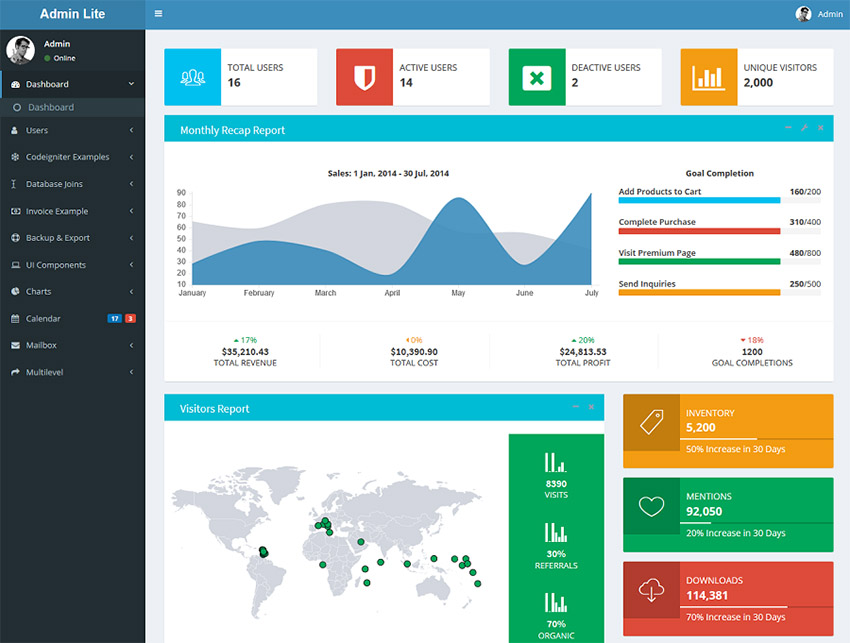
If your next project is being made with CodeIgniter, you’ll want Admin Lite. This HTML5 CRUD application helps you stay on top of your web development with ready to use modules. Admin Lite comes with an admin and user dashboard and supports multiple languages. You can convert your existing panel to this one so you can pick up where you left off.
5. Cicool—Page, Form, REST API and CRUD Generator
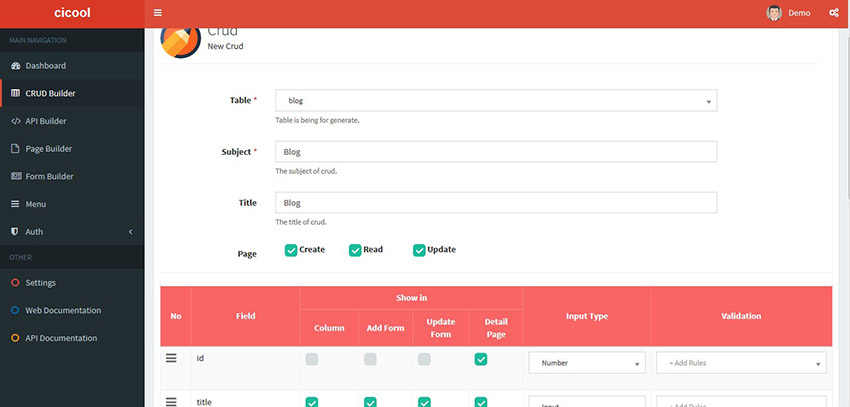
We round out this list with Cicool. It’s an easy CRUD PHP generator with a lot of features. This WordPress CRUD PHP builder can also be used to make pages, forms, and REST APIs. Using Cicool lets you use ready components and inputs to create what you need. Thanks to its constant updates, you’ll know Cicool stays supported.
Learn More About The World of Code With Envato Tuts+
There’s no doubt coding is a deep topic. There’s a lot to learn, and it’s easy to get lost. If you want to pick up very useful coding skills with some guidance, check out Envato Tuts+. Our code tutorials, guides, and courses offer you the instruction you need while learning. You can check out some of them below:
-
FREEPHPPHP Fundamentals
 PHPPHP Integers, Floats, and Number Strings
 PHPHow to Upload a File in PHP (With an Example)
 WordPressHow to Use Browser Caching in WordPress
And make sure you head to our YouTube channel! It’s filled with video tutorials and courses that are taught by our expert instructors.
Conclusion
Today, we reviewed the PDO CRUD advanced database form builder and data management tool available at CodeCanyon. This is a CRUD application interface builder tool at its core. It provides a variety of customization options that cover almost everything a CRUD system requires.
As I said earlier, it’s really difficult to cover everything the PDO CRUD tool provides in a single article, but hopefully the official documentation should give you some insight into its comprehensive features.
I hope you’re convinced that the PDO CRUD tool is powerful enough to fulfill your requirements and allows you to get rid of the repetitive work you have to do every time you want to set up a CRUD in your application. Although it’s a commercial plugin, I believe it’s reasonably priced considering the plethora of features it provides.
If you have any suggestions or comments, feel free to use the feed below and I’ll be happy to engage in a conversation!


