 Friends, Windows enthusiasts, and people generally just stuck with Windows… rejoice! Rejoice, for some real competition to Adobe has finally hit our platform. Affinity Photo is here in Beta form, and it is looking mighty fine. I’ve had a chance to play around with it, and I have to say that I am duly impressed.
Well, it is a beta, so expect some bugs. But hey, if you want to give it a try without dropping fifty bucks, now is the time.
Now, if you’ve only given the marketing materials a cursory glance (that was my mistake) you might think of this as a cheaper alternative to Lightroom. You wouldn’t be entirely wrong, but… okay yeah, still pretty wrong. Affinity Photo is not a photo management/batch editing solution. It has a RAW editing environment, yes, but that’s about it.
Affinity Photo is much, much closer to Photoshop than I previously imagined, with extensive capabilities for editing and enhancing photos, compositing photos, digital painting, and so much more. As we web designers tend to make heavy use of photos and other graphics of this kind, this is good news.
Now, because it’s such a multifaceted piece of software, the true genius of the way Affinity apps’ Personas feature comes into play. While working with Affinity designer, I always thought it was kinda cool, but editing photos comes with way more complexity. Splitting that complexity up into manageable chunks makes the Affinity Photo interface way easier to work with.
But hey, see it for yourself:
The Photo persona

Look at my cat. My cat is amazing.
This is where you’ll find all of the most familiar photo editing tools, like selection tools, painting tools, and so on. It’s also where you can add vector objects, text layers, and basically do most of your compositing work. On those rare occasions when you need a full photo-editing suite, Affinity photo can do it.
Here’s a video, courtesy of Gelner Photography, showing off what kinds of stuff you can do:
The Develop persona

This is your Lightroom section. When you first import a RAW file, you’ll be taken here first, to make any and all initial adjustments. It comes with every feature you might expect from a RAW editing software solution, except for image library management.
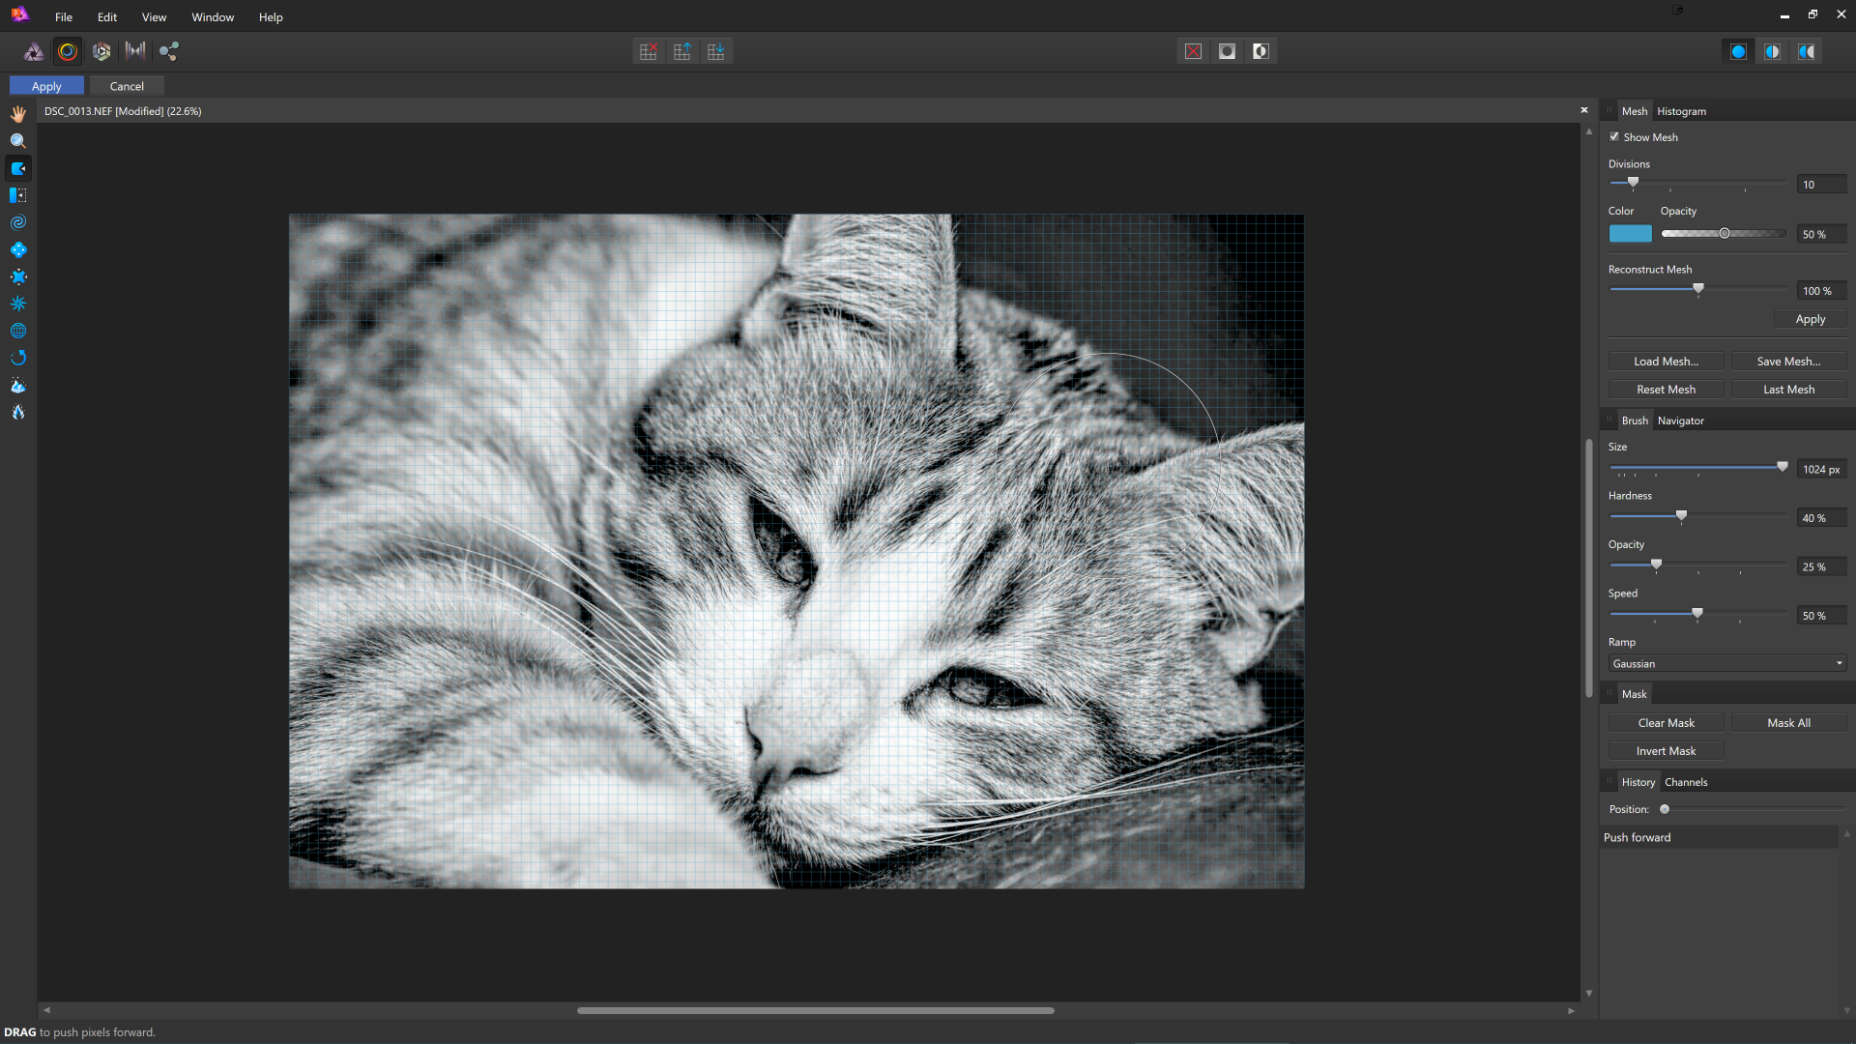
The Liquify persona

This is the part of the app I’d use if I wanted to make myself look like Eva Longoria. Or make my cat look like Eva… you get the point. Where other apps handle this sort of functionality with a plugin, or maybe one or two integrated tools, Affinity Photo has dedicated a whole Persona to just this sort of thing.
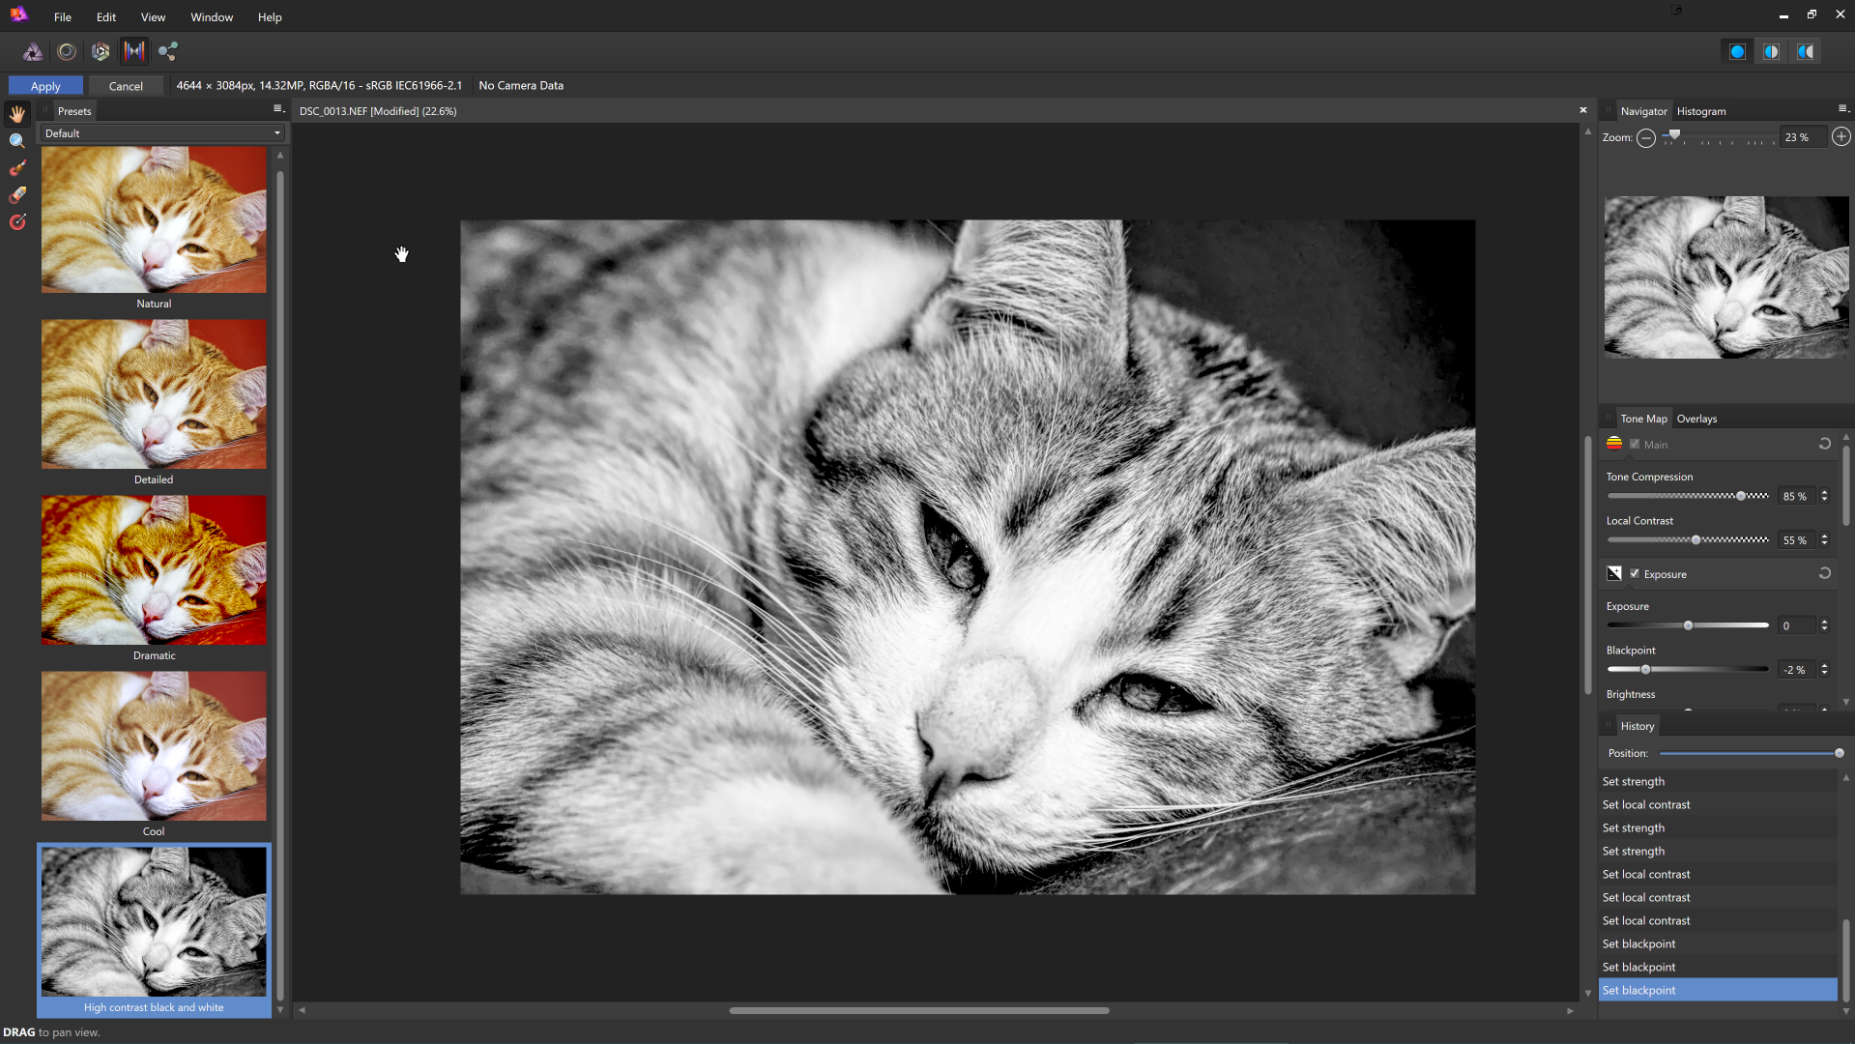
The Tone Mapping persona
You can run tone mapping on a single photo (RAW files tend to work better), or as the last step of putting together a composite HDR image (Affinity Photo does have an HDR merging funtcion). Either way, the tone mapping options are supremely customizable, and there are plenty of options to choose from.
This is obviously not a complete list of features, as there are too many to properly list. We have adjustment layers, whatever the non-trademarked version of Smart Objects is called, the usual filters and layer styles, and so many more.
In conclusion
I’m quite excited about the possibilities inherent in having a low-cost professional photo editing app available on both major creative platforms. I mean, as an open source fan, I still love the GIMP, but I feel that Affinity Photo is, like its sister app, in a much better position to offer real competition in terms of functionality, marketing, and enterprise-level support.
Performance is going to be an issue for a little while, but again, this is just a beta. The Affinity Designer beta (which is now on Release Candidate 9) has improved exponentially over time, and I expect the same to happen here. This is definitely a project to keep your eye on.
When paired with Affinity Designer, I could easily see this app powering a design studio.
| LAST DAY: 50 Premium T-Shirt Designs with Extended License – only $27! |
|
p img {display:inline-block; margin-right:10px;}
.alignleft {float:left;}
p.showcase {clear:both;}
body#browserfriendly p, body#podcast p, div#emailbody p{margin:0;}
