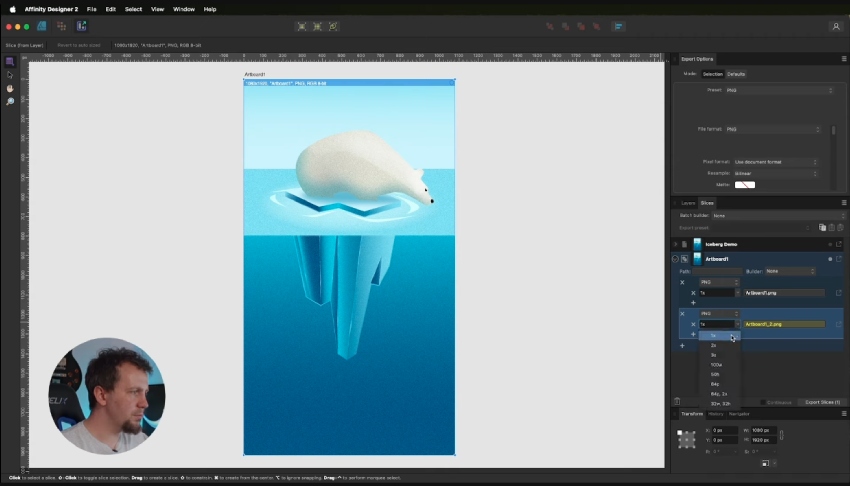
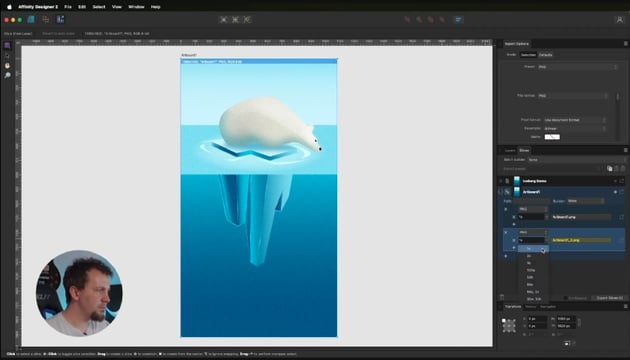
Affinity Designer is a powerful tool for creating stunning visuals, but getting your artwork ready for different platforms can be daunting. That’s where the Export Persona comes in. This feature simplifies the process of exporting your designs, ensuring optimal quality and efficiency.
Whether you’re preparing your design for print, web, or mobile devices, the Export Persona provides a smooth approach to handling different file formats and export settings.
Previously, we learned how to scale down shapes. In this tutorial, we’ll explore the Export Persona’s capabilities together. But if you prefer visual learning, go to the Tuts+ YouTube channel for our complete Affinity Designer 2 course, or visit the Affinity Designer for Beginners course page for more video tutorials.
Watch the lesson: How to use the Export Persona in Affinity Designer

What is the Export Persona in Affinity Designer?
The Export Persona is Affinity Designer‘s dedicated workspace for preparing your artwork for various outputs. This powerful tool allows you to effortlessly create and manage export slices, which are specific areas of the design you want to export.
By using the Export Persona, you can efficiently prepare multiple slices in different file formats and sizes simultaneously. This ensures optimal image quality and saves you valuable time when sharing your Affinity Designer graphics for different media and devices.


Use the Artboard tool to create separate artboards for different design elements and export them individually.
Steps to use the Export Persona
These are the steps to follow to use the Export Persona:
- Switch to the Export Persona: Click on the Export icon in the workspace switcher at the top of your Affinity Designer window.
- Create slices: Use the Slice Tool to define the areas of your artwork you want to export. You can create rectangular, elliptical, or polygonal slices.
- Adjust the properties: Select a slice to modify its settings, including name, export format, size, resolution, and more.
- Define the export presets: Create multiple export presets for different output requirements (e.g. web, print, mobile).
- Export: Once you’ve defined your slices and export settings, click the Export Slices button to generate the desired output files.
Take advantage of the Continuous Export feature to automatically update exported files when changes are made to the original design.
With these steps, you’ll efficiently prepare your work for any platform, ensuring optimal quality and a seamless workflow.
More Affinity Designer tutorials
Continue learning about Affinity Designer 2 on Envato Tuts+, the Envato Elements blog, and these amazing Affinity Designer tutorials:
