There are a lot of reasons to enjoy following open-source software, one of which is the ability to learn from the code that others have built.
Other examples include:
- following along with bug tickets
- seeing new features merged into the code base
- learning how to achieve something programmatically
- viewing the deprecation of an old feature
- gaining access to anticipated (or perhaps surprisingly) new features
- and much more
Even though there is a lot of open-source software, it can be difficult to know how to follow along with development at this pace when you aren’t familiar with the tools.
If you’re an experienced developer who knows how to work with bug trackers, version control, and so on, then you’re not the target audience for this tutorial. However, if you’re someone who is a fan of WordPress and wants to learn how to follow along with the development of the project, then continue reading.
In this article, we’re going to take a look at the definition of nightly builds, how we can prepare our system for grabbing the latest version of the WordPress source code each day, and how we can use it on our own system.
What Are Nightly Builds?
Before we jump into how to grab the latest version of the source code each day, it’s important to understand the definition of “nightly builds”.
The phrase is not something that’s exclusive to WordPress. In fact, a lot of software, both open and closed-source, includes nightly builds. Whether or not we, as the public, have access to them is another matter.
Even Wikipedia defines this in about the simplest of terms:
An event which occurs once every night.
Then again, the phrase itself doesn’t exactly sound like technological jargon, does it? No matter.

Since we’re talking about WordPress and since WordPress is open source, we’ll be looking at it from that perspective. According to the Nightly Builds page for the WordPress project:
You can track changes on the web or through our SVN mailing list but many people choose to run the nightly builds to help us identify bugs. If you would like to be part of this process, please join the WP Testers mailing list and download the latest nightly build.
If you’re interested in participating in more than just grabbing the source code and following the steps mentioned above, then please visit the link above. For the remainder of this article, we’re going to look at what’s needed in order to grab the nightly version of the source code.
Version Control With Subversion
There are a number of different version control or source code control services and applications that are available. The WordPress project uses a self-hosted version of Subversion to handle the version control for the project.
If you’re not familiar with Subversion, then you can learn more about it on the software’s homepage. However, Subversion has been around for quite some time and is widely used in a number of different companies and projects.
Subversion is an open source version control system. Founded in 2000 by CollabNet, Inc., the Subversion project and software have seen incredible success over the past decade. Subversion has enjoyed and continues to enjoy widespread adoption in both the open source arena and the corporate world.
This tutorial is not going to provide an in-depth guide for how to use Subversion and all that you can do with it, but it is going to provide you with everything you need to know in order to install it on your machine and to grab the latest version of the WordPress source code.
1. Install Subversion
Subversion can be used in one of two ways:
- as a command-line tool
- with a graphical user interface
A Subversion User Interface
Because Subversion is so widely used, there are a number of different clients from which you can choose, regardless of the project of the operating system in which you’re involved.
For example:
Of course, these are just a handful of the options that you have. Regardless of the operating system that you use, the one thing we all have in common is that Subversion is available as a command-line tool, so that’s what we’re going to be using in this tutorial.
The Command-Line Tool
Installing Subversion via the command line depends on the operating system that you’re using. If you’re using Linux, you’ll need one type of installer. If you’re using Windows or Mac OS X, then you’ll need one for each of those systems.
Once installed, though, the commands that we issue in the Terminal throughout the rest of this tutorial will be the same.
First, navigate to the Subversion Binary Packages page and find the version that corresponds to your operating system.
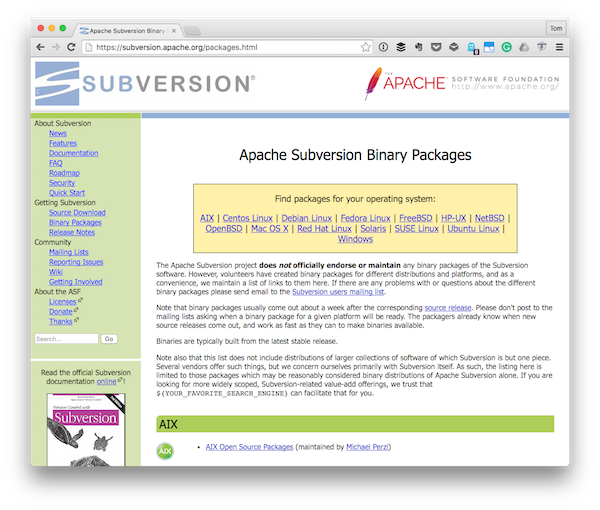
Secondly, download the installer, walk through the steps that are provided, and then return to this tutorial.
Finally, we need to make sure that Subversion was installed correctly. To do this, open your Terminal (or Command Prompt, if you’re using Windows) and enter the following command:
$ svn --version
And you should see something like this printed out in the console:
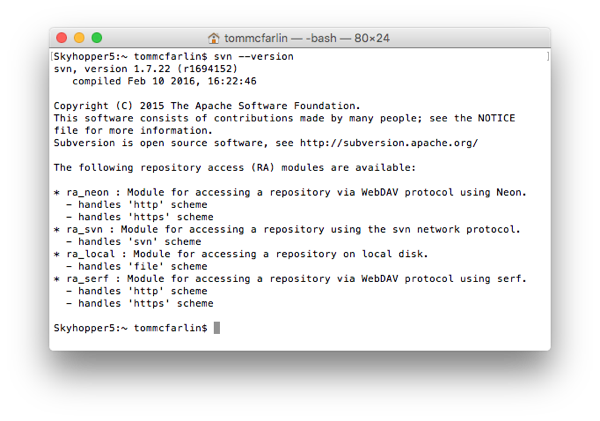
This will contain a line of information that includes the version of the Subversion client. For example:
svn, version 1.7.22 (r1694152)
   compiled Feb 10 2016, 16:22:46
But the actual output that you see may be slightly different. The bottom line is that if you’re able to execute the svn command, then you should be able to follow along with the rest of the steps in the tutorial.
2. Prepare a Local Directory
Before we grab the latest copy of WordPress, we need to make sure we have a directory set up in which we will be downloading the latest source code.
For me, I’ll be placing them in /Users/tommcfarlin/Downloads since I’m using OS X. Therefore, all of my commands will be relative to that directory. And yours will be relative to whatever directory you choose for yourself.
So in my Downloads directory I’m going to create a directory called wp which will house the source code we check out from the official repository. In your terminal, enter the command responsible for making a new directory.
For me, that would be:
$ mkdir wp
And now I have an empty directory into which I can pull the WordPress source code via Subversion.
3. Check Out the Latest Code
The act of pulling the latest version of source code from a Subversion repository is called a “check out”. So to check out the latest version of WordPress, we’ll need to issue a Subversion command in the command line.
This will require several things:
- A Subversion command for checking out the source code (which is easy enough being
co). - The URL of the repository from which we’ll be pulling the source code (which is https://core.svn.wordpress.org/trunk/).
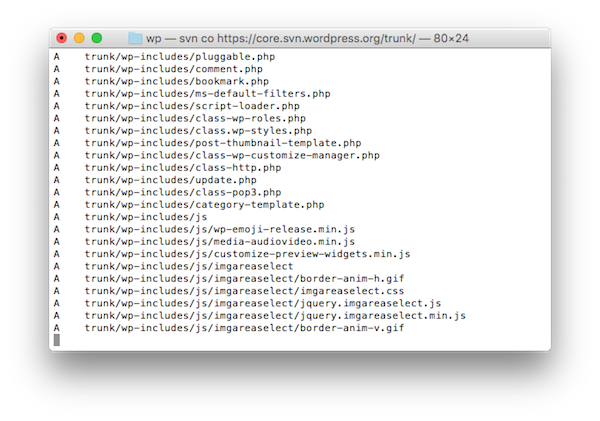
Using this information, first change directories in the wp directory you just created and then issue the Subversion checkout command with the provided URL. The full set of commands will look something like this:
$ cd wp
$ svn co https://core.svn.wordpress.org/trunk/
Once done, the Terminal should begin to print information out as it’s pulling down the latest version of the source code.
One very important thing to note is that this is ideally meant for experimentation. Don’t attempt to push any code into the repository (you need to submit patches in a formal way, which is beyond the scope of this tutorial as it stands).
Think of this as simply a way to grab the source code for “read-only”.
4. Run Through the Install
At this point, you should see that you have a trunk directory in the wp directory you created earlier in this step. The trunk is a Subversion naming convention out of which the main line of development on a project is done.
Technically, directories can be named anything you would like; however, the general conventions used when working with Subversion repositories are:
If you navigate into the trunk directory using the command line or even your operating system’s user interface, you will see the familiar directory structure of the WordPress application.
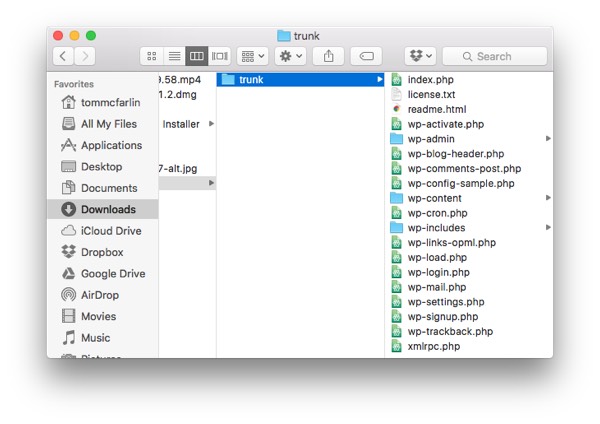
This means that you can actually set up a working version of WordPress as you would if you had downloaded it from the project’s homepage.
In a previous post, I provided a detailed walkthrough of what’s needed to install the WordPress application. If you’re completely new to WordPress, then please review that tutorial as it will provide you with all of the information that you need to know to get WordPress up and running.
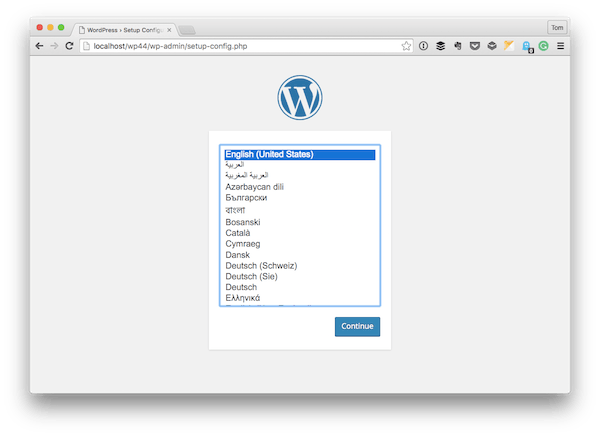
If you’ve already read it or are familiar with how to set up a local copy of WordPress, then go ahead and:
- set up a host name for the directory using your web server
- navigate to the URL in a web browser
- begin the installation
Once done, you’ll be running a bleeding-edge copy of WordPress including all of the features that are in development. If you’ve never done this before, it’s really neat to see what’s coming downstream in the next version.
You Can Update Code From the Repository
As you continue to work with the source code or you want to make sure that you’re working with the most recent version of the source code, you’re going to want to update it.
Since we’re using version control, it’s easy to use Subversion to update the copy of the code that resides on our machine. Whenever you’re ready to update (which could be each hour or could be each night), you simply issue the following command from within the trunk directory:
$ svn update
And that single command will pull down any code that was merged since the last time you checked out the most recent version of the source code. Note that when you do this, you run the risk of breaking something in your installation, but that’s the nature of running bleeding-edge nightly builds.
A Note on Nightly Builds
Though one of the main purposes of this tutorial was to walk you through getting Subversion installed on your machine and using it to check out the WordPress source code, you can also grab the latest build of WordPress anytime by using this URL.
No, this was never meant to be “the long way” to obtain the source code. Instead, it’s to get you working more as a developer through the use of tools and processes that are used daily when working with WordPress.
Conclusion
Regardless of whether you want to look at all of the new things that are pushed into WordPress core each day or are looking to eventually contribute a patch to the application, having access to the nightly version of the code is a lot of fun.
If nothing else, having access to an open-source project such as WordPress, where hundreds of people are actively working on it, can teach you a lot about handling bug reports, tickets, patches, features, merges, and so on.
I do not recommend running this code outside of anything but a local development environment. That said, if you’re a developer and you’re interested in testing code that’s on the bleeding edge, nightly builds allow you to do exactly that.
For those who are interested in continuing to learn more about WordPress, we have several courses specifically on this topic. On top of that, we also have plenty of plugins in the marketplace that are available for you to download, to study, and to use in your daily work.
If you’re interested in learning more about WordPress from a development perspective, note that I exclusively work with WordPress and often write about it. You can catch all of my courses and tutorials on my profile page, and you can follow me on my blog and/or Twitter at @tommcfarlin where I talk about software development in the context of WordPress.
Don’t hesitate to leave any questions or comments in the feed below, and I’ll aim to respond to each of them.