We’ll start off simple by discussing variables, data types, and loops. Then, we’ll move on to more complicated concepts like functions, selectors, and events. You’ll even get a chance to apply the skills you’ve learned by putting together some examples – perfect for any web designer!
What You’ll Learn
- What JavaScript is and how it works
- Variables and data types
- Arrays and objects
- Functions and selectors
- How to put it all together
You’ll need some assets to follow along with the course properly. You can get them prepped and ready by clicking the button below.
Introduction
Welcome to the course! Here, you’ll learn all about JavaScript from a web designer’s perspective. Lessons start out with the basics like variables, data types, and loops then delve into more complex subjects like functions, selectors, and events. The course wraps up with 5 common coding patterns that use JavaScript.
1. Working with JavaScript
JavaScript is a powerful, versatile programming language that can be used to create interactive websites and web applications. You’ll find it being used in browsers and also on servers (using Node.js). It’s one of the three core technologies used to create content for the web alongside HTML and CSS.
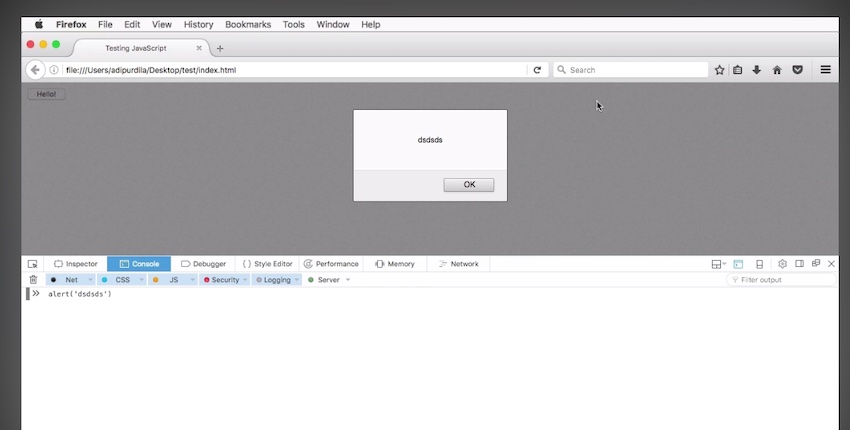
JavaScript is great for adding a bit of interactivity to your websites or web applications. You can run JavaScript code in the following three ways:
- In the browser console
- By writing it in-line in an HTML document
- By using a dedicated JS file


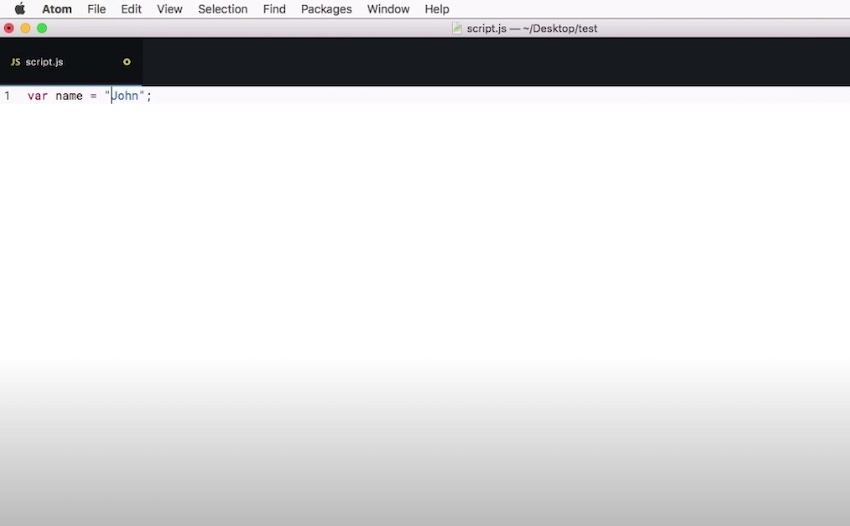
2. Variables
This next lesson deals with all things variables. Variables are a core concept in JavaScript. They enable developers to store information and data in a specific format. Variables can contain numbers, strings of characters, booleans (true or false) and even objects.
If you’ve ever used a CSS preprocessor like LESS or Sass then you know about the concept of variables – it works in the same way with JavaScript. Variables make it easier for developers to store and manipulate data on the client-side quickly and efficiently.
3. Data Types
There are seven data types available to you in JavaScript: five primary and two composite. Primary data types are:
- String
- Number
- Boolean
- Null
- Undefined
The typeof operator identifies the type of a variable.
The composite data types include:
And that’s what we’ll be covering next.
4. Arrays
The first composite data type we’ll discuss is the array. Arrays are an ordered list of values that can be stored and manipulated. Arrays can contain any type of value – numbers, strings, booleans and even other arrays. Arrays are used to store multiple pieces of data which can then be accessed and worked with easily. They are often used in loops and other functions to store the results of computations and operations.
5. Objects
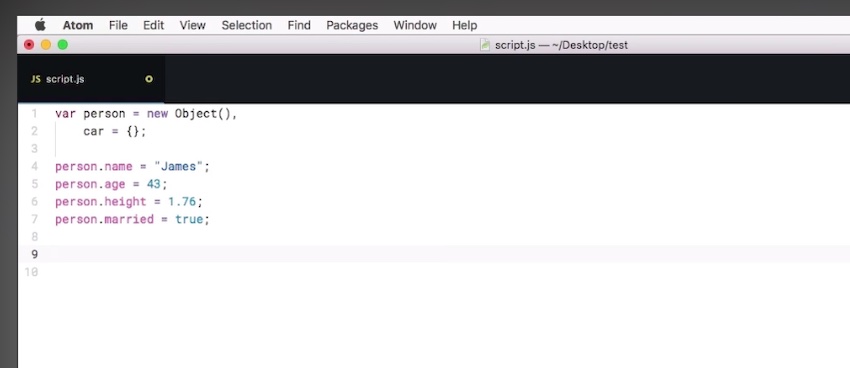
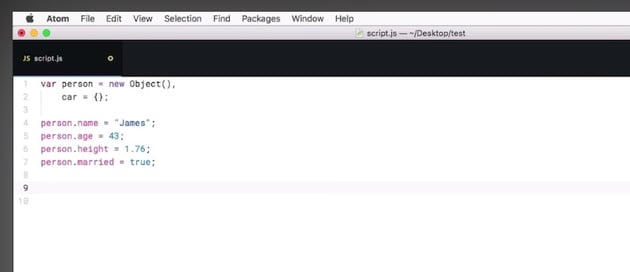
To understand objects, you need to understand properties. A property is a associate between a name and a value. For instance color = red.
Objects in JavaScript are collections of properties. Objects offer a more powerful way to manipulate data than arrays as they can store more complex information in a hierarchical format. They can also be used to create custom objects that have their own unique properties and methods. In the example below, we’ve created an object person and established several associated properties, including, age, height, and married (marital status):

6. Operators
operators are special symbols used to perform operations on data. They usually take two or more values as input and produce a result as output. Commonly used operators include:
- Assignment operators: like
= - Comparison operators: like
>,<, and== - Logical operators:
&&,||
7. If Else Statements
The If Else Statement is a decision-making statement used in JavaScript that allows you to check the value of an expression and execute a block of code if the expression is true.
can be used to create powerful and custom logic by combining multiple conditions using the logical operators such as &&, ||, ! etc. It also allows for nested statements where one or more set of conditions can be checked within another statement. This allows for greater control over how and when code should be executed.
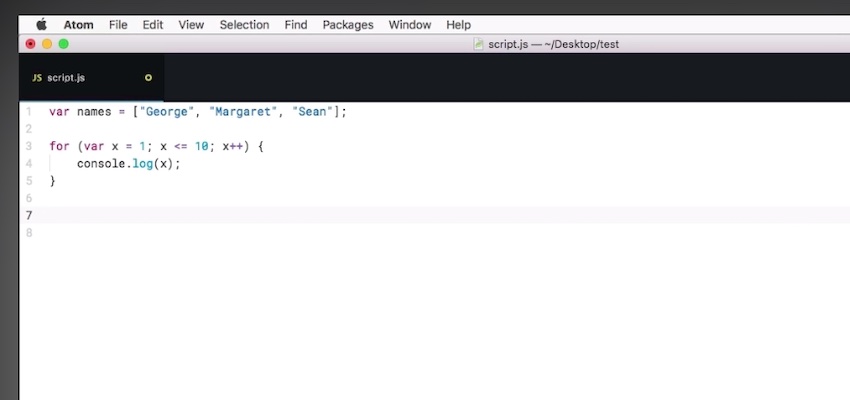
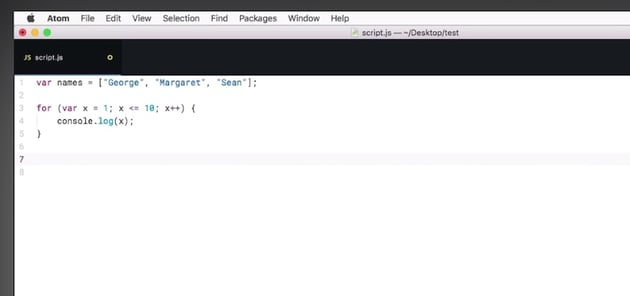
8. Loops
A Loop is a piece of code that’s executed repeatedly either a set number of times or if a certain condition is met. Loops can be used There are 3 main types of Loops in JavaScript. They include:

9. Functions
You can think of functions in JavaScript as their own sort of subprogram. They are reusable pieces of code that accept parameters, perform operations on them and return a result. They allow for code to be organized in a modular way by breaking down operations into smaller components which can then be reused throughout the program. Functions are declared using the function keyword followed by the function name, an optional set of parameters, and the code body wrapped in curly brackets.
Functions can also directly return a value or have an implicit return statement which will return undefined if no value is specified.
10. Selectors
Selectors in JavaScript are used to target and access elements from the Document Object Model (DOM). They can be used to get a reference to an element or multiple elements, create a new element and add it to the DOM, remove elements from the DOM or make changes to them.
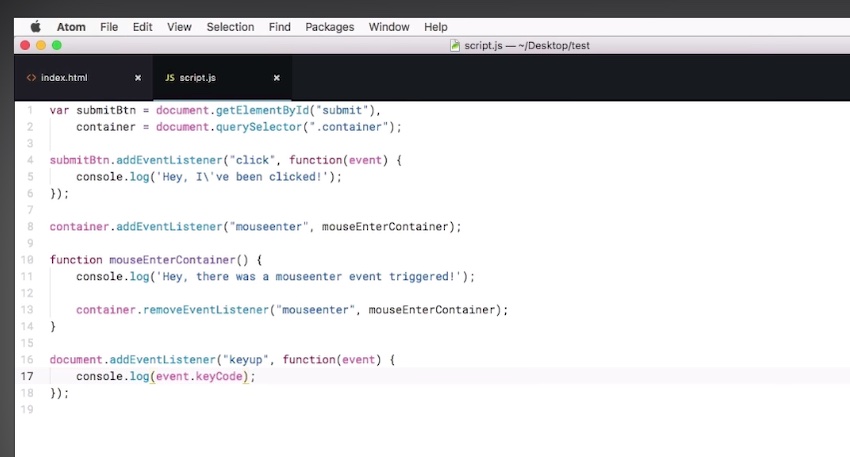
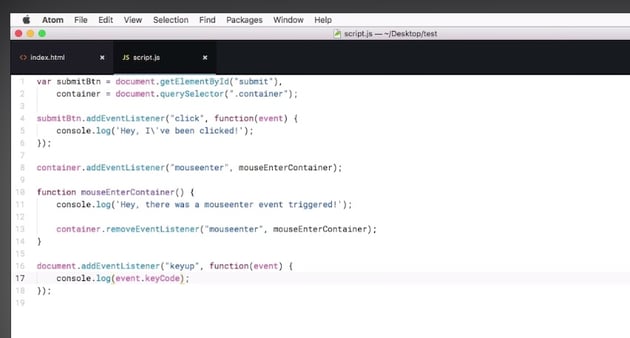
11. Events
The term “JavaScript events” is perhaps a bit improper because the events are actually happening on the HTML side. All you can do in JS is listen to these events and react accordingly. An event can be something triggered by the browser or by the user.
The next lessons put all you’ve learned so far to work with some practical examples.
12. Back to Top Button
Watch video lesson [1:06:15] ↗
This is the first of five demos in this course. The Back to Top button is a popular thing to include on a website as it helps to improve the user experience for site visitors. To create this button, you need to use the ID attached to the header of your website. Use this to tell the script the button’s destination. The button itself is placed in the footer.
Then in the style.css file, you can make adjustments to how the Back to Top button appears and how it functions, including its positioning on the page, color, size, and so forth.
13. Textbox Auto Completion
Watch video lesson [1:17:11] ↗
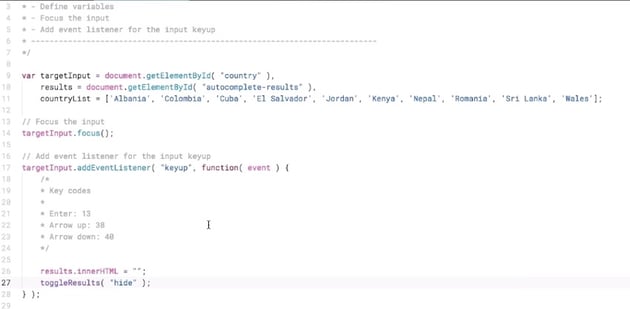
In this demo lesson, you’ll create a textbox that supports auto completion. This can help out the user experience considerably when it comes to filling in forms.
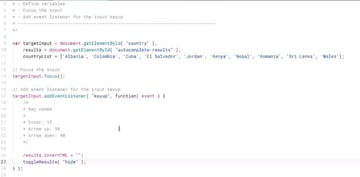
To do this, you’ll need to add a few variables to your script file, including targetInput results for countries, then you can add targetInput.addEventListener set to keyup which makes it so whenever someone begins to type in the form field, the script will start comparing that input with the country list we’ve already established.

14. Simple Content Slider
Watch video lesson [1:41:42] ↗
In the third demo, you’ll get to create a content slider that contains images, text, HTML, and anything else you’d prefer. In the example, the slider contains quotes:
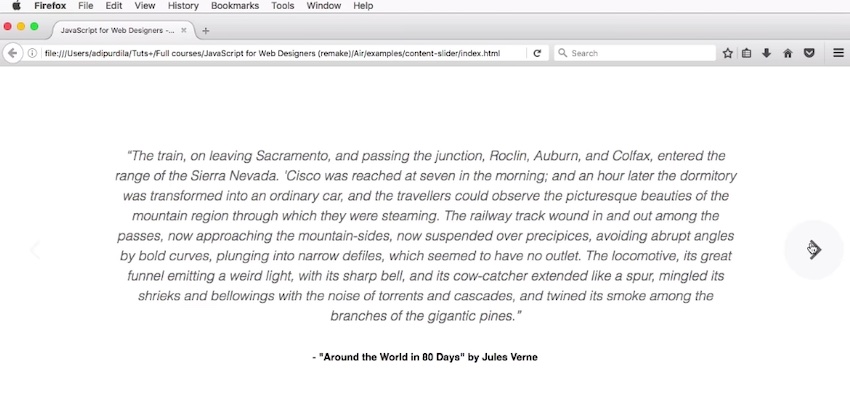
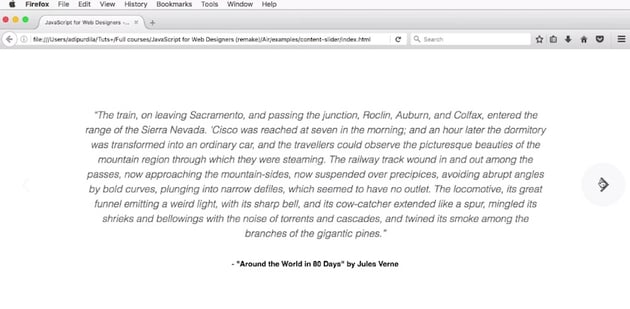
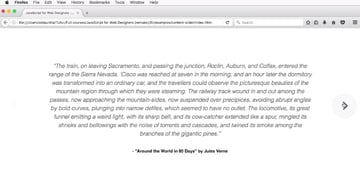
In the script file, you’ll set where the cursor is placed, whether or not the forward and back buttons are active, the slide width and height, and the number of slides included.
15. Image Lightbox
Watch video lesson [1:39:50] ↗
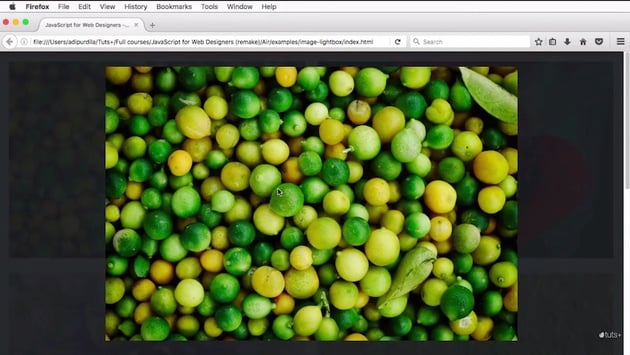
In the fourth demo, you learn how to create an image lightbox. A lightbox is usually an overlay that shows a much bigger version of a thumbnail and it can have many applications. In this example, you’re creating an image gallery and setting the lightbox to appear when an image is clicked. This makes an overlay of a larger version of that image appear. When you click anywhere off of that image, the lightbox closes.

16. Tab Control
Watch video lesson [1:44:02] ↗
In the last demo of this course, you learn all about how to create a simple tab control that allows visitors to click between tabs to toggle different content.
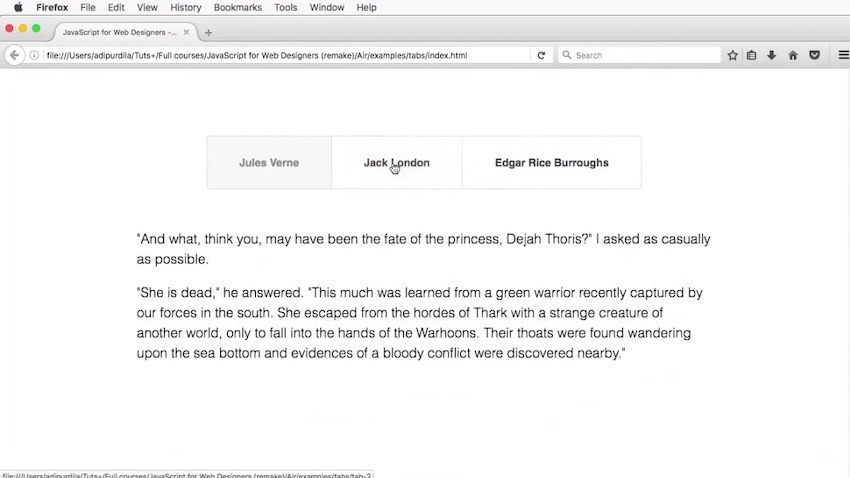
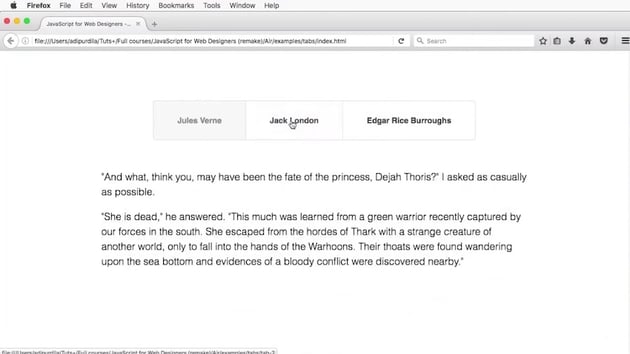
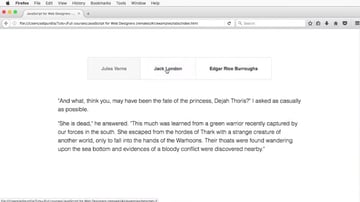
The markup for this is pretty straightforward. The active tab has the class active and the tab-contents contain whatever content is to be display within each tab.
Final Words
Watch video lesson [1:46:43] ↗
By the time you reach the last lesson of the course, you should have a much clearer idea of what you can do with JavaScript as a web designer and how implement it in your own projects. Best of luck!