Example
Syntax
1 |
<form action="https://google.com/search" method="get"> |
2 |
<input type="search" name="q" placeholder="Search..."> |
3 |
<input type="submit" value="Search Google..."> |
4 |
</form>
|
Result
Browser Support
The HTML <form> tag is supported in all modern browsers. Read more on caniuse.com.
Attributes
The <form> tag supports Global Attributes in HTML. Global Attributes are common to all HTML elements and can be used on all of them (though they may not have much of an effect on some of them).
The <form> element also supports the following attributes:
-
action: URL to use for form submission method: HTTP method to use for form submission (“GET”; “POST”)-
enctype: Form data set ecoding type to use for form submission("application/x-www-form-urlencoded"; "multipart/form-data"; "text/plain") -
name: Name of form to use in thedocument.formsAPI -
accept-charset: Character encodings to use for form submission -
novalidate: Bypass form control validation for form submission -
target: Browsing context for form submission. -
autocomplete: Default setting for autofill feature for controls in the form
Which Method?
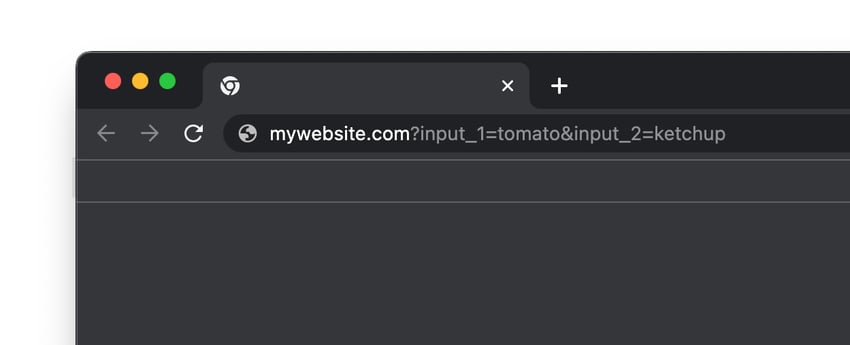
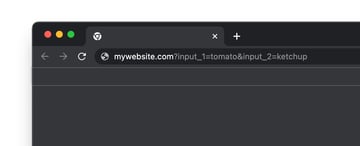
The GET and POST methods are used to transfer data. We can use both methods to send form data, though GET is used to request data whereas POST is used as a way of sending data to a web server. The clearest difference between the two is that GET appends the request parameter to the URL, like this:

Content
Within a <form>, flow content and palpable content are supported.
A <form> element cannot be nested within another <form> element!
Here’s a typical form structure with examples of element hierarchy. You’ll notice the <ul> and <li> elements being used to contain the radio buttons. <p> and <div> elements are commonly used to wrap other form controls, and <section> is perfectly fine for containing related groups of form inputs.
1 |
<form>
|
2 |
<fieldset>
|
3 |
<legend>Preferred use of ketchup</legend> |
4 |
<ul>
|
5 |
<li>
|
6 |
<input type="radio" name="ketchup" id="ketchup_1" value="burger" /> |
7 |
<label for="ketchup_1">Burger</label> |
8 |
</li>
|
9 |
<li>
|
10 |
<input type="radio" name="ketchup" id="ketchup_4" value="fries" /> |
11 |
<label for="ketchup_2">Fries</label> |
12 |
</li>
|
13 |
<li>
|
14 |
<input type="radio" name="ketchup" id="ketchup_3" value="cheese sandwich" /> |
15 |
<label for="ketchup_3">Cheese sandwich</label> |
16 |
</li>
|
17 |
</ul>
|
18 |
</fieldset>
|
19 |
<p>
|
20 |
<input type="submit" value="Submit answer" /> |
21 |
</p>
|
22 |
</form>
|
<fieldset> and <legend> should only be used to group multiple form controls, as a higher-level label.
Accessibility Considerations
-
Control labeling: Label all form controls appropriately. There are two ways to associate labels with form controls:
- by giving the control an
id, and referencing thatidin theforattribute on the label. - by wrapping the form control in the label.
- by giving the control an
-
Autocomplete: On inputs use the
autocomplete=""attribute for common data types (like name, address, birthdate etc.) Many browsers will suggest the user’s own details for even faster form entry. -
Tabbing: To dictate the tab order of interactive elements (like inputs) you can use the
tabindexattribute.tabindex="0", for example, would be the first element to get focus when hitting the Tab key on the keyboard.
Fun fact: the maximum value for tabindex is 32767