Values are how light or dark something is independent of color. We control the values by changing the contrast.
Step 1
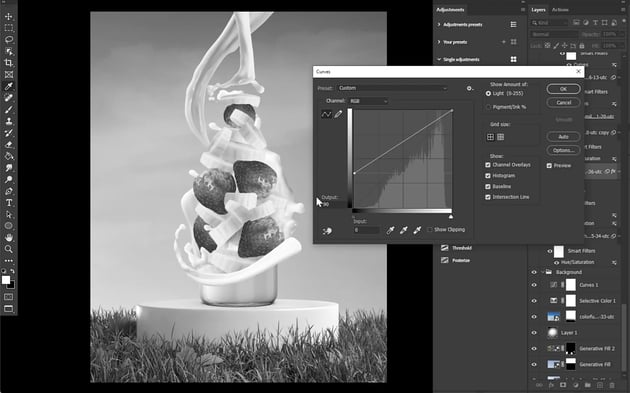
First, create a value check layer by making a new layer and filling it with 50% gray. Now, set the Layer Mode to Color. This will give a true black and white view of our image so that we can focus on just the contrast or the values of the image, without color getting in the way.

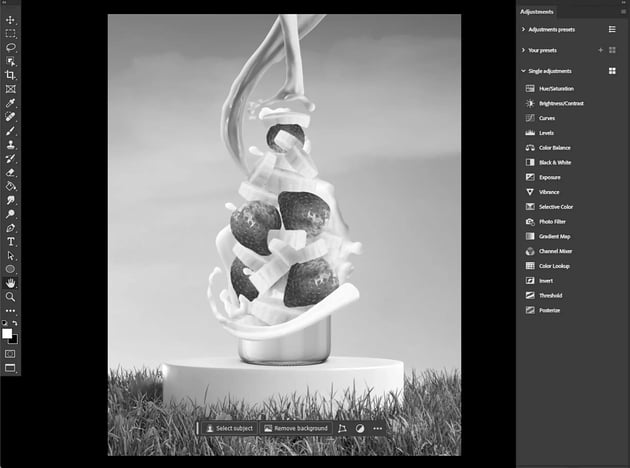
Looking at the image in our example, you can see there is very little contrast between the bottle and the background, so darkening the background will add some separation there. There are tons of options to make this change in Photoshop, but I prefer using a curves adjustment.
Step 2
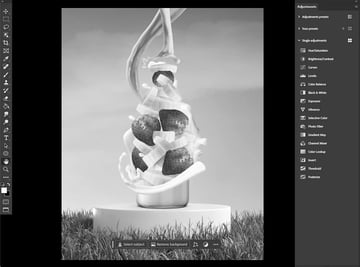
Create a Curves Adjustment layer above the background layers, and then click to place an anchor point right in the middle of the curve and pull downward just enough to help the smoothie in the example image pop a bit.

Step 3
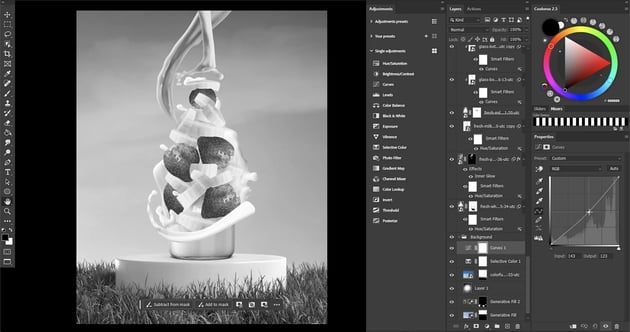
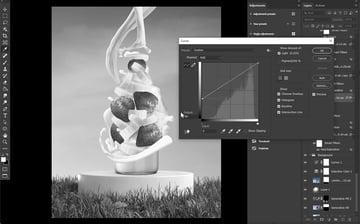
Now let’s move on to the milk splashes in the image and add an image adjustment curve to the darker splash of milk. Go to Image > Adjustments > Curves. Lift the shadows until they match the shadows of the larger milk splash behind the bottle.

Step 4
You can use as many points as you need when working with curves. The leftmost anchor affects the darks, while the rightmost anchor adjusts the lights of an image. You can pull down to darken and push up to lighten.
Step 5
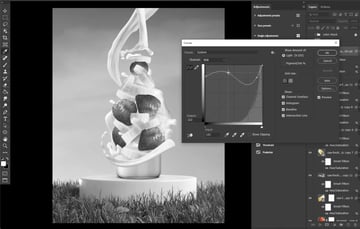
Now let’s move to the bottom milk splash, which is really too bright. To adjust it, add an Image Adjustment Curves layer and bring down some of the highlights while still lifting those shadows a bit.


Step 6
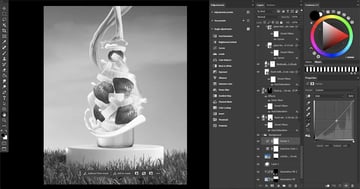
For the bottle, instead of using smart filters, clip a Curves adjustment layer into that bottle and give it the same treatment, lifting those shadows. You want to use a clipped adjustment layer instead of a smart filter because all of the other layers are clipped into the bottle, and you want to make sure all those layers are edited simultaneously.
So make sure this Curves layer is clipped above the already clipped layers. Make the bottle a little darker so it’s obvious that it’s a glass container.
Step 7
For the fruit, you want to make the innermost fruit a bit darker. You can use the curves or opt for a quicker option by using Image > Adjustments > Brightness/Contrast. Click and adjust all the pieces of fruit tucked in the back to darken them and add some depth. This method doesn’t give you as much control as curves, but it’s good for simple tweaks.