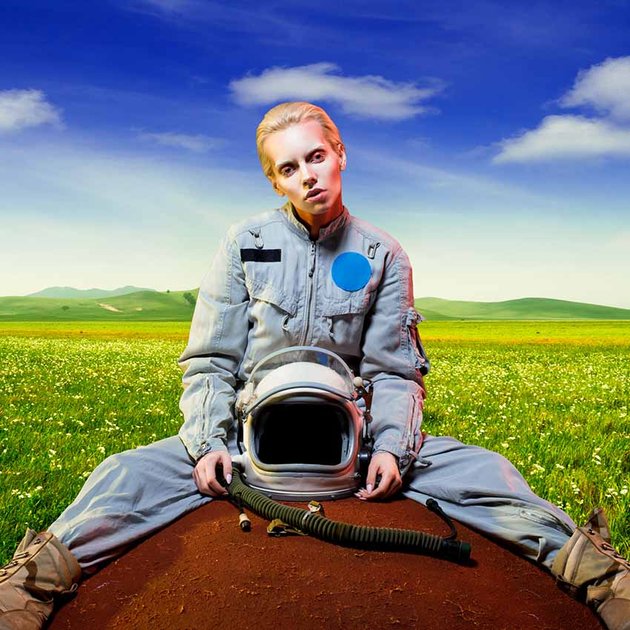
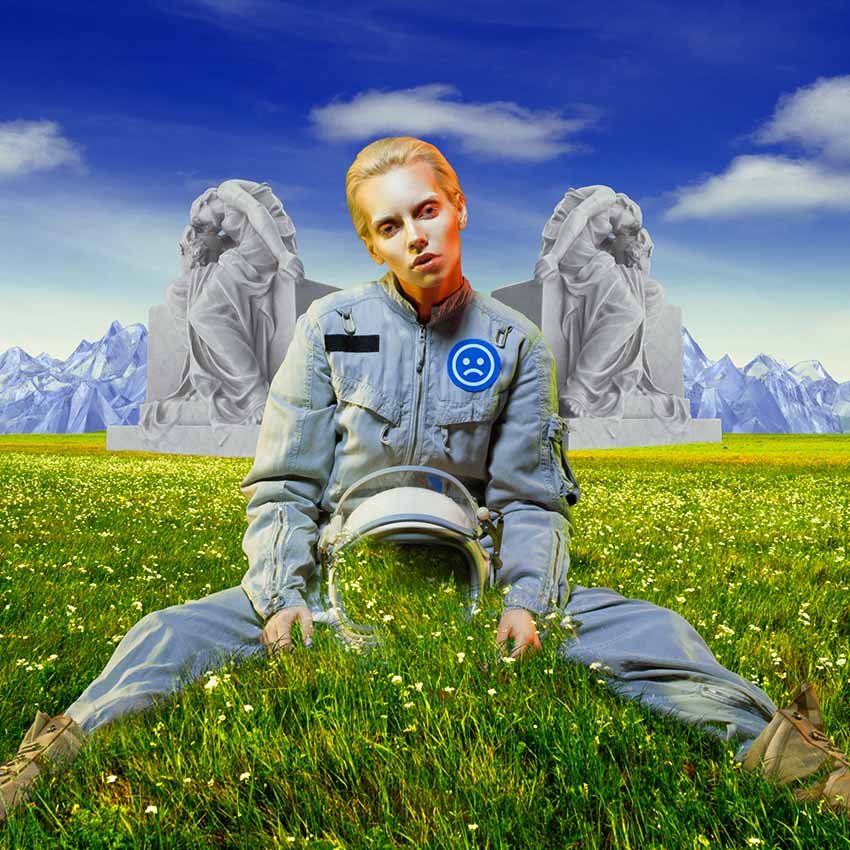
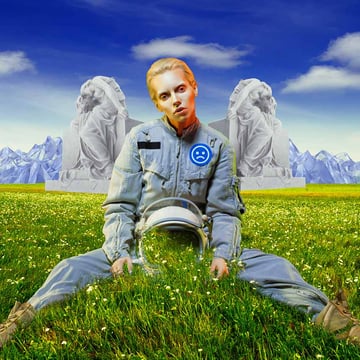
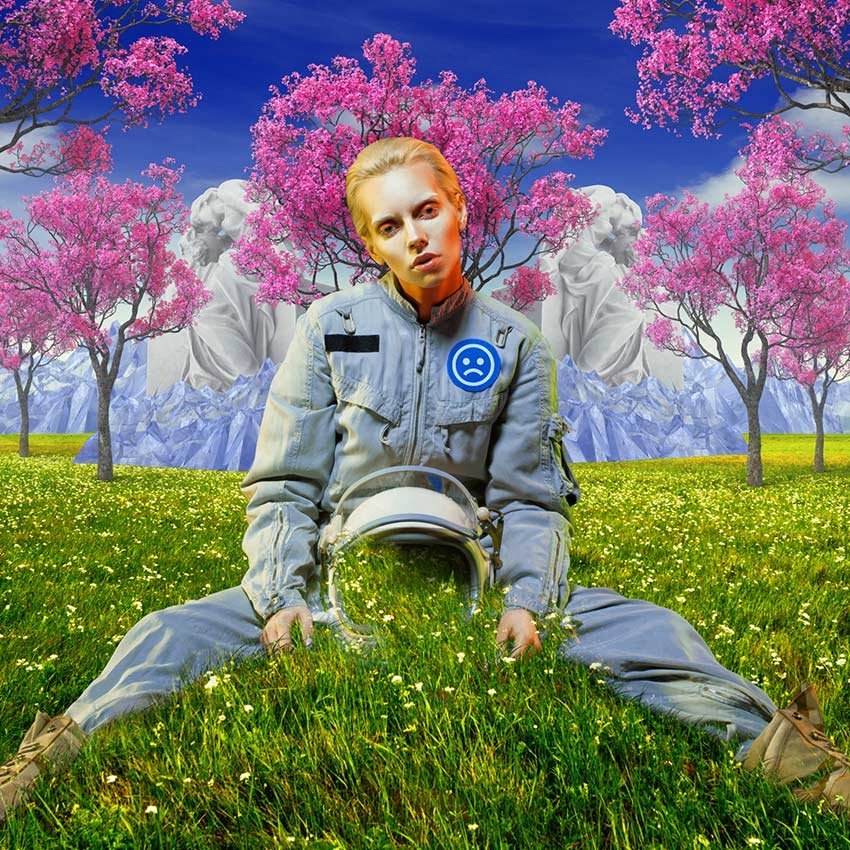
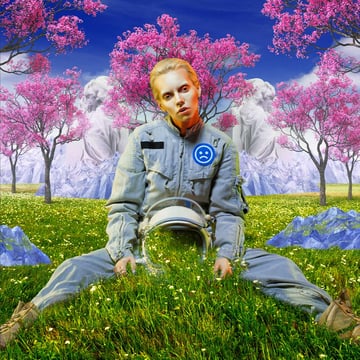
Today we’ll be recreating the Y2K art style using 3D assets and vibrant color grades! We’ll be learning how to create a collage in Photoshop that focuses more on using Y2K-inspired graphics, as opposed to photo-realistic realism. We want the Y2K aesthetic pink trees to look fake and the environment to pop!
In a hurry? You can create a Y2K art collage in a matter of seconds by using one of the thousands of add-ons, actions, and assets from Envato Elements!


Prefer to watch video tutorials instead? Then you’ll love this new video from the Envato Tuts+ YouTube channel. Learn how to make a collage in Photoshop with a cool Y2K style by watching this video:
What You’ll Learn in This Photoshop Tutorial
- How to make a collage in Photoshop
- How to recreate the Y2K aesthetic in Photoshop
- How to remove a background in Photoshop
- What is the Y2K aesthetic?
What You’ll Need
What Is the Y2K Aesthetic?
The 2000s design trend is full of color, surrealism, and almost cartoon-like 3D renders. Y2K graphics, while cutting-edge when they first came out, were new technology that looked old even when new. Though you would see 3D effects everywhere in both 2000s design and movies, it would often be criticized for being cheesy and cheap. Two decades later, that’s what gives Y2K graphics their nostalgic charm!
1. How to Remove a Background in Photoshop
Step 1
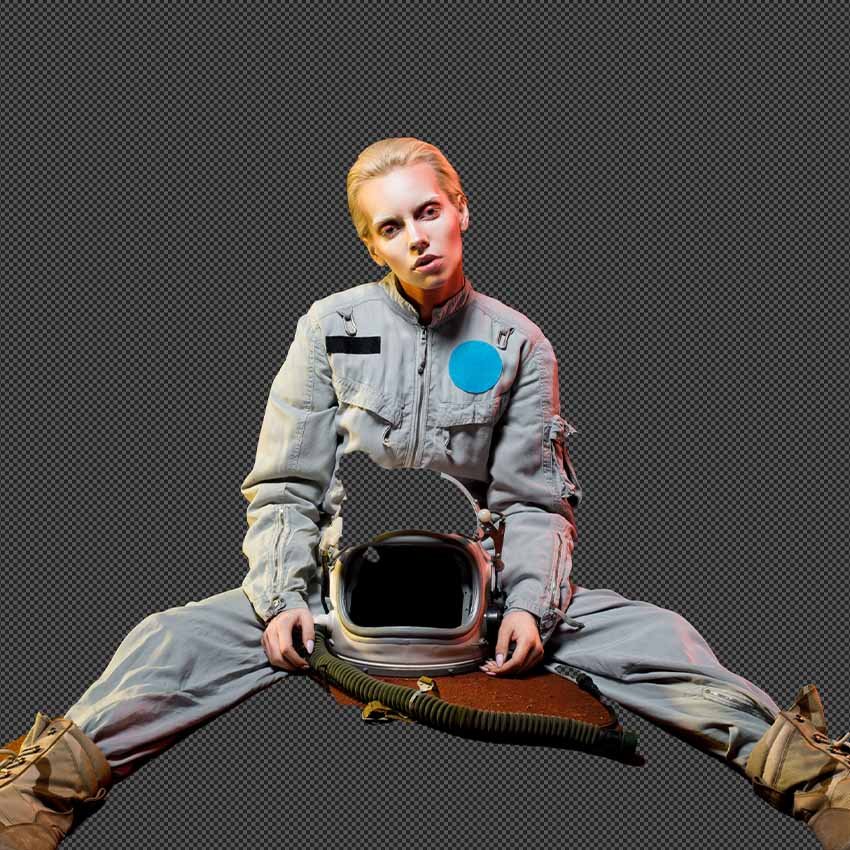
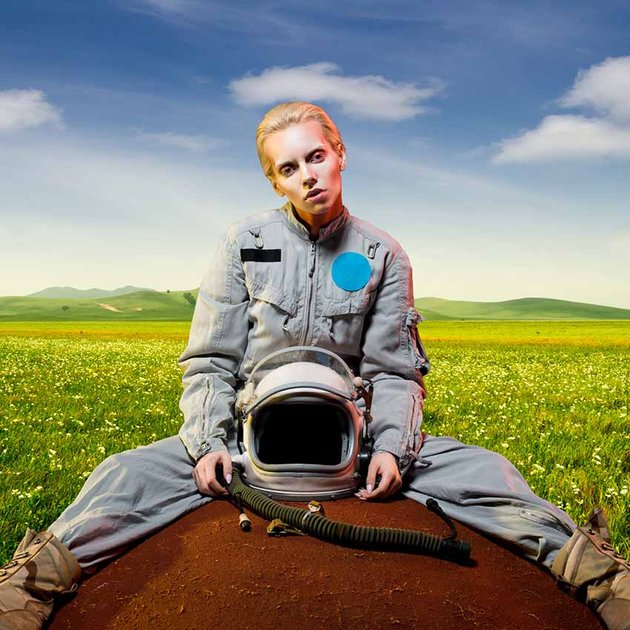
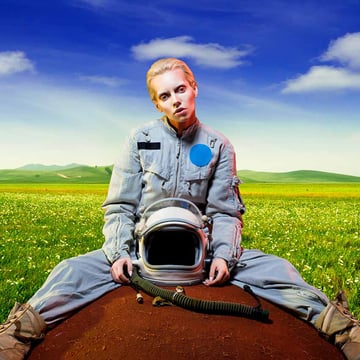
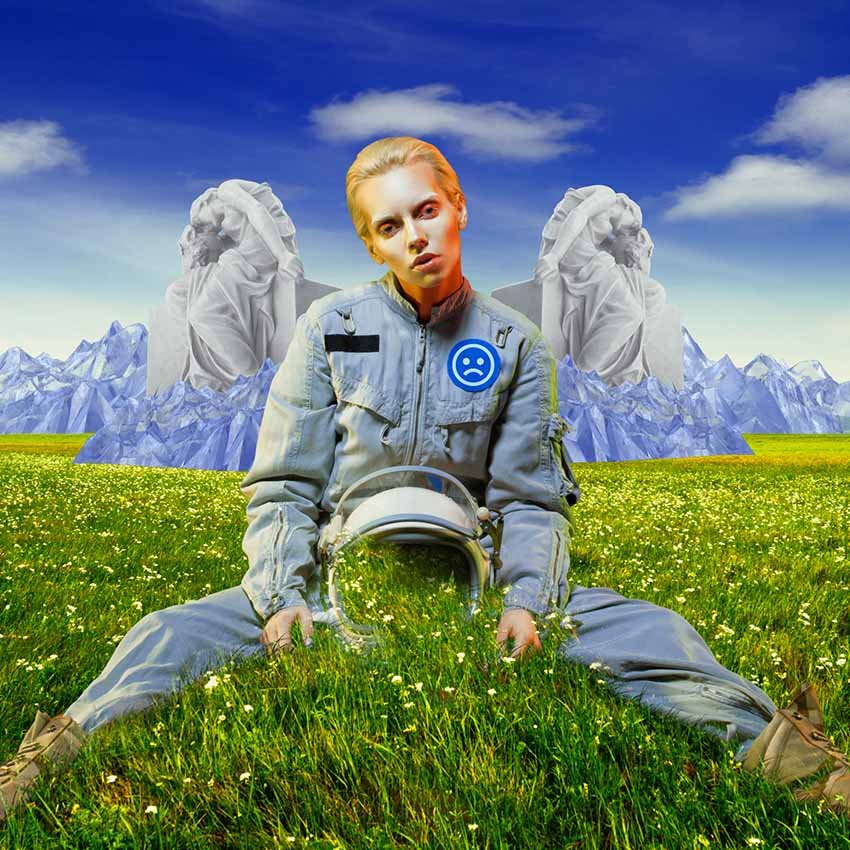
Let’s start things off by extracting our subject using Select Subject and a Layer Mask. This will give us a good starting point.


Step 2
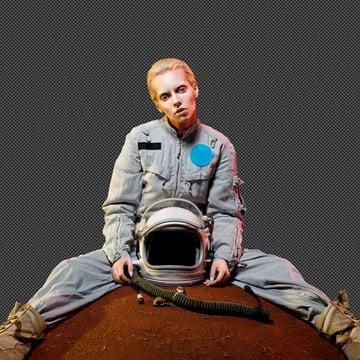
We can then refine the mask using a hard round Brush set to white. Just fill in the areas that obviously shouldn’t have been masked.


Step 3
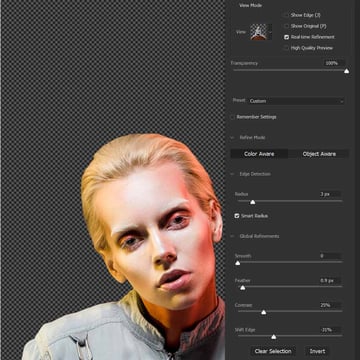
Then, we can go into Select and Mask and use a mix of the Refine Edge brush and Global Refinements to smooth out our mask.
Don’t forget to click the Refine Hair button for a quicker hair mask, but that’ll be all the masking our subject needs.
The Y2K aesthetic doesn’t require things to be too detailed, so a quick mask will work just fine.


2. How to Create a Y2K Background in Photoshop
Step 1
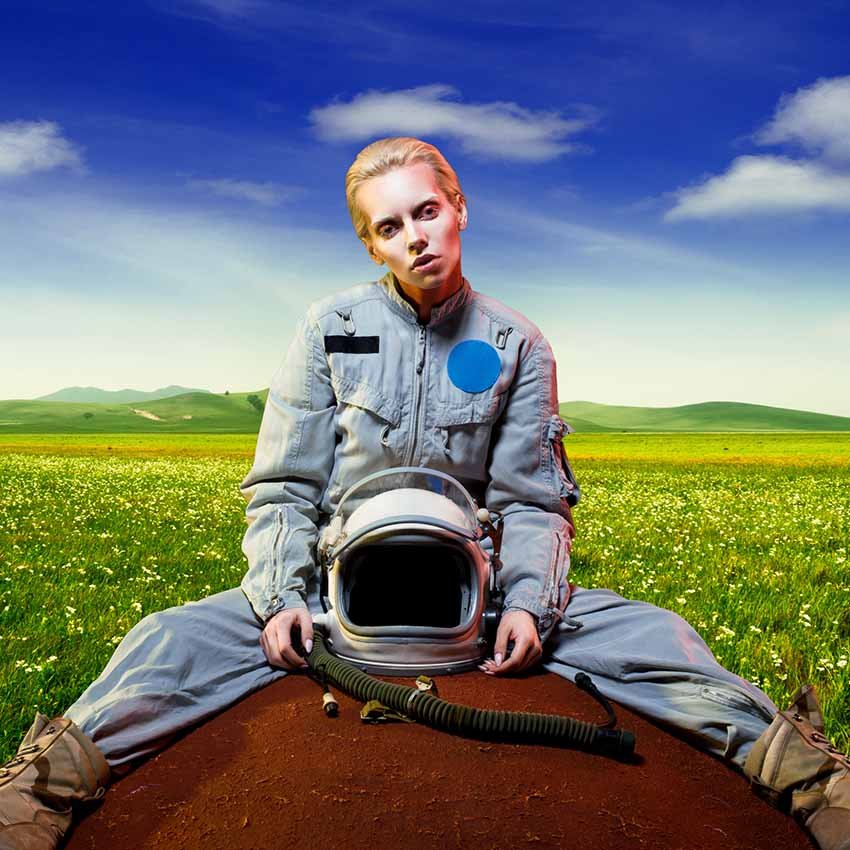
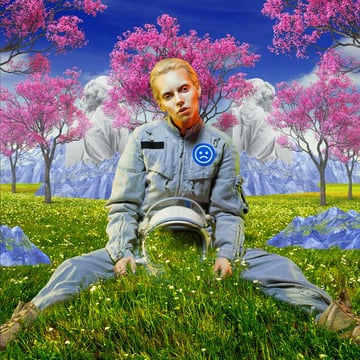
Let’s add a quick grassy hill as a Y2K background, placing it at the very bottom of the layer stack.

Step 2
We can then create a new layer set to Soft Light and paint black on the blue sky area. This is a quick way to deepen the sky, adding separation from the subject and her environment, but it also helps bring out the details in the clouds.

Step 3
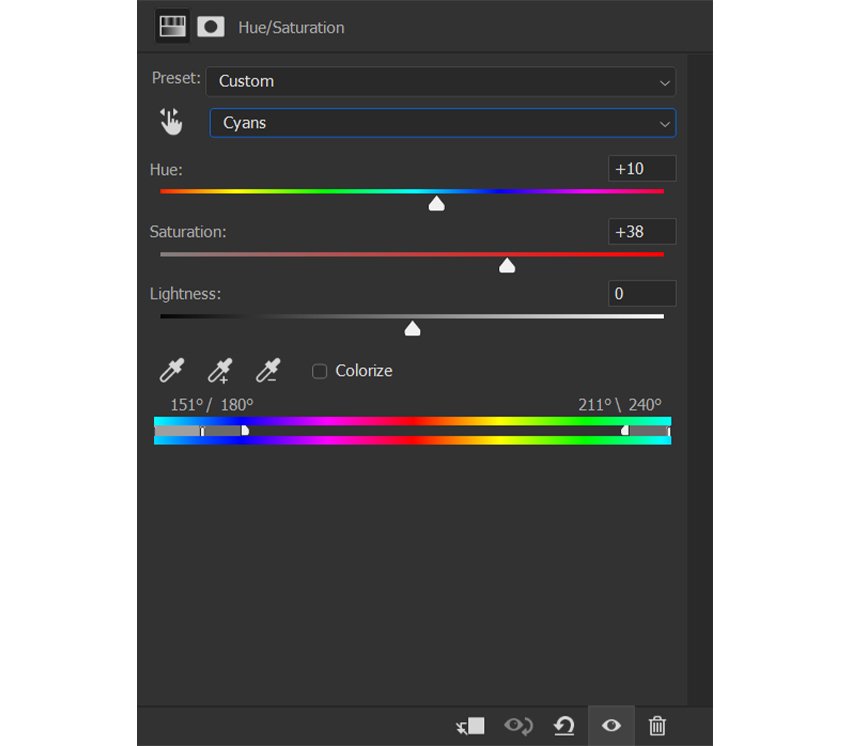
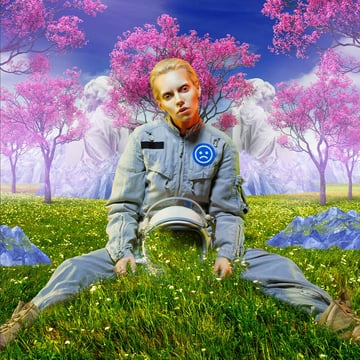
Next, right at the top of our layer stack, we’re going to create a new Group named “Color Grade.” The group will contain four adjustment layers, all meant to boost the vibrance and adjust the cyans to be a deeper royal blue color.
Let’s start with a Hue/Saturation layer, targeting the Cyans, set to what you see below. The bottom rainbow slider helps pinpoint the color we’re affecting. Try replicating something similar, though it doesn’t need to be exact.


Step 4
Next, we have two Color Lookup adjustment layers—the first set to 3Strip and 30% Opacity. And the second is set to Crisp Winter at 20% Opacity.

Step 5
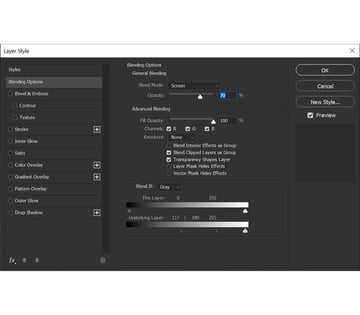
Finally, we have a third Color Lookup layer set to Foggy Night, with a layer mode of Multiply and 17% Opacity.
We also want to adjust the Blend If settings found in the Layer Styles panel to what you see below.


3. How to Create a Collage in Photoshop
Step 1
To finish color adjusting our subject, I used Filter > Neural Filter > Harmonization, setting the Reference Image to our background layer and bringing down the Strength to 50. This filter isn’t always consistent, so you can play with the settings if you need to.


Step 2
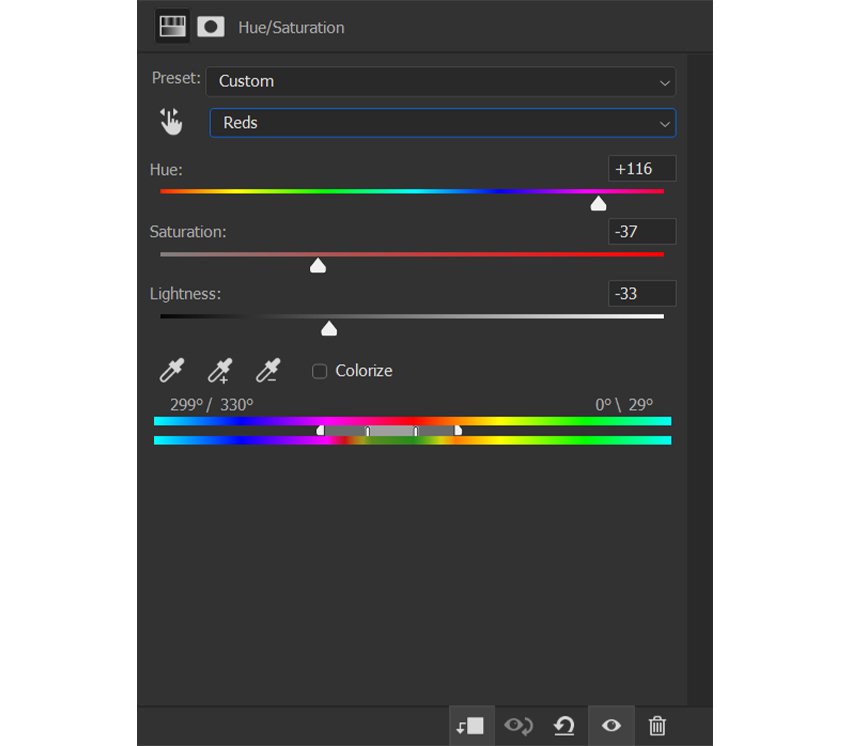
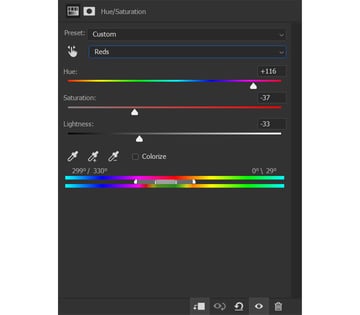
And we want her red highlights to be green, so that they accurately reflect the green of the grass. So let’s create and clip a Hue/Saturation adjustment layer into the subject, setting the Reds to what you see below.
Remember to use the rainbow gradient slider at the bottom to pinpoint the red highlights in the subject.


Step 3
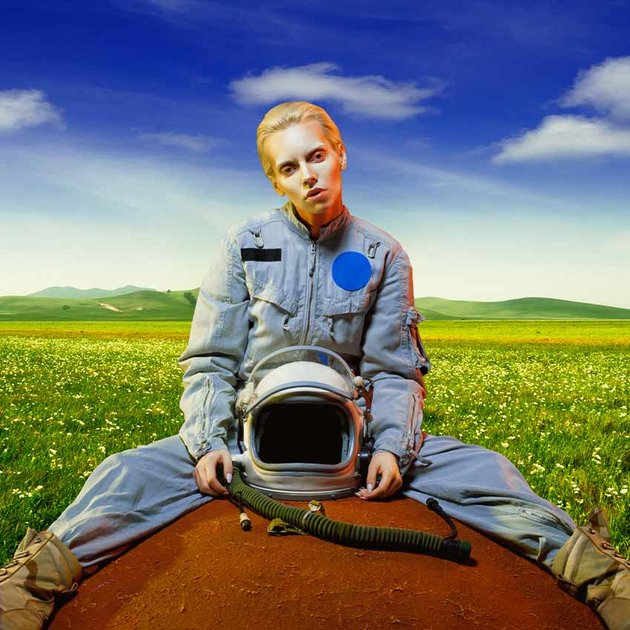
With our reds now a lime green, we can Mask out any overly green areas of skin. We’ll be adding some reddish-pink trees, so the remaining red highlights are not a problem.


Step 4
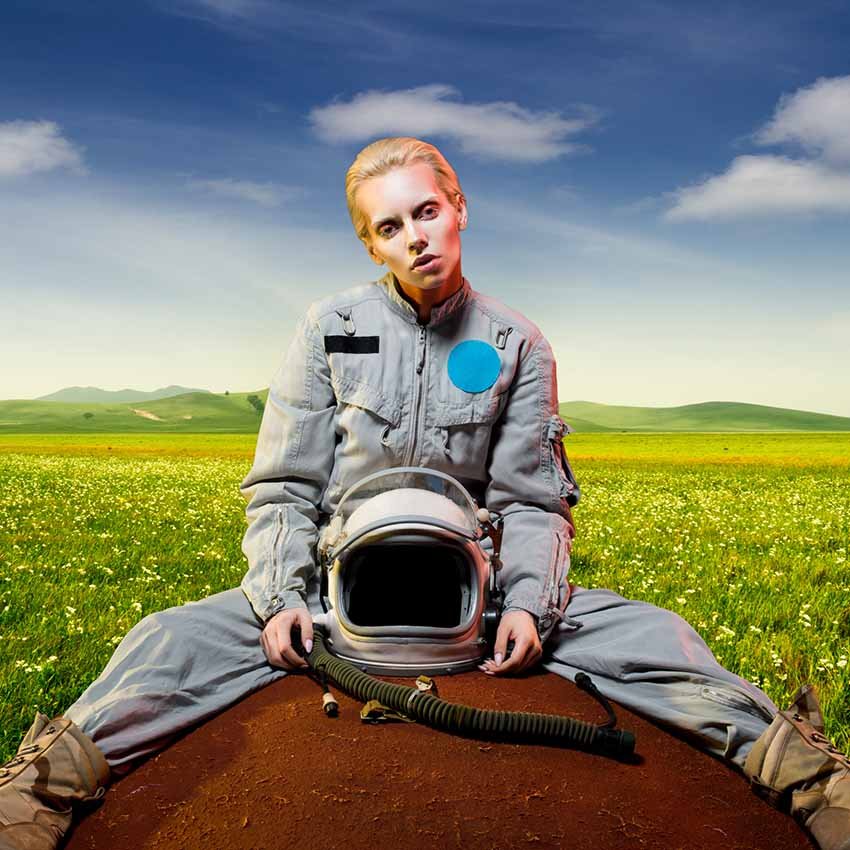
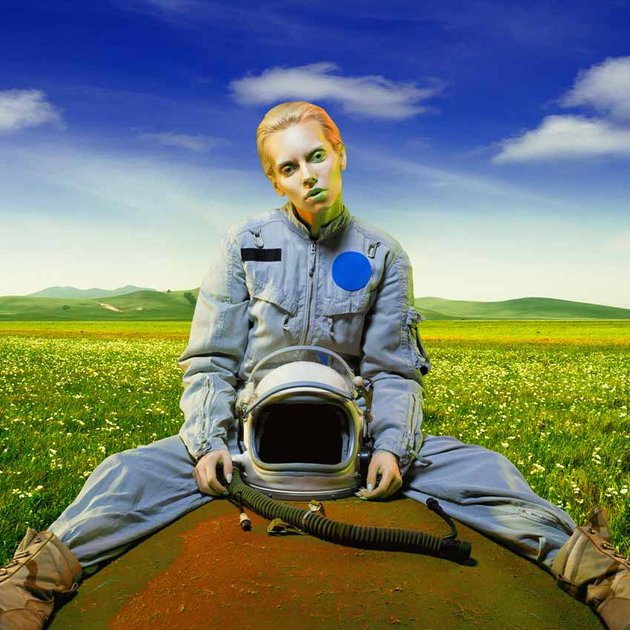
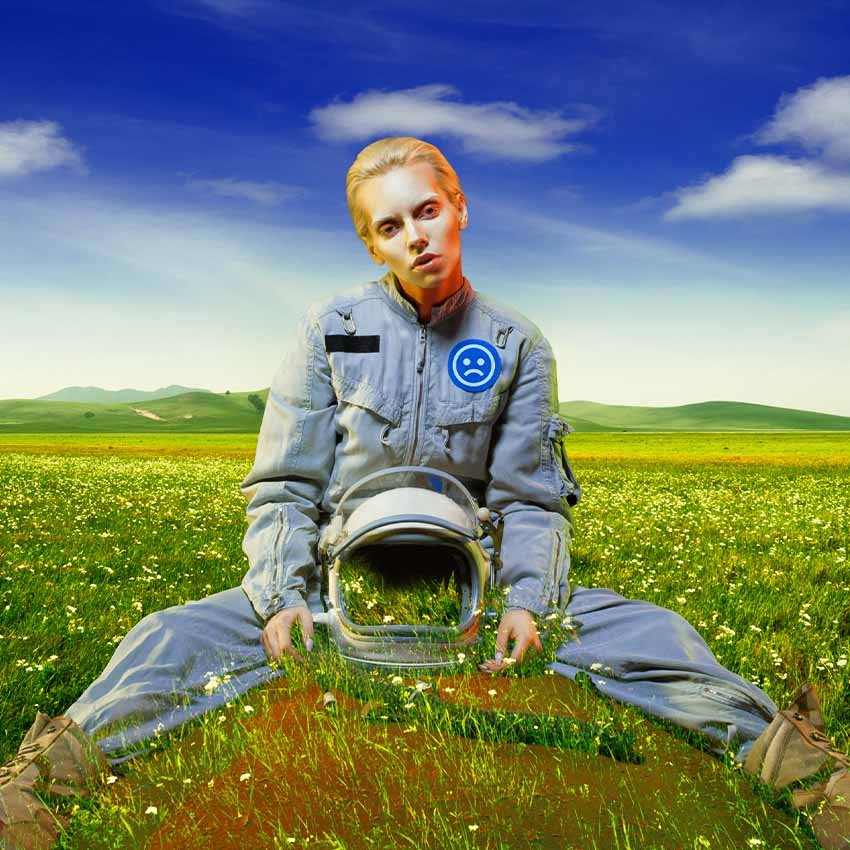
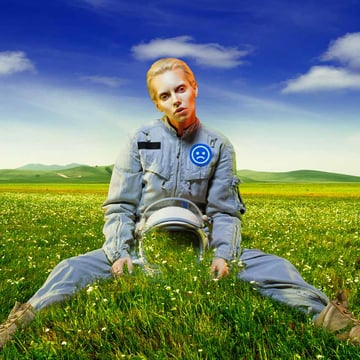
I’m going to add a quick frowning face to our subject’s jacket using this icon set, though any simple illustration would work.
I turned the face white using Hue/Saturation with a Lightness of +100 and lowered the Opacity to 75%.


Step 5
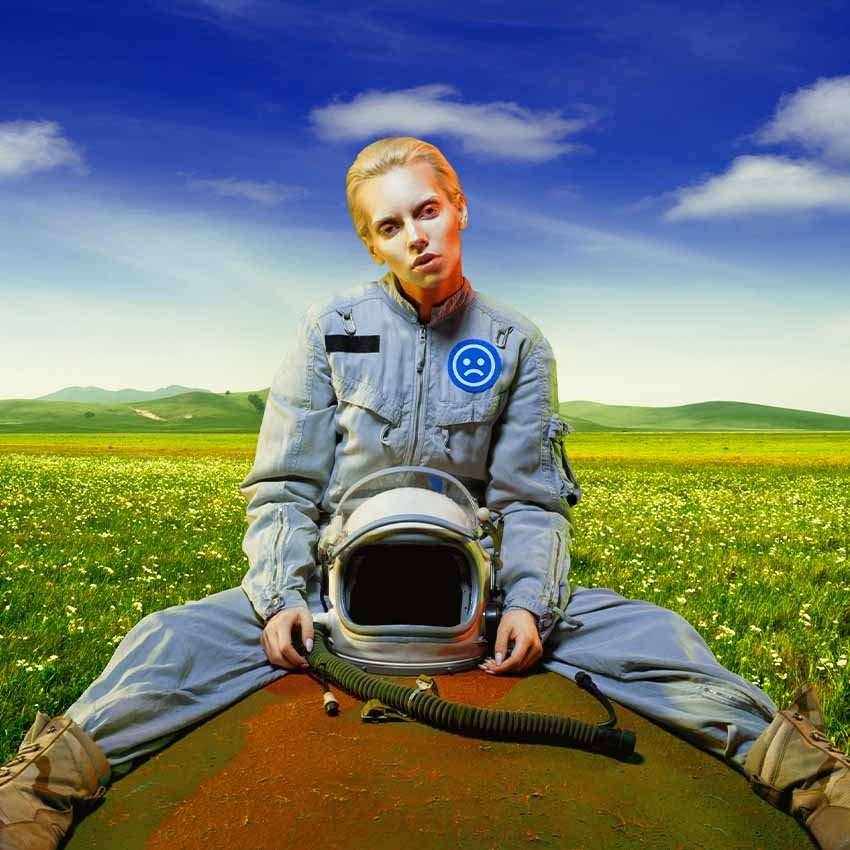
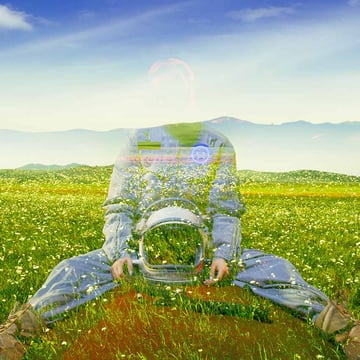
Next, we’re going to add the flowing bit of grass coming from her helmet.
Duplicate the background layer, bring it right below the “Color Grade” group, and set the layer mode to Lighten. Enlarge the grassy hills just slightly, and Flip the layer Horizontally.

Step 6
Add a layer mask, and invert it to black using Control-I.
Now, we can mask the grass back wherever we want—in this case, between the subject’s legs and slightly into the helmet. A default round brush will work fine, but you can also try using a grass-shaped brush.


Step 7
You can repeat that last step as much as you’d like. I added a bit more grass coming from the helmet.


Step 8
To make the grass appear full and less transparent, we can create and Clip a new layer into the subject, setting that layer to Multiply.
Now, fill in areas with a dark hunter green #142501 color. You can use a semi-hard round brush, but a plant-shaped brush would work really well. I actually like Photoshop’s default grass brush a lot.

4. How to Make a Collage in Photoshop
Step 1
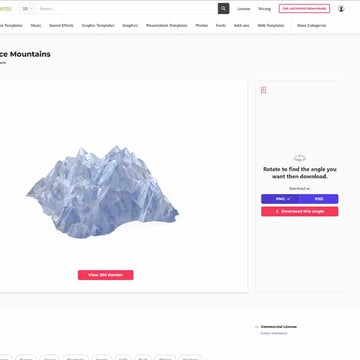
The rest of our landscape will be made up of all 3D assets, which will not only make the compositing super quick but will also help us achieve that Y2K aesthetic.
Let’s start by placing in some of these Fantasy Ice Mountains, which also have a crystal mountain vibe. You can choose different angles of a 3D asset on Envato Elements by selecting View 3D Render. Then you can Drag to Rotate.
You can choose to either download as a PNG or PSD. If I want to remove a shadow, I’ll select PSD; if not, I’ll choose PNG.
All of the 3D assets we’re using today are actually single assets but at different angles.


Step 2
So let‘s place three or four different angles of those Ice Mountains right on the horizon of the background.

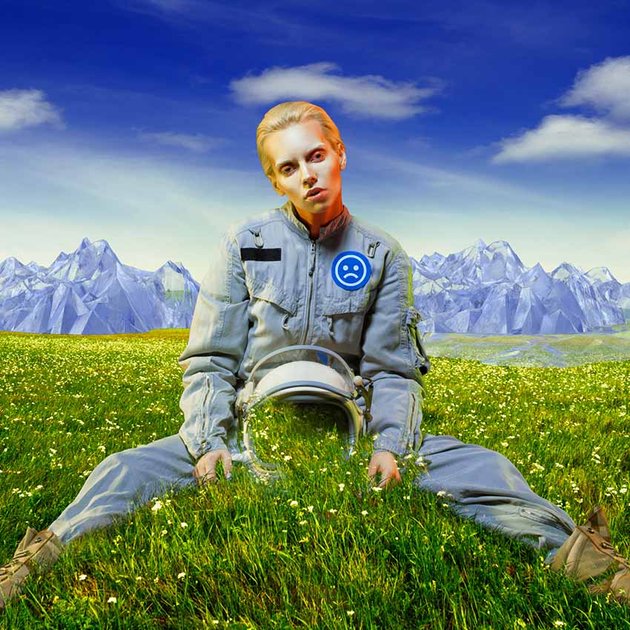

Step 3
Group them together, add a Layer Mask to the group, and mask out the bottoms of the mountains so that they all sit on the horizon properly.


Step 4
Now, let’s add two giant 3D statues in front of the mountains but behind the subject.

Step 5
Brighten those statues by clipping a Soft Light layer into each statue and painting a bloom of white light on each. Set each layer’s Opacity down to around 50%, so the light isn’t too harsh.
Step 6
We can then add two smaller ice mountain assets right in front of the statues.
Since these mountains are closer to the subject than the original mountains, I like to add a Brightness/Contrast of -18 Brightness and +32 Contrast to each. Objects closer to the foreground will appear darker than those further away.


Step 7
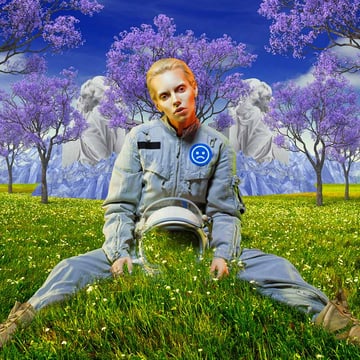
Next, we can create a quick fantasy forest using the blue tree asset at multiple angles.
Place the trees at different points in the landscape, making sure that the further they are, the smaller they appear. These trees are sandwiched in front of the statues but behind the subject.
Group all of the trees together once you’re happy with their placement.


Step 8
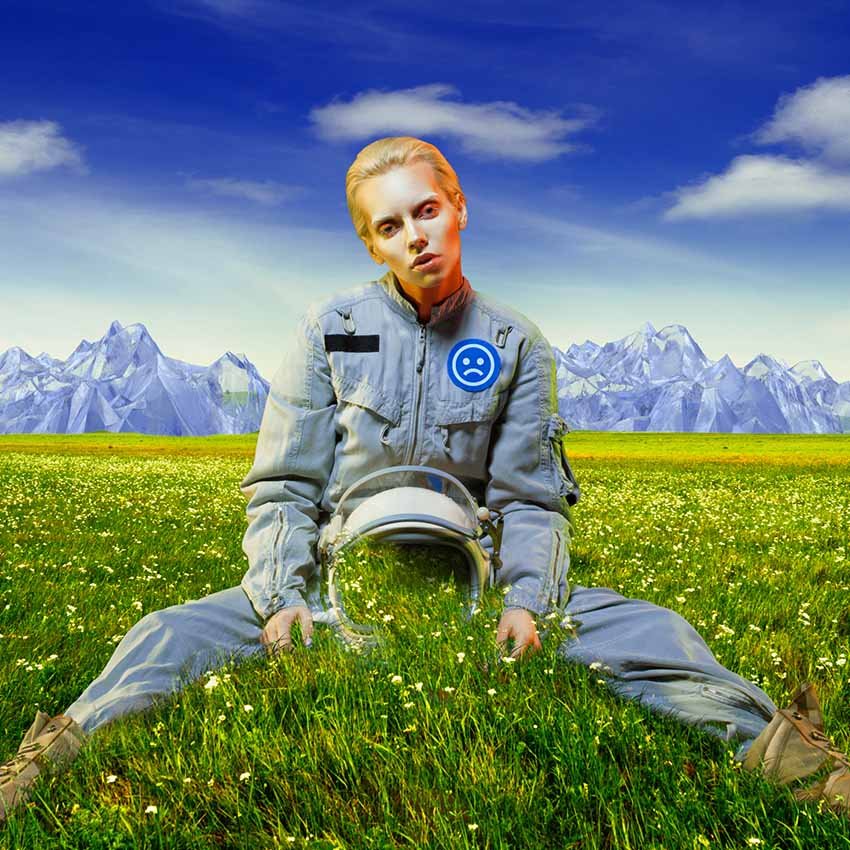
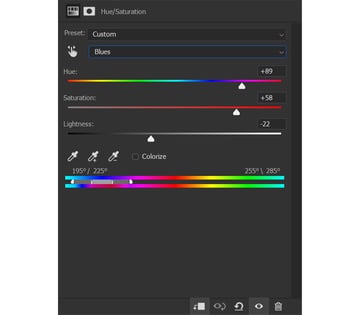
To make the trees pop even more, let’s change the blue-colored leaves to a Y2K aesthetic pink using a Hue/Saturation adjustment layer clipped into the tree group. Replicate the settings and slider you see below:


Step 9
We can also bring in some of those icy mountains closer to the foreground. You can duplicate and enlarge the mountains initially placed in front of the statues, darkening them even more as they are that much closer to the subject.


5. How to Paint Atmosphere in Photoshop
Step 1
Let’s finish by adding some atmosphere over the statues, mountains, and trees, but behind the subject.
First, create a layer set to Normal, but with a lower Opacity of 15%. On this layer, use a very large soft round Brush to paint a bit of white haze on the left and right sides, focusing on the middle to upper portion of the canvas. Doing this will add slightly more separation from the subject and her environment.


Step 2
Next, create another Normal layer, set to 25% Opacity this time. On this layer, paint soft white clouds over the upper portions of the statues. This will help them appear taller.

Step 3
Now, create a new layer set to Screen at around 70% Opacity. Paint a violet purple #a645eb haze around the mountains and statues using a soft round Brush.


Step 4
Finally, adjust the Blend If settings of that violet haze to only appear in the background highlights. The Blend If settings I used can be seen below.


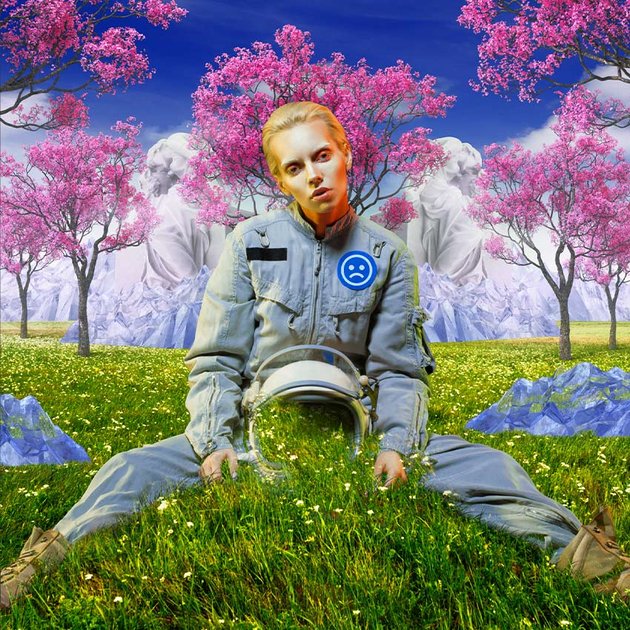
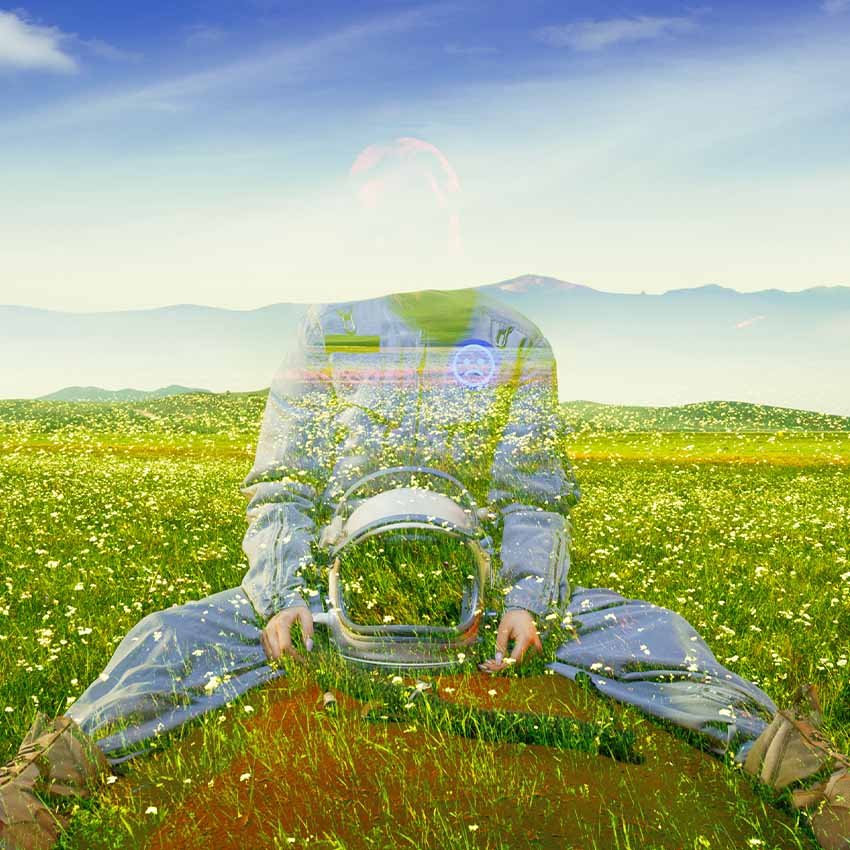
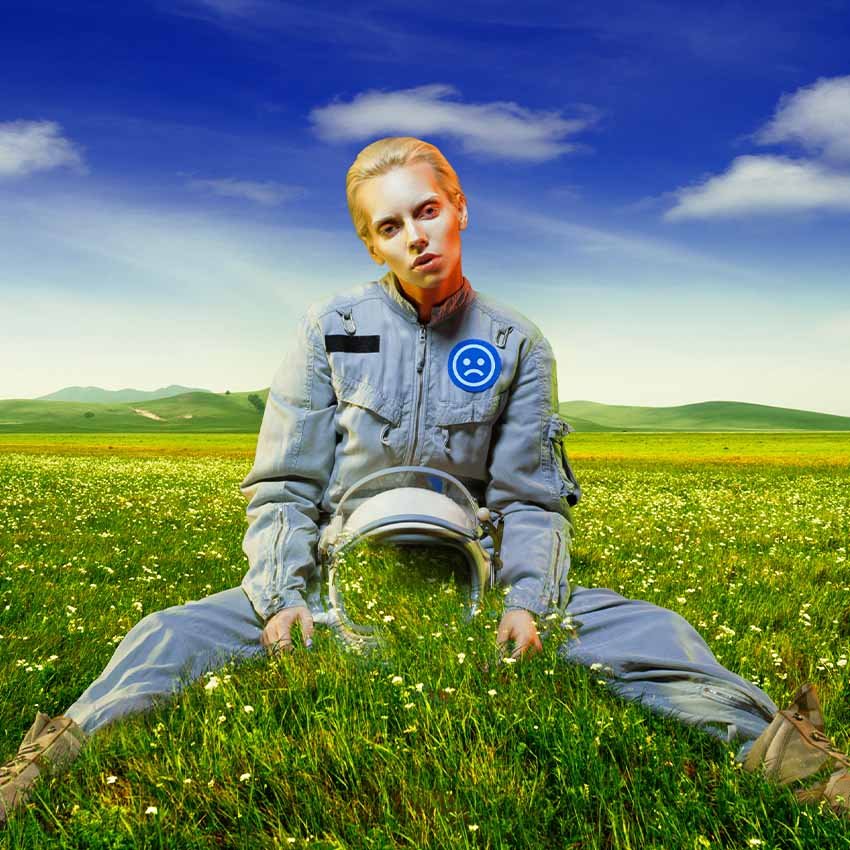
You’re Done!
That is how to create Y2K art in Photoshop! While technology has come a long way, using simple 3D renders will always add a bit of Y2K style and charm to any image. Just make sure to pair them with vibrant unreal colors and a few surrealist twists to fully embrace that Y2K style.
Images like this are great choices for CD covers and promo images. You can use Placeit to easily create and customize your image, turning it into a ready-to-use full-resolution CD cover!


Make Fast Y2K Art With These Resources!
Create a Y2K collage in Photoshop with a press of a button by using one of the thousands of add-ons, actions, and assets from Envato Elements!
Cyber Poster Photoshop Action (ATN, ABR, PAT, CSH)
Embrace the Y2K aesthetic pink and create a collage in Photoshop with this vibrant pink and blue poster creating action! The effect is both modern and inspired by 2000s design.
Geometrical Collage Generator: Photoshop Plugin (ABR, ATN, PAT, ZXP)

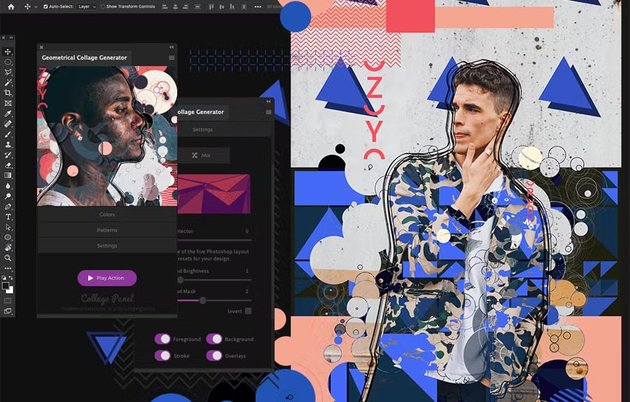

This collage generator uses a number of different shapes, colors, and designs, so you can create a unique collage every time. Easily choose modern colors or a Y2K aesthetic.
Soap Bubbles Photoshop Action (ATN, PSD, JPEG, PDF)
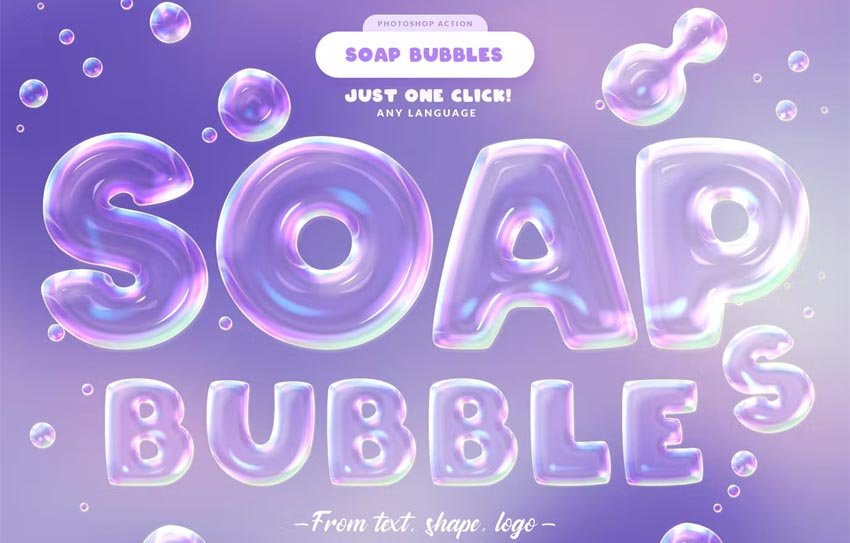


This soap bubble action perfectly recreates the early 2000s design bubble trend seen in music videos! Make fun, bright, almost holographic colors that look like 3D renders, all done with a simple action.
Hologram Text Effects (PSD, ASL, PDF)

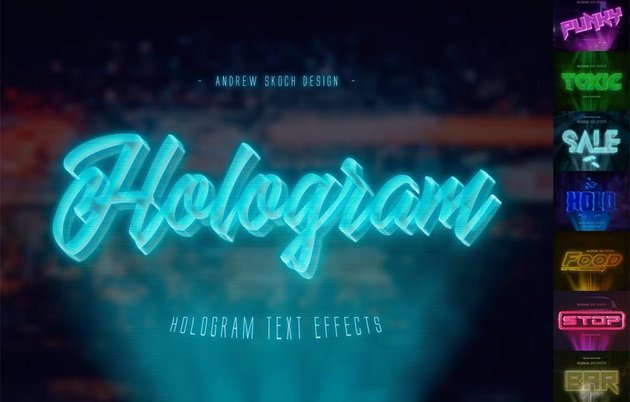

Technology was a huge influence on the Y2K style, and nothing says Y2K graphics like a good holograph effect! This PSD comes with a number of different hologram effects that you can customize to make your own.
Holographic Iridescent Photoshop Action (ATN, PDF, PAT)


Create an easy Y2K background with this holographic Photoshop action! With fun shapes, glitchy effects, and a cut and paste feel, it’s a great way to create a collage in Photoshop and keep the Y2K aesthetic.
Learn more by checking out some of these tutorials: