Need a gift coupon template, but you’re not sure how to create a gift certificate template of your own? In this tutorial, we’ll walk through how to make a printable gift certificate, both with Photoshop and without it.
Photoshop makes it easy to develop a customizable gift certificate template for your business, clients, and more. Or, if you’re looking for an easy to use gift certificate maker, we’ve got you covered. There’s something for everyone.
If you’re looking for an online gift certificate maker, check out Placeit. It’s a simple tool that you can use right from the convenience of your browser. It’s not just about adding text to a template either—you can move design elements, import new ones, save drafts, and more. Best yet, there’s no software requirement. You can even create and edit designs from your mobile device.
Choose from a gallery of mockups, design templates, logos, video templates, and more. It’s free to start designing right now.

We’ll take a look at how easy it is to create your own custom gift certificates with an online gift certificate maker in Part 3 of this tutorial. Skip down there, if you’d like to jump right into that part.
First, we’ll walk through creating a printable gift certificate template from scratch, in Adobe Photoshop. Let’s get started.
What You Will Need
You will need the following resources in order to complete this project:
Download these assets to work along with the walk-through, or use other assets of your choice. Let’s get started.
1. How to Create a Gift Certificate
Step 1
First, let’s think about the core items we need on our gift certificate. This may vary based on your business and your specific needs, but the usual essential items are:
- the name of your business and/or a logo
- your business contact information
- the terms of the gift certificate (e.g. expiration date, not redeemable for cash, etc.)
- space for an authorized signature or stamp
- the amount of the gift certificate
You can also include things like “To” and “From”, for gift-giving purposes or for assigning the gift certificate to a specific individual only.
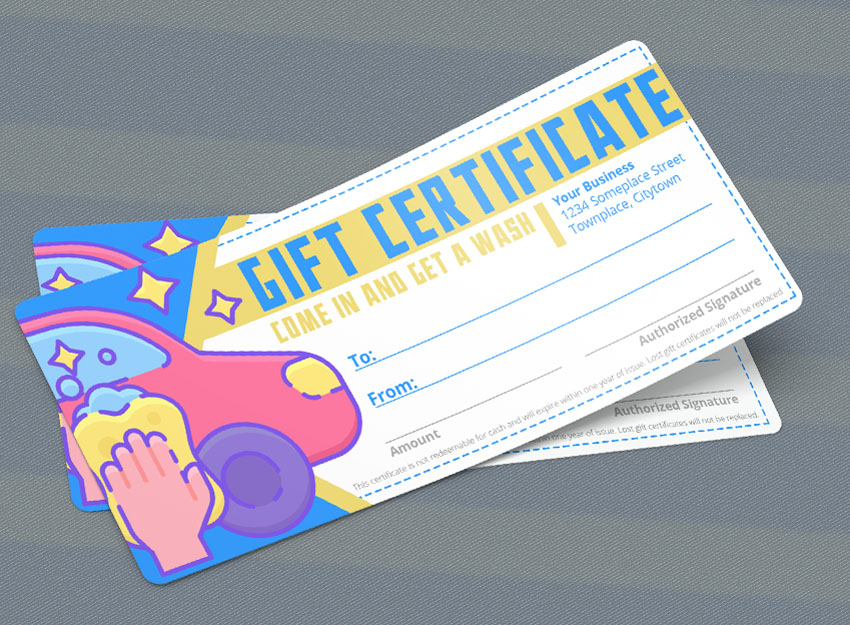
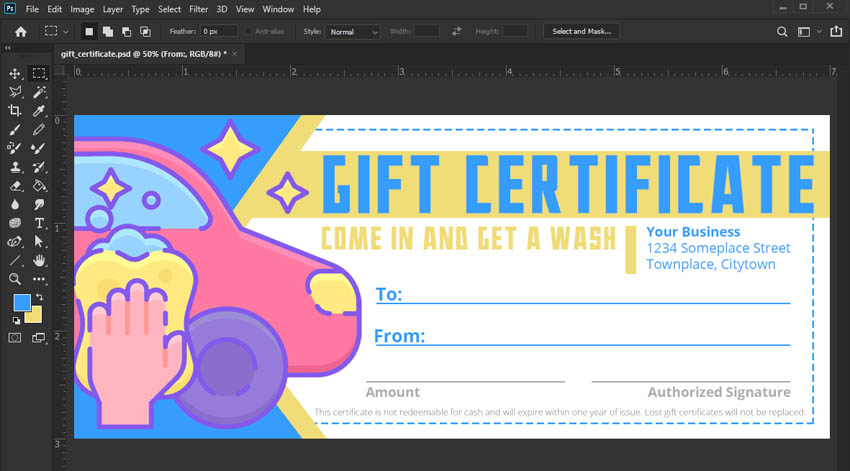
Here’s an example of a completed gift certificate design. Think about what you plan to include and why, so you have a solid plan.
Step 2
Gift certificates, gift vouchers, and coupons can all come in a variety of sizes. So how do you decide what size works for your business needs?
- Will you go to a professional printer? Ask them about your options. Many printers will also trim to a custom size for you, so you don’t necessarily have to rely on common or available stock sizes.
- Will you DIY it all, and print them yourself? Think about your hardware and supplies. Make sure you are aware of the resolution and dimensions that apply to your hardware.
- Think about your paper. Do you want the thickness of a business card? Would you prefer the thinness of stationery? Take some time to sample paper. Many printers will allow you to order a sample booklet (with different paper stock in it) so you can check the paper out before you print or purchase.
- Will you print in color? Or maybe grayscale? Will you print double-sided or single? These answers can have a big impact on your design options and decisions.
- Will you distribute digitally? Coupons and vouchers can be a great option for online promotion, so something like a gift certificate template PDF could be handy.
Then, decide on what size works best for you. There is no wrong answer here—choose what works best for you, your resources, and your business needs.
Step 3
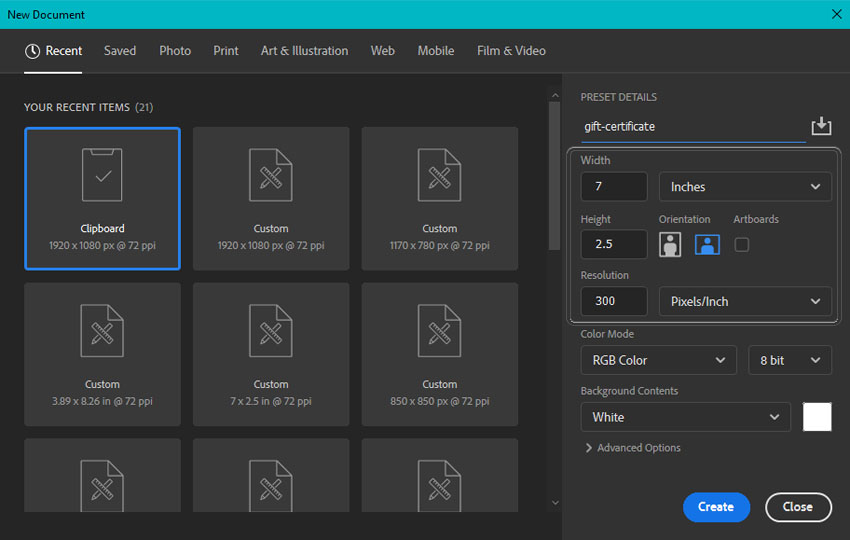
Open up Adobe Photoshop and go to File > New to start a new document.
For this demonstration, we’ll work with 2.5 inches (6.35 centimeters) high by 7 inches (17.78 centimeters) wide. You can choose any size you prefer, and the concepts we’ll cover in this tutorial will still apply.
One important thing to note here is resolution, since we’re designing for print. In this demonstration, we’ll work at 300 dpi, or dots/pixels per inch.
If you’re unfamiliar, this means how many dots will be printed per inch on the page. The more dots per inch, the higher the resolution. A lower resolution image will be fuzzier and have lower quality.
I recommend working at 300 dpi, even if this might be a little higher than you need. We’re working with raster imagery here in Adobe Photoshop. This means that we can’t just “make it larger” without losing quality. It’s often wise to work a little bigger, because you can easily scale down.
Once you’ve entered the size and resolution you prefer, click Create to create your new document.
2. How to Make a Gift Certificate in Photoshop
Step 1
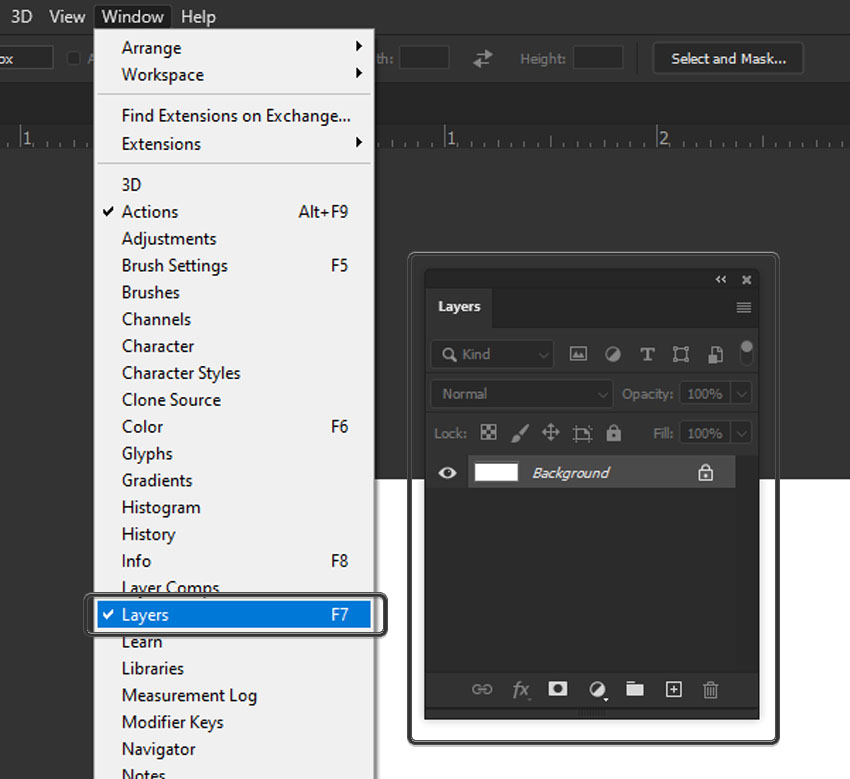
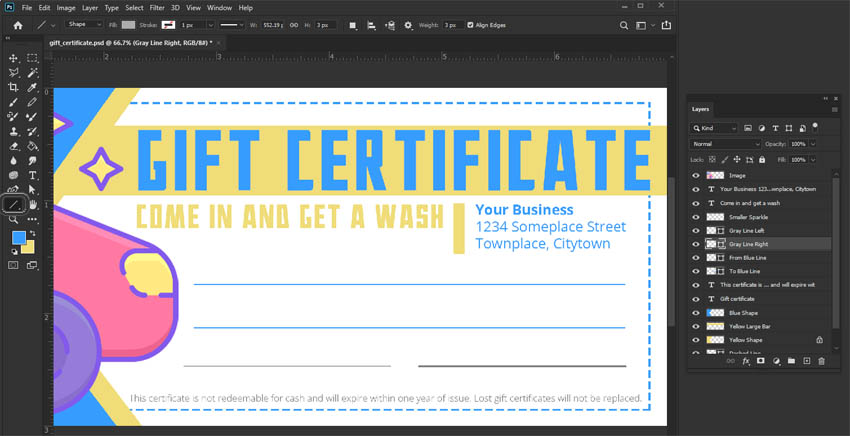
Before we start designing, let’s make sure to look at our layers. You can open the Layers panel by going to Window > Layers. Here’s a preview of what it looks like in the screenshot below.
Think of layers like “layering” content on top of each other. We can keep pieces of our artwork separate, as well, by putting them each on their own layer.
Want to learn more about this concept? Check out this free lesson from our Intro to Photoshop Course.
In this tutorial, the layers will be named for clarity. To change the name of your layers, simply double-click on the name of an unlocked layer.
Step 2
In this demonstration, we’ll design a gift certificate for a car wash. However, you can adapt these concepts for any business or industry you prefer.
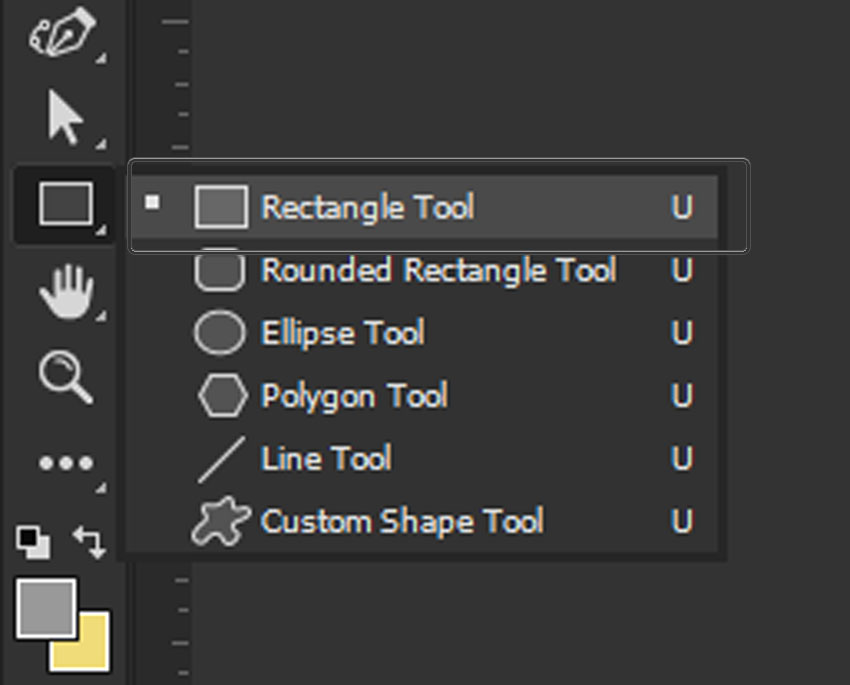
Let’s start with some basic shapes. Select the Rectangle Tool. If you don’t see it, click and hold on your Shape Tools to expand the different shapes you can choose from (as shown in the screenshot, below).
Step 3
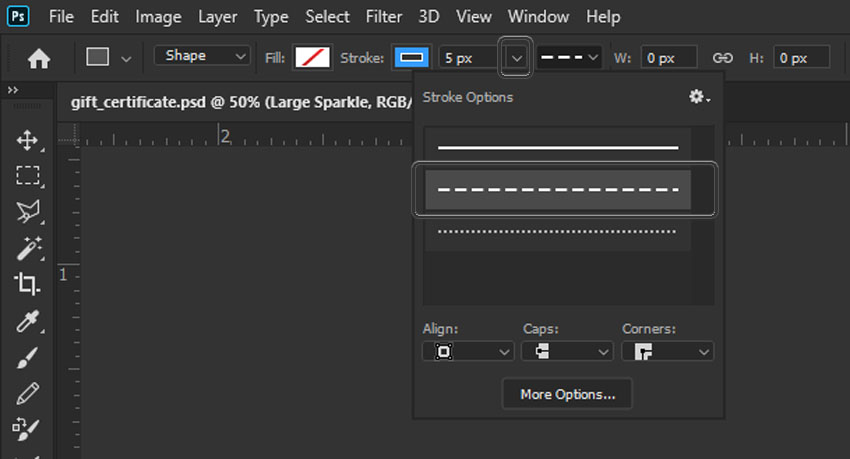
Then, look up at the Options Bar, at the top of the software. We want our Fill Color to be transparent (it looks like a white box with a red line through it). Then, for the Stroke Color, choose a vivid, blue color (#369dfe or C:65 M:32 Y:0 K:0).
Our Stroke Size should be 5 pixels.
Then, choose Dashed as the Stroke Style. To change the Stroke Style, click on the arrow beside the icon to expand the menu. Then choose the dashed option, as shown below.
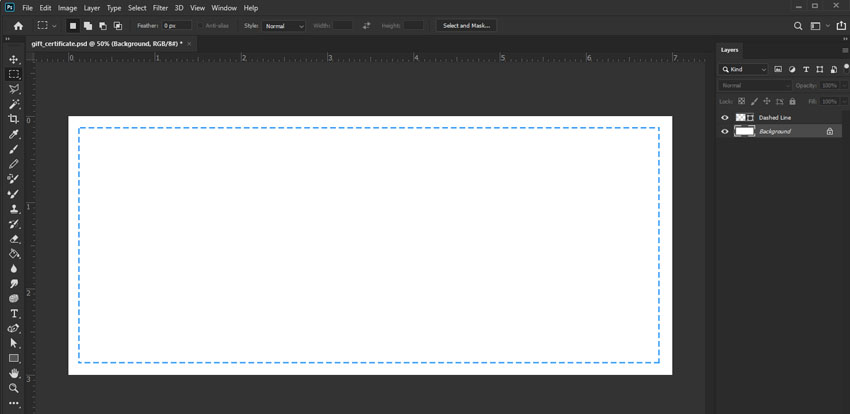
Step 4
Once you’ve selected these settings, click and drag to draw a rectangular shape. It should look dashed, as shown below.
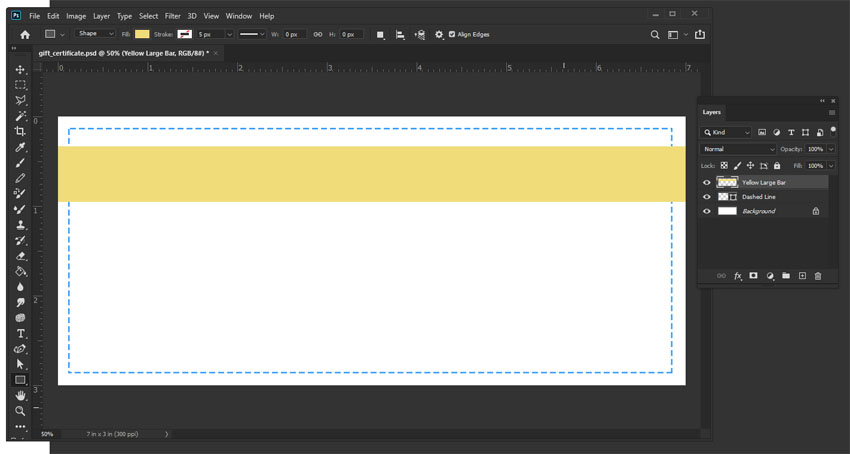
Step 5
Let’s make some more shapes as we begin our layout. This time, let’s use the Rectangle Tool again, but with some different values.
This time, make the Fill Color yellow. Set the Stroke Color to transparent. Then, click and drag to draw a long rectangle in the upper part of the composition.
Step 6
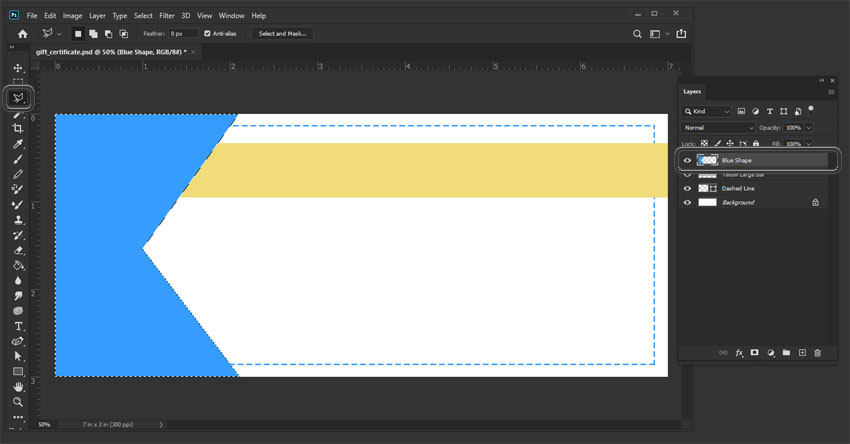
There are lots of different ways we can create shapes in Photoshop—like the Shape Tool and the Pen Tool. Let’s try another way.
First, create a New Layer. Make sure this new layer is on top of your previous layers.
This time, select the Polygonal Lasso Tool. Single click to place points as you draw an angled selection, like the example below. Double-click to complete the selection.
With the new layer selected, use the Paint Bucket Tool to fill the shape with the same blue color as our dotted line.
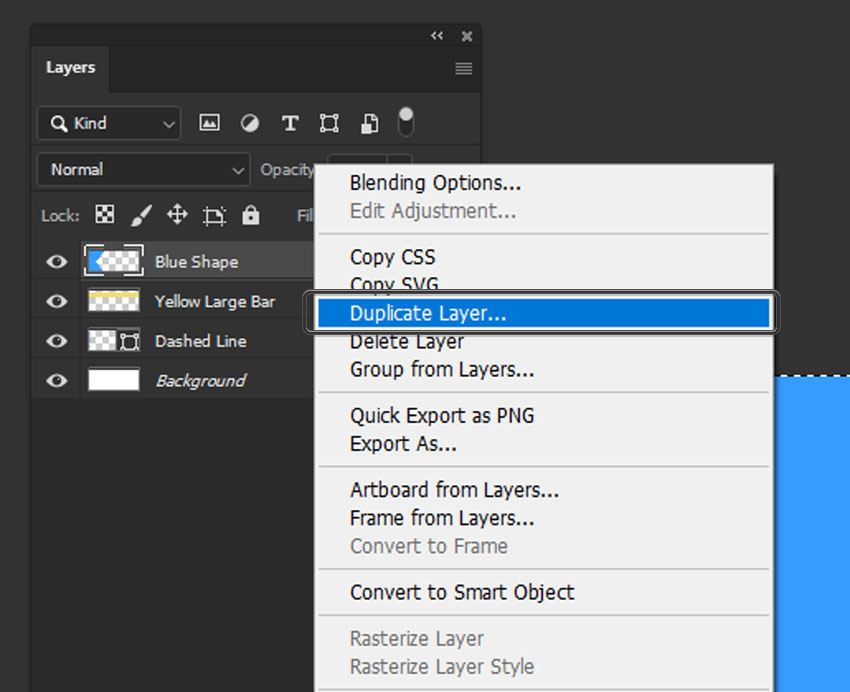
Step 7
Next, let’s make a copy of our abstract shape layer. Right-click on the layer and select Duplicate Layer.
Step 8
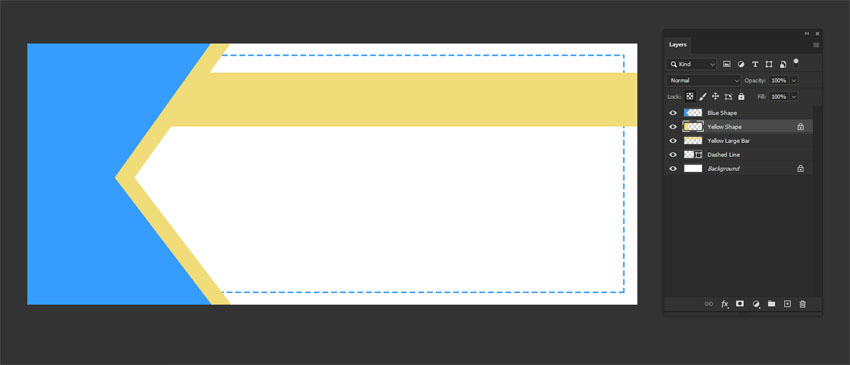
Lock transparent pixels on this duplicated layer. This is located in the Layers panel, right next to the word “Lock”.
Then, use the Eyedropper Tool to select the yellow color we’ve already used in our composition.
With yellow as your active Fill Color, use the Paint Bucket Tool to fill our copied version of our abstract shape. It should be yellow now.
Drag this layer beneath the original blue abstract shape. Then, move the blue version backwards a little, using the Move Tool. This way, we can see a little bit of the yellow shape behind the blue one.
Step 9
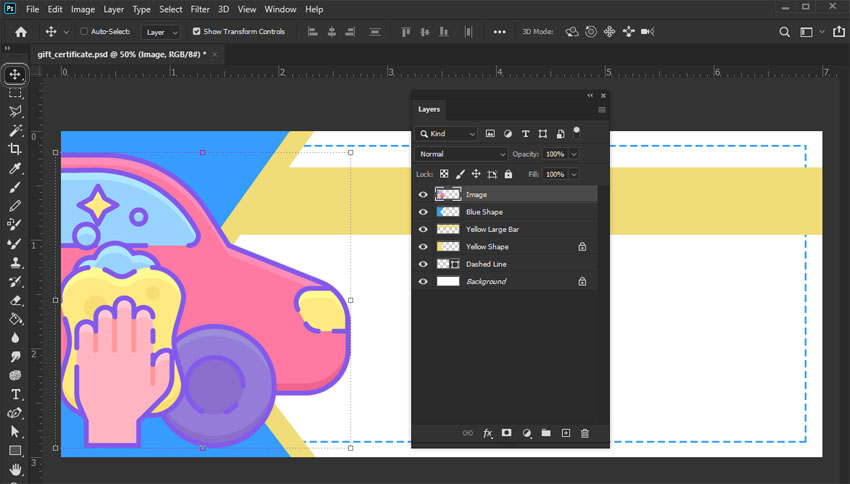
Next, let’s add an image to our gift certificate. I’m going to use this stock illustration from Envato Elements.
Open your image in Adobe Photoshop. Copy it, and then Paste it into your gift certificate design document.
We can then use the Move Tool to move and adjust the image to align best with our layout. You can go to Edit > Free Transform if you need to resize and scale the image.
Step 10
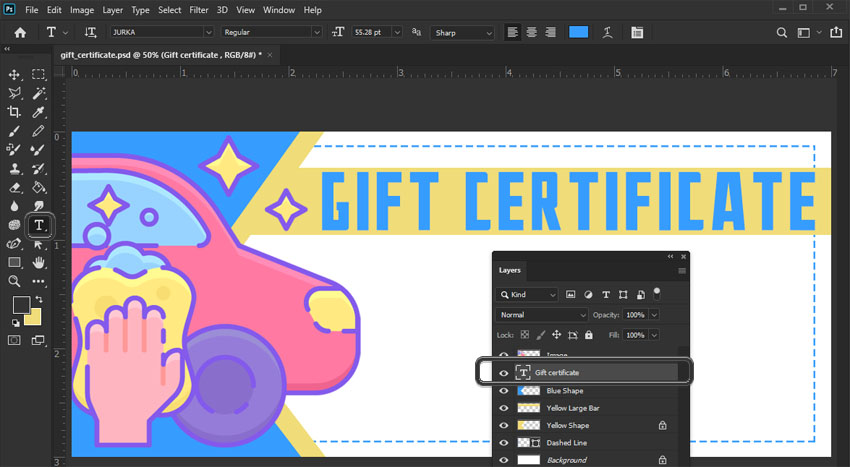
Let’s add text to our layout with the Type Tool. Select the Type Tool in your Tools panel. Then, click on your workspace to start adding type. You’ll notice that Photoshop creates a new text layer for you.
I’m using the Jurka Typeface, in this example.
Step 11
Repeat this process to add text to your layout. Here are some quick tips to help you add and edit your text:
- Use the Move Tool to move your text around your layout.
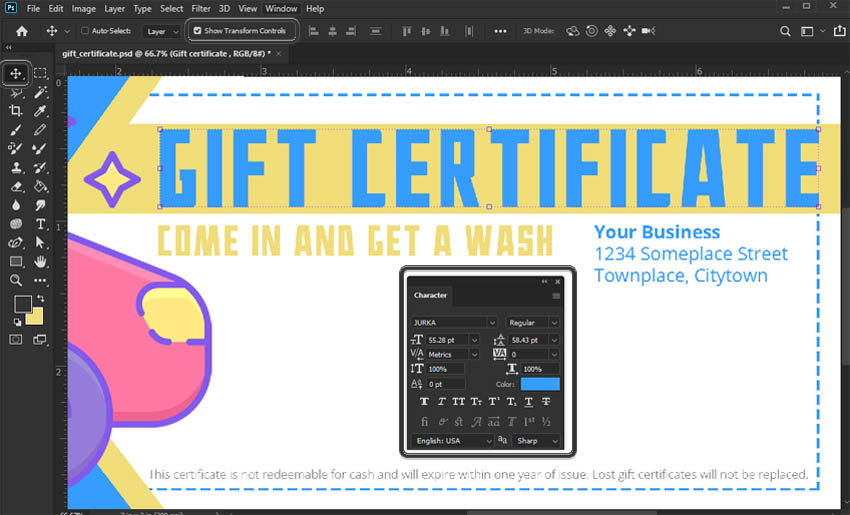
- Turn to the Character panel to change things like the font size, the font color, and the font itself. If you don’t see this panel, go to Window > Character to open it up.
- You can resize text manually by turning on Show Transform Controls in your Options Panel, at the top of the software.
The fonts Jurka Typeface and Open Sans are used in this design example.
Step 12
Let’s add some lines to our design for some write-in information.
Select the Line Tool—if you don’t see it, it’s often nested under the other Shape Tools.
Remember, you can click and hold on the Shape Tool to expand and see the range of Shape Tools you can choose.
As we did with other shapes, look up at your Options Bar. We want the following values:
- Your Fill Color should be our vivid blue we’ve used already.
- Your Stroke Color should be transparent.
- Set the Height to 3 pixels. Note, this is different from the Stroke Size.
Then, click and drag to draw lines in your composition for any spaces you’d like to include in your layout. I created four lines in my composition. Then, I created an extra line to add an accent to my existing text. Simply change the height to a larger number to draw a thicker line.
Tip: To change the color of any existing lines (or shapes) you’ve drawn, double click on the thumbnail in the Layers Panel.
Step 13
Then, let’s add some text to our newly created lines. This will tell the customer what each line is for.
Use the Type Tool to add any supplemental text you’d like. I refined spaces for “To”, “From”, “Amount”, and “Authorized Signature”.

Step 14
And there you have it! We’ve created a gift certificate template that you can use, reuse, and remix to suit your business needs. Change up the colors, the imagery, and the text to create a tattoo gift certificate template or business gift certificate template you like.
Remember to save your work. It’s a good idea to save a layered PSD file—a Photoshop document—just in case you ever want to change your design later. Then, you can export a gift certificate template PDF, a high-res JPG, or any other file type you need, without losing your fully editable content.
3. How to Create a Gift Certificate Without Photoshop
Step 1
Photoshop is a powerful tool—you can make amazing things with it—but maybe you’d rather not use Photoshop to make your gift coupon template. Why not give a gift certificate maker a try, instead?
Let’s check out how easy it is to work with a customizable gift certificate template, right from the comfort of your browser.
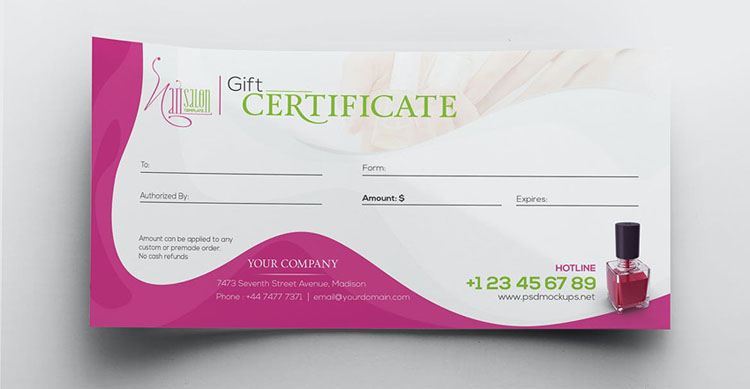
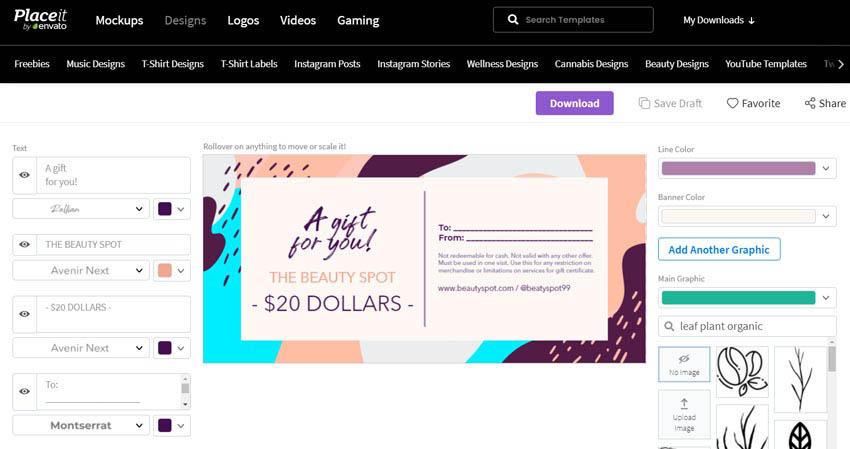
For this demonstration, we’re going to work with this printable gift certificate template from Placeit. You can work along for free, right now. Check it out:
Step 2
We can easily change and adjust this design from our browser. For example, we can change what the text says on the left-hand side. Simply type and the text will be updated in the layout for you.
We also change the font and the font color here, on the left.

Step 3
We can also move design elements around, too.
Click and drag on any part of the design to reposition it. Go ahead, give it a try. It’s free, easy, and you don’t need any software to start designing, right now.

Step 4
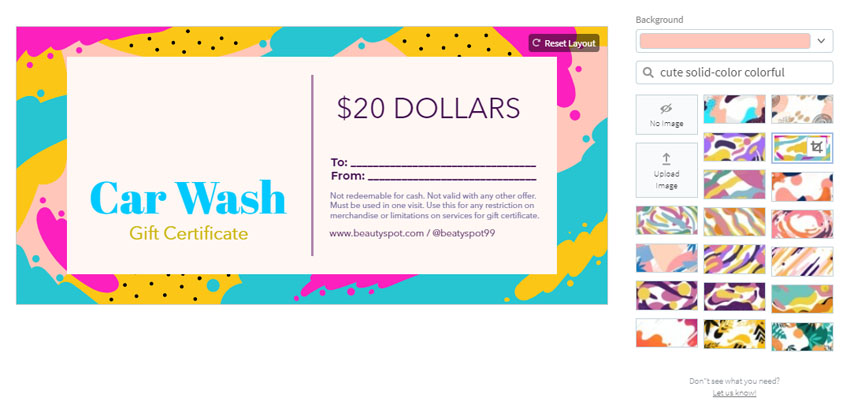
We can change up the images here, too. For example, we can easily choose a new background image, if we’d like to. It’s as simple as browsing the images already available for you, right here on Placeit.
There’s plenty of stock imagery to choose from, too. Just type in a search term, above the image boxes, to check out more images.
Step 5
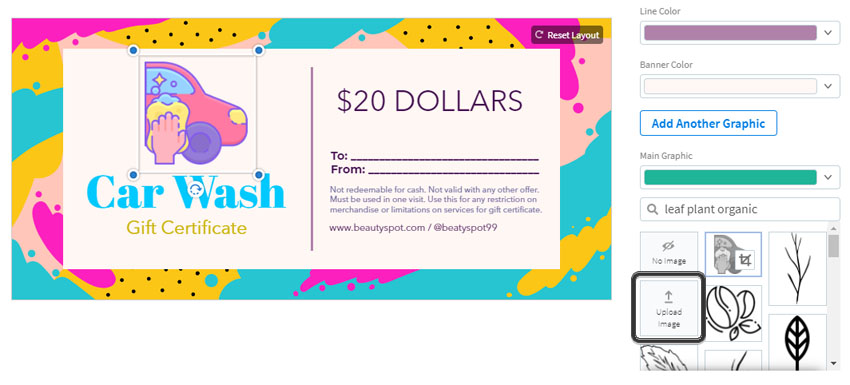
However, we can also use images from external sources (remember only to use copyright-appropriate imagery). Let’s use the stock image that we used in our earlier gift certificate design.
Under Main Graphic, click on Upload an Image. Then, we can select an image from our computer, crop it, and work with it in our layout, right here from our browser. Convenient, right?
Step 6
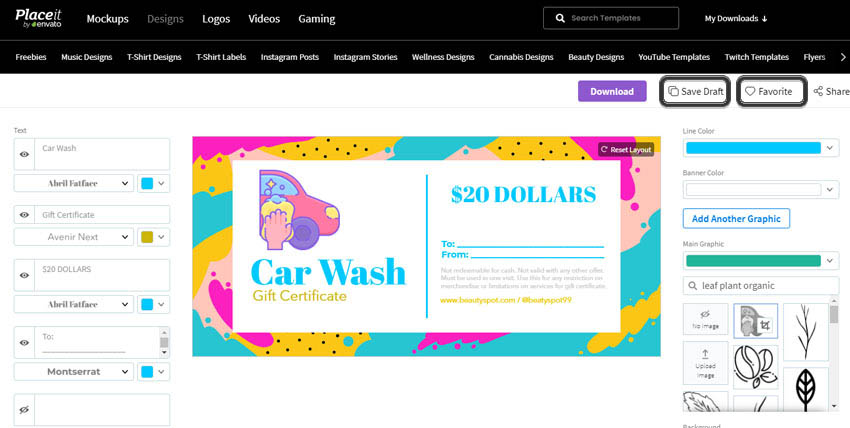
If you sign up for a free account, you can save drafts of your work. You can also add templates to your favorites, so you can easily go back to them later. It’s super convenient.
Step 7
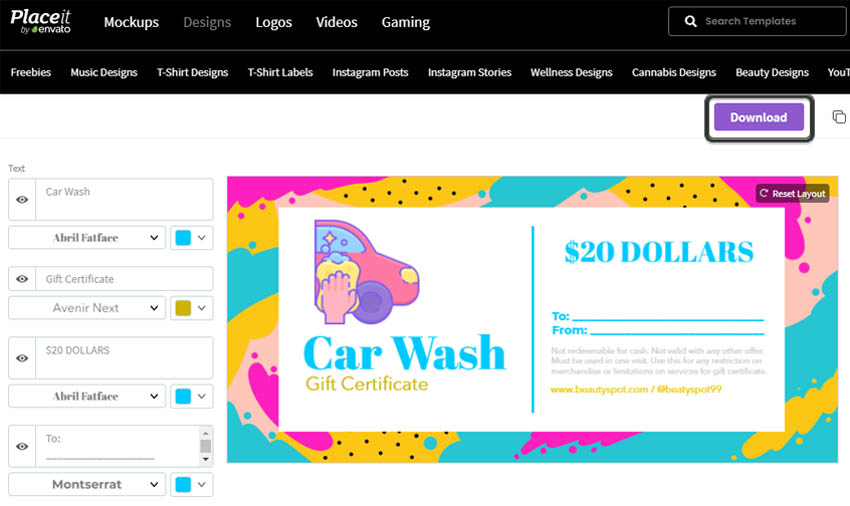
Once you’re happy with your design, it’s as simple as clicking Download.
Choose a one-time fee to download your work—this includes licensing for commercial usage too. Or, if you love to design, take that one-time fee and turn it into unlimited downloads. Create and download to your heart’s content.
Try a Customizable Gift Certificate Template
Looking for some gift certificate ideas? Here’s a sample of some of the customizable gift certificate template designs you can test out, right now, on Placeit.
Whether you’re looking for a blank gift certificate or the perfect business gift certificate template, you can adjust and change the layouts, right now, from your computer or mobile device. Give it a shot!
1. Printable Gift Certificate Template

Here’s the gift coupon template we used in the previous walk-through, exploring how to make a printable gift certificate. You can dig right in and customize this one too. It’s easy, fun, and free to try out.
2. High Contrast Gift Voucher Template

Prefer a darker theme? This gift voucher template comes with a dark background by default, but you can completely customize the layout. Change the colors, move things around—the choice is yours.
3. Custom Gift Certificates Template
Here’s a customized gift certificate, specially adjusted for this article. Click to continue designing it. It’s easy to come up with new gift certificate ideas on Placeit because it’s so easy to adjust the layout content.
4. Elegant Blank Gift Certificate Design
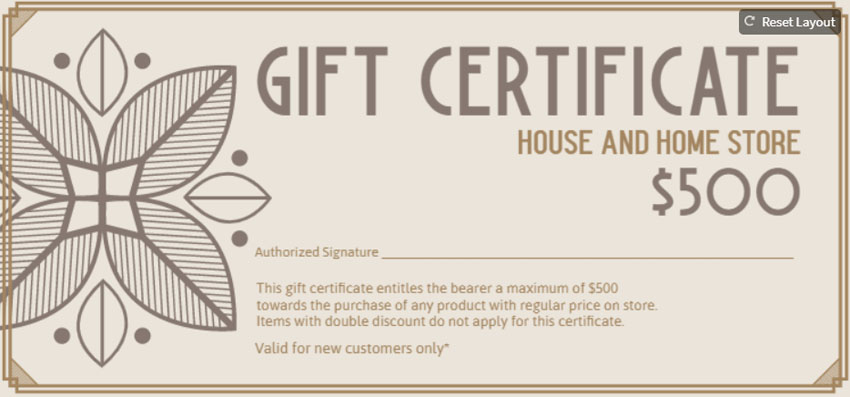
Imagine this one as a tattoo gift certificate template. You can upload artwork in Placeit to customize this design any way you like. Swap the colors and move layout elements to make the perfect printable gift certificate.
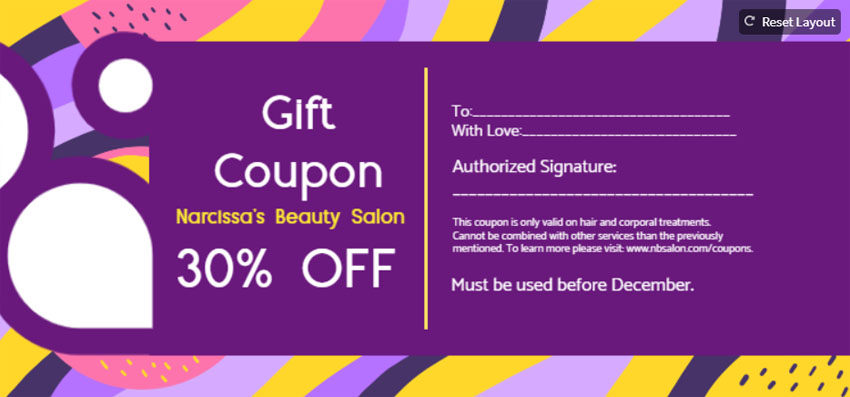
5. Colorful Customizable Gift Certificate Template

If you’re looking for a ready-made gift certificate template, this is a great option too. Swap out the background, change the text, and you’re done. The changes can be as simple or complex as you’d like.
Design Your Own Printable Gift Certificates Today
There are so many different ways to make custom gift certificates. Whether you’re looking to build one from scratch, edit a gift certificate template you’ve found, or use a gift certificate maker, we hope you found some help and inspiration today.
Check out these other articles, roundups, and tutorials from Envato Tuts+ for even more design content and inspiration. Happy designing!
 Templates20 Best Free Business Gift Certificate Templates (MS Word & More for 2020)
-
Adobe InDesign10 Essential Tips in Creating Print Design
-
Graphic Design100 Best Graphic Design Tutorials
-
PostcardHow to Create a Postcard Template in InDesign
-
Print DesignHow to Create a Promotional Flyer in Photoshop