


Have you ever wanted to create your own Procreate custom brushes? Maybe you’d like to customize some of your favorite brushes or just get more familiar with Procreate’s wealth of brush settings. In this tutorial, we’ll take look at some Procreate brush basics and settings, and you’ll learn how to create and customize a Procreate brush.
But what if you want to save some time and find ready-to-use Procreate brushes? We’ve got you covered.


If you’d like to find the best Procreate brushes for your digital drawings, scroll down after this Procreate custom brush tutorial. We’ve got a selection of premium Procreate brush sets from Envato Elements and Envato Market.
Watch How to Create Procreate Brushes
If you prefer to watch this Procreate custom brushes tutorial in action, we’ve got this video for you. Here you’ll learn how to make brushes in Procreate and how to customize brushes. And if you want to learn more and watch more great tutorials, follow along with us over on our Envato Tuts+ YouTube channel:
What You Will Learn in This Procreate Custom Brush Tutorial:
- How to get started with Procreate brushes
- How to customize brushes in Procreate
- How to create brushes in Procreate
For this tutorial, I’m using an Apple Pencil on an iPad Pro. You can also use a compatible third-party stylus, but this may result in fewer pencil settings.
1. How to Get Started With Brushes in Procreate
Step 1
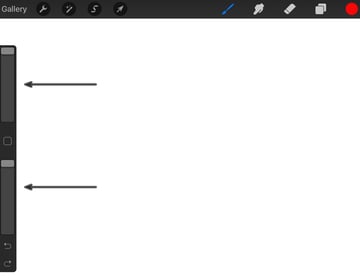
First, it’s important to note the Brush Size and Brush Opacity, in your main work area. Slide them up and down to alter your Brush Size and Opacity as you work. In the example below, my Brush Opacity and Brush Size are all the way up, at 100%.


Step 2
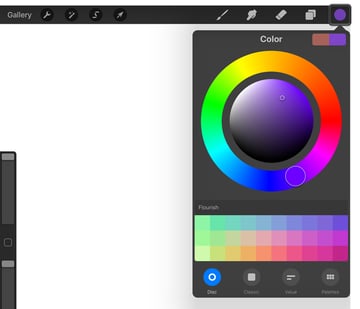
You can also change the Color of your brush in the upper left-hand corner. For this tutorial, choose any color you like, other than the same color as the background.


Step 3
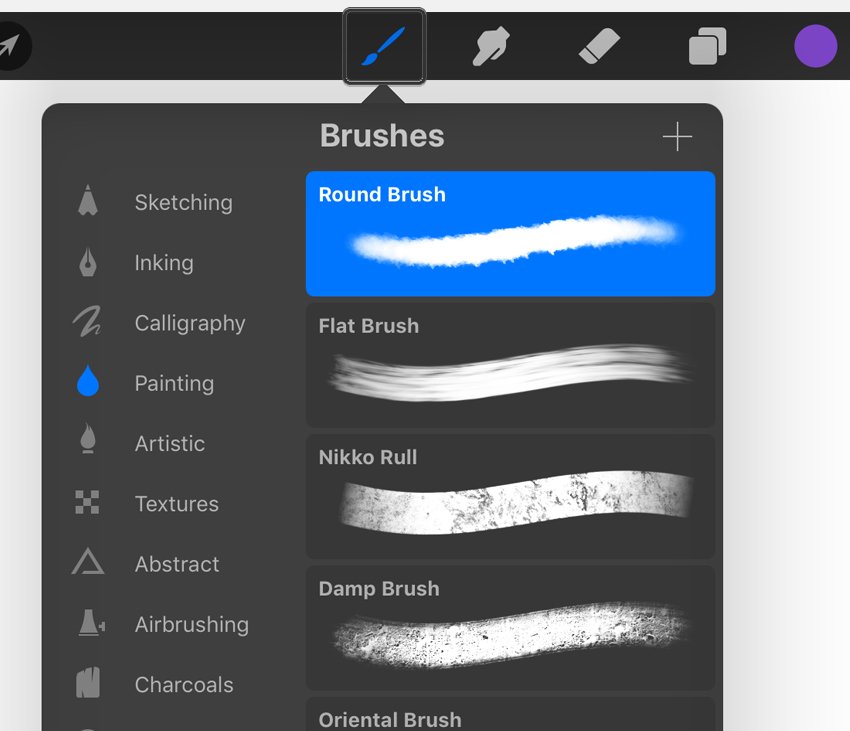
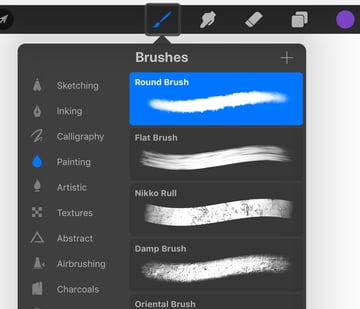
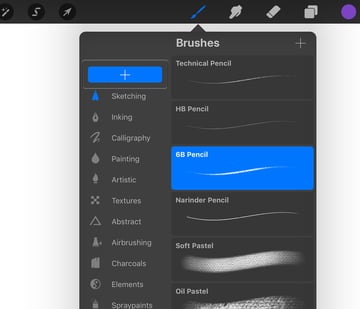
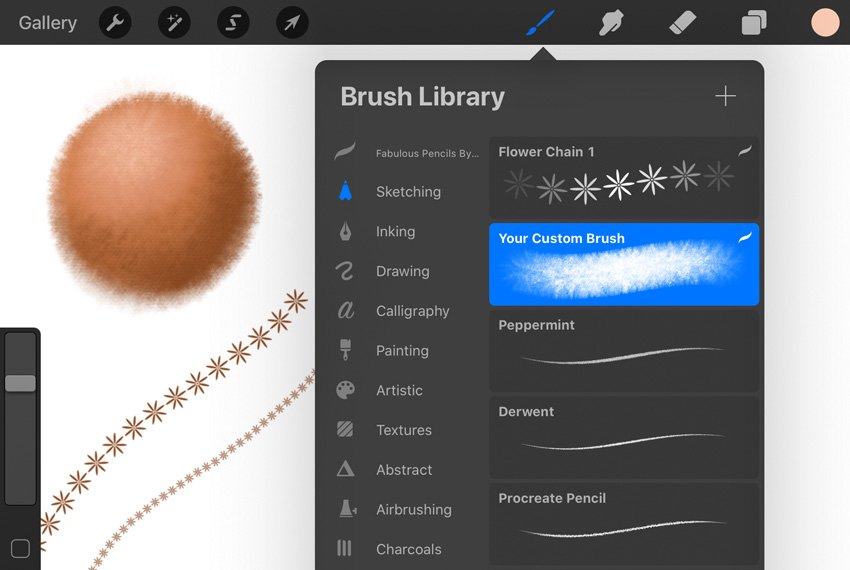
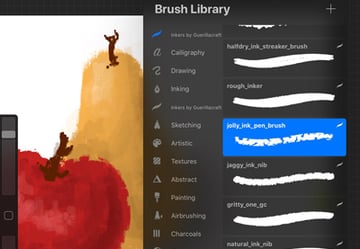
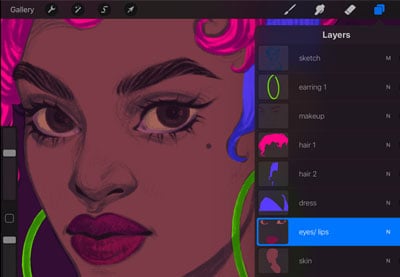
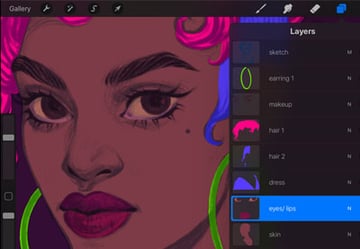
Let’s begin by looking at the default Procreate brushes. First, switch to Paint Mode and tap on the paintbrush icon. This will open up your library of Procreate Brushes.
Your current Brush selections are indicated in blue, as seen below.

Step 4
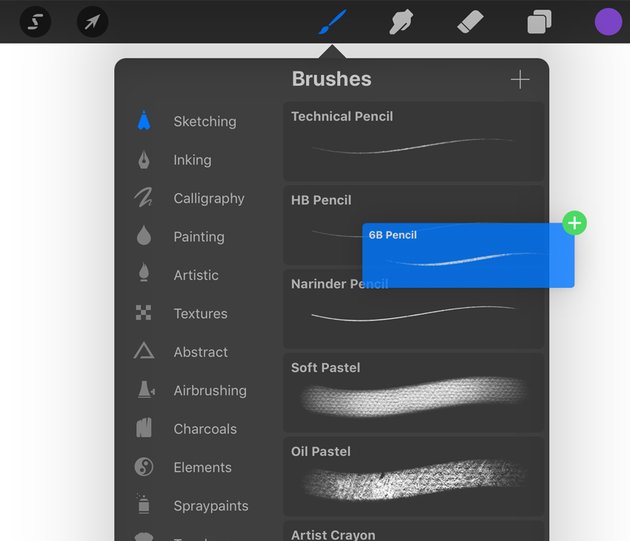
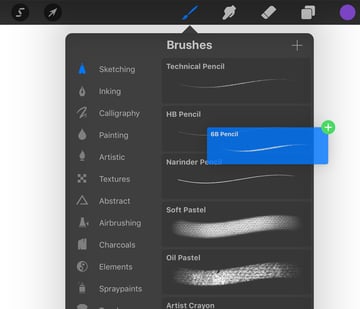
Swipe through the list of brushes to browse them. Each category, called a Brush Set, has a number of default brushes available for the user. For example, Sketching is one of the default Brush Sets.
You can rearrange both these sets and the brushes within them by tapping and dragging them within the lists. In the example below, I tapped and held the 6B Pencil, so I can drag it wherever I would like in the list.

Step 5
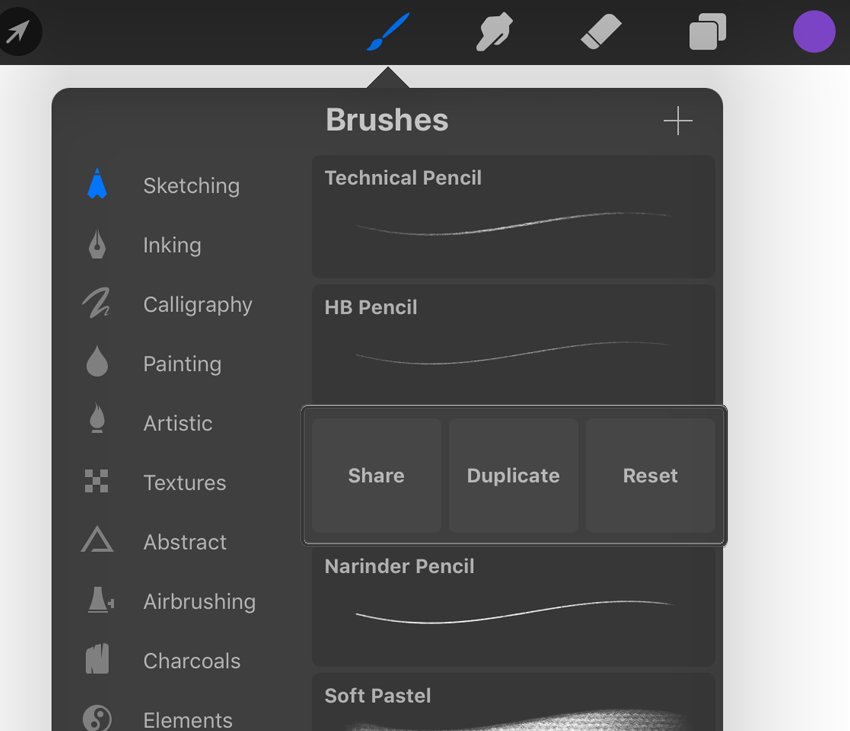
When I customize my Procreate brushes, I often like to Create a Duplicate, so I can freely experiment but also retain the original brush.
To Duplicate a Brush, swipe to the left and select Duplicate. You can also Reset a Default Brush from this menu, as well as Share or Delete, if it is a Custom Brush.


Step 6
You can also organize your brushes into your own Custom Set. This can be handy for things like sorting your favorite brushes, grouping imported brushes, or storing your Custom Brushes all in one place.
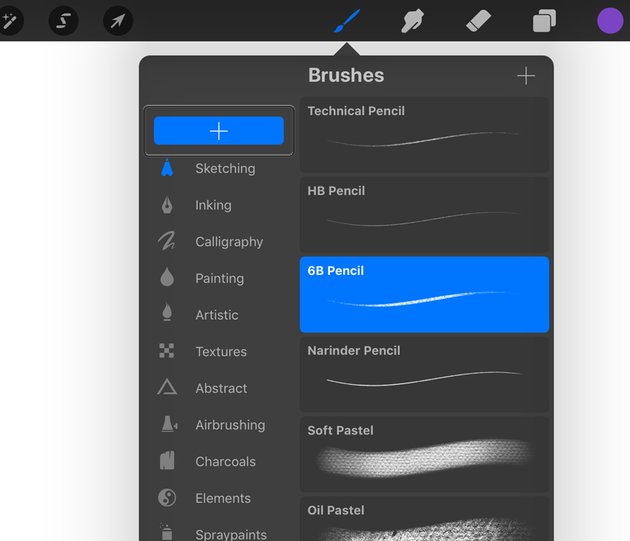
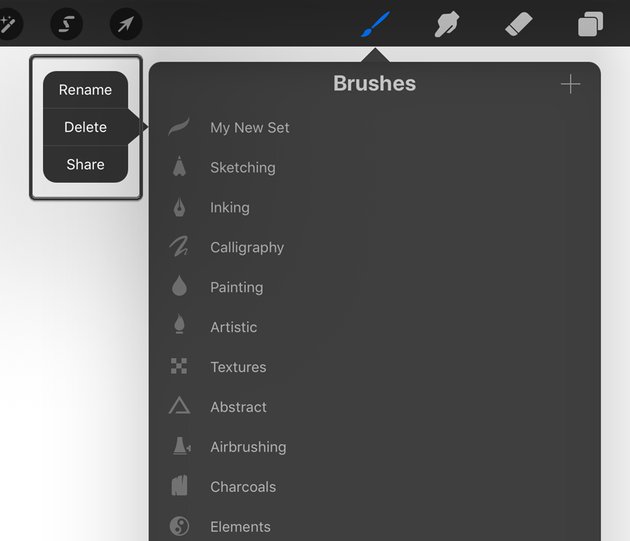
To create a Custom Set, swipe downwards when viewing the available Sets. This reveals a plus icon. Tap this to create and name your new set.

Step 7
To Delete a Custom Set, tap on the name of the set and then choose Delete. You’ll notice that your new Brush Set is empty until you add content to it. Again, tap and drag, as noted in Step 4, to Add and Move Brushes among your Brush Sets.


2. How to Customize Brushes in Procreate
Step 1
Please note that this tutorial has been updated for Procreate 5.
Procreate brushes have a wide variety of settings. I highly recommend freely experimenting with them—this is a great way to get a hands-on feel for how they work. As we go through the settings, take some time to get to know them!
Tap on your desired Brush to open the Brush Settings. This is where we’ll make our customizations. There are ten categories with different settings we can adjust.
You’re welcome to customize any brush that you like, for this tutorial.
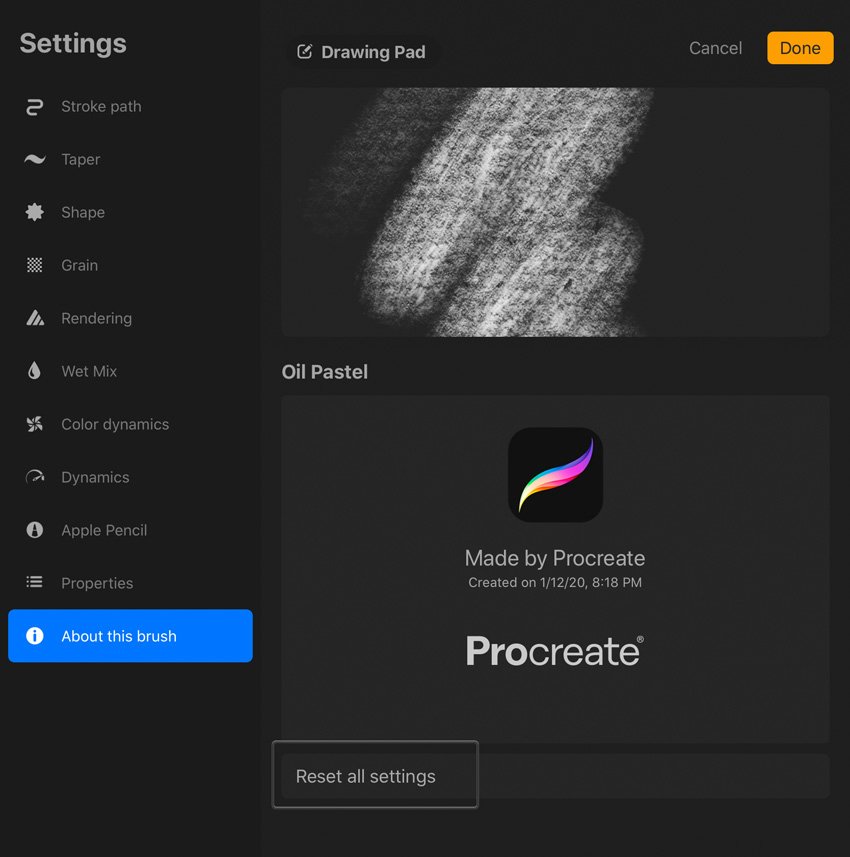
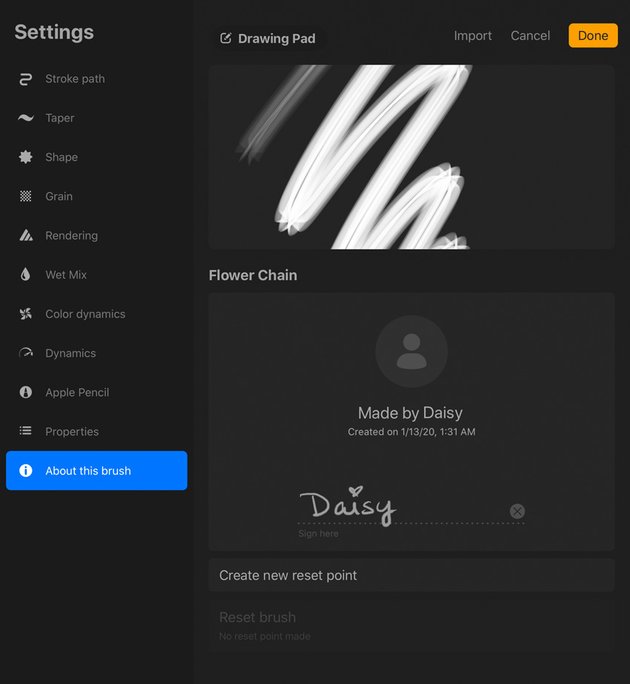
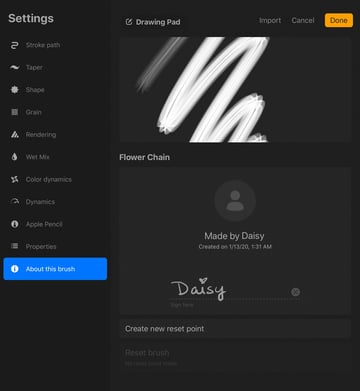
In Procreate 5, you can Reset a Default Brush at any time by going to About this brush in the Brush Settings, and then selecting Reset all settings.

Step 2
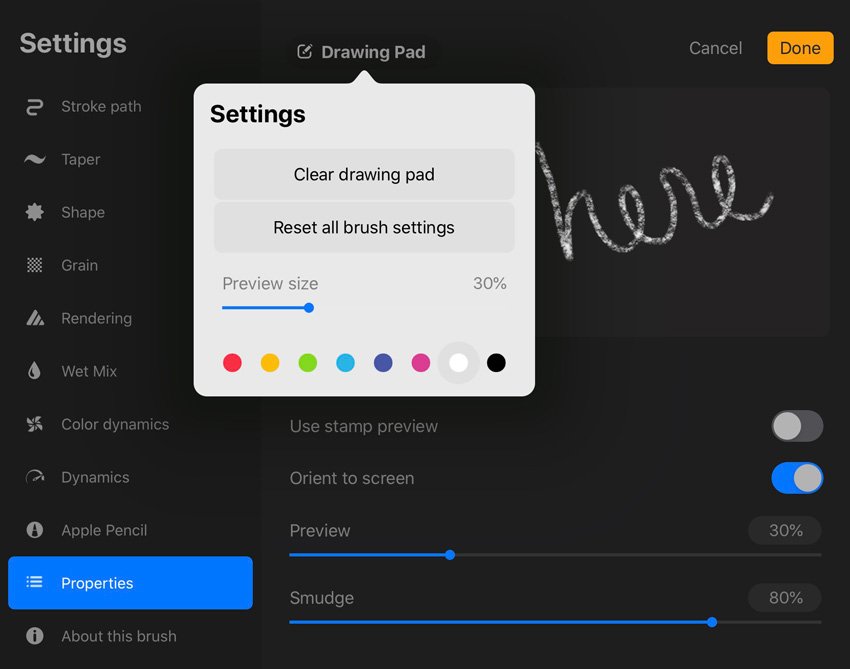
I’d like to draw your attention to the Drawing Pad, at the top of our Brush Settings. Here, we can test out our settings while we experiment with them.
Tap the icon and the word Drawing Pad to open the Drawing Pad Settings. Here, you can clear your drawing pad, reset your settings, change the preview size, and select a different color.
I would highly recommend actively doodling in this space, so you can test out your settings as you adjust them!

Step 3
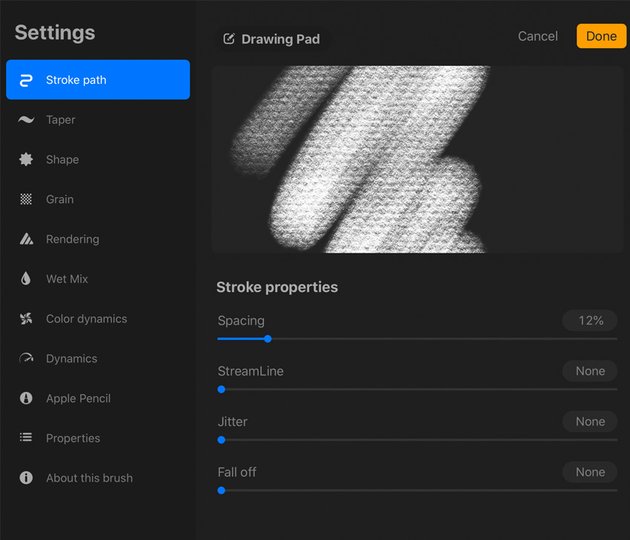
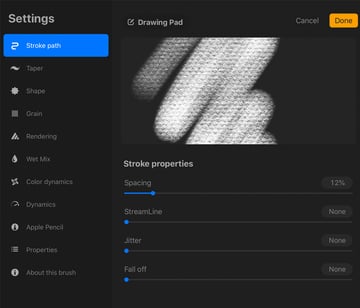
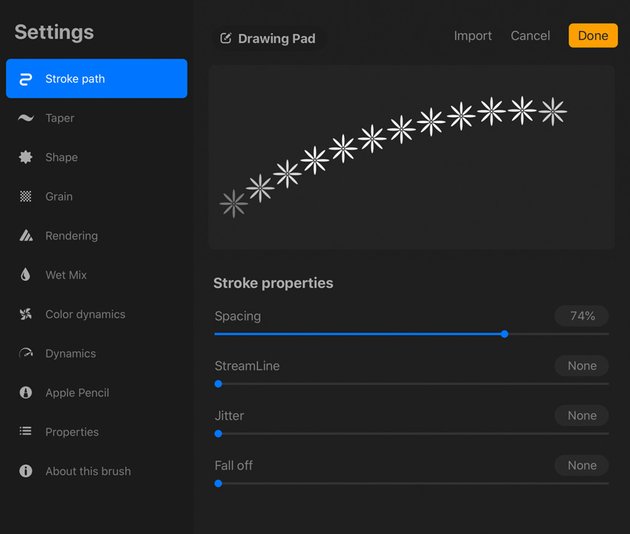
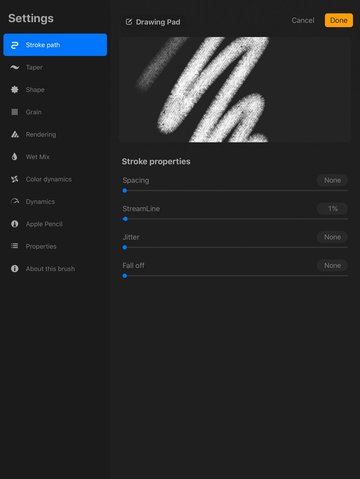
Let’s start with the Stroke Path, the first option on the left-hand side. These sliders adjust the following attributes related to your brush:
Spacing refers to the space between each shape that makes up the Brush Stroke. If you’re unfamiliar with digital drawing and painting, I’d recommend thinking about the stroke you draw as a repeated series of shapes. For example, when the Spacing is turned up, you’ll actually see these shapes spaced out. When the Spacing is low, you’ll see a solid, continuous line.
StreamLine refers to line stabilization. Try turning it all the way up, and you’ll notice that your lines are extra smoothed out for you!
The Jitter is somewhat like a different kind of Spacing. Notice how adding additional Jitter spreads the shape out, rather than keeping it “together”.
Fall Off affects the length of your stroke. Leaving it as “None” keeps the stroke continuous.

Step 4
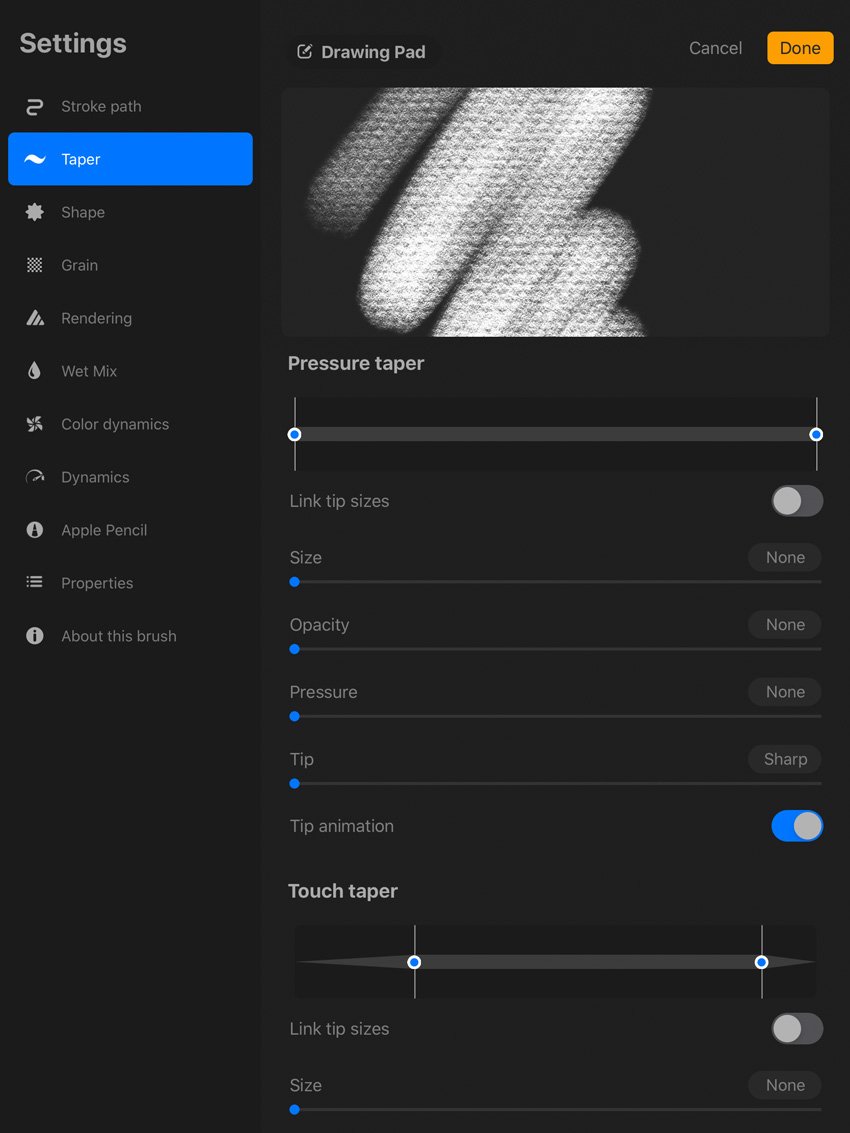
Next, let’s take a look at the Taper Settings, a new section introduced in Procreate 5. Previously, Taper was a slider located under our Stroke options, but now we have even more to work with here.
The Pressure Taper Settings refer to the taper that will be applied when using an Apple Pencil. You can adjust this to best suit the way you prefer to draw. For example, we can create and customize an artificial taper, as opposed to relying solely on the pencil’s sensitivity, if we find that it’s not quite what we want right out the box.
The Touch Taper Settings are such a welcome addition, in my opinion! We can’t draw in Procreate with our finger the same way we can with an Apple Pencil; we just can’t use the pressure sensitivity that way. However, the Touch Taper settings can apply an artificial taper to strokes drawn with our finger! Cool, right?
Prefer the classic taper from previous versions of Procreate? You can toggle that option on, instead, at the very bottom.


Step 5
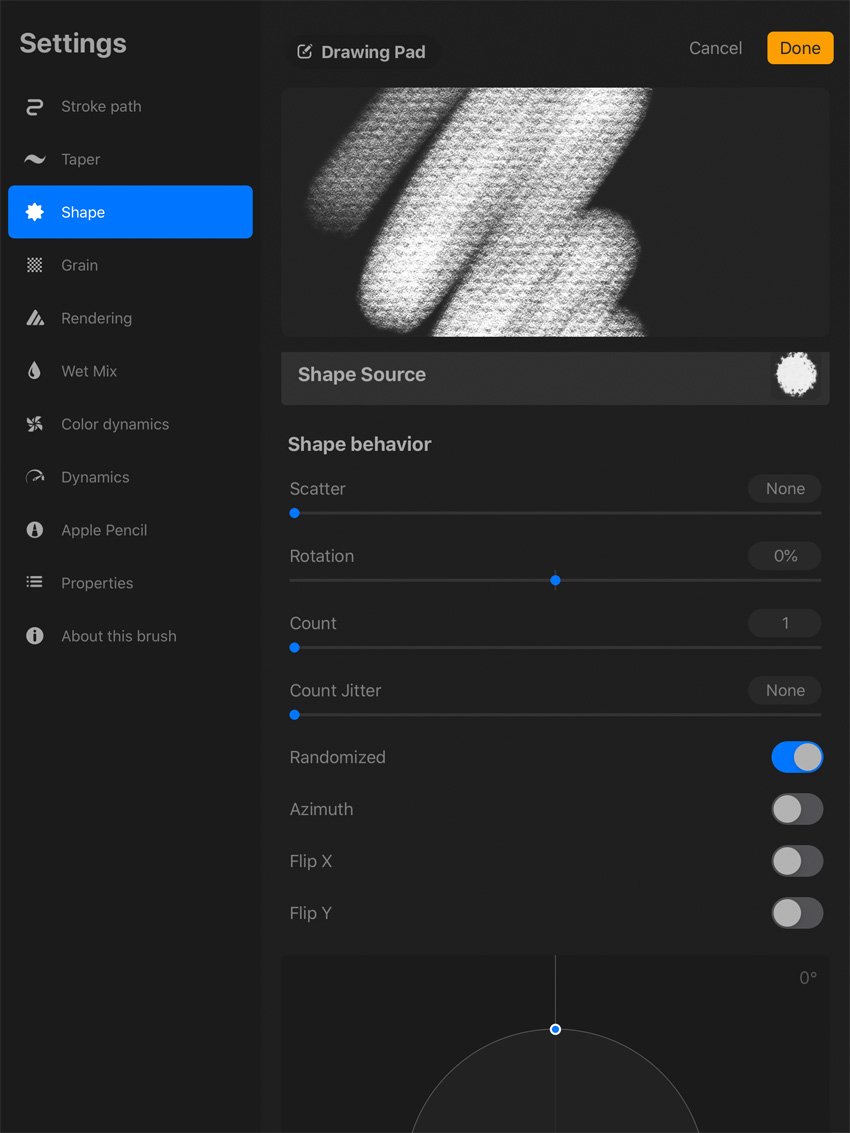
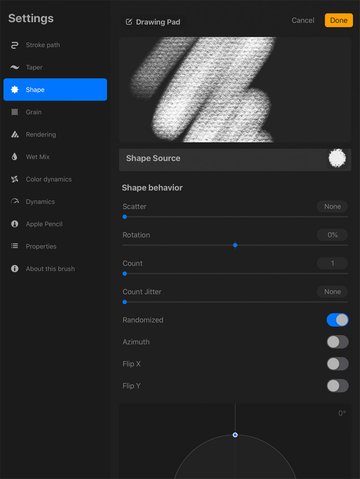
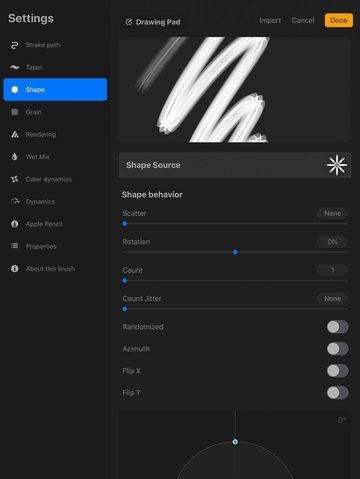
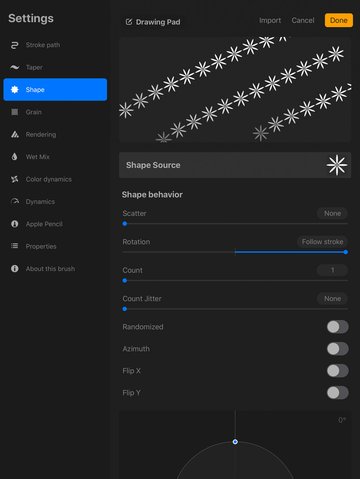
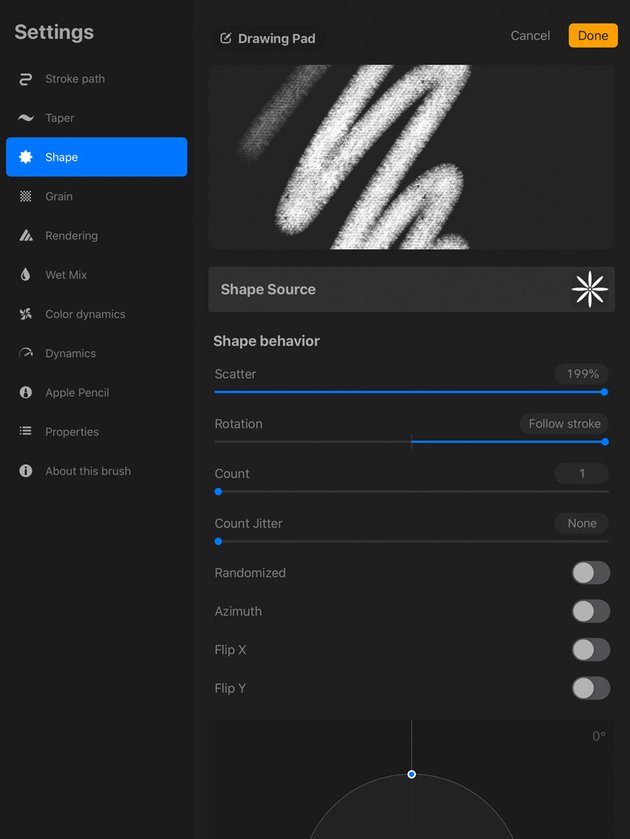
Now, let’s look at the Shape Settings. Your Brush Stroke is essentially a series of Shapes. Here, we can make some adjustments to how this shape behaves.
Shape Source is basically the base of your brush. Think of your brush stroke as a series of shapes, and this is the building block of that! Tap to select a new shape, if you’d like to. We’ll test this out later in the tutorial.
Scatter is very much what it sounds like: whether you’d like the shape to scatter or remain more uniform.
Rotation is also much how it sounds: the Brush Shape’s direction.
Count and Count Jitter refer to the number of times the shape itself makes an impression, and if you would like that to be variable.
There are two Shape Properties that can be toggled on and off: Randomized and Azimuth. With Randomized Off, your properties will be dependent on your stroke, but if toggled on, Procreate will add additional variation. Azimuth refers to the angle of your pen and whether or not you’d like your brush to be affected by this.
Finally, we have Shape Filtering, and three settings we can choose here: None, Classic, and Improved. They are different degrees of anti-aliasing.

Step 6
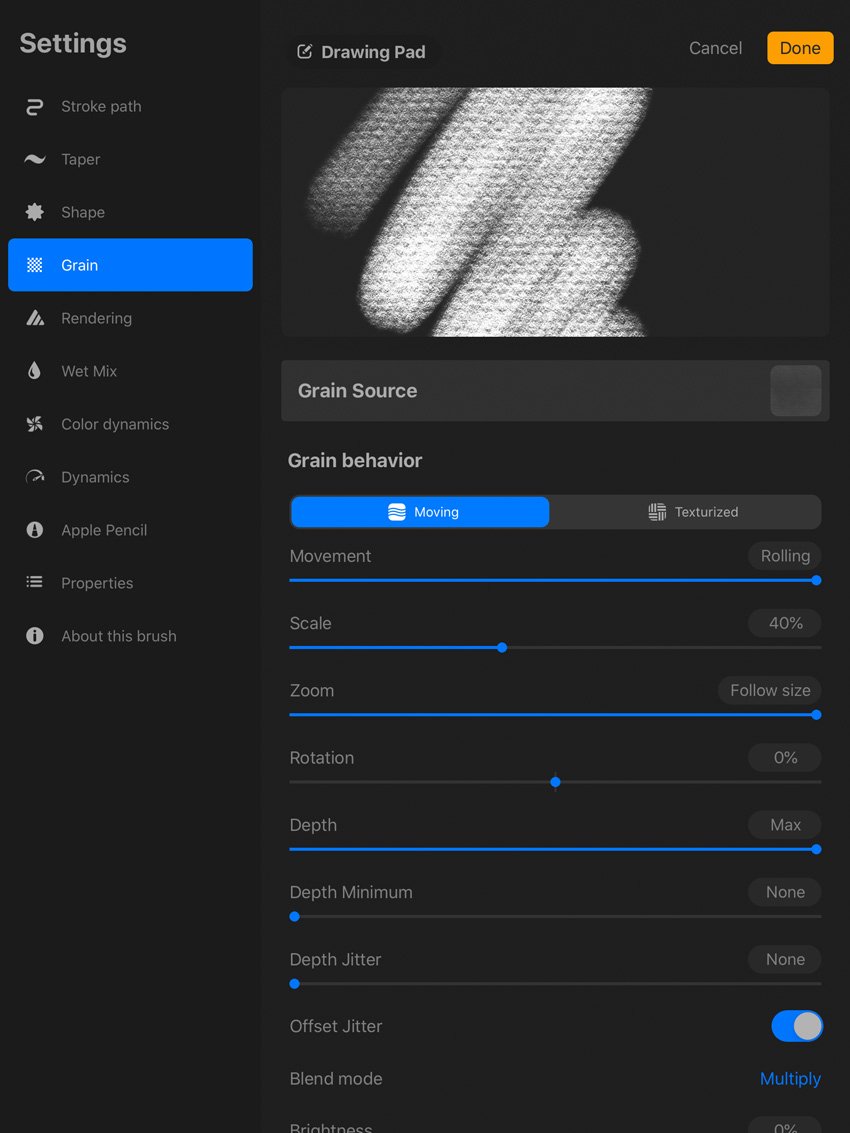
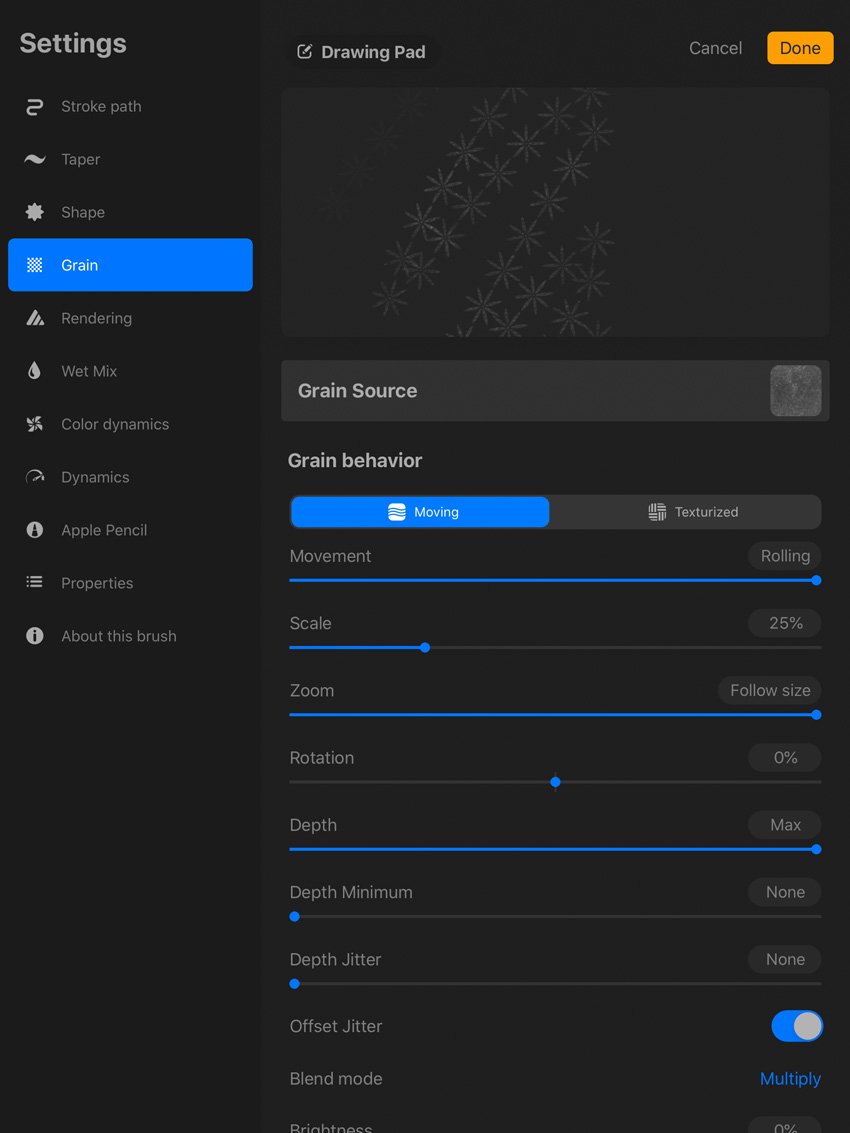
The Grain is the second part of your brush’s composition. As we’ve discussed, the Brush is largely composed of a Shape. However, the Shape also has Grain, which is like a texture inside your Shape.
Now, in Procreate 5, we have Moving and Texturized tabs to choose from. Choose Moving if you’d like your grain to the integrated into the overall texture of the brush. Choose Texturized if you’d like the grain to be present as a more repeated texture.
Movement helps determine how the Grain behaves. With Movement at 100%, you’ll see the texture fill and repeat within the Stroke. Turned down to 0%, however, the texture will not repeat. Instead, the aesthetic will have more of a continuous look.
Scale, as it sounds, refers to the size of the applicable Grain, and Zoom determines if and how your Grain will scale with the Brush.
I typically leave the Rotation set to Static (in the middle), but these options can be used to Rotate the Grain with the direction of your Stroke, if desired.
The Depth Settings will dictate how visible the grain is. For example, at minimum, we won’t see any texture.
Offset Jitter can help keep things looking natural, unless you want your grain to be a consistent pattern that does not vary when you make a new stroke.
The Blend Mode is similar to what we’d see in Layer Styles, as are Brightness (how light or dark you’d like the grain to be) and Contrast (intensity between light and dark values).


Step 7
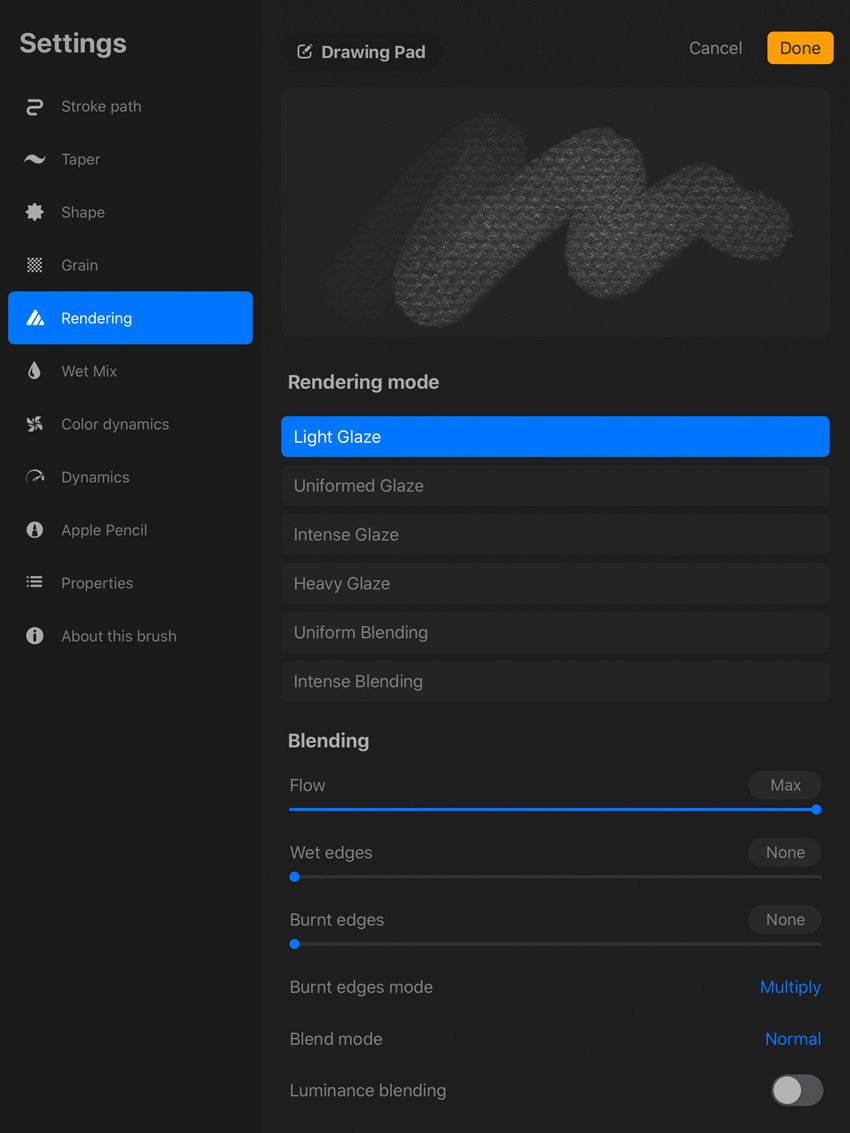
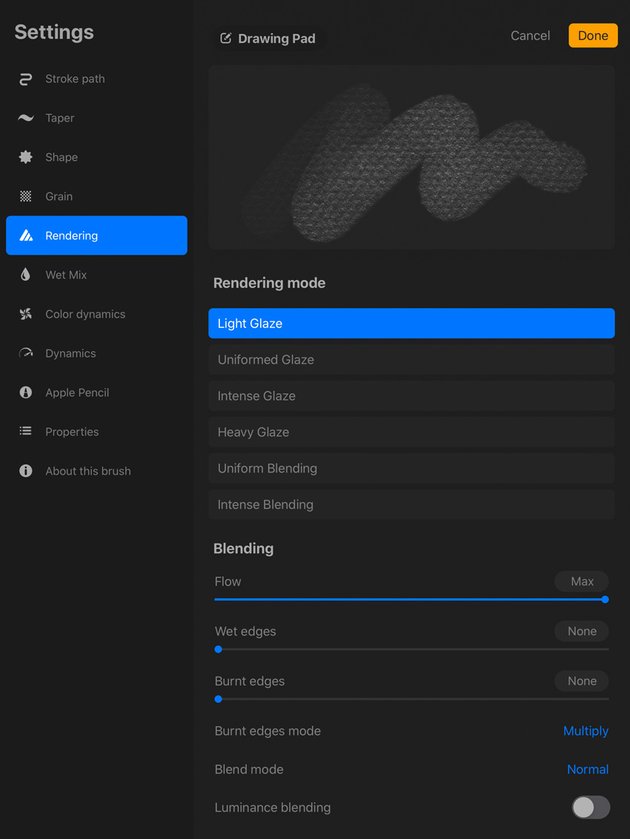
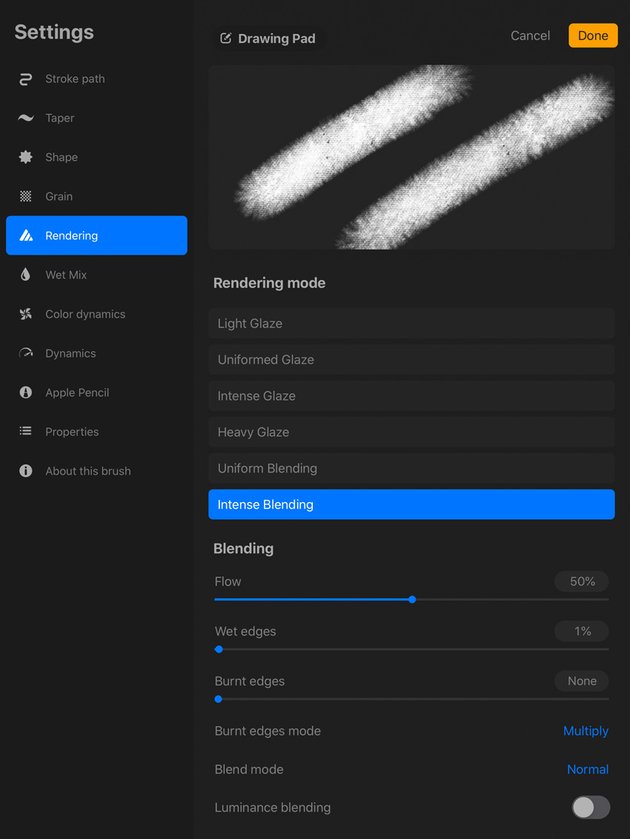
Next, we have our Rendering Options, which are a new section added in Procreate 5. Choose between six different rendering modes: Light Glaze, Uniformed Glaze, Intense Glaze, Heavy Glaze, Uniform Blending, and Intense Blending.
I recommend using the Drawing Pad above these options to test them out in real time. Just toggle between them and draw to see the difference. In some, the difference is rather subtle, but in others, it can make a big difference. For example, Light Glaze, Procreate’s Default, is quite a light blending mode, while Intense Blending feels quite harsh, in contrast, and Uniformed Glaze is more like Photoshop’s default rendering.
The Flow is basically how much value “comes out” when using your brush.
Wet Edges will soften the edges of your brush.
Burnt Edges will darken the edges of your brush.
Burnt Edges Mode and Blend Mode should be familiar, in terms of their options; choose from standard blending mode types to change the look and feel of your brush.

Step 8
Wet Mix is as it sounds. For example, Dilution is how much “water” is in your brush, and Charge is how much paint has been “loaded”. Try out a brush with High Dilution and Low Charge. Add a lot of Pull—this is how much paint is “pulled” with your Stroke. The result would be a brush with only a little paint, but a lot of water, so it pushes the color around and dilutes it!
Don’t be afraid to test out these Brush Settings as you go through them! Personally, I think that’s the best way to get comfortable with them. Again, use the Drawing Pad, above the settings, to test things out while you’re experimenting with these settings.


Step 9
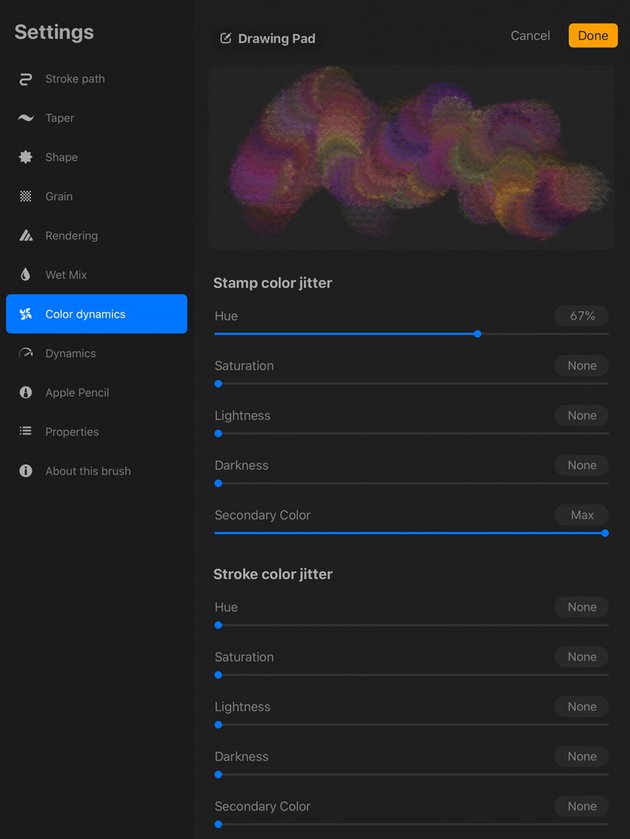
Color Dynamics are a newer section, here in the Brush Settings. You’ll see multiple sections here:
Stamp Color Jitter affects the color of each instance of the shape used within your stroke.
Stroke Color Jitter will add color variation every time you make a stroke.
Color Pressure will change the color depending on the pressure applied to your pencil.
Color Tilt will change the color depending on the tilt applied to your pencil.
You can adjust the Hue, Saturation, Brightness, and intensity of the secondary color for each of these settings. It might sound overwhelming, but again, I strongly believe one of the best ways to learn and get used to these settings is to try them out. Change the values and experience how they work!
For example, below, I turned up the Stamp Color Jitter’s hue and tested it out in my Drawing Pad. Pretty neat effect, right?


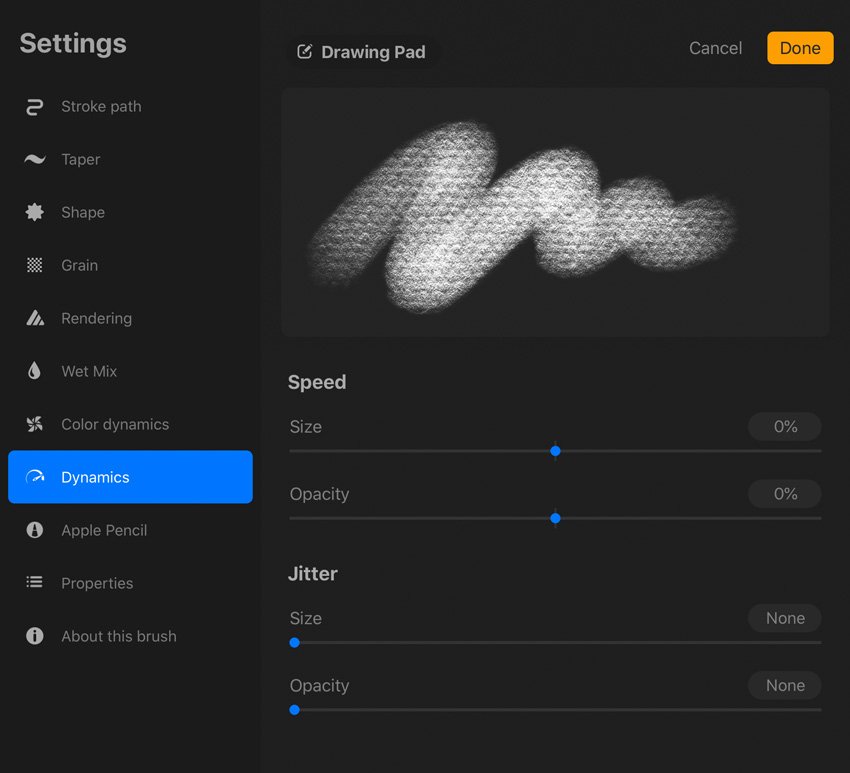
Step 10
Dynamics are generally independent of the pencil. So, for example, the Speed settings will determine the appearance of our brush based on the speed at which it’s drawn. A “slow” line, for example, could have less opacity than a fast one.
The Jitter is rather like a randomizer, in this case, as these values would not be affected by pressure or speed.


Step 11
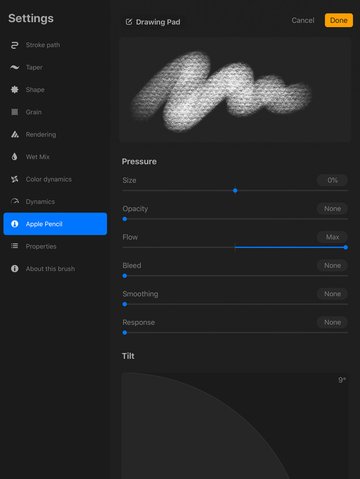
The Apple Pencil Settings are divided into two sections: Pressure and Tilt.
The Pressure Settings can be used to adjust the Opacity, Bleed, Size, and Softness based on the pressure applied with your pen.
The Tilt Settings are not available for third-party pens, and they can be used to customize how the tilt of your pen affects your brush.


Step 12
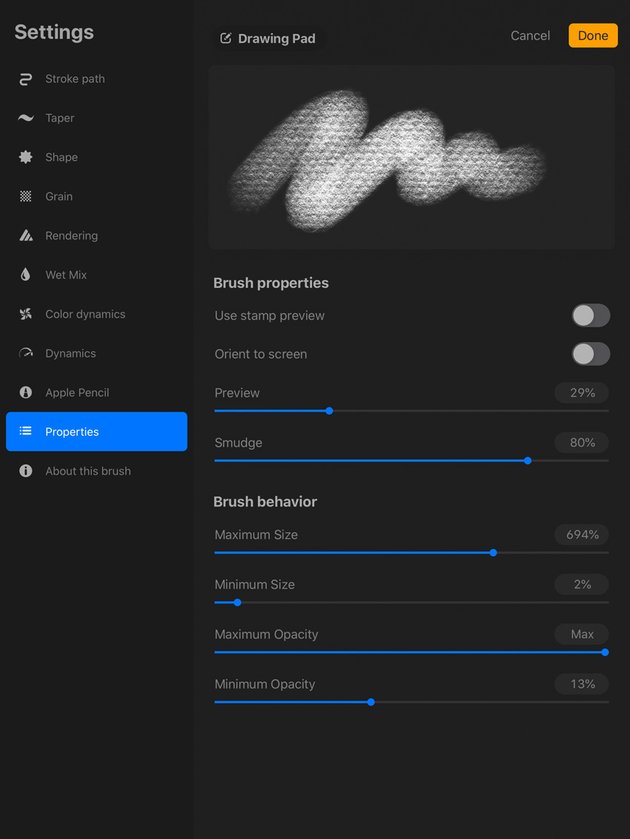
The Properties contain many of the brush’s basics.
The Brush Behaviors included here are a little different from what the General Settings were in previous versions of Procreate (Blending Modes, for example, aren’t located here anymore).
The Size Limits dictate the brush’s Maximum and Minimum available size. So, for example, I often like to raise the Brush Maximum on the default 6B Pencil, so I can get a much thicker stroke than the default permits.
I generally like to keep the Opacity Limits up to the full Minimum and Maximum, but in some cases, you may want to lessen these values—for example, in a brush where you know you want the Maximum Opacity to be capped below 100%.


3. How to Create a Brush in Procreate
Step 1
Now, let’s use the Brush Settings we’ve explored to create new Procreate brushes.
Start by tapping the Plus Sign at the top of your opened Brushes.

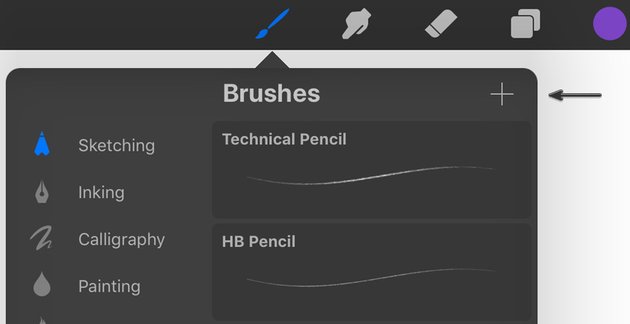

Step 2
Now, we have a new, Untitled Brush. Let’s start by defining the brush’s Shape, in the Shape Settings.
Let’s create a simple brush. In this scenario, we’ll build a brush that looks like a long chain of flower shapes.
Tap on Shape Source to change the shape. Then, tap Import and choose Source Library. Next, navigate to the source image called Flower. Then, tap on Done.
Here’s the result!


Step 3
Right now, our brush looks like a tightly packed line of flower shapes—and that’s not what we want. We’ll make a bunch of changes here, but first, let’s give our brush a name.
In About this Brush, let’s give our brush a name. Tap on the name to edit it. I called my brush “Flower Chain”. You can put in your name and even your signature too, if you’d like!

Step 4
Now, let’s go to our Stroke Path Settings. Adjust the Spacing until the flowers display in a row, instead of on top of each other. Remember, you can use the Drawing Pad to test out your brush!


Step 5
Our brush is looking better, but the flower shapes are all uniform right now. I’d like them to turn and touch in a more dynamic way.
Let’s go to our Shape Settings to change how our Brush’s Shape behaves. We can change the Rotation here, to achieve the effect we’re looking for. Turn the Rotation all the way up until it says Follow Stroke. Notice, now, that the flowers rotate in a way that dynamically turns each one in response to the direction of our Stroke.
If you test out our brush, you’ll see it draws a chain of flowers.


Step 6
But let’s say we want to change our brush and do something different with it. Let’s make a few adjustments that’ll completely change its aesthetic. Feel free to Create a Duplicate of our Brush (as we covered earlier), if you’d like to save your work.
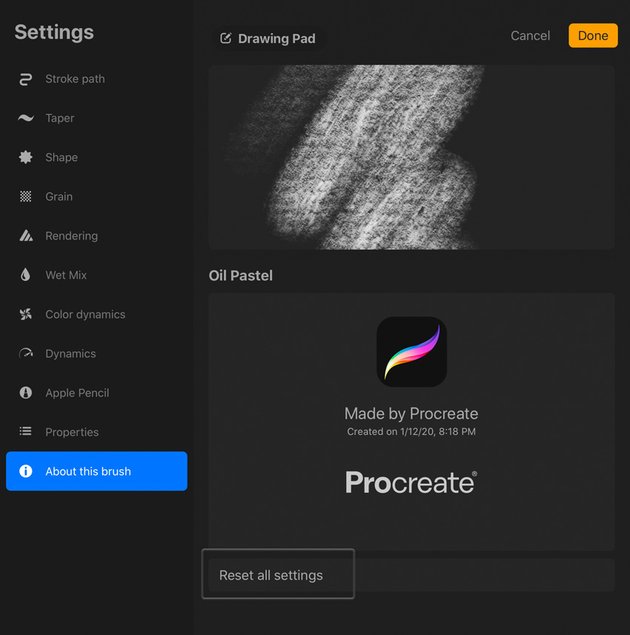
Let’s start by changing the Brush’s Grain. Go to the Grain Settings and tap on Grain Source. Then tap Import and select Source Library. Let’s try out the grain Oil Pastel.
Notice how selecting and applying this grain has changed my brush’s appearance. We can see this up top, in the Drawing Pad.


Step 7
Now, let’s return to our Stroke Path Settings and lower the Spacing to None. This makes our flowers look like one continuous line again.


Step 8
Next, go to your Shape Settings and set the Scatter to 199%. Notice that it takes the flower shape and mixes it up throughout the brush.


Step 9
Let’s also go to the Rendering and change some settings. I went with Uniform Blending for my rendering mode. Test them out! Then, I set my Flow to 50%.
Go ahead and test out our brush—it rather looks like a fuzzy pipe cleaner now!


Awesome Work Creating Your Procreate Custom Brushes!
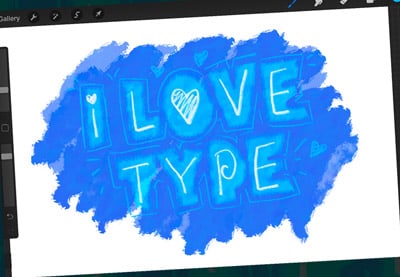
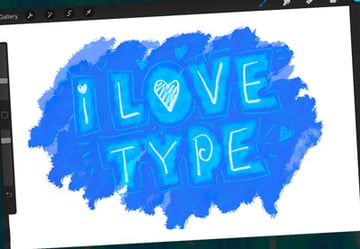
You’ve created and customized your own Procreate brush, and we’ve come up with two really different results that use the same brush shape too! Check out how they differ, below. One looks like a chain of flowers, and the other is a fuzzy brush!
As we’ve reviewed, there are a ton of settings to experiment with—and that’s truly the best way to get to know them! Try them out and experiment with them! Happy drawing!


5 Best Procreate Brush Sets From Envato Elements
Creating and customizing Procreate brushes is both useful and really fun—but sometimes, it’s handy to have a bank of awesome brushes in your toolkit, ready to go.
Envato Elements offers unlimited Procreate brushes downloads for a low monthly fee. If you’re a graphic designer or digital artist, Envato Elements is the best option for you. Check out some of these high-quality Procreate brush sets that are ready to import and use in your next creative project.
1. Graphic Beats: Brushes for Procreate


This wonderful brush pack contains over 300 high-resolution stamp brushes, as well as high-resolution PNG stamps. A beautiful addition to any Procreate brush collection, Graphic Beats is a professional, quality Procreate texture brushes pack that would be welcome in a wide variety of creative projects.
2. Flower Touch Procreate Brushes

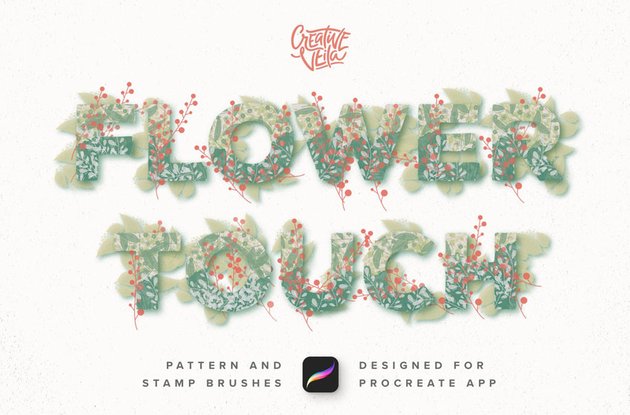

I absolutely love flowers—and I love this flower pattern brush set for Procreate! It includes over 100 Procreate pattern brushes—a plethora to experiment with—but that’s not all! There are also over 50 stamp brushes. If you’re looking for floral Procreate painting brushes, look no further.
3. Procreate Patterns: Brushes Set
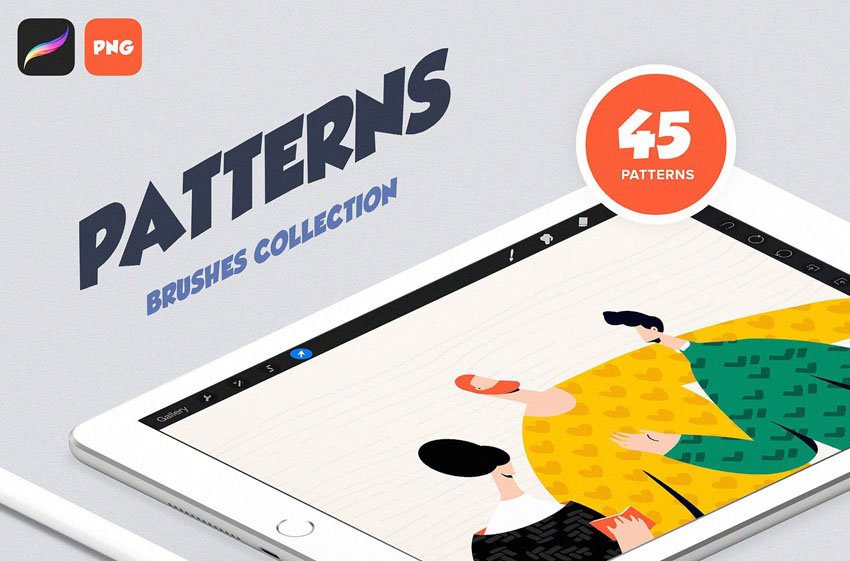
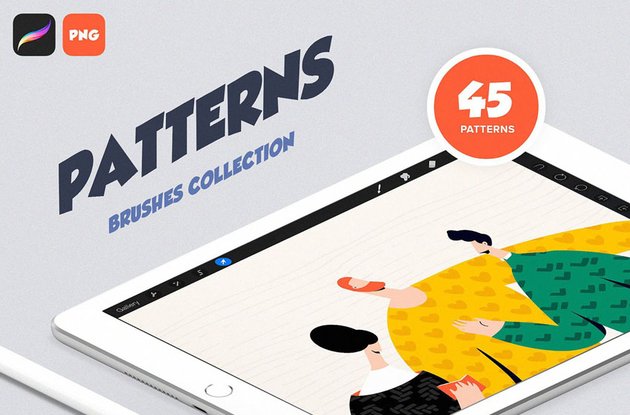
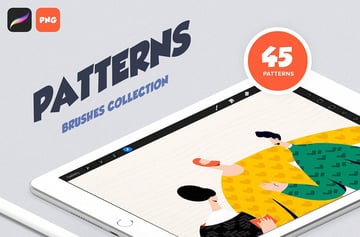
Looking to add some oomph to your compositions? Add interest and whimsy to your work with this wonderful collection of Procreate pattern brushes—there are 45 of them for you to experiment with and enjoy! This Procreate brush pack also includes high-resolution PNGs.
4. Hand-Drawn Brushes for Procreate
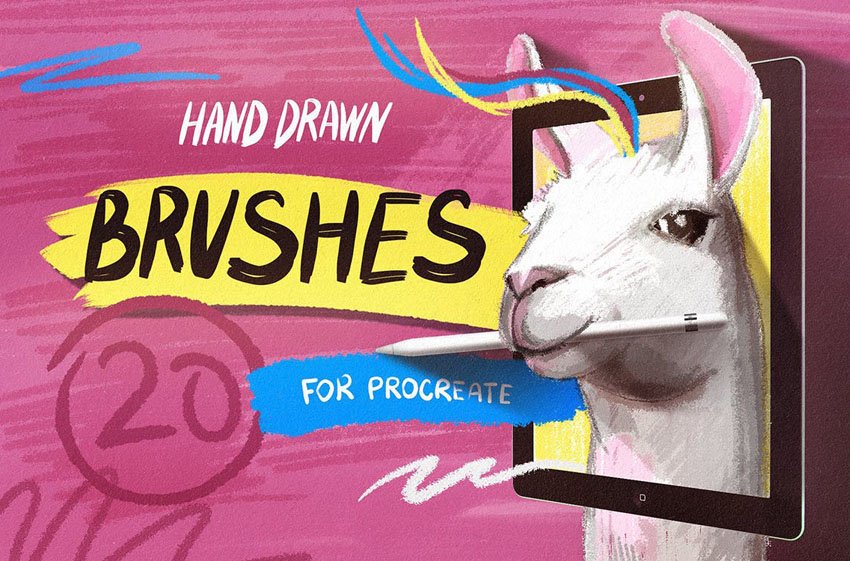


Looking for beautiful, hand-drawn Procreate brushes to add to your collection? Well, here they are. These fun Procreate sketch brushes can be used for such a wide variety of drawing needs. It even comes with a cheat sheet to help you get started!
5. The Jungle: Procreate Brushes

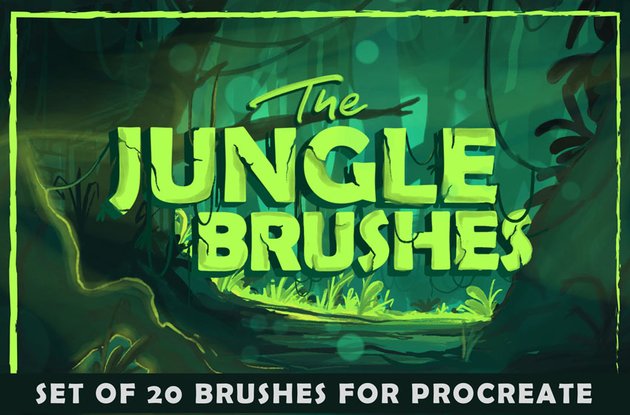

This Procreate brush set has so many potential applications! Just check out the preview below—beautiful foliage, right? These Procreate tree brushes—20 of them—are perfect for projects like children’s books, sequential art, illustrative work, and more!
5 Top Procreate Brush Sets From Envato Market
If a subscription isn’t your thing and you like to get Procreate brush sets one at a time, here’s a great option.
Envato Market offers high-quality, professional Procreate brush packs like Envato Elements. But you don’t need a subscription. You can visit Envato Market’s library, select the Procreate brush sets you like and buy them one at a time.
Here’s a selection of the best Procreate brushes from Envato Market:
1. Foliage Procreate Tree Brushes


Procreate tree brushes are hugely popular. And if you’re looking for the best Procreate brushes to make beautiful trees, these are for you.
You’ll get 60 brushes in this Procreate brush pack. These Procreate painting brushes are super easy to use. You’ll be able to quickly create a landscape with trees, leaves, clouds, grass and more. Check out these Procreate tree brushes today!
2. Lighthouse Procreate Line Art Brushes


Are you a fan of line art? Then you’ll love these unique Procreate line art brushes. Inspired by lighthouses and nautical elements, this Procreate brush pack will give your design a great touch!
This Procreate line art brush set comes with 10 ink brushes, 30 pattern brushes, 16 dot brushes, and more nautical patterns. Check it out!
3. Procreate Watercolor Brush Set


A set of Procreate watercolor brushes is what you need if you like this painting style. This complete Procreate brush pack comes with 24 brushes.
One cool feature of these Procreate watercolor brushes is that you can also use them in Photoshop!
4. Procreate Lettering Brushes


Do you design digital lettering? You need these Procreate lettering brushes. You’ll get more than ten different lettering brushes: texture, monoline, calligraphy, and signature brushes.
These Procreate lettering brushes are perfect for the beginner and the experienced artist!
5. Artista Procreate Sketch Brushes


If you like Procreate painting brushes, you’ll love this complete Procreate brush pack. You’ll get five styles in one download: Procreate sketch brushes, pencil brushes, Procreate texture brushes, hatch brushes, and spray brushes.
In total, this Procreate brush download comes with 61 brushes. Get this set of the best Procreate brushes today!
Discover More Procreate Brushes and Tutorials
Now you know how to create brushes in Procreate and how to customize your brushes. I’ve shown you where to get the best Procreate brushes. And, as a bonus, why not try out the selection of free vector illustrations at Reshot?
If you enjoyed this tutorial, here are some others that you might also enjoy!
 ProcreateHow to Install and Use Procreate Brushes
-
ProcreateHow to Use Photoshop Brushes in Procreate
-
ProcreateHow to Use Procreate Layers
-
ProcreateHow to Install and Use Fonts in Procreate
-
ProcreateHow to Do Calligraphy on Procreate
-
Procreate44 Best Procreate Fonts (Calligraphy, Tattoo, Comic, and More!)
-
ProcreateHow to Create a Stylish Neon Portrait in Procreate
-
ProcreateHow to Draw a Mystic Moon Illustration in Procreate on iPad
-
ProcreateHow to Create a Summer Portrait With Ice Cream in Procreate
-
Procreate30+ Best Procreate Tutorials for Beginners and Advanced!


Editorial Note: This post has been updated with contributions from Maria Villanueva. Maria is a staff writer with Envato Tuts+.
