Featured images are usually one of the first things that visitors notice when checking out a WordPress blog. So it’s important that your images send the right signals to visitors.
It starts with choosing or creating eye-catching and relevant graphics for your posts. You also need to ensure that the images aren’t blurred, that parts of them aren’t cropped out, and that the files aren’t so big that they make the page load too slowly.
To avoid these issues, you may need to change the featured image size in WordPress. In this tutorial, we’ll show you how to do this with an image editor and your WordPress theme settings.
What Is the WordPress Featured Image?
A featured image is a cover image that represents a blog post in WordPress. The image will accompany the post as it appears in different spots in your WordPress website.
To start, featured images appear on the main Blog page gallery as thumbnails, either beside or above the details for each post.
For example, here are some of the most recent Design & Illustration tutorial posts on the Tuts+ blog:
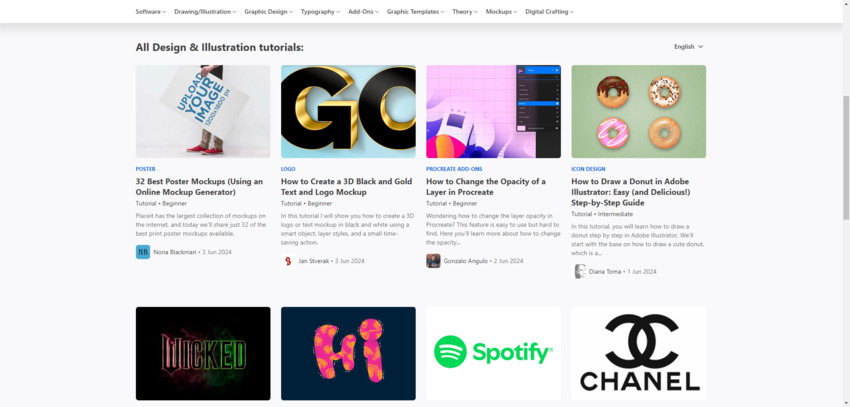


There are eight unique featured images that visually depict what each post is about.
You may also find featured images:
- At the top of a blog post page
- In a promotional block or carousel for the blog on the home page
- In a related posts block at the bottom of a blog post
Featured images show up outside of WordPress, too.
For example, when sharing this Wicked-inspired logo post to LinkedIn, it automatically pulls in the featured image.
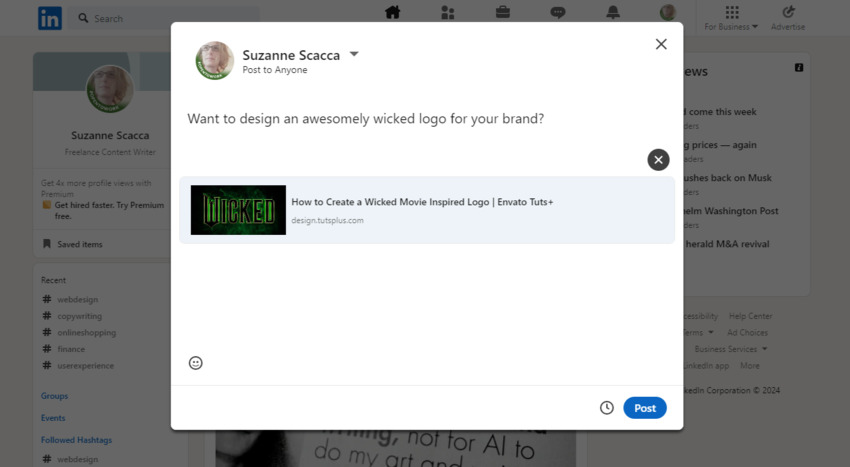
This is important as you don’t want a third-party platform determining which image to pair alongside your post — or to not add one at all. You also don’t want other people who share your content to have to worry about finding their own images.
A featured image makes a blog post preview or snippet more attractive, so this is a must. Plus, by attaching a featured image to each post, you’ll ensure there’s consistency in how the post is presented across the site and other platforms.
Why Would You Need to Change the Featured Image Size?
Before we look at how to resize the featured image, let’s address why this needs to happen in the first place.
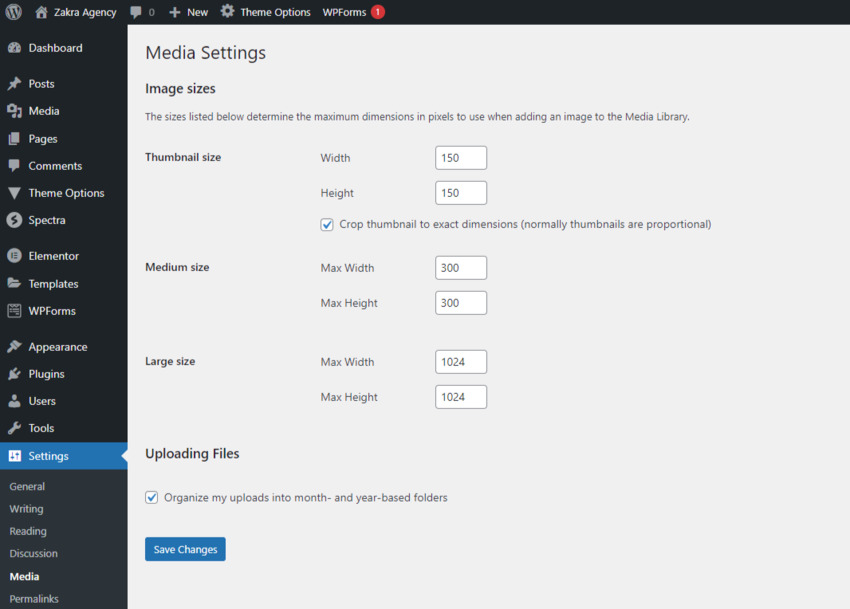
Whenever you upload an image to WordPress, it automatically generates copies of the full-sized image file for you:
- Thumbnail is 150px by 150px
- Medium is 300px by 300px
- Large is 1024px by 1024px
You’ll find these defaults in WordPress under Settings and Media.


This is a helpful process as your site will now have various versions of the image that can be used in different spaces on the site (or for different screen sizes). Instead of relying on the browser or server to resize the image, WordPress has them ready to go.
There’s just one problem with this:
Some WordPress themes (as well as page builder plugins) don’t use these default image sizes for their featured image sizes. With so much variability in how websites are designed these days, that isn’t a big surprise.
However, it does make using featured images a bit more complicated. Because it’s not just deviating from the default sizes that’s an issue. It’s also that some themes use different image ratios. If your featured images fit the default WordPress square, for example, some parts of your file may be cut off if your theme uses a rectangular ratio.
How to Resize the Featured Image in WordPress
If you want to change the featured image size for your website, here’s what you need to do:
Step 1: Figure Out What the Current Featured Image Size Is
Before you set out to change the featured image size, it’s good to know what you’re working with. Depending on which WordPress theme you’re using, you’ll find this setting in different spots.
For a free WordPress theme:
- Go to Appearance and Customize
- Click on the Blog settings and then Blog / Archive
- Scroll down to Posts Structure
- Open the Featured Image element
The Image Size dropdown will tell you what your default featured image size is.
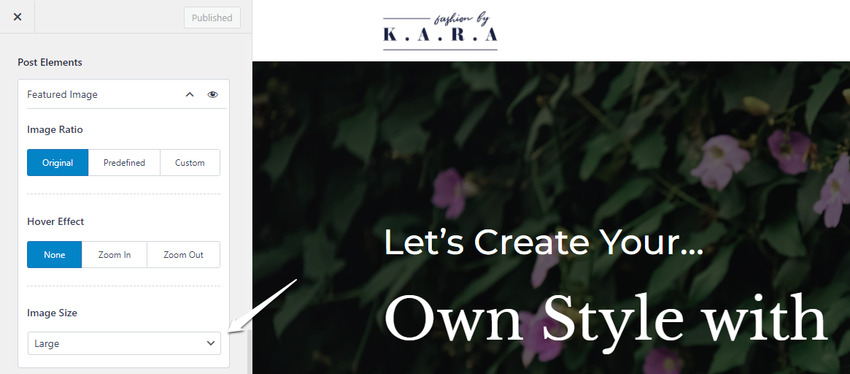


In the case of this template, it’s the Large 1024px by 1024px size.
On the other hand, if you’re using a premium WordPress theme like Vlog, you’ll have to go to the theme’s settings panel. Then look through the blog settings to see if there are default sizes or dimensions for the featured images.
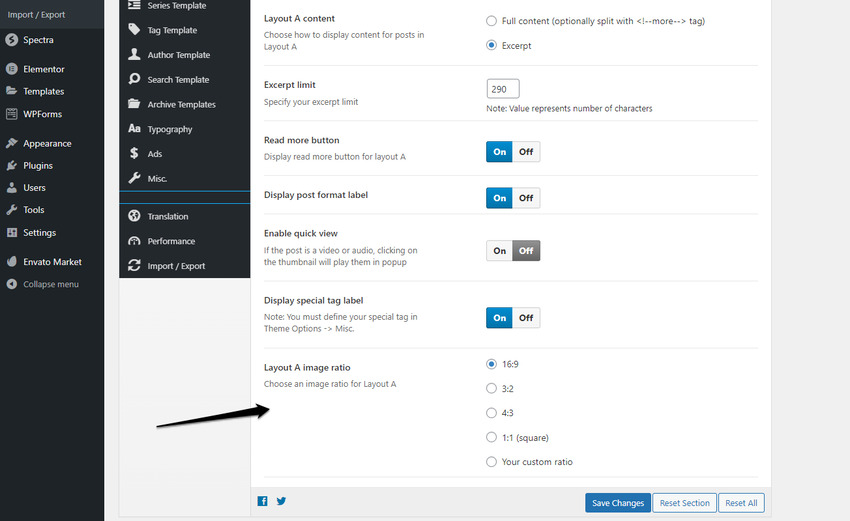
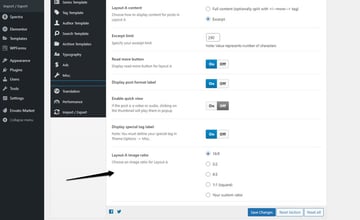
In this case, you’ll find them under Post layouts in the image ratio section. Unlike WordPress’s default square sizes, the Vlog theme follows a 16:9 image ratio.
Step 2: Change the Default Featured Image Size for Your Theme
Let’s say your theme uses a featured image size or image ratio you don’t like.
To set a different default, go to the featured image settings of your theme. For free themes, it’ll be under Appearance and Customize. For premium themes, it’ll be under that theme’s settings panel.
Select the image size you prefer and then save the changes.
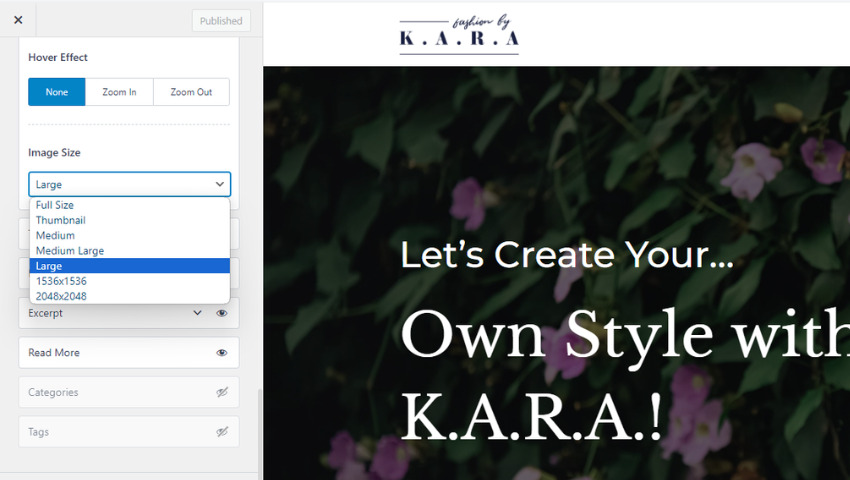
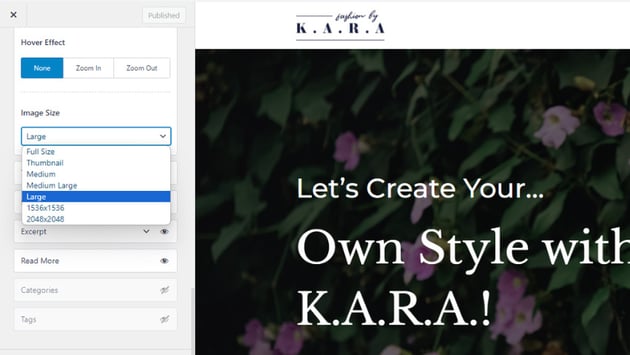

In this example from the Customizer, you are able to choose from one of seven sizes:
- Full Size
- Thumbnail
- Medium
- Medium Large
- Large
- 1536px by 1536px
- 2048px by 2048px
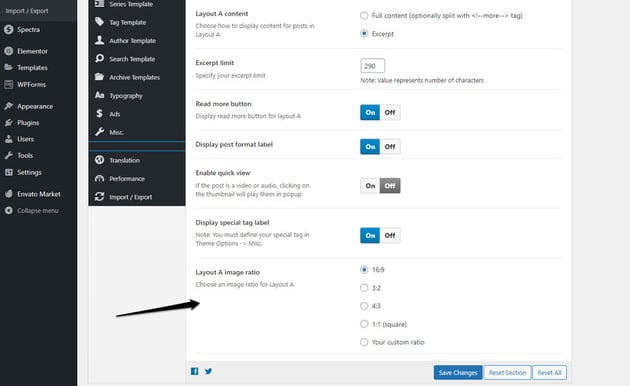
When modifying a theme like Vlog, you might only be able to select the image ratio.
If you want to set a custom size but the theme doesn’t give you the option to, you can modify the default WordPress image values under Settings and Media. Then choose that setting under your theme.
Note: If you have an existing blog and you’ve set a custom featured image size, you need to regenerate the thumbnails. This way, the featured images for your older posts will get resized to the new specifications.
The easiest way to do this is to use the Regenerate Thumbnails plugin.
Once the plugin is installed, go to Tools and Force Regenerate Thumbnails.

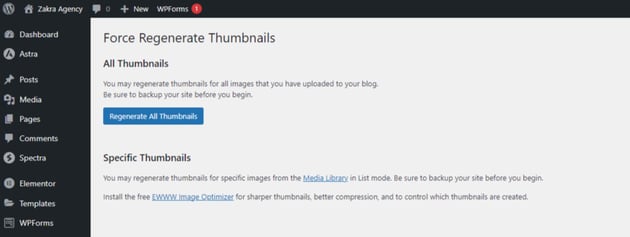
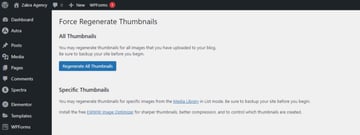
Click the button to regenerate all of your featured images and thumbnails.
Step 3: Manually Resize Your Images to Fit Your Theme
One way to ensure that your featured images look good in the spaces allotted for them is to correctly size them before uploading to WordPress.
This is also a good practice for performance optimization. Rather than upload images that are way oversized and then leave WordPress or your theme to resize the files, you’ll upload each image at a more reasonable size.
There are different tools you can use to resize your images outside of WordPress.
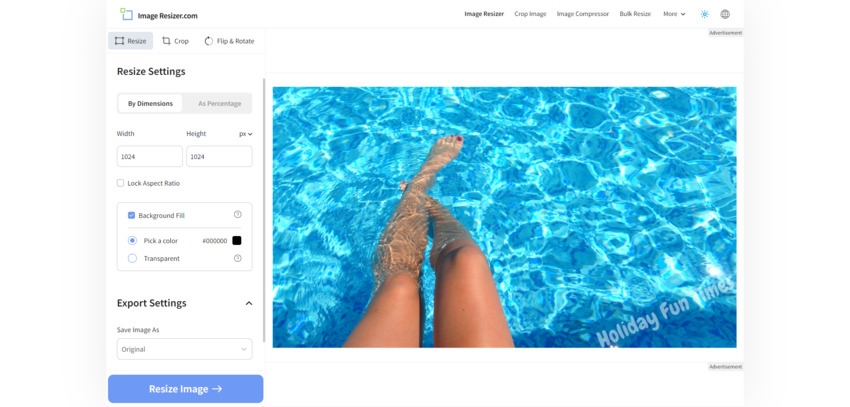
With the free WordPress theme example, you’d need an image editor that allows you to set a specific size, like 1024px by 1024px. ImageResizer.com is a good one for that.

With the premium Vlog theme example, the Adobe Express image resizer would be more useful. Instead of inputting specific height and width values, this tool allows you to set the image ratio.
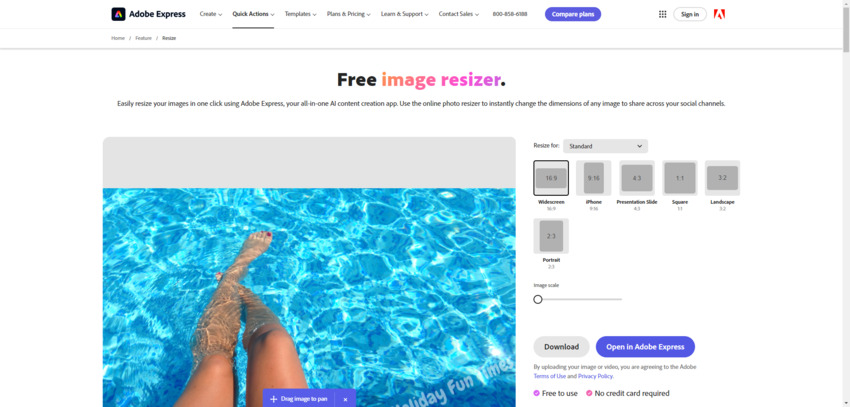
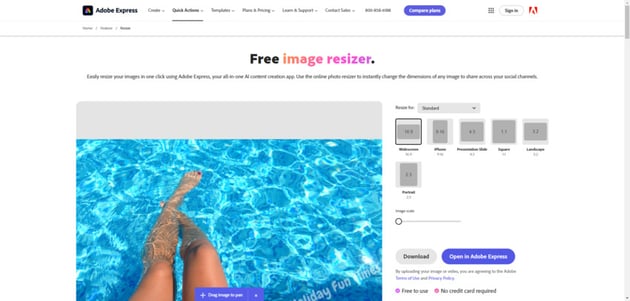

The Standard Widescreen image ratio would be perfect for the Vlog’s 16:9 image ratio.
Pro tip: Once you know your default image size or aspect ratio, create an image template. That way, you’ll always design and export your featured images at the same size.
Step 4: Set Your Featured Images
While WordPress and social media platforms can grab the first image from your post and set it as the featured image, it isn’t necessarily going to be the best representative of your content.
To ensure that the perfect image appears alongside your content, you have to set a featured image for each post.
Here’s how to do it:
In WordPress, go to Posts.
If you’re creating a new blog post, click Add New Post on the sidebar or at the top of the page.
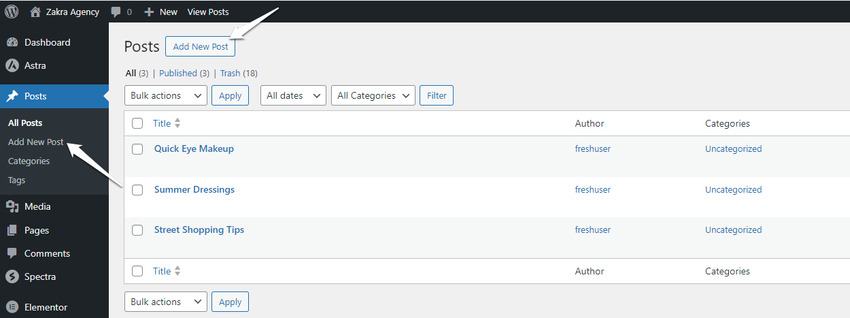

Otherwise, click on the existing post you want to modify.
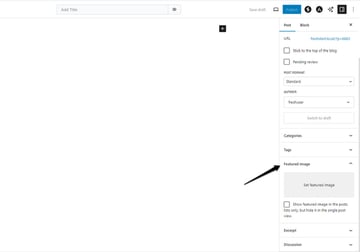
From the sidebar on the right, located the Featured image area. Click to open it up.
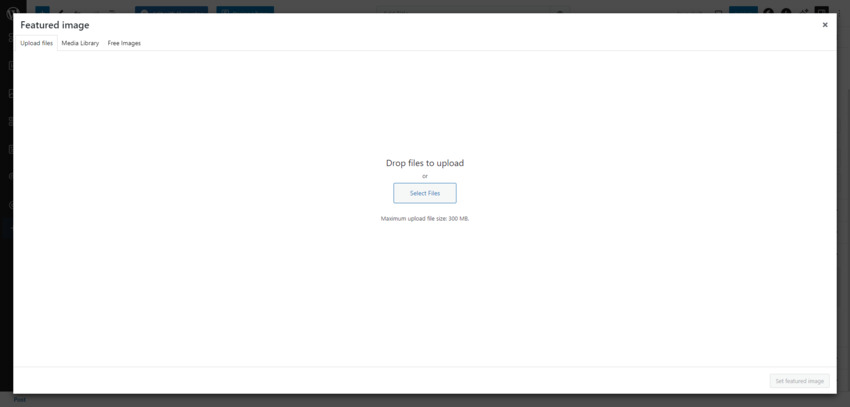
Click on Set featured image to open your media library.

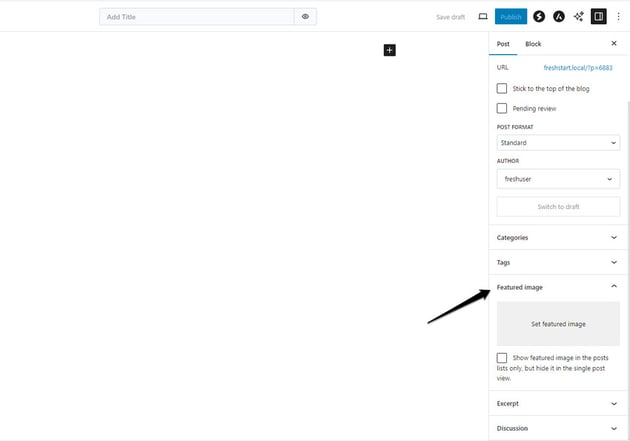
Either upload a new file or select one from the Media Library tab.

Click Set featured image one more time to save the graphic to your post.
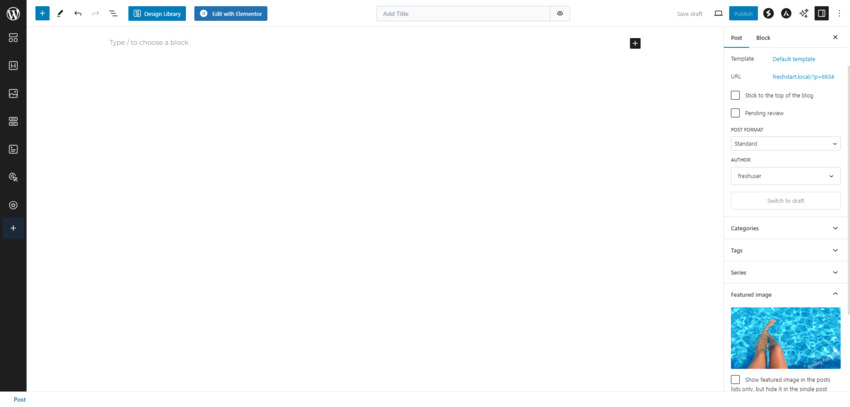


This image will now go wherever this published post goes.
Final Thoughts
A blurry or ill-cropped featured image might not be enough to keep some visitors from opening your blog post and reading it… But it might be enough for others to skip it.
To make a strong first impression and maximize the number of clicks your blog posts get, spend some extra time on your featured images. First, by choosing or creating ones that will entice your visitors to read your content. Then, by shaping and resizing them so they fit the allotted space within your well-chosen WordPress theme.
Another option is to take control of the WordPress featured image size.
Just because your theme’s developer may have determined that a certain default size works best for their design, for instance, doesn’t mean it will for yours. By learning where the featured image sizes are controlled and customizing them to your liking, you’ll end up with better results and more impressed users in the end.