In the following tutorial, you will learn how to add fonts to Adobe Illustrator.
Once you’ve learned how to add fonts to Illustrator, head over to Envato Elements, where you can get unlimited downloads of stock videos, music, graphics, photos, fonts, and more.
What You’ll Learn in This Tutorial
- How to add a font to Illustrator
- How to upload fonts to Illustrator
1. How to Add Fonts to Illustrator
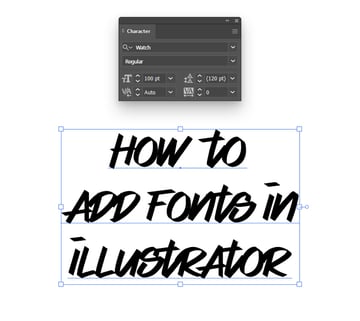
First of all, you need to get a font. There are plenty of websites dedicated to fonts, but for this example we’ll use the Watch font from Envato Elements.
Simply download the font that you need.


How to Add Fonts to Illustrator in Windows
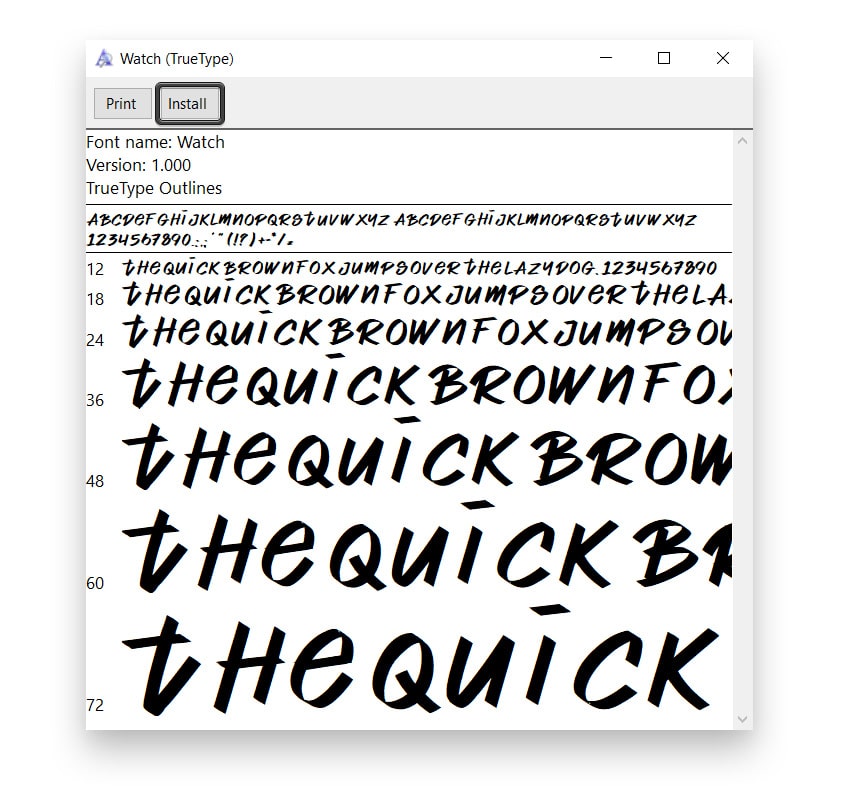
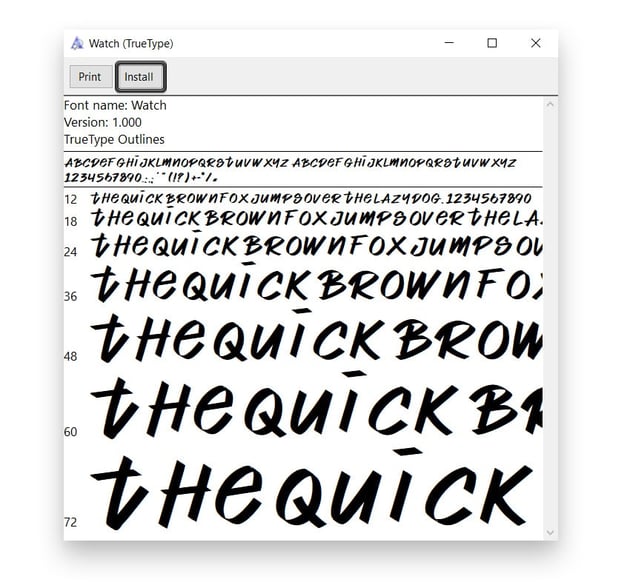
Simply double-click the font that you downloaded (.otf or .ttf) and click the Install button.
How to Add a Font to Illustrator on a Mac
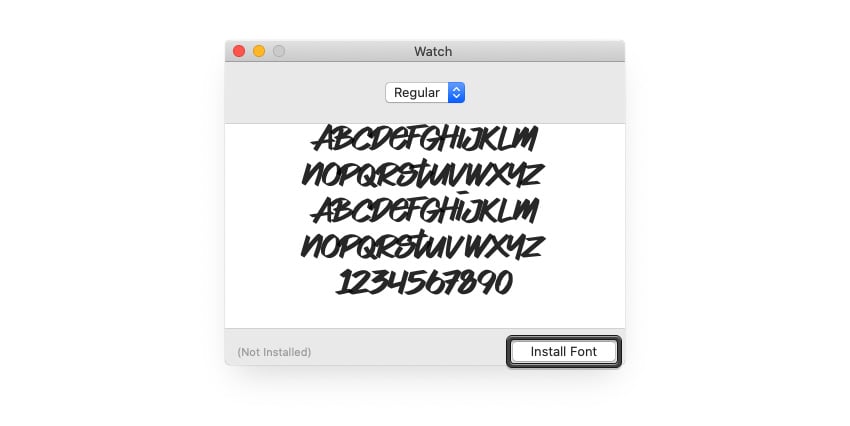
Just double-click the downloaded font (.otf or .ttf) and click the Install Font button.
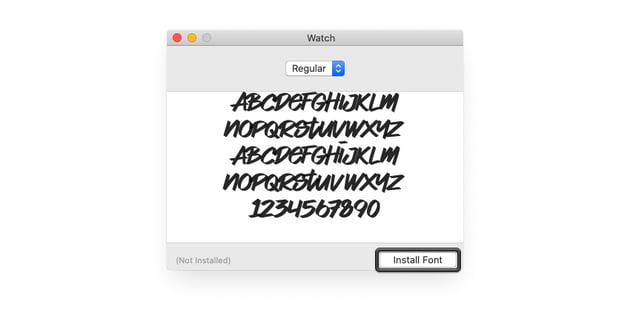
Once you’ve added the font to Illustrator and your computer, you can use it right away.
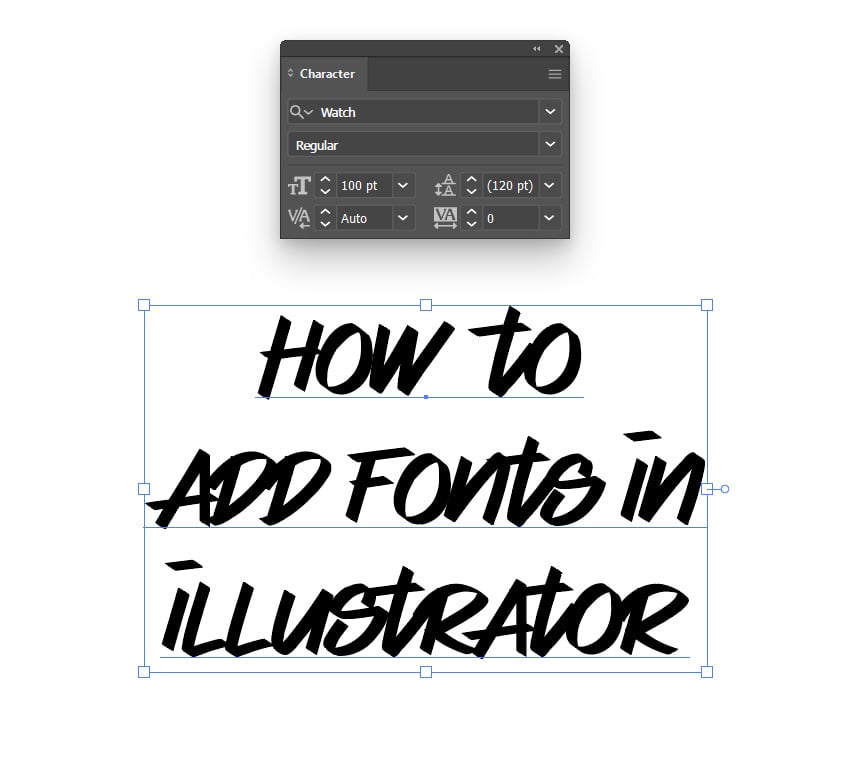
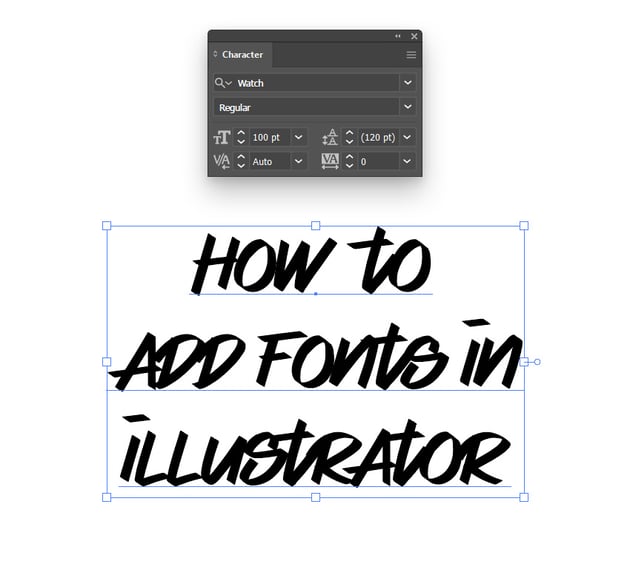
2. How to Import Fonts Into Illustrator
Instead of installing them, you can easily add fonts to Illustrator using the Adobe Fonts website. Find the font that you like and click the Activate button whenever you wish to add the font to Illustrator.



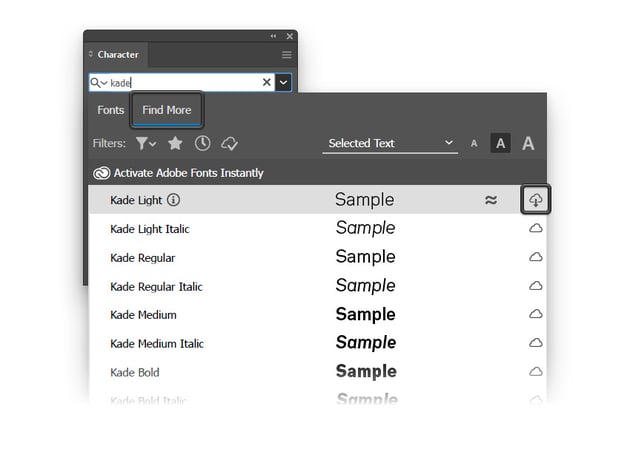
Alternatively, you can activate the same font using the Character panel. Open the Fonts menu and click the Find More tab, where you can scroll through all the fonts that Adobe provides.
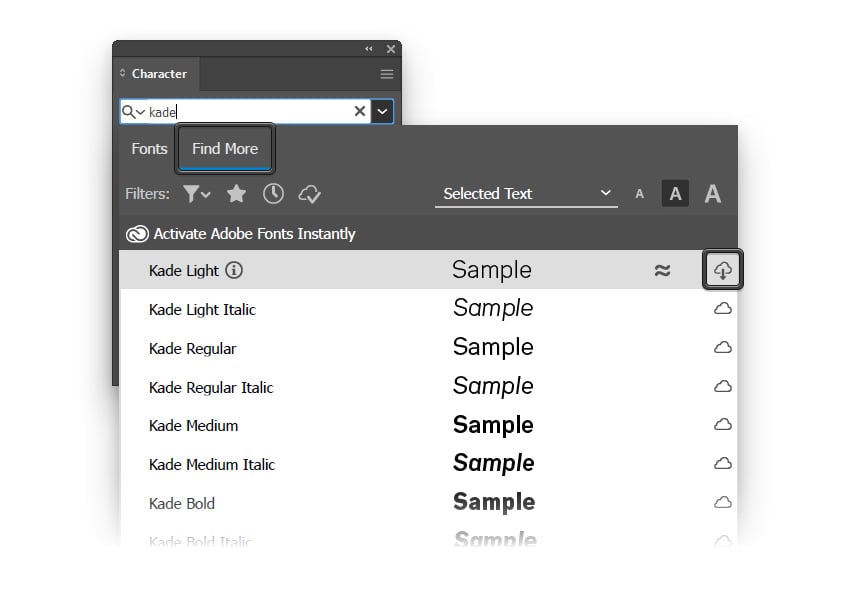
Once you’ve activated a font, you can use it as you wish.
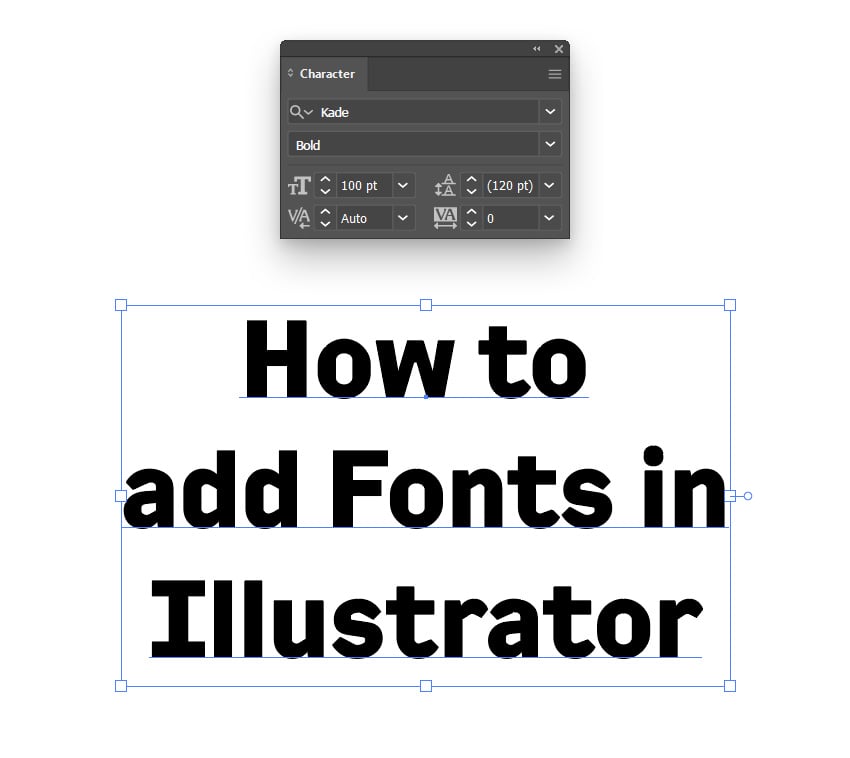
Congratulations! You’re Done!
Now that you’ve learned how to add fonts in Illustrator, feel free to use these techniques in your future projects.
You can find some great sources of inspiration at Envato Elements, with interesting solutions to improve your design portfolio.
Want to Learn More?
We have loads of tutorials on Envato Tuts+, from beginner to intermediate level. Take a look!