Figma frames are one of the main assets for design. They serve as containers for all your design elements.
Make the best of them with this 7-point checklist for frames in Figma!


What is a Frame in Figma?
Figma frames are essentially the containers for your design.
In Photoshop, we know them as Artboards. This is the canvas where you’ll place all the elements of your design. Unlike Photoshop, Figma offers a range of interactive and layout tools for a smooth design process.
Before we even begin designing we must decide where is our design going to live. Is it going to be for web, mobile, tablet, to view online or for download? One of the coolest things about Figma frames is that they come with preset device and screen size for you to work with.
Now that you know what is a frame in Figma, let’s explore their potential.
Your 7-Point Checklist for Frames in Figma
Are you getting started with Figma or want to go back to basics? Take notes from this easy-to-follow checklist to make the best of Figma frames for your designs:
Create Figma Frames
As mentioned earlier, before designing comes choosing our format.
To add frames to your canvas you can click on “A” or “F” keys, or go straight to the frame tool in the toolbar:

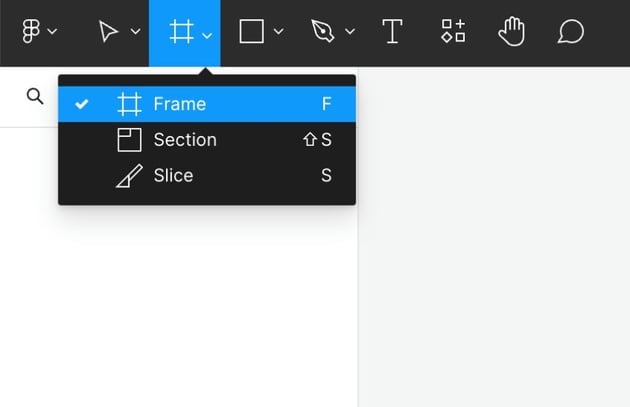
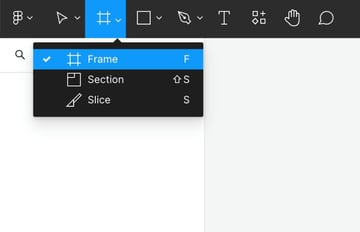
You can click and drag in the canvas to create a frame with custom dimensions. Or you can select from the preset device templates on the right side menu.
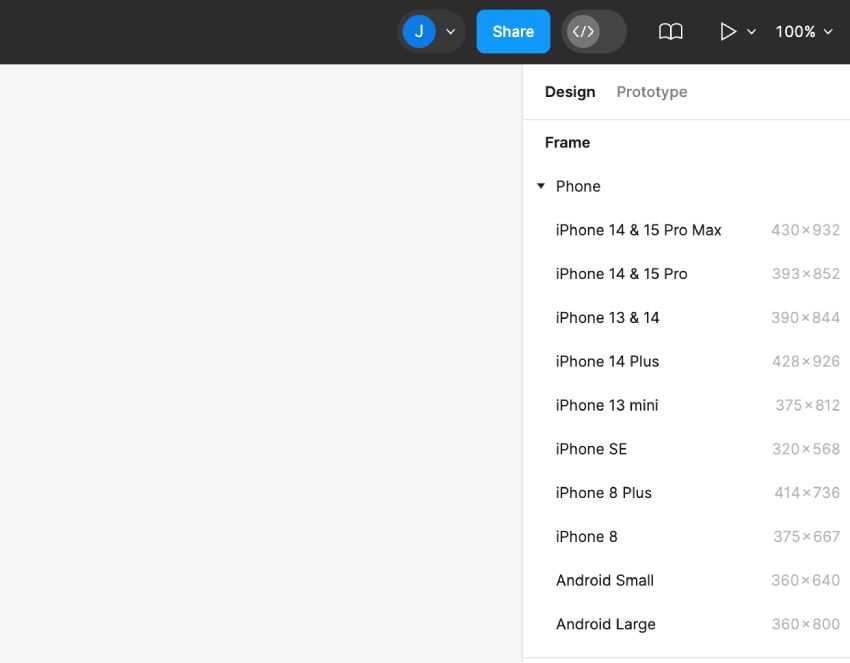


Choose from phone, tablet, desktop, watch, paper and even social media templates.
Extra Functions
On top of assigning format to your design, frames in Figma can integrate other functions. Some of these extra functionalities include:
- Layout Grids: these help align elements to your frame.
- Auto Layout: in a nutshell, it helps you maintain elements aligned while you keep adding and moving things around in your design. Learn more in our easy-to-follow video tutorial.
- Constraints: define how objets behave when resizing your frame.
- Prototyping: add interactivity between frames.
Frame Interactions
Changing size and scale of frames is really easy. Here are four ways you can do that:
- Manually drag the frame by clicking any corner and drag it to resize.
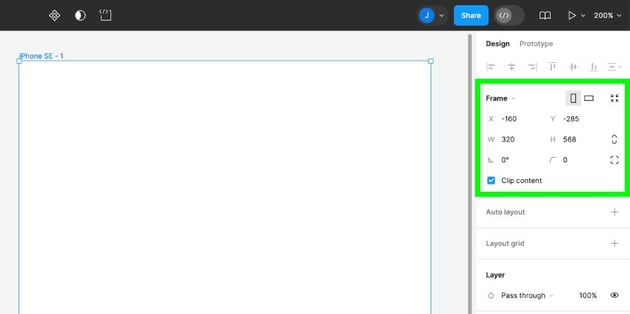
- Just change the frame preset. Click on the frame and go to the right sidebar. Change from phone to tablet or to desktop in one click.
- Adjust properties on the right sidebar. Enter the new numbers for hight (H) and width (W). You can click on the link button to constraint resizing.


Nest Frames
If you need to combine frames to build a more complex interface, here’s where nesting comes in handy. This process allows you to create frames within frames.
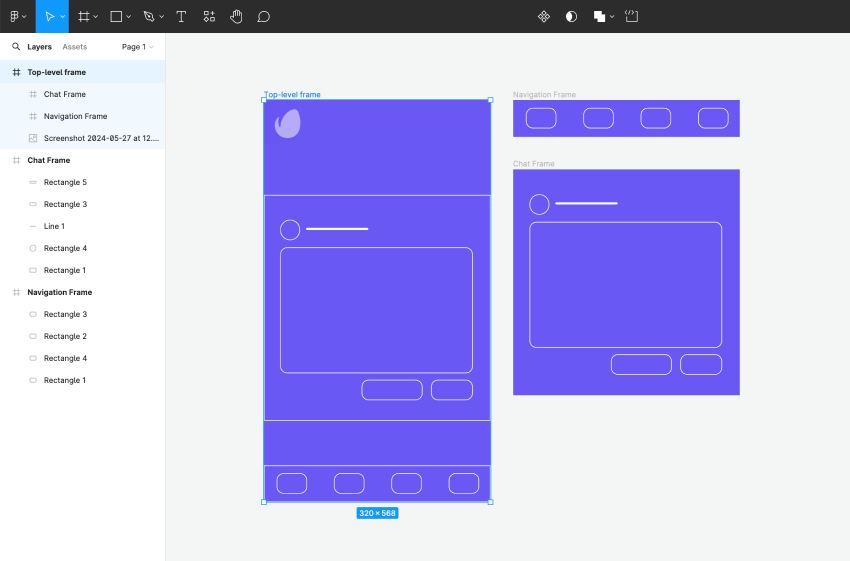
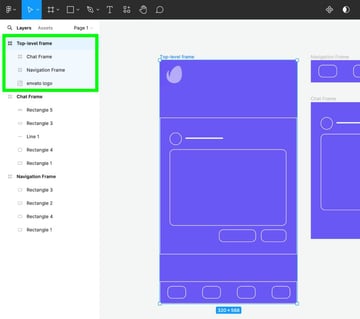
For example, if you’re designing a mobile app, you can create a navigation frame for the menu options and a separate chat frame to include specific elements. Then, you can add each of this frames to a Top-level frame in a Phone preset format.
Here’s how it could look like:


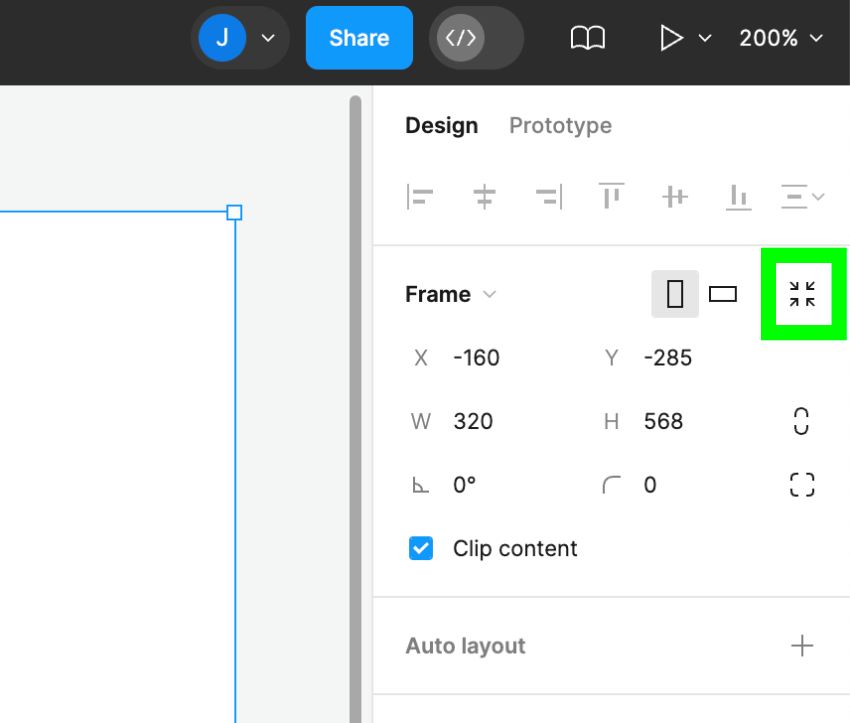
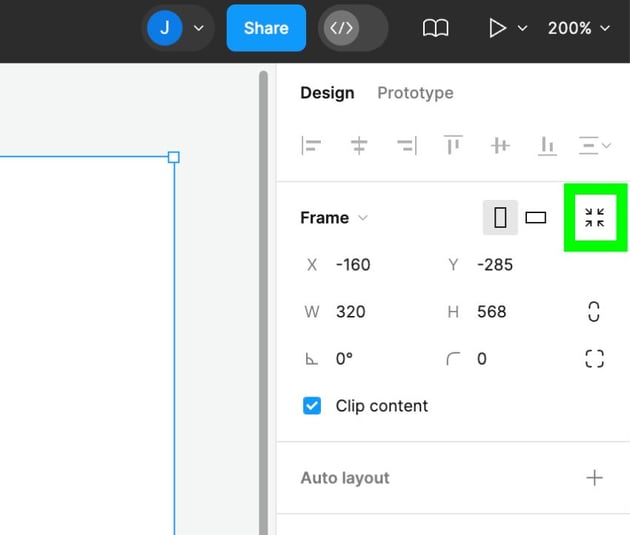
You can resize your frame to fit its child objets. Go to the top-right corner of the Properties Panel. Click on the Resize to fit button.

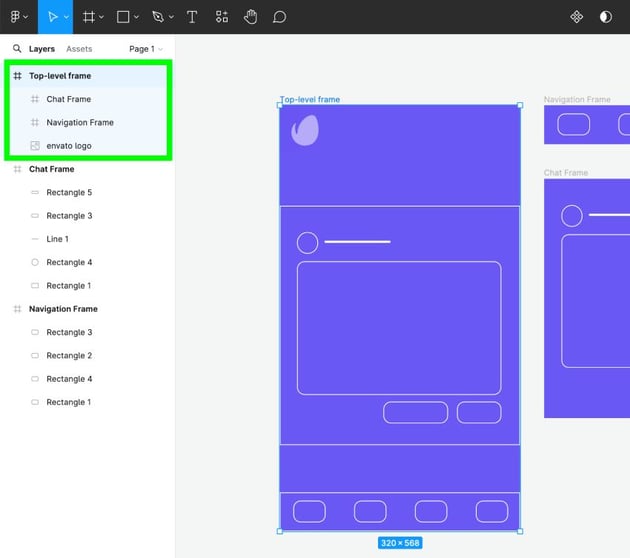
Top-Level Frames
Some people say that in Figma there are no top level frames, but that’s not true.
Following up on nesting frames in Figma, let’s take a closer look at Top-level frames. This would be your master frame, the one that nests all the other frames.

Figma Group vs Frame
This is one of the big debates among Figma users. When to use Figma group vs frame? They are both containers for your design objects, but each one hold unique properties.
Groups allow you to combine multiple objects together. By selecting objects and pressing: ⌘ + G (Mac) or Ctrl + G (Win), you can create a group. It’s a time saver when you need to resize of reposition multiple elements at a time.
- Pro: when you resize a group, most of the elements will scale and resize.
- Con: you can’t apply constraints to you objets. This means that effects, strokes, and type sizes will not scale in your group. In this case, you should go for a frame instead.
Now let’s talk about frames in this context. We’ve seen that frames are the foundation of our design and unlike groups, they offer nesting possibilities within frames.
- Pros: unlike groups, frames can be resized independently from their contents. As we’ve seen above, you can also add constraints to design elements inside a frame, use layout grids and prototyping functions.
- Con: there are no real cons for frames, since they are an essential tool in Figma. But if you just need to combine objects, then a group can be a better solution for you.
You’re free to opt for both, if you wish. They can be used together to give you a better design experience.
Figma Frames vs Sections
Frames and sections may look like the same thing, but there are key differences.
Let’s go through some of these variations:
- Constraints: With frames you can add Constraints to each of your elements. This way, when you resize your frame, all elements will align to the constraints you assigned.
- Nesting: frames can be nested into bigger frames.
- Resizing: with sections you can double click the corners and get your section resized to the original format. With frames you can’t to this.
- Ready for Dev: a useful feature on sections is that you can mark a section as “Ready for Developers” on the top left side, next to the section name. This is really useful for Developer Mode for your dev team to find sections easily.
Long story short, Figma frames are ideal for designing layouts, while sections are perfect for presentations and developer handoff.
Start Experimenting With Figma Frames!
We’ve explored some of the key tools and tricks to be a Figma frame expert. It’s time to put everything you learned to the test! Notice how your process simplifies even more with these simple tricks.
Keep upgrading your Figma skillset with these helpful tutorials: