If you’ve never heard about rapid prototyping it can be defined by the two individual terms. “Rapid” means a speedy action taking place over a short period of time, and a prototype is typically the first model of a project. This process requires fast iterations of design to implement features, test how they work, and fix what doesn’t work until you reach a comfortable solution.
This article will go over some of the basics to rapid prototyping and how you can get started. I’ll be focusing specifically on website design, but keep in mind that you can rapidly prototype any interface including mobile apps or GUIs for software. I’ve also included some related posts and popular tools for prototyping.
How to Prototype
Most prototypes are used as the primary template which is then duplicated and changed as needed. So by prototyping a single homepage you can reach a point where all the other pages are designed from this initial layout. But prototyping isn’t specifically about design or graphics – instead we’re focusing on the UI/UX and how users are interfacing with the website.
Think about functionality that may require the heaviest workload. This could be autosuggest search terms, responsive items, mega navigation menus, tabbed widgets, the list is practically endless. But the first goal is to quickly design or sketch how the interface works and gather feedback from your client or userbase. See what people like and what they don’t like. Be sure to take some notes if needed.
Then build a quick working version of the product without too much fluff. Basic HTML/CSS/JS is all you would need to get some functionality running properly. Don’t worry too much about colors or graphics because the goal is to get something functional before designing a pretty template. Visuals can always be added once you know the basic prototype works as intended.
Using the Best Tools
It’s typically recommended that you start with some graphics program or even pencil & paper to get down your ideas. Storyboards and flow charts are perfect to demonstrate how menus appear or how certain effects will work on the page. Try to make your design as clear as possible so that users or client(s) will understand at a glance.
You might also jot down notes beside the interface to explain how certain items behave. These notes could relate to animated effects like fading, sliding, rotating, or even UX notes about how the user should interact with individual pieces of the website.
Once you have a blueprint for the layout it becomes much simpler to code into HTML/CSS. Dynamic sections of the website could take a bit longer to code, but since you know what needs to be created it’s much easier to follow the design through to completion. As you become more experienced you might try different prototyping software or applications to save a bit of time.
Repeatedly Gather Feedback
Feedback is debatably the most important part of rapid prototyping. The reason you’re performing these iterations quickly is to gauge feedback before spending days or weeks nitpicking the finer details. Once the prototype reaches a new stage send out copies to anyone important on the project. Get their opinion on each aspect of the site and what(if anything) they think could be changed.
If you’re building a project for a larger audience you might try launching a beta version and offer users to review each prototype as you go along. This helps because you’re getting feedback from the people who will actually be using the website. You’ll quickly learn which page effects are too confusing or don’t behave as expected. From there you should research, update, and gather more feedback.
By moving through prototypes quickly you’ll learn to be more efficient with each update. It will also help you plan out future websites as you learn which features the user really wants. Just remember that prototyping is merely the first step and gathering feedback will always be essential to the process.
Bootstrap for Rapid Prototyping
At this point every web developer should know about Twitter Bootstrap. It’s a free open source library of CSS and JS code for building quick and efficient websites. The Bootstrap page includes very detailed documentation along with a frequently updated Github repo.
The benefits of prototyping with Bootstrap are practically endless. You won’t need to worry about styling the page since Bootstrap’s CSS includes resets and basic page structure. The CSS code also supports responsive media queries for any layout. Bootstrap is typically used as a beginning framework for simple web projects, and rapid prototyping fits this description perfectly.
Another huge bonus is the addition of Bootstrap components and JavaScript. It’s very simple to create dropdown menus, modal windows, tooltips, carousels, and another dozen features without coding it all from scratch. If users generally like how it works then you can always go back to fix up the animation or presentation to match exactly what you want.
Further Reading
If you’d like to read a bit more about rapid prototyping then check out some of these links below. The topic has been around for a while but not as many designers have jumped onto the bandwagon to create interactive prototypes for each project. These links are great for anyone new to the process and should get you started on the right path.
- Rapid Prototyping for User-Centred Design
- 16 Design Tools for Prototyping and Wireframing
- Faster Design with Rapid Prototyping
- Interactive Wireframes with Bootstrap
- UI/UX Design in the Browser
- Mobile Prototyping with Xcode Storyboards
More Prototyping Tools
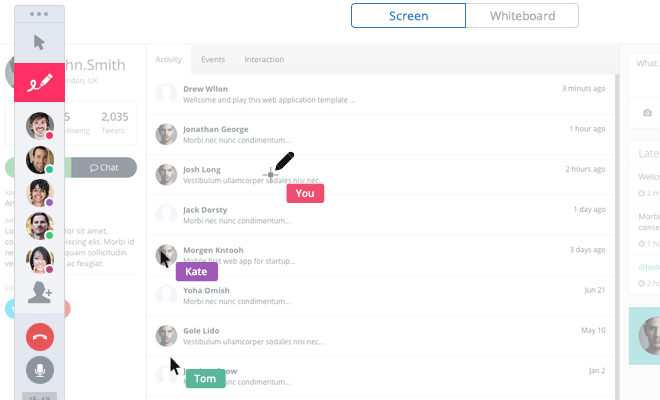
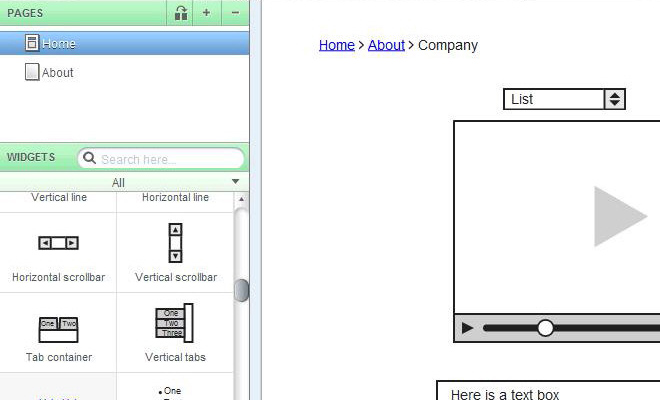
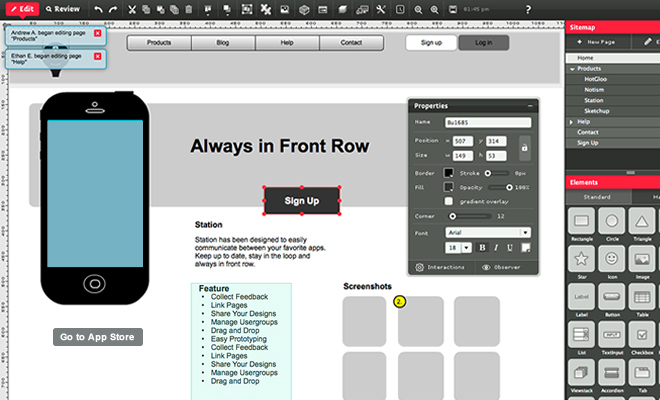
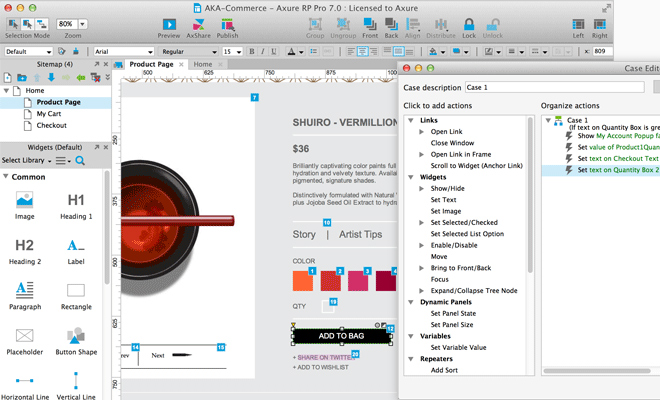
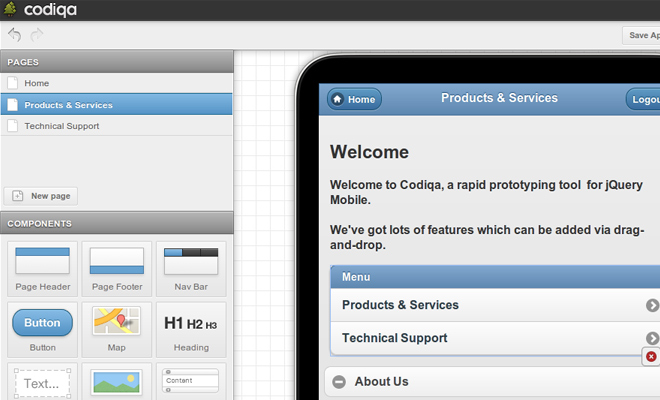
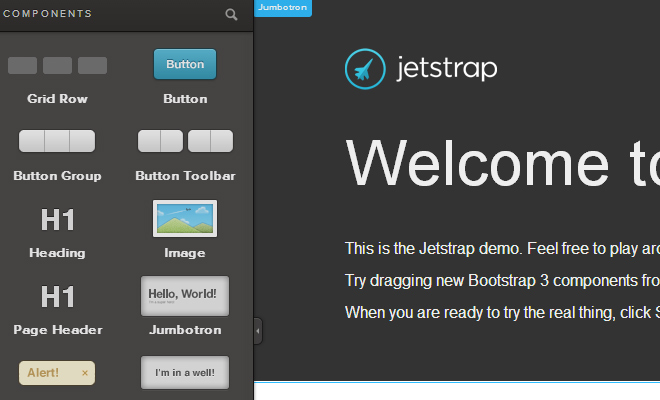
I’ve also compiled a handful of tools and webapps for prototyping your own interfaces. Most of these resources do cost money, either a one-time payment or a recurring subscription fee. But when you’re doing professional development it’s good to have optimal tools at your disposal.


