How to zoom in photoshop is one of the most basic, yet important, know-how when learning how to use Photoshop. Usually zooming an image allows for detailed editing. Or simply put, to get a better view of the portion of an image being edited.
Please remember one important thing: simply zooming in on a section of the photo does not change the image in any way. It is simply allowing a user to view pixelation of the image clearly. Copying a zoomed-in (or zoomed-out) image onto a new canvas will simply copy the photo as its original. Scaling an image is resizing an image into its bigger or smaller versions. Cropping a photo reduces the image into the zoomed-in (or zoomed-out) area.

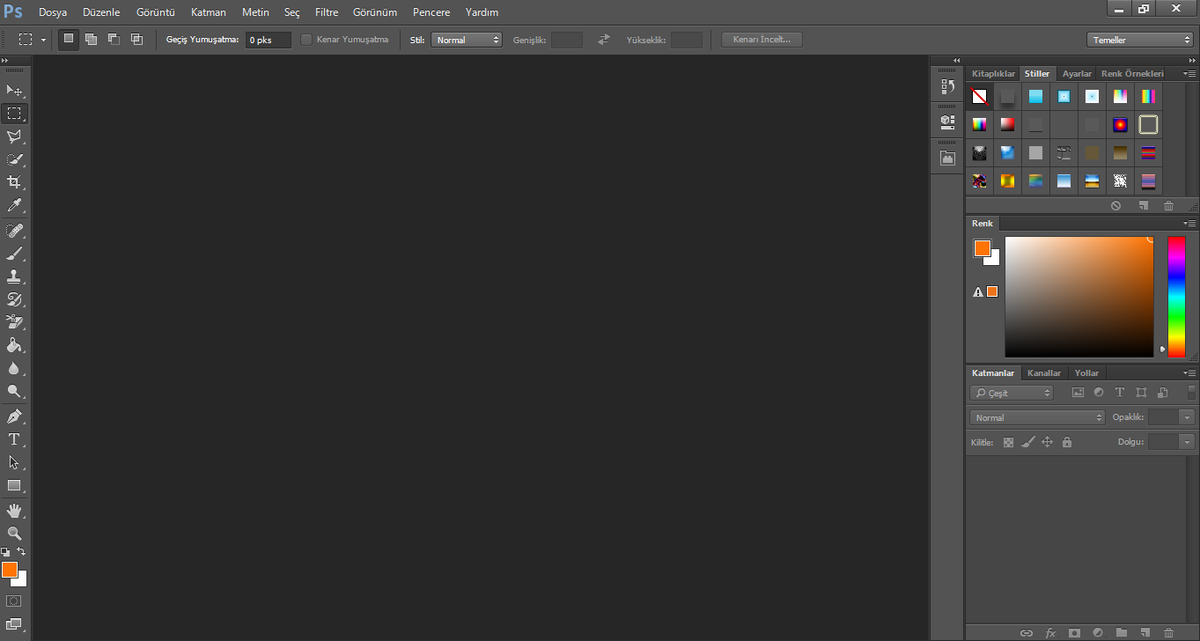
Photoshop Interface. Image Source: Wikimedia Commons
Easy: Mouse Scroll
This is pretty much the most basic method of zooming in and out of an image on Photoshop canvas. However, this only works for users who are using a mouse with a scroll wheel. This is how to zoom in Photoshop using a mouse:
- Simply click on the area of the image you wish to magnify
- Press and hold the Alt key on the keyboard (Windows) or Options Key (Mac)
- While pressing and holding the Alt Key, scroll towards your hand to zoom in and away from your hand to zoom out.
Moderate: On the Photoshop interface
There are buttons (or tools) on the interface of Photoshop that allows a user to zoom in or zoom out an image. There are actually multiple options for this:
On the Side: The Zoom Tool
The Zoom Tool is a button located at the left-hand side of the Photoshop interface. Its icon is a small magnifying glass that allows zooming in or out of the image. This allows the user to take a closer look at a specific area of an image (by zooming in). To use the zoom tool:
- Simply click its icon from the Tool Palette (on the left-hand side)
- Click on the portion of the image you wish to zoom in
- Adding mouse clicks will zoom the image further.
At the Top: The Zoom in and Zoom Out option
On default, the zoom tool is on its ‘zoom-in’ mode. However, there is a portion on the Tool Options bar at the top of the interface. This allows the user to select the mode of the zoom tool. Users can click on the magnifying glass icon with a minus (-) sign to zoom out or the plus (+) sign to zoom in.
At the Bottom: The Zoom Percentage
As a shortcut, there is another option on the Photoshop canvas that allows for easier zooming in or out. The zoom percentage box is located at the bottom of the Photoshop interface. The number on the box shows the current zoom level of the image (or zoomed in or out in comparison to the original photo). Simply clicking on this box and typing in a specific percentage (higher number to zoom in, a lower number to zoom out) allows faster magnification of an image.
Using a Mouse (Again)
The mouse can be used again easily with the Zoom tool. It is as easy as dragging over an area in the image to create a selection. This selected area will then be zoomed in when the mouse is released.
Advanced: Keyboard Shortcuts
There are multiple keyboard shortcuts to memorize for easier navigation of Photoshop. Here are a few important zoom keyboard shortcuts to remember:
- To zoom in from the center of IMAGE: Press Ctrl Key plus the Plus (+) sign for Windows. Press Command Key plus the Plus (+) sign for Mac.
- To zoom out from the center of IMAGE: Press Ctrl Key plus the Minus (-) sign for Windows. Press Command Key plus the Minus (-) sign for Mac.
- To zoom in from where MOUSE POINTER is located: Press the Space Bar plus the Ctrl Key then simultaneously Click the mouse (Windows). Press the Space Bar plus the Command Key then simultaneously Click the mouse (Mac).
- To zoom out from where MOUSE POINTER is located: Press the Space Bar plus the Alt Key then simultaneously Click the mouse (Windows). Press the Space Bar plus the Option Key then simultaneously Click the mouse (Mac).
- For Zoom tool: Simply press the Z key from the keyboard
Technical: From the View Menu
View Actual Pixels
This is a more technical side of zooming in a photo. Viewing an image on its actual pixels means that you are looking at the photo 1 for 1. Simply, 1 image pixel presented for 1 monitor pixel. This is done so that users can view the maximum amount of detail there is to an image. This also allows for more detailed editing.
This can be easily confused with View Actual Print Size. This, on the other hand, is looking at an image sized the way it is intended to be printed.
Read Also: 9 Beginner Photoshop Tutorials
Author: Sangalang Kristine
Civil Engineer by profession, Writer by passion. Serving readers since 2014 on different niches like Science, Current Events, Tech, and Travel.