
Don’t waste your time doing the same thing over and over in Photoshop. This tutorial will show you how to apply the same editing to thousands of images at once in Photoshop using your own Actions with the Batch automation. You’ll learn how to create a basic Photoshop Action and learn how to run it within the Batch automation window so you can quickly edit tons of images. Get ready to cut your editing time in half!
What you’ll be creating
In this tutorial we’ll create a Photoshop action that resizes the length of our images to 1000 pixels and then we’ll apply it to several images at once. Photoshop’s batch and action automation features have been available for a long time so you’ll be able to follow along in Photoshop CS3 or newer. There are a ton of free Photoshop actions here on Photoshop Tutorials that you can use to batch process your images using the same technique!
Tutorial Resources
Step 1
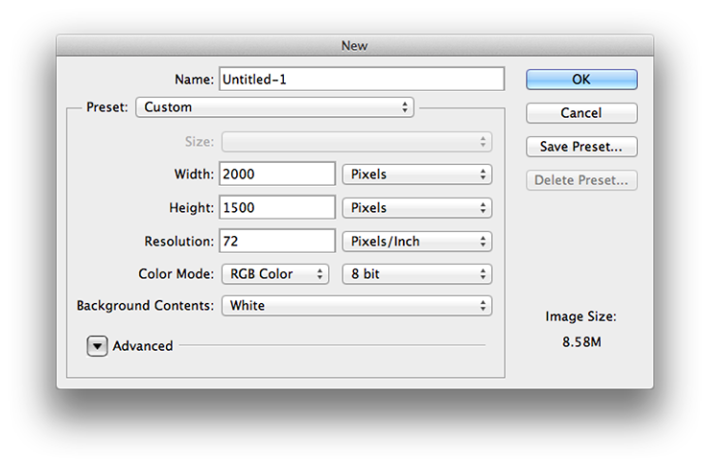
First create a new 2000px by 1500px document. This will give us a workspace to create our action and record our changes for the image size dialogue box later on.
Step 2
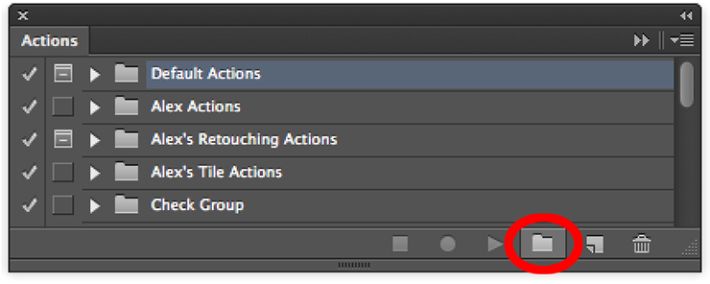
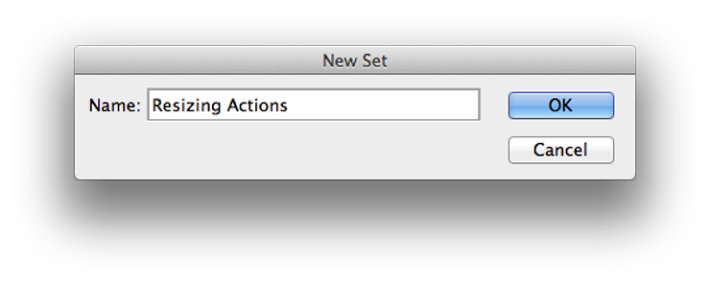
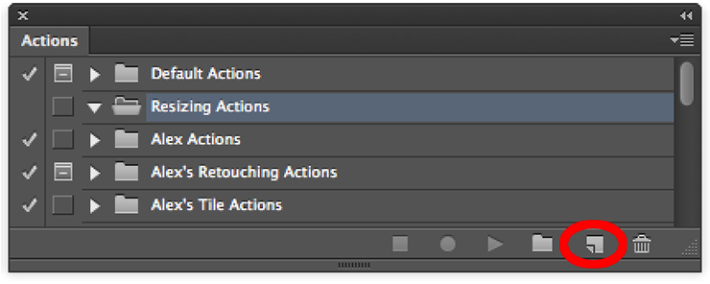
Go to Window > Actions to open the actions palette. Click on the Create New Set folder icon at the bottom of the actions palette and name it “Resizing Actions.” You can move sets and actions around in the actions palette simply by clicking and dragging.
Step 3
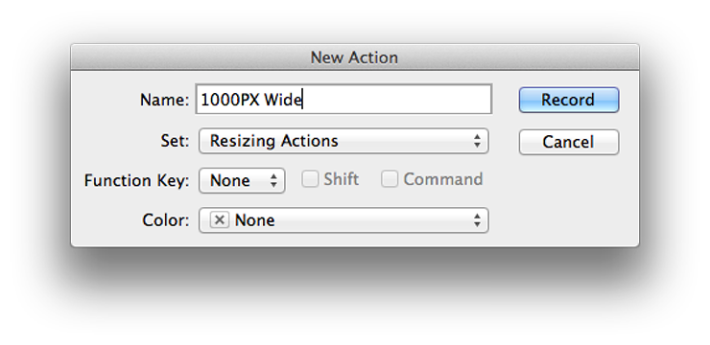
Click on our new Resizing Actions set to select it. We will create our action inside of this set so that we can save it for later. You cannot save actions out of Photoshop and open them on another computer unless they are in a set. Click on the Create New Action button and name the action “1000PX Wide”
Step 4
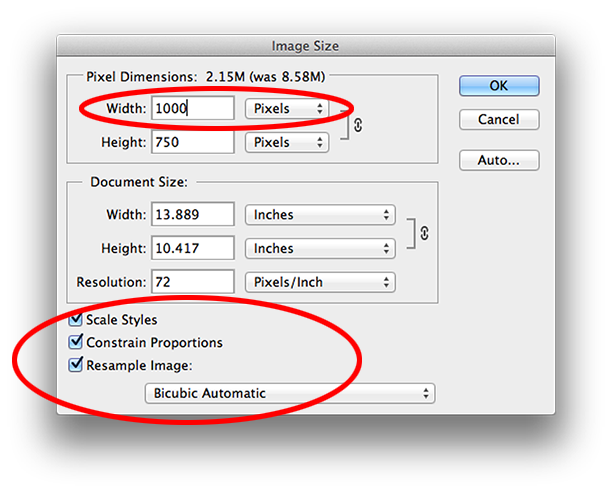
Click Record to start recording your action. Anything you do now will be recorded in steps within the action for you to playback later in the batch automation. Go to Image > Image Size and change the Width to 1000px. Make sure that the Scale Styles, Constrain Proportion, and Resample Image tick boxes are checked. Set the resampling dropdown menu to Bicubic Automatic. Click OK. Don’t worry about the Document Size settings since the action will only record the values for the tick boxes, the width value we changed and the resampling settings in the dropdown menu.
Step 5
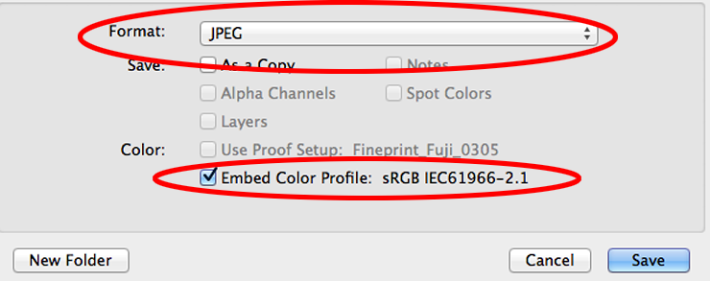
Now we have to save our image in the action we are recording. Normally, you wouldn’t record a Save As command in an action, but the batch automation needs this step in order to export the correct file type for us. Go to File > Save As and save this blank document as a JPEG. Check the Embed Color Profile tick box. ClickSave. It doesn’t matter where you save the image while recording the action because we will define a destination folder where our batch of images will be saved later but you must click save to define the JPEG file type in the action.
Step 6
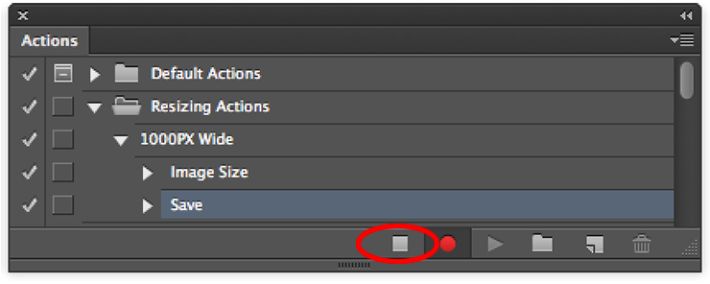
Go back to the Actions Palette and click the Stop Icon. Our action is ready to go! See the Image Size and Save sequence we did? Simple.
Step 7
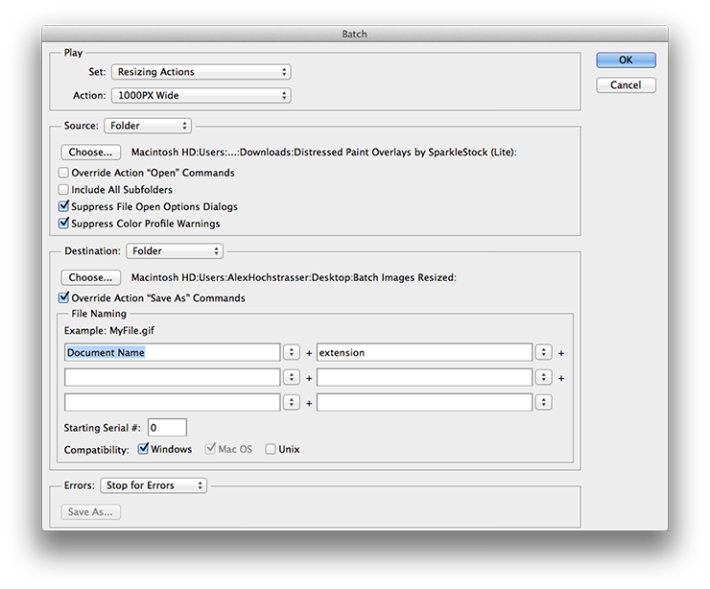
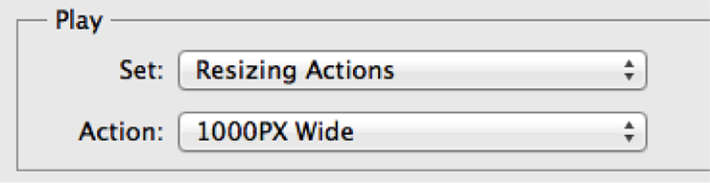
Go to File > Automate > Batch to open the Batch window. Select Resizing Actions in the Set dropdown menu and 1000PX Wide in the Actions dropdown menu.
Step 8
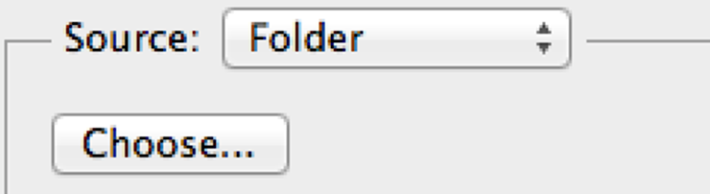
Click Choose underneath the Source: Folder heading and select the Distressed Paint Overlays folder wherever you saved it. We’ll be resizing these images.
Step 9
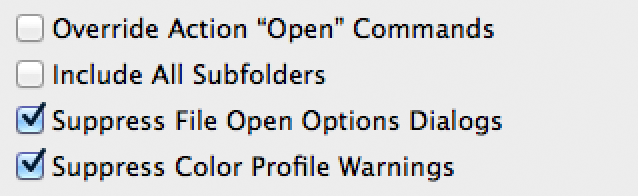
Leave Override Action “Open” Commands unchecked since we didn’t open any files while recording our action. Leave Include All Subfolders unchecked since there aren’t any subfolders in the stock pack we’re using. Suppress File Open Options Dialogs and Suppress Color Profile Warnings should be checked to avoid having to confirm profile changes and options dialogs for every image in the batch. Most JPEG images will have an embedded sRGB color profile and by default Photoshop’s Working RGB is sRGB so there shouldn’t be any Color Profile Warnings anyway. If there is no embedded profile in an image Photoshop can assign the working sRGB profile to the image. It’s important to have no dialogs pop up during the batch otherwise it defeats the purpose of the automation. You want to be able to click OK and walk away while Photoshop does the work for you.
Step 10
Create a new folder on your Desktop called “Batch Process Images Resized.” Back in the batch window in Photoshop set this folder as the Destination folder. Make sure Override Action Save As Commands is ticked so that the batch uses only our file settings from the action and not the save location.

Step 11
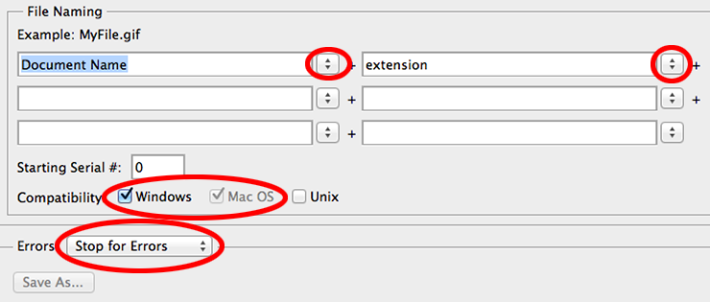
Finally, choose a File Naming Template for your exported images. We can stick with the default template for now. Make sure the Windows and Mac OS Compatibility tick boxes are checked. Leave the Errors dropdown at Stop for Errors.
Step 12
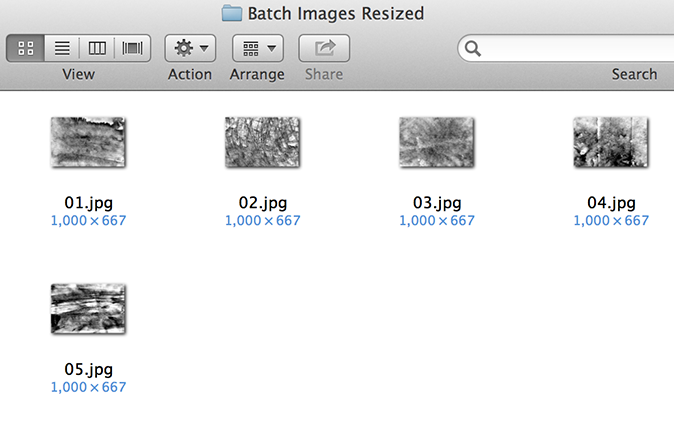
Click OK in the batch dialog and you’re good to go. The images will open, resize to 1000 pixels wide and save right in front of you. Try it with another action and see what else is possible!
Final Results
Tutorial by Alex Hochstrasser
 Thanks for reading my tutorial! I hope you have a better understanding of Photoshop Actions and Batch Automation now. I am an Adobe Certified Expert in Photoshop, if you have any questions leave me a comment. If you’d like to check out my work you can do so at www.AlexHawkPhotography.com
-Alex