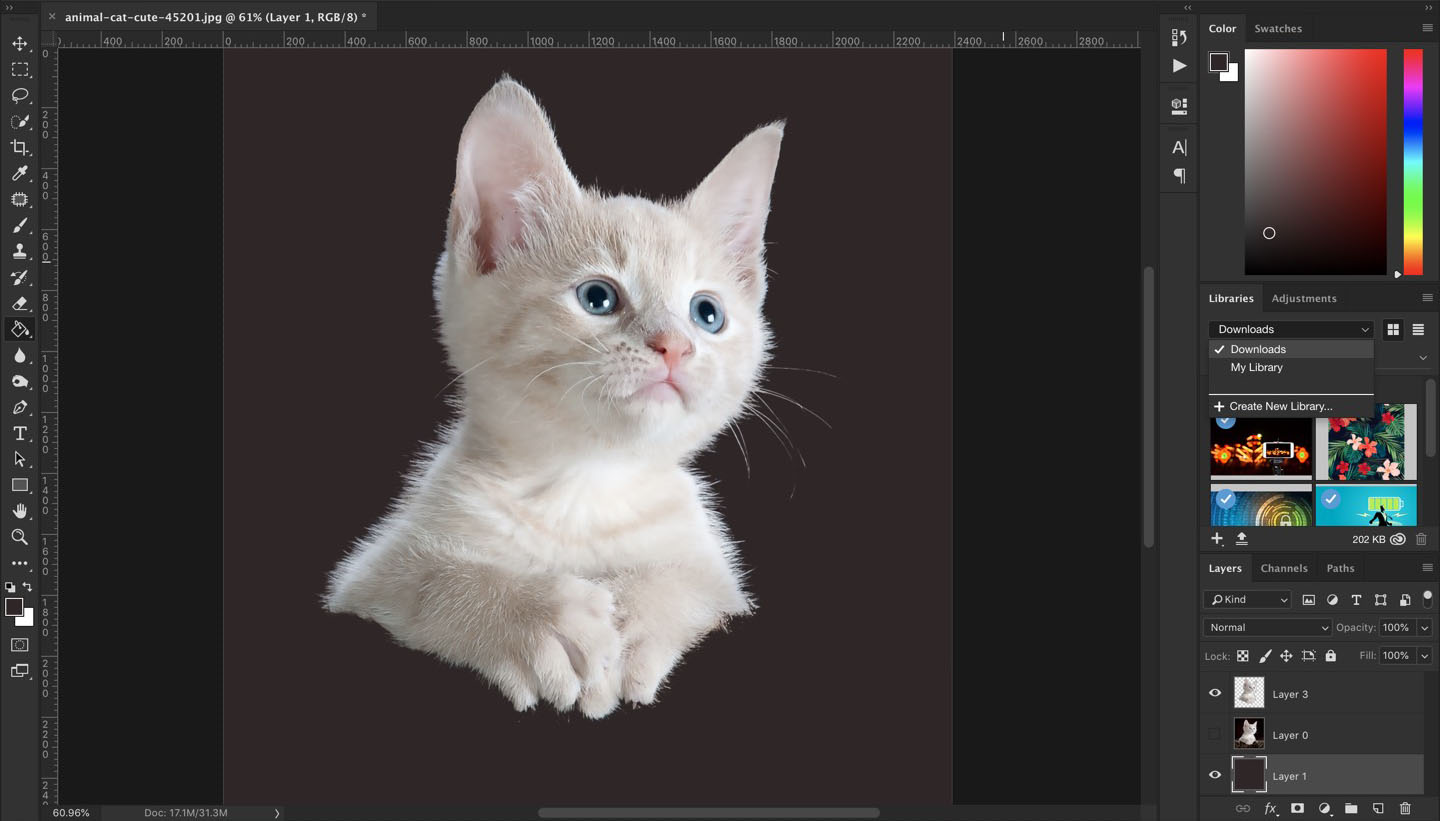
Your Photoshop selection tools are perhaps the most powerful part of the application. By making effective selections, you unlock the power of the rest of the application. This includes localized image adjustments, compositing, and accurate mockups and object placement. Sloppy selections always show in the final product, so it pays to learn to make a proper selection.
The Photoshop Selection Tools
There are many Photoshop selection tools available to grab pixels. Creating a precise selection is the single most important skill in Photoshop, regardless of your final product. Remember, garbage in, garbage out.
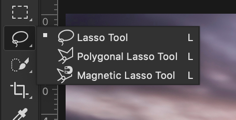
- Lasso: freehand selection tool
- Magnetic Lasso: lasso that “sticks” to edges (boundaries of high contrast) to make selection easier.
- Polygonal Lasso: selects a polygon defined by points you make.
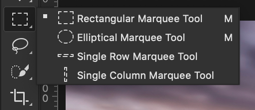
- Rectangular/Elliptical Marquee: select a rectangle or ellipse

- Magic Wand: create a selection based on pixel color
- Quick Selection: use a magic wand-style algorithm to select regions progressively
- Pen: the pen tool’s primary purpose is creating paths by using points and Bézier curves. Completed paths can be converted into exacting selections.
Magic Wand and Quick Selection are not precise enough for most uses. The Freehand Lasso is most useful when adding or removing pixels from an existing selection. The marquee tools are most useful when selecting organic objects, especially with the editing tools described below.
The Pen tool is typically the most heavily relied on. It makes extremely precise selections possible without precise physical control. You can modify the selection boundary as you are creating it while creating smooth shapes that match the objects we see in the natural world and photographs. Once you know the basics of using the Pen tool, the best way to improve competency is practice.
Editing Existing Selections
A crucial part of accurate selection is adding to and removing from selections. This is done with keyboard shortcuts. To use these keyboard shortcuts, hold down the referenced keys before starting your drag. Once you begin dragging, the key can be released without changing the function of the drag.
Shift + Drag displays a small plus symbol next to the selection tool. Any selection you make will be added to the existing selection.
Option + Drag displays a minus sign instead. Any selection you make will be removed from the existing selection.
Shift + Option + Drag will only select pixels in the intersection of the new and old selection.
There are also selection transformation hotkeys that are valuable
Shift + Drag with the rectangular or elliptical marquee selected with restrict the selection to a square or circle.
Option + Drag with a marquee tool selected will draw the marque from the center out, rather than the top right edge.
Holding the Spacebar will produce the Hand tool, allowing you to drag the image around. This is crucially important when making selections at high zoom levels.
You can also move an in-progress marquee selection with Spacebar + Drag.
Command + D will deselect whatever is selected. This is a good “start over” key for selections that aren’t going as planned.
Select and Mask
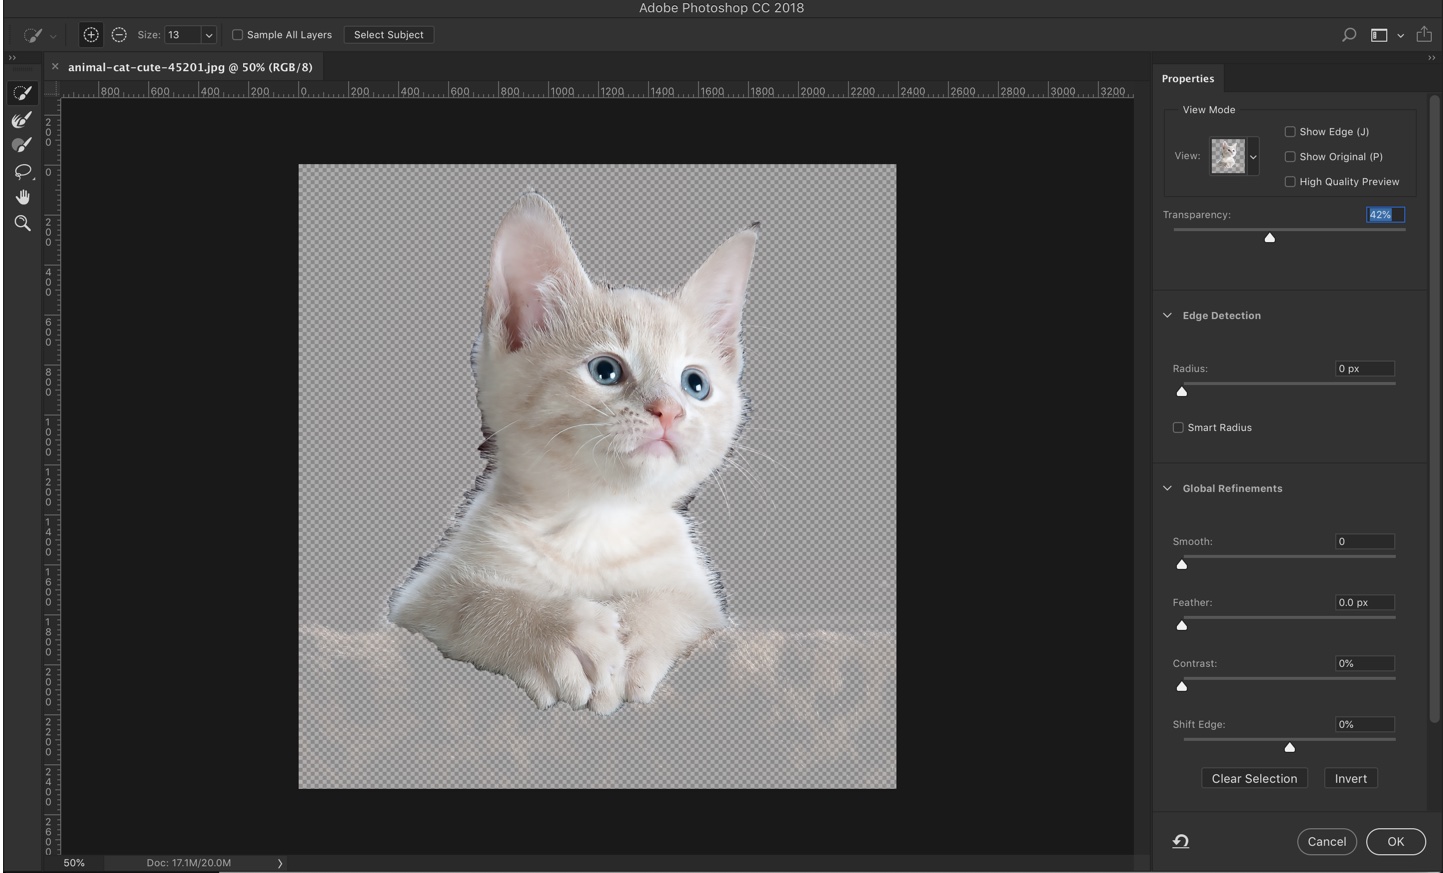
Once you’ve created a rough selection, you’ll need to refine it. This is where the magic happens. We will use Photoshop’s algorithms to help narrow our selection to only the pixels we absolutely want.
Select > Select and Mask is where you’ll find the most powerful tools. You can also choose specific operations from Select > Modify.
The sliders in Select and Mask are cryptically named. We will define them one by one.
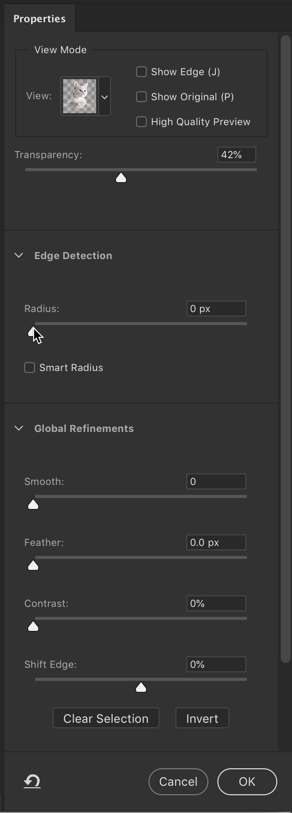
View Mode
The top of the pane is for selecting a view mode. These options adjust how your selection appears in the preview window. The default settings are fine for now. As you become more practiced, you’ll recognize situations where the other view modes can be useful.
Radius
Underneath those tools is the Radius slider. This adjusts Photoshop’s edge detection algorithm. The number in the Radius slider tells Photoshop how far from the selection boundary to look for apparent edges. Photoshop finds edges by comparing areas of local contrast, and it’s quite good at it. By expanding the radius, you can get your rough selection to “snap” into place around the edges of your subject. This is especially true for difficult-to-select objects like hair or clothes.
The Smart Radius checkbox lets Photoshop adjust the radius in response to the results of its edge detection algorithm. If an obvious edge is detected ten pixels from the selection boundary, for example, the algorithm won’t continue looking further out. This can help avoid false positives or overly messy selections.
Global Refinements
Global refinements allow for control of the selection’s properties all the way around the boundary. They’re not targeted, nor particularly precise. In general, you’ll want to use these tools sparingly, and only when you’re trying to match the contours of an object. Don’t use these tools to try and obscure an imprecise selection.
- Smooth will remove sharp edges from the selection boundary, especially if those edges are very small. This can sometimes clean up a messy Radius selection. Be gentle with the slider: too much smoothing will turn a crisp selection into a sloppy one.
- Feather softens the edge of the selection. It works by progressively selecting a lower and lower percentage of pixels as it fades away from the selection boundary. This creates a soft edge to the selection. Only use this selection when you are trying to match an object that has these properties, like a fuzzy pom-pom.
- Contrast adds definition to your selection. It’s essentially the opposite of the Feather slider.
- Shift Edge will move the selection boundary in our out by the set percentage. Negative percentages shrink the selection and positive percentages grow the selection.
There are also a small selection of tools on the left of the Select and Mask window. These allow you to paint your own radius area, allowing for non-uniform radii and improved edge detection.
When you’re done making your refinements, click OK to apply the refinements to your currently selection. With that selection, you can then proceed to do as you’d like.
Conclusion
Selecting accurately in Photoshop is all about familiarity with your tools. If you want to improve your precision, practice making selections.
You might also like the following posts:
