

Sketch is a graphics application for designers, lending itself very nicely to the world of web design. If you’re new to it, you may not be aware of some of the tricks Sketch has, hidden under the surface. Today I’d like to run through some top tips to speed up your design workflow.
Hold on. What is Sketch?
Last year Sketch received a fresh lick of paint with version 2, and since then, more and more designers have been switching to it. Its simplicity makes it arguably more intuitive than Photoshop (which, don’t forget, was originally built for editing and processing images), whilst its vector tools are more than capable of taking on Illustrator. Sketch is not a bitmap editing tool. It does feature a pixel preview, but is built to help you design interfaces and icons.
1. Symbols Plug-In for Smart Objects
Very recently Tisho Georgiev released a great plugin for Sketch. Called Symbols, it gives us the ability to mimic Smart Objects; a feature which Sketch currently doesn’t support.
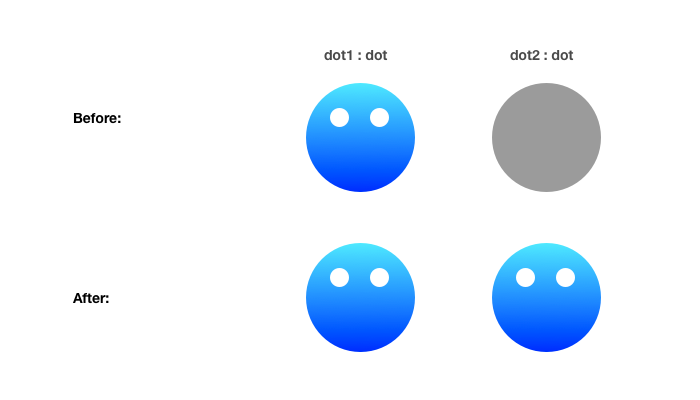
Smart objects allow you to have multiple instances of one object within your document. By editing any one of the smart objects, then pressing CMD+E, you’ll see those changes made across all instances.
2. Smart Guides
Sketch supports many keyboard shortcuts. One such example is for “Smart Guides”.
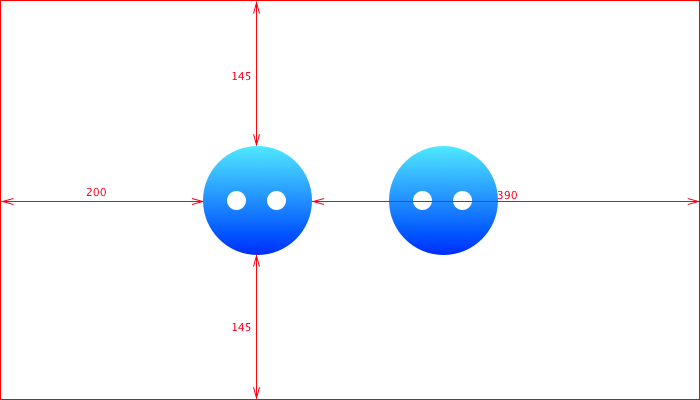
By selecting an object and then pressing CTRL, the Smart Guides will show up, highlighting the distance between the selected object and the document edges. If you want to check the distance between the selected object and another object, just hover the desired object and the Smart Guides will adjust.
3. Easy Grids
Creating a grid is straight-forward, but it can be even easier and cleaner with Sketch!
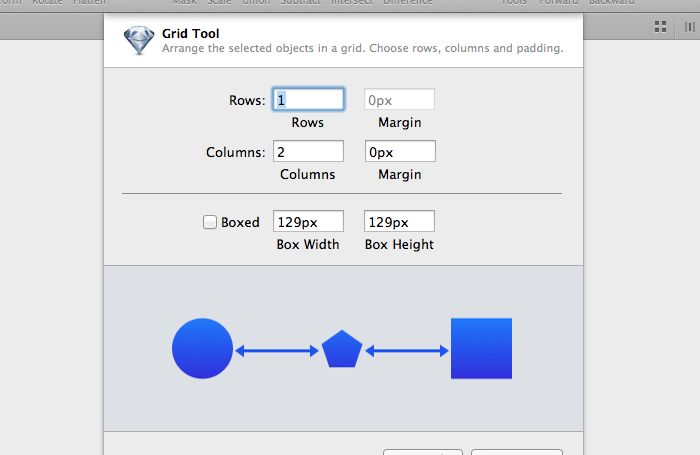
Sketch boasts a feature, simply called “Create grid”. Click on the four boxes in the sub-toolbar (shown top right in the image), to reveal a popup menu, where you can define how many rows and how many columns you want to arrange the selected objects into.
If you want to specifically define the area around each object, as well as the spacing between, you can select the Boxed option.
4. Artboard Presets
If you are using Artboards (Sketch has an infinite canvas by default) it’s helpful to use Artboard presets. When clicking the Artboard button on the toolbar you’ll be given the option to select presets from the sub-toolbar.
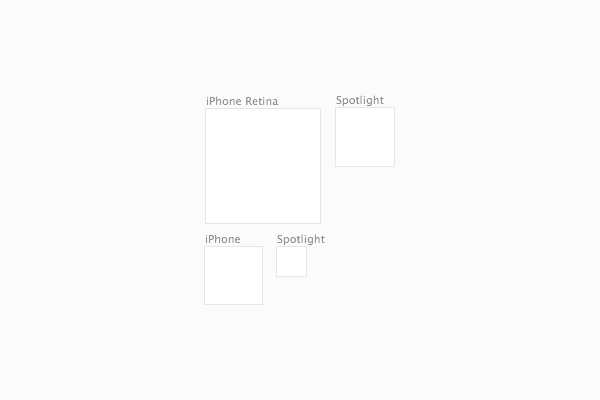
Presets allow you to organise your work using predefined dimensions. For example, you could build a document with a range of artboards, so you don’t have to remember all the various favicon sizes needed these days!
5. Templates
Sketch is able to create a new file directly from a template, through the menu item File > New from template, but you can also save a current file as a template to start each project from your present stage. Go to File > Save as template to do this.
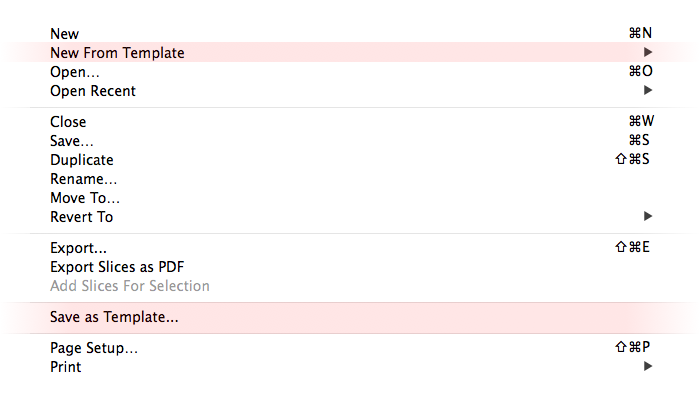
This might be very helpful, for example, when designing for iOS. You could create a file with the status bar and the navigation bar, then save it as a template, so you can use it later in upcoming iOS projects.
6. Shortcuts
As mentioned earlier, Sketch offers many shortcuts. Take a look at Sketch Shortcuts by Robert van Klinken and Jeffrey de Groot. It features (almost) every shortcut Sketch offers.
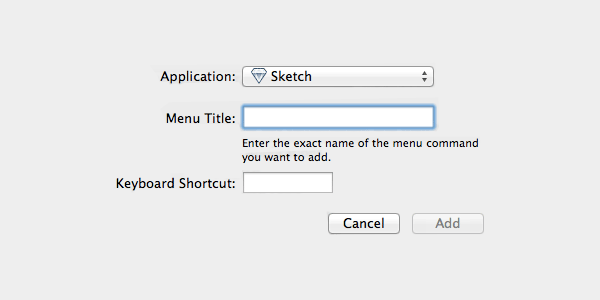
You can also create your own shortcuts via OS X System Preferences – some examples of which are shown at the foot of the Sketch Shortcuts page.
7. Color Picker
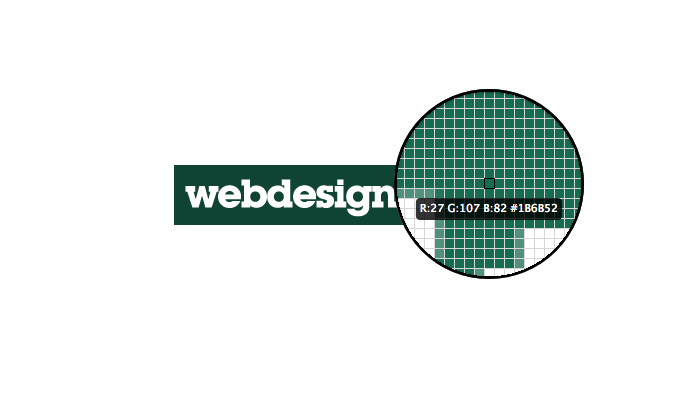
To easily pick a color from anywhere on your screen, just press CTRL+C. A loupe will open, to help you pick exactly the color you’re aiming for. Really simple. Really effective.
8. Pixel Perfection
Let me quickly show you the best feature which comes with Sketch. It helps you get pixels perfectly positioned within your design.
If, for example, you have layer which contains pixel fractions in width or height, or isn’t positioned very well, you might typically (in other graphics packages) get a headache fixing the broken pixels to achieve sharp perfection. In Sketch, click on Edit > Round to nearest pixels edge (or create a custom shortcut for it) and the whole layer will be cleaned up.
You might need to use this feature after importing icons into a sketch file, be sure to Round them to nearest pixels edge to be sure they are pixel perfect.
Note: If you are designing in @2x (for hi pixel density screens) and are exporting in @1x be aware that each pixel position needs to be divisible by two, otherwise you’ll be splitting pixels again and the layer will be blurry in your @1x outcome.
Note again: Take a look at Meng To’s article to learn more about pixel perfection.
9. Exporting
Exporting is a great feature that comes out of the box with Sketch. Just go to File > Export and draw as many slices as you need. You can also export as @2x, if you designed in @1x, and the other way round.

Sketch offers even more slicing control. With the menu item File > Add Slice from Selection you can select a layer which you’ve recently created, then click this item to get a slice that is exactly the size of the selection.
Conclusion
There are many useful features, extensions and workflows available for Sketch. Use the above mentioned tips to enhance your workflow and let us know your own suggestions in the comments!