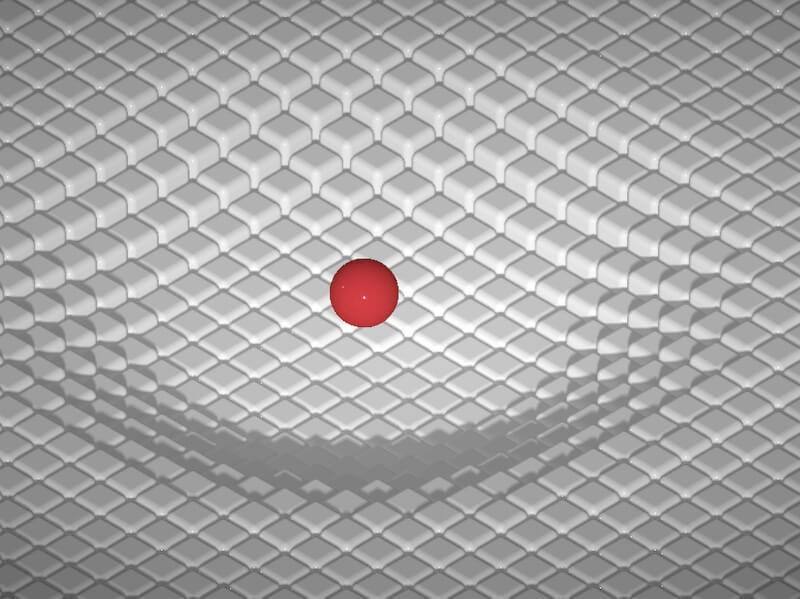
Mind-blowing effects that require thousands, possibly millions of objects like hundreds of paper planes, brains made out of triangles, or a galaxy of stars, push the limits of the GPU.
However, sometimes it’s not because the GPU cannot draw enough, at times it’s bottlenecked by how much information it’s receiving.
In this tutorial, we’ll learn how to leverage Instancing to allow the GPU to focus on what it does best: drawing millions of objects.
Check out Mastering ThreeJS Instancing for creative developers.
In this course, you’ll learn how to draw millions of objects with good performance by creating 3 mind-blowing Instancing projects in 14 different lessons.
If you want more in-depth video explanations, check it out!
Use code AdeventOfCodrops for a 20% discount
Overview
In this tutorial we will learn:
- How to create an Instanced Mesh with instanced position and color to render thousands of objects
- Displace the mesh in Y axis with the distance to the mouse
- Animate the scaling and rotation on a per-instance basis
- Transform this demo into a visually compelling project
Installation
Use this if you are going to follow along with the tutorial (you can use npm/yarn/pnpm):
- Download the demo files
- Run yarn install in a command line
- Run yarn dev
Instancing
The GPU is incredible at drawing objects, but not as good at receiving the data it needs. So, how we communicate with the GPU is very important.
Each mesh creates one draw call. For each draw call, the GPU needs to receive new data. This means if we have one million meshes, the GPU has to receive data a million tones and then draw a million times.
With instancing, we send a single mesh, create a single draw call, but say “Draw this mesh one million times” to the GPU. With simple this change, we only send the data once, and the GPU can focus on what it does best. Drawing millions of objects.
Instancing basics
In ThreeJS, the simplest way to create instances is with THREE.InstancedMesh, receives the geometry, the material, and the amount of instances we want. We’ll create a grid of boxes so grid * grid is the number of instances.
let grid = 55;
let size = .5
let gridSize = grid * size
let geometry = new THREE.BoxGeometry(size, 4, size);
let material = new THREE.MeshPhysicalMaterial({ color: 0x1084ff, metalness: 0., roughness: 0.0 })
let mesh = new THREE.InstancedMesh(geometry, material, grid * grid);
rendering.scene.add(mesh)
mesh.castShadow = true;
mesh.receiveShadow = true;
You’ll notice that we only have one object on the screen. We need to give each one a position.
Each instance has a ModelMatrix that the vertex shader then uses to position it. To modify the position of each instance we’ll set the position to a dummy, and then copy the matrix over to the InstancedMesh through setMatrixAt
let dummy = new THREE.Object3D()

let i =0;
let color = new THREE.Color()
for(let x = 0; x < grid; x++)
for(let y = 0; y < grid; y++){
  // console.log(x,y)


  dummy.position.set(
    x * size - gridSize /2 + size / 2.,
    0,
    y * size - gridSize/2 + size / 2.,
  );

  dummy.updateMatrix()
  mesh.setMatrixAt(i, dummy.matrix)
  i++;
}
Setting the position is not enough. Because these are attributes we are modifying, they need to be marked as updated and the boundingSphere recalculated.
mesh.instanceMatrix.needsUpdate = true;
mesh.computeBoundingSphere();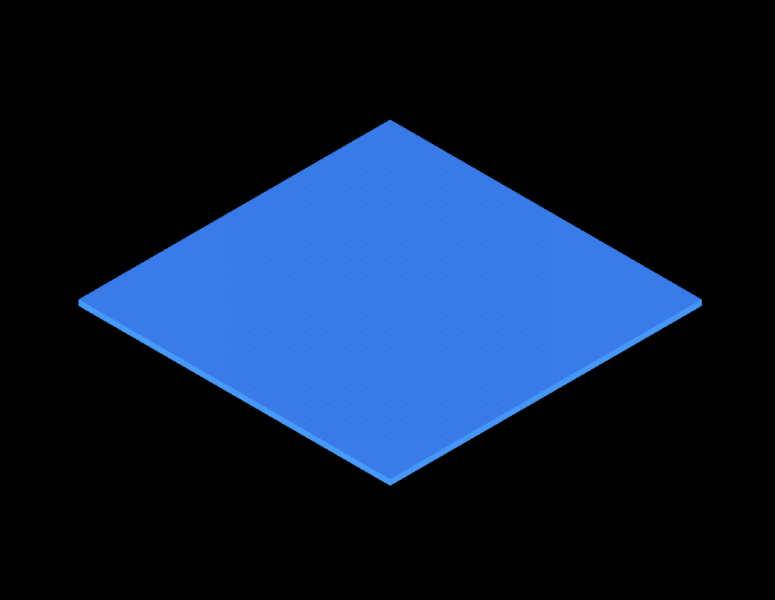
Adding waves in the vertex shader
To have better control over the result and better performance, we are going to move each instance inside the vertex shader. However, we are using a MeshPhysicalMaterial, which has its own shaders. To modify it we need to use OnBeforeCompile
For this, we need to create our vertex shader in two parts.
let vertexHead = glsl`

  uniform float uTime;
  void main(){
`
let projectVertex = glsl`


        // Code goes above this
        vec4 mvPosition = vec4( transformed, 1.0 );

        #ifdef USE_INSTANCING

          mvPosition = instanceMatrix * mvPosition;

        #endif

        mvPosition = modelViewMatrix * mvPosition;

        gl_Position = projectionMatrix * mvPosition;
`
Then, using onBeforeCompile, we can hook our shader before the MeshPhysicalMaterial is compiled. Finally allowing us to start making our custom vertex modifications.
let uniforms = {
  uTime: uTime
}
mesh.material.onBeforeCompile = (shader)=>{
      shader.vertexShader = shader.vertexShader.replace("void main() {", vertexHead)
      shader.vertexShader = shader.vertexShader.replace("#include <project_vertex>", projectVertex)
      shader.uniforms = {
        ...shader.uniforms,
        ...uniforms,
      }
    }
For all the effects of this project, we’ll use the position of each instance. The position is the 3rd value in a Matrix. So we can grab it like instanceMatrix[3].
With this position, we’ll calculate the distance to the center and move the instances up and down in the Y-axis with a sin function.
// projectVertex

vec4 position = instanceMatrix[3];
float toCenter = length(position.xz);
transformed.y += sin(uTime * 2. + toCenter) * 0.3;
Then, rotate the mesh over time. We’ll use rotate function found in a Gist by yiwenl. Add the rotation functions to the head, and rotate the transformed BEFORE the translation.
// Vertex Head
mat4 rotationMatrix(vec3 axis, float angle) {
    axis = normalize(axis);
    float s = sin(angle);
    float c = cos(angle);
    float oc = 1.0 - c;

    return mat4(oc * axis.x * axis.x + c,           oc * axis.x * axis.y - axis.z * s,  oc * axis.z * axis.x + axis.y * s,  0.0,
                oc * axis.x * axis.y + axis.z * s,  oc * axis.y * axis.y + c,           oc * axis.y * axis.z - axis.x * s,  0.0,
                oc * axis.z * axis.x - axis.y * s,  oc * axis.y * axis.z + axis.x * s,  oc * axis.z * axis.z + c,           0.0,
                0.0,                                0.0,                                0.0,                                1.0);
}

vec3 rotate(vec3 v, vec3 axis, float angle) {
	mat4 m = rotationMatrix(axis, angle);
	return (m * vec4(v, 1.0)).xyz;
}

// ProjectVertex

transformed = rotate(transformed, vec3(0., 1., 1. ),  uTime + toCenter * 0.4 );
transformed.y += sin(uTime * 2. + toCenter) * 0.3;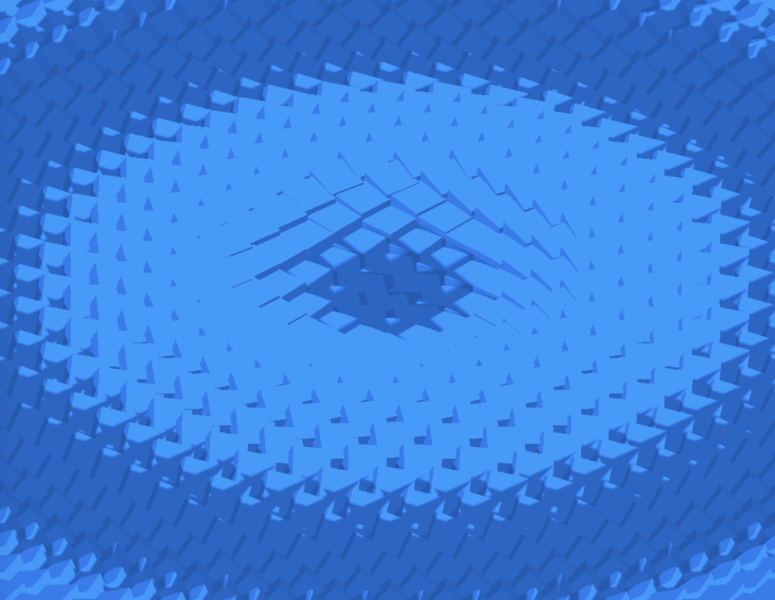
Fixing the shadows
For instance materials with custom vertex shaders the shadows are incorrect because the camera uses a regular DepthMaterial for all meshes. This material lacks our vertex shader modification. We need to provide our customDepthMaterial to the mesh, a new MeshDepthMaterial with our same onBeforeCompile
mesh.customDepthMaterial = new THREE.MeshDepthMaterial()
    mesh.customDepthMaterial.onBeforeCompile = (shader)=>{
      shader.vertexShader = shader.vertexShader.replace("void main() {", vertexHead)
      shader.vertexShader = shader.vertexShader.replace("#include <project_vertex>", projectVertex)
      shader.uniforms = {
        ...shader.uniforms,
        ...uniforms,
      }
    }
mesh.customDepthMaterial.depthPacking = THREE.RGBADepthPacking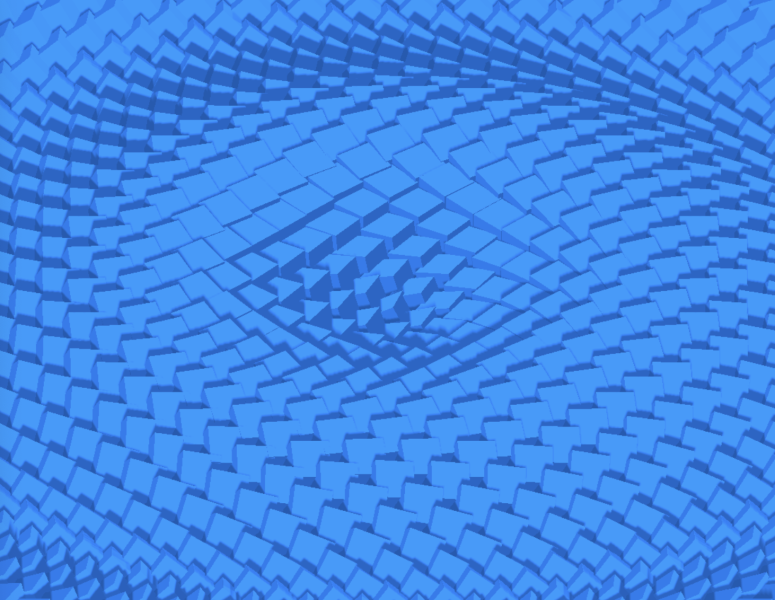
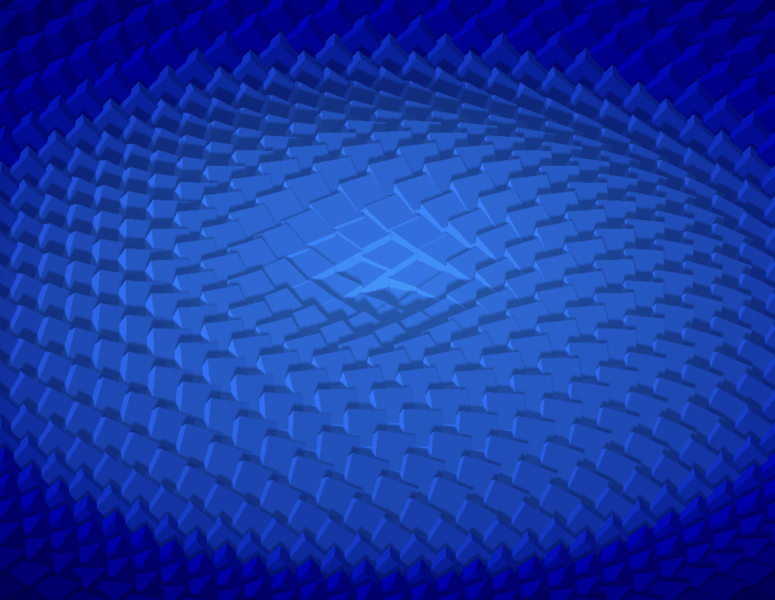
Distance Colors
The instance colors are made in a couple of steps:
- Sum all color components r + g + b
- Calculate how much percentage % each component contributes to the total sum.
- Then, reduce the smaller percentages as the instances get away from the center
First, sum all the components and divide each by the total sum to get the percentage.
const totalColor = material.color.r + material.color.g + material.color.b;
const color = new THREE.Vector3()
const weights = new THREE.Vector3()
weights.x = material.color.r
weights.y = material.color.g
weights.z = material.color.b
weights.divideScalar(totalColor)
weights.multiplyScalar(-0.5)
weights.addScalar(1.)
With the percentage, calculate the distance to the center and reduce the color component based on how much it contributed to the total sum.
This means that dominant colors stay for longer than less dominant colors. Resulting in the instances growing darker, but more saturated on the dominant component as it moves away from the center.
for(let x = 0; x < grid; x++)
for(let y = 0; y < grid; y++){
  // console.log(x,y)


  dummy.position.set(
    x * size - gridSize /2 + size / 2.,
    0,
    y * size - gridSize/2 + size / 2.,
  );

  dummy.updateMatrix()
  mesh.setMatrixAt(i, dummy.matrix)

  let center = 1.- dummy.position.length() * 0.18
  color.set( center * weights.x + (1.-weights.x) , center * weights.y + (1.-weights.y) , center * weights.z + (1.-weights.z))
  mesh.setColorAt(i,color)

  i++;
}
Mouse Animation
Here we use a cheap chain of followers. One follows the mouse, and the second one follows the first. Then we draw a line between them. Similar to Nathan’s Stylised Mouse Trails
This is a short and easy way of creating a line behind the mouse. However, it’s noticeable when you move the mouse too quickly.
let uniforms = {
  uTime: uTime,
  uPos0: {value: new THREE.Vector2()},
  uPos1: {value: new THREE.Vector3(0,0,0)},
}
To calculate the mouse line in relation to the instance position, we need the mouse in world position. With a raycaster, we can check intersections with an invisible plane and get the world position at the point of intersection.
This hit mesh is not added to the scene, so we need to update the matrix manually.
const hitplane = new THREE.Mesh(
  new THREE.PlaneGeometry(),
  new THREE.MeshBasicMaterial()
)
hitplane.scale.setScalar(20)
hitplane.rotation.x = -Math.PI/2
hitplane.updateMatrix()
hitplane.updateMatrixWorld()
let raycaster = new THREE.Raycaster()
Then, on mousemove, normalize the mouse position and raycast it with the invisible hit plane to get the point where the mouse is touching the invisible plane.
let mouse = new THREE.Vector2()
let v2 = new THREE.Vector2()
window.addEventListener('mousemove', (ev)=>{
  let x = ev.clientX / window.innerWidth - 0.5
  let y = ev.clientY / window.innerHeight - 0.5

  v2.x = x *2;
  v2.y = -y *2;
  raycaster.setFromCamera(v2,rendering.camera)

  let intersects = raycaster.intersectObject(hitplane)

  if(intersects.length > 0){
    let first = intersects[0]
    mouse.x = first.point.x
    mouse.y = first.point.z
  }

})
To create our chain of followers, use the tick function to lerp the first uniform uPos0 to the mouse. Then, lerp the second uPos1 to the uPos0.
However, for the second lerp, we are going to calculate the speed first, and lerp between the previous speed before adding it to uPos1. This creates a fun spring-like motion because it makes the change in direction happen over time and not instantly.
let vel = new THREE.Vector2()
const tick = (t)=>{
  uTime.value = t

  // Lerp uPos0 to mouse
  let v3 = new THREE.Vector2()
  v3.copy(mouse)
  v3.sub(uniforms.uPos0.value)
  v3.multiplyScalar(0.08)
  uniforms.uPos0.value.add(v3)

  // Get uPos1 Lerp speed
  v3.copy(uniforms.uPos0.value)
  v3.sub(uniforms.uPos1.value)
  v3.multiplyScalar(0.05)

  // Lerp the speed
  v3.sub(vel)
  v3.multiplyScalar(0.05)
  vel.add(v3)

  // Add the lerped velocity
  uniforms.uPos1.value.add(vel)


  rendering.render()
}
Using the mouse in the shader
With uPos0 and uPos1 following the mouse at different speeds, we can “draw” a line between them to create a trail. So first, define the uPos0 and uPos1 uniforms and the line function in the head.
sdSegments returns the signed distance field, representing how far you are to the line.
// Vertex Head
uniform vec2 uPos0;
uniform vec2 uPos1;

float sdSegment( in vec2 p, in vec2 a, in vec2 b )
{
    vec2 pa = p-a, ba = b-a;
    float h = clamp( dot(pa,ba)/dot(ba,ba), 0.0, 1.0 );
    return length( pa - ba*h );
}
On the vertex Shader body, we’ll use sdSegment to calculate how far the current instance XZ position is to the line. And normalize with smoothstep from 1 to 3. You can increase the mouse effect by increasing these values.
With the distance, we can modify the shader to create a change when the instance is near the mouse:
- Scale up the mesh,
- Add to the rotation angle.
- Move the instance down.
The order of these operations is critical because they build on each other. If you were to translate before rotation, then the rotation would start from a different point.
float mouseTrail = sdSegment(position.xz, uPos0, uPos1);
mouseTrail = smoothstep(1., 3. , mouseTrail) ;

transformed *= 1. + (1.0-mouseTrail) * 2.;

transformed = rotate(transformed, vec3(0., 1., 1. ), mouseTrail * 3.14 +  uTime + toCenter * 0.4 );

transformed.y += -2.9 * (1.-mouseTrail);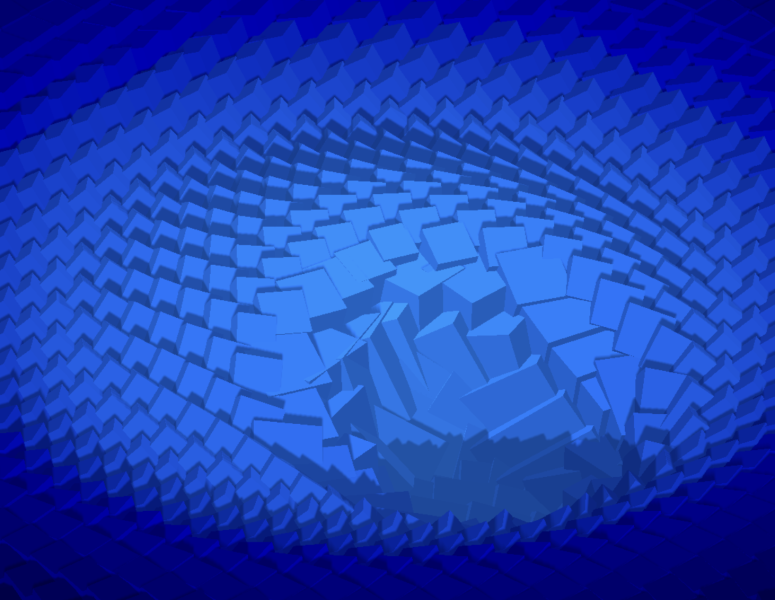
Animating the instances
We’ll use the same distance to the center to animate each instance. However, we need a new uniform to control it from our javascript: uAnimate
let uniforms = {
  uTime: uTime,
  uPos0: {value: new THREE.Vector2()},
  uPos1: {value: new THREE.Vector2()},
  uAnimate: {value: 0}
}
let t1= gsap.timeline()
t1.to(uniforms.uAnimate, {
  value: 1,
  duration: 3.0,
  ease: "none"
}, 0.0)
This animation needs to have linear easing because we’ll calculate the actual instance duration/start on the vertex shader, and add the easing right there instead.
This allows each instance to have its own easing rather than starting/ending and moving at odd speeds.
// vertex head
#pragma glslify: ease = require(glsl-easings/cubic-in-out)
#pragma glslify: ease = require(glsl-easings/cubic-out)
Then to calculate a per instance animation value using that uAnimate, we calculate where each instance is going to start and end using the toCenter variable. And clamp/map our uAnimate making it so when uAnimate is between the start/end of an instance, it maps to ( 0 to 1) for that specific instance.
// Head

uniform float uTime;
float map(float value, float min1, float max1, float min2, float max2) {
    return min2 + (value - min1) * (max2 - min2) / (max1 - min1);
}

// vertex body

float start = 0. + toCenter * 0.02;
float end = start+  cubicOut(toCenter + 1.5) * 0.06;
float anim = (map(clamp(uAnimate, start,end) , start, end, 0., 1.));

transformed = rotate(transformed, vec3(0., 1., 1. ),anim * 3.14+ mouseTrail * 3.14 +  uTime  + toCenter * 0.4 );

transformed.y += -2.9 * cubicInOut(1.-mouseTrail);
transformed.xyz *= anim;
transformed.y += cubicInOut(1.-anim) * 1.;
Improving the project’s looks
We have some good lighting, but the cubes don’t showcase it too well. A rounded cube is a nice way to get some light reflections while still keeping our beloved cube.
It’s Pailhead’s Rounded Cube, but added to the project files as an ES6 class.
geometry = new RoundedBox(size, size, size, 0.1, 4);Configuring the shaders
To make the variations we made for the demo, we added a couple of new uniforms that modify the shader values.
These options are all in vec4 to reduce the amount of uniforms we are sending to the GPU. This uniform config packing is a good practice because each uniform means a new WebGL call, so packing all 4 values in a single vec4 results in a single WebGL call.
let opts = {
   speed: 1, frequency: 1, mouseSize:1, rotationSpeed: 1,
   rotationAmount: 0, mouseScaling: 0, mouseIndent: 1,
}

let uniforms = {
      uTime: uTime,
      uPos0: {value: new THREE.Vector2()},
      uPos1: {value: new THREE.Vector2()},
      uAnimate: {value: 0},
      uConfig: { value: new THREE.Vector4(opts.speed, opts.frequency, opts.mouseSize, opts.rotationSpeed)},
      uConfig2: { value: new THREE.Vector4(opts.rotationAmmount, opts.mouseScaling, opts.mouseIndent)}
    }
Now, we can use these uniforms in the shaders to configure our demo and create all the variations we made for the demos. You can check out other configurations in the project’s files!
float mouseTrail = sdSegment(position.xz, uPos0, uPos1 );
mouseTrail = smoothstep(2.0, 5. * uConfig.z , mouseTrail)  ;

// Mouse Scale
transformed *= 1. + cubicOut(1.0-mouseTrail) * uConfig2.y;

// Instance Animation
float start = 0. + toCenter * 0.02;
float end = start+  (toCenter + 1.5) * 0.06;
float anim = (map(clamp(uAnimate, start,end) , start, end, 0., 1.));

transformed = rotate(transformed, vec3(0., 1., 1. ),uConfig2.x * (anim * 3.14+  uTime * uConfig.x + toCenter * 0.4 * uConfig.w) );

// Mouse Offset
transformed.y += (-1.0 * (1.-mouseTrail)) * uConfig2.z;

transformed.xyz *= cubicInOut(anim);
transformed.y += cubicInOut(1.-anim) * 1.;

transformed.y += sin(uTime * 2. * uConfig.x + toCenter * uConfig.y) * 0.1;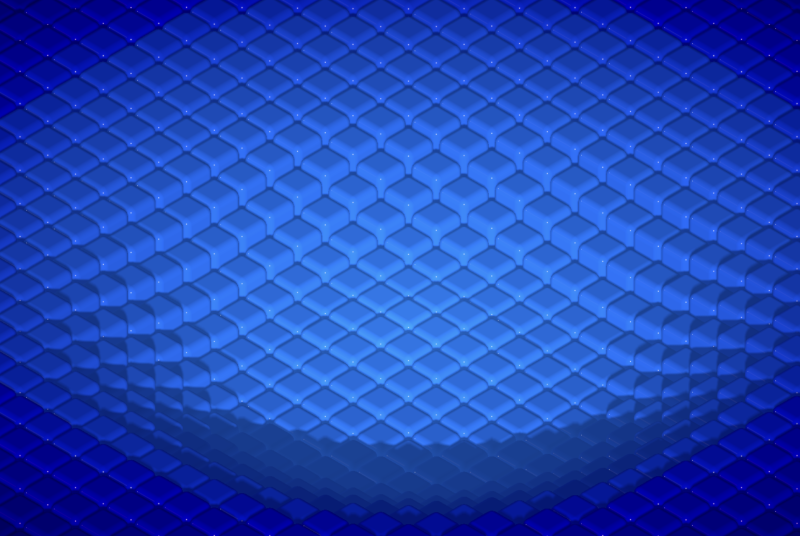
That’s it! You can get the final result in the github!
Going further
Instead of using the mouse, this demo started with a mesh’s position affecting the cubes instead. So there’s a lot you can do with this idea.
- Change the shape of the instances
- Create a mesh that follows the mouse
- Add a GPGPU to the mouse for actual following
Learn more about instancing
If you liked this tutorial or would like to learn more, join Mastering ThreeJS Instancing where you’ll learn similar instancing effects like these. Here’s a discount of 20% for you 😄
