If you are interested in learning how to edit text, Illustrator has a cool feature called Retype. It works on photos and raster graphics where text is outlined or the font is unknown, and it converts it to live, editable text. Follow this tutorial and learn how to achieve this in just a few easy steps.
If you don’t have the time to learn how to edit text in Illustrator, you can always try Envato Elements, where you will find a large selection of photos, templates, graphics, fonts, and much more. All the resources are ready to be used in your projects.
How to Change Text in Illustrator
Step 1
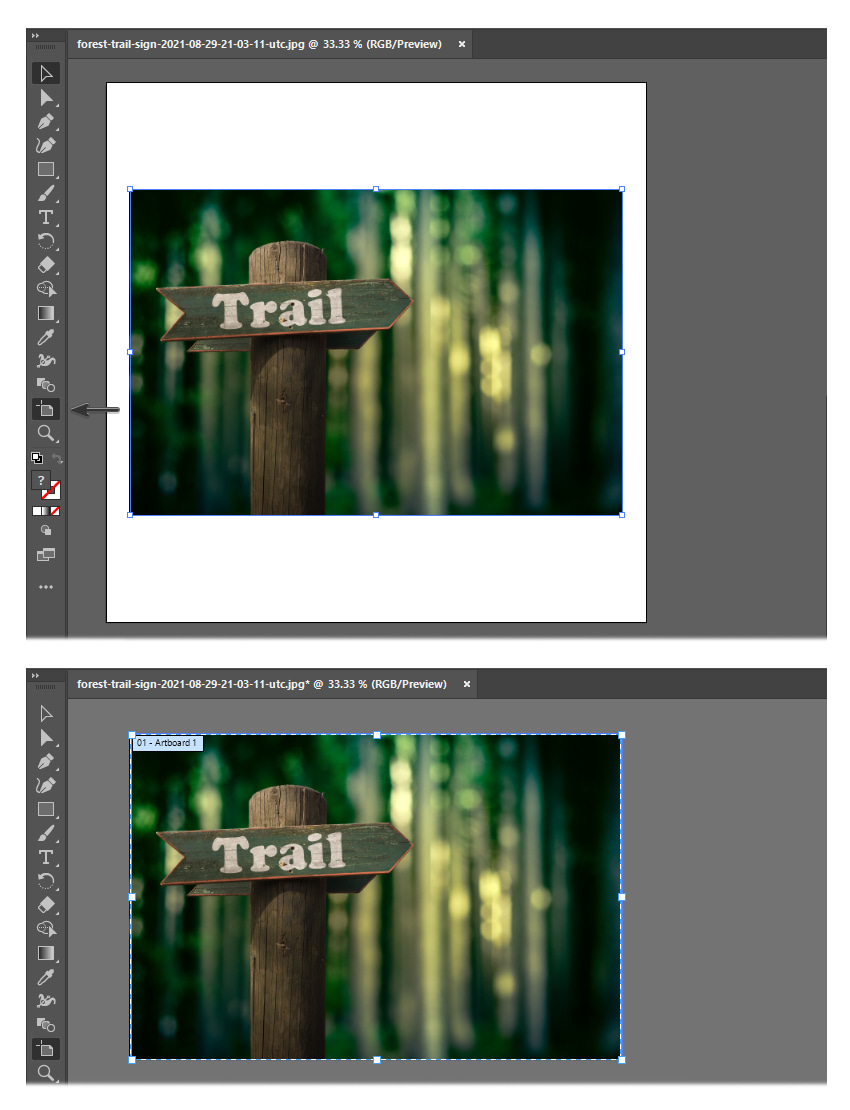
Let’s start by opening the photo in Adobe Illustrator. Go to File > Open and locate the image on your computer to open it. I have used the Forest Trail Sign photo. Notice the size of the image, and adjust the artboard if needed. Click on the Artboard Tool (Shift-O) and drag the sides of the canvas to make it fit.
Step 2
Let’s say you have a raster image with text on it that you would like to edit or vector graphics where the text is outlined. Maybe you love the font but don’t know what it is, or maybe you want to change it altogether.
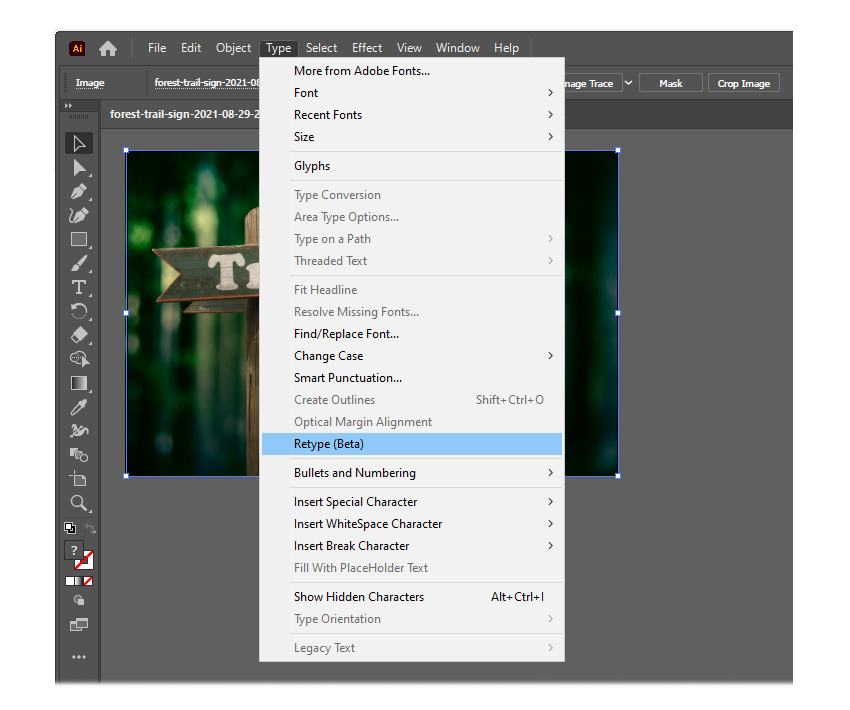
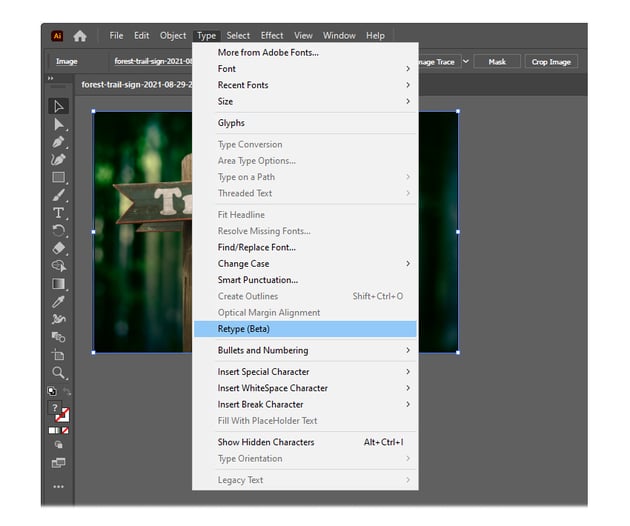
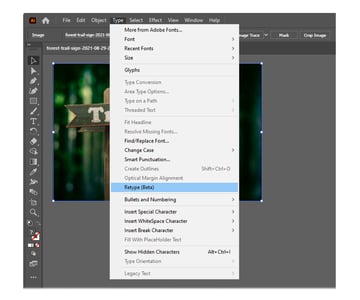
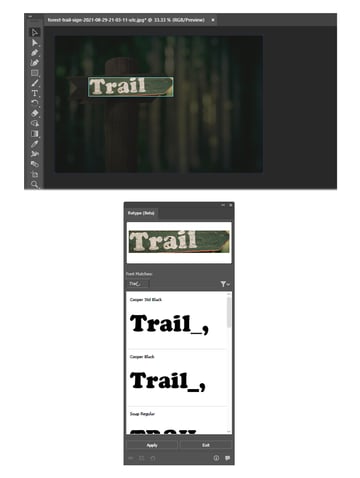
The solution is simple. Let me introduce you to the Retype feature and show you how to edit text in Illustrator quickly. Select the image and go to Type > Retype.
Step 3
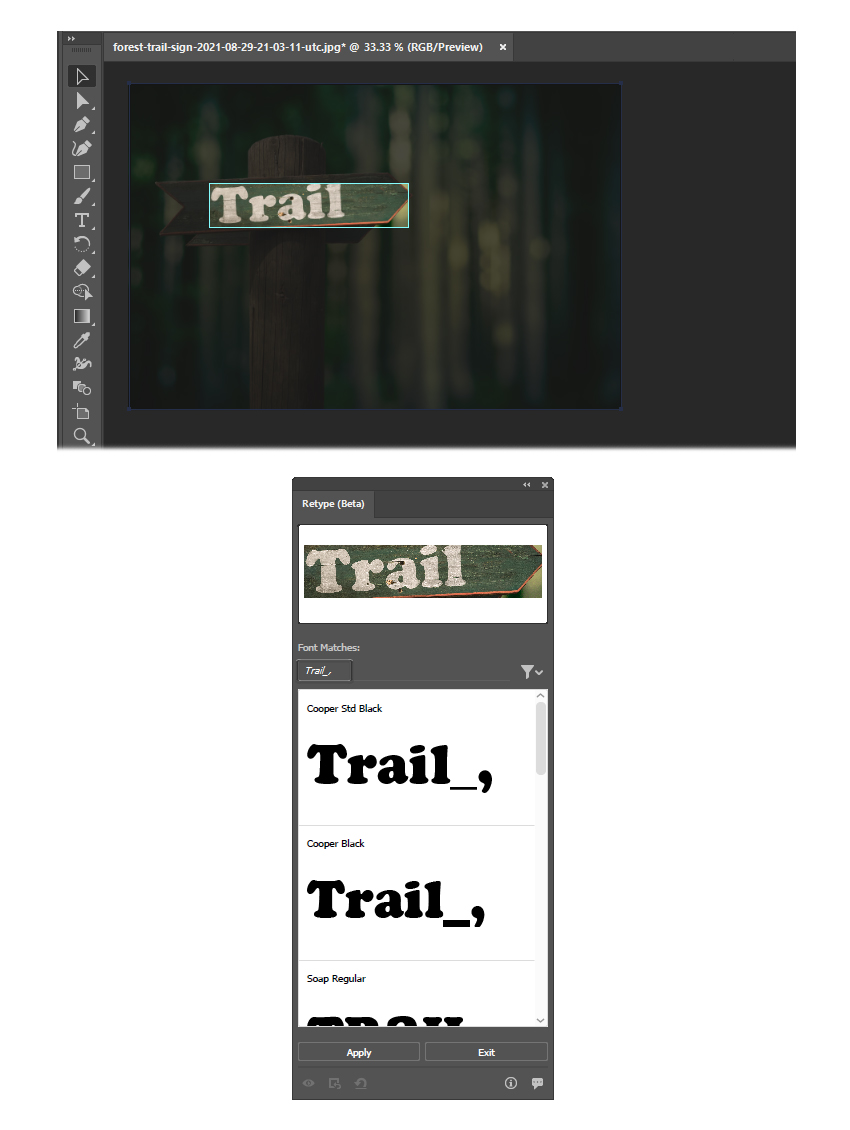
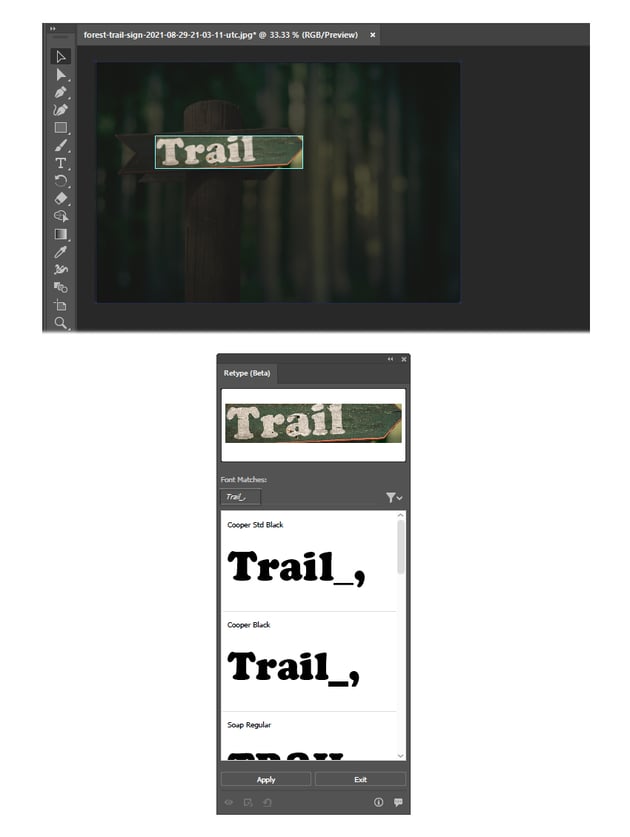
Illustrator will identify any text in the design and give you the exact font (if available), along with similar font options that you can use successfully. Navigate through the list and decide which one you like best.
Step 4
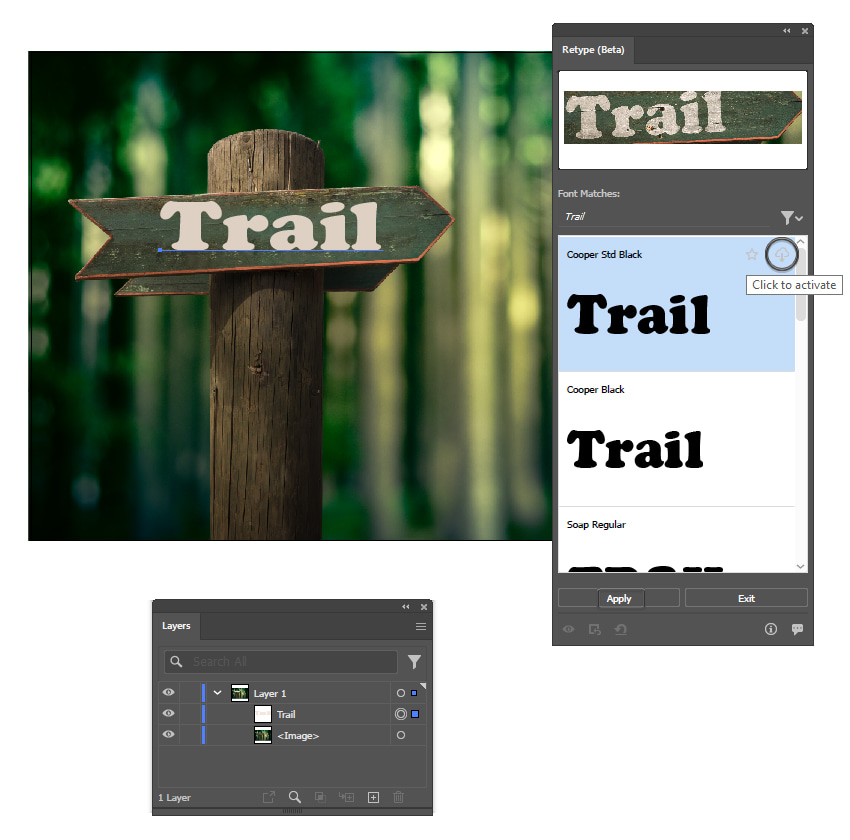
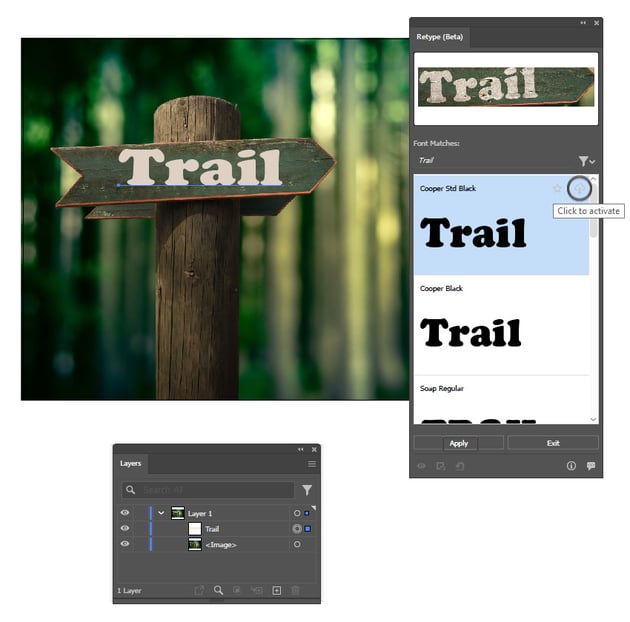
You can activate the desired font directly from the Retype window by clicking on the cloud download icon next to it. I decided to go for Cooper Std Black, which is a very close match. While the font is selected, press Apply and wait for Illustrator to generate the result. Once done, click on Exit.
Boom! You just got live text! Notice that in the Layers panel you now have the image and the live text extracted from it.
Step 5
Now you can rotate and position the text, increase or decrease the font size, type the desired text, or apply any distortion effects because the font is live and editable. Also, change the color as you wish.
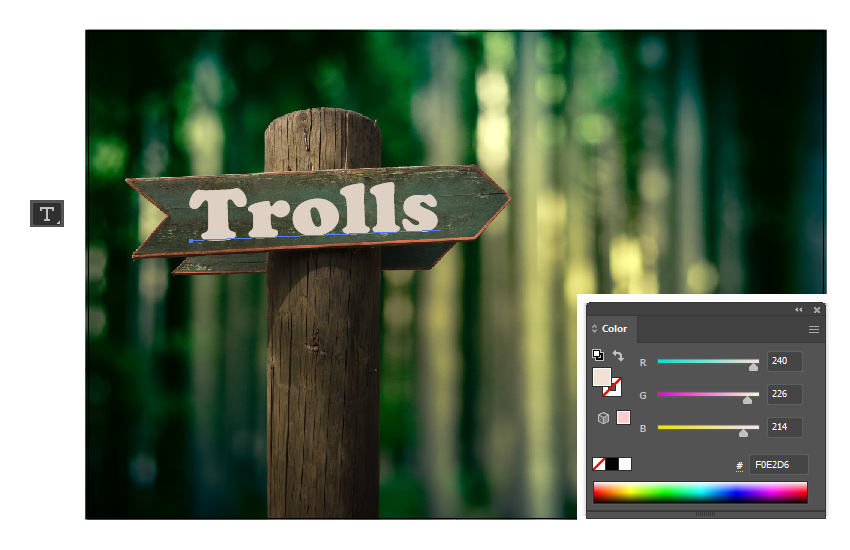
Congratulations!
You have successfully learned how to change text in Illustrator. Feel free to edit and manipulate the photo even further by adding a texture for a more realistic look.
Improve your design and make it unique by choosing other fonts. In the images below, I have successfully used other fonts for both similar and different end results. Find what fits best for your project.


Conclusion
Now that you know how to manipulate text in Illustrator, apply this cool technique to other photos or even logos, posters, flyers, templates, and other graphics. Use this tool whenever the text is outlined and you do not know the font used. You will turn it into editable text pretty quickly.
Although this Illustrator feature is simple and fast, it is not perfect. It’s still a Beta version, after all. It works best when the text is in a straight line and the font is not distressed or distorted. Unfortunately, it will not work when the text is curved, tilted, waved, etc. I’m looking forward to an improved Retype feature in the next Illustrator updates because it will definitely come in handy. I find it a very useful feature.
Make sure to check out Envato Elements, where you will find plenty of resources that might inspire you to create cool designs from graphics, illustrations, logos, typography, and so much more. Download unlimited creative assets, all ready to use.
Want to Learn More About Adobe Illustrator?
We have loads of tutorials on Envato Tuts+ that teach many other useful techniques. Here’s a list of tutorials specially made for you. Take a look!