
If you are an agency or individual who manages multiple WordPress websites it can start to become a real pain as the amount grows, you have to upgrade core WordPress every time a new version is released, you have to update plugins as newer versions are released and you have to keep a record of logins for each instance. Using WordPress multisite is an option but not ideal for everyone to be sharing the same WordPress install and managing who can use what themes and plugins – it’s much better to have separate installs so you can tailor each one better to the site’s needs.
That is where WordPress management solutions come in, one such service is CMS Commander which provides an interface to manage all your WordPress websites from one central location. It allows you to carry out one-click updates on all your sites at once, bulk post to all sites, bulk install plugins, manage all your user accounts, carry out backups, clone websites and it also has the option to pull in automated content from a number of sources such as Flickr, Youtube, Vimeo etc.
It looks like a great system so lets see how it works in detail.
Install the Plugin
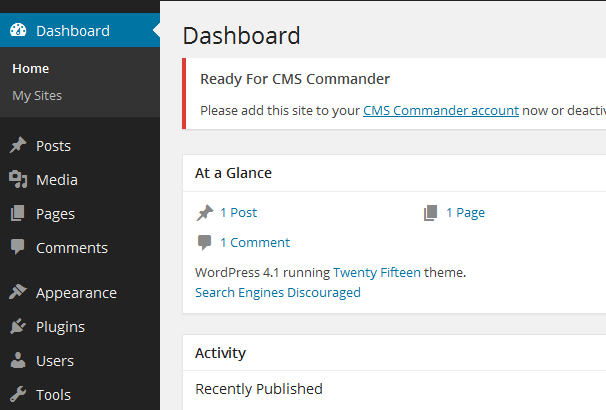
Each site that you want to manage with CMS Commander will need a plugin installed, CMS Commander Client is a free plugin that you can get from the directory, or search for it under “Plugins” > “Add New”. Once the plugin has been installed and activated you will see a message telling you to add that site to your account at CMS Commander.
Signup and Add first Site
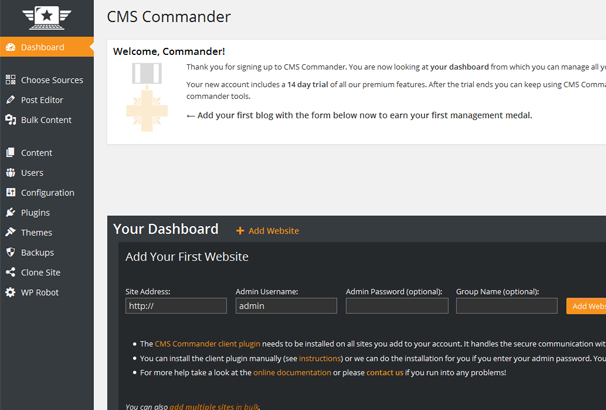
Once you have signed up ( CMS Commander provides a free 14 day trial ) and logged in to your account you should visit your dashboard which is a customized WordPress admin area, you will see where you can add your first site to be managed. You need to enter the site address, admin username, (optional, admin password) and an optional group name.
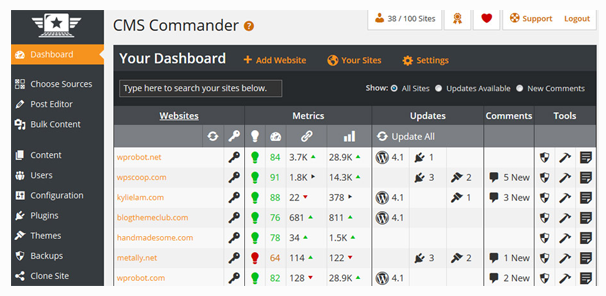
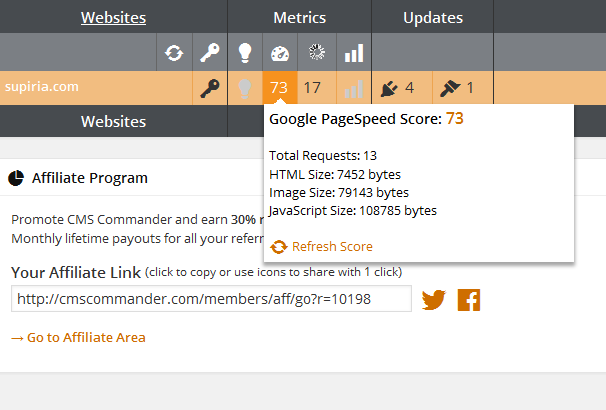
Once the site has been added it will be listed on your dashboard screen along with a link to jump to the WP-admin of that site, some metrics :
- Google Page Speed
- Total Backlinks
- Analytics ( Have to link your Google Analytics account )
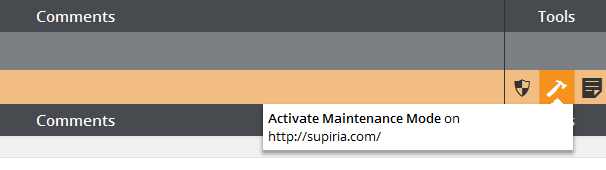
You will also see any plugin and theme updates that are available, there is a comments area so you can add some details about the site and then finally there is a tools section where you can setup backups, activate maintenance mode and add any notes.
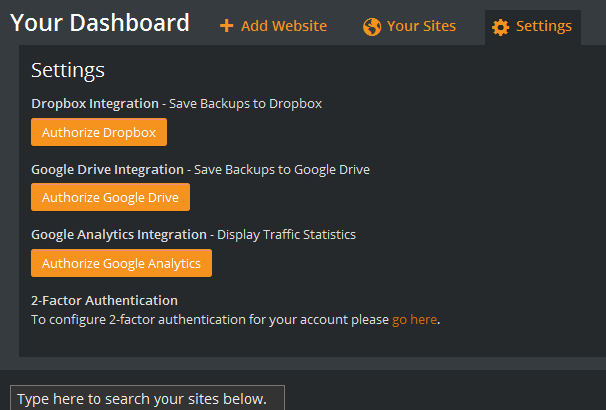
Under the “Settings” tab you will see options for adding your Dropbox account and adding Google Drive, this is so you can use the backup feature and automatically backup your site to one of those services. You can also add your Google analytics account here so you can view stats for your sites from within CMS Commander.
Managing Your Sites
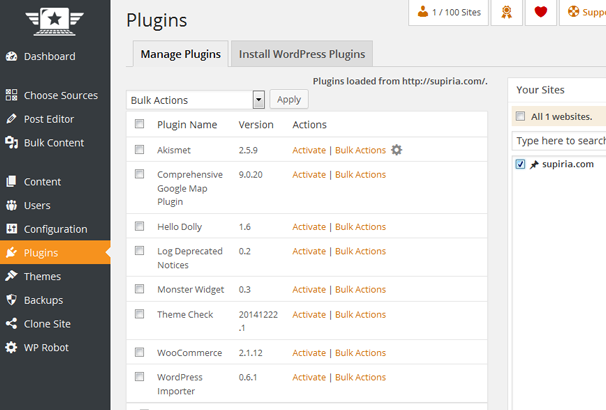
Down the left side admin menu you will see links for “Configuration”, “Plugins” and “Themes”. These will let you manage these for any site you have added to the system, so you can add new themes and activate them, delete themes, update them etc. You are able to update settings here for indidual sites or all of your sites at once – its as easy as ticking the sites you want to apply the change to on the right hand side.
Posting Content
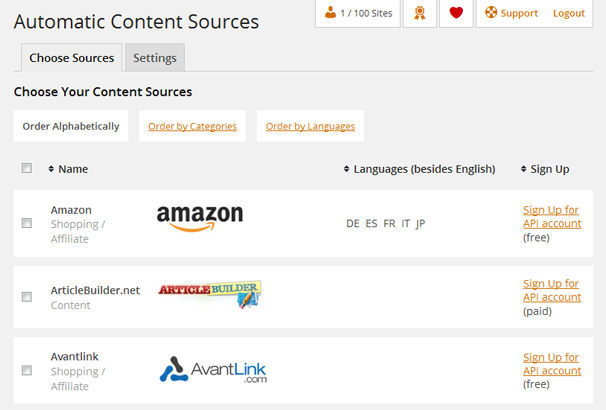
Another feature that may be of interest is the automated content posting, you can use this to add content from a huge amount of sources, which include:
- Amazon
- Article Builder
- Avant Link
- Big Content Search
- Commission Junction
- CSV Datafeeds
- eBay
- Eventful
- Expedia
- Flickr
- Google News
- Indeed
- iTunes
- Linkshare
- Oodle
- Photobucket
- Prosperent
- Recipe Buddy
- Rotten Tomatos
- + 12 More
Most of these will require you signup for an API account at the provider’s website and there are links to do so on the “Choose Sources” page.
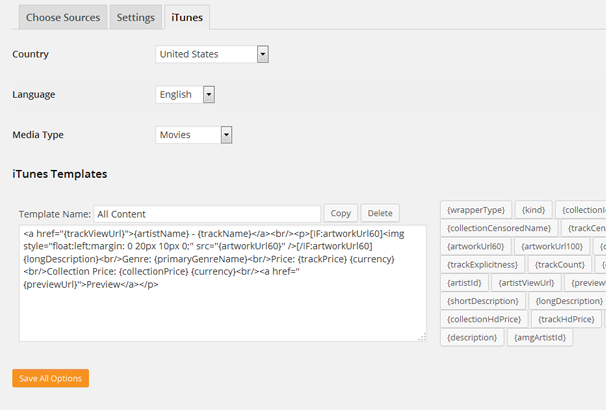
Once you have chosen a source to be added, a new tab will be added where you can customize the post template for that source. For example, here I added the iTunes source and you can use shortcodes to choose how the post will be displayed by adding things like price, artist name, genre and so on.
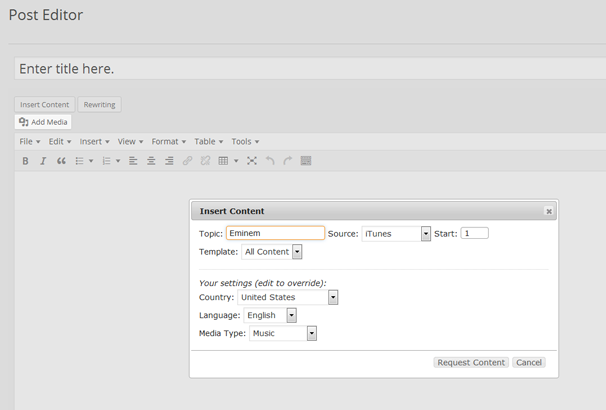
Once the source has been setup, you can visit “Post Editor” and add a post, click the “Insert Content” button and a box will open where you can choose what content to post. Im using the iTunes source and added a search for “Eminem”
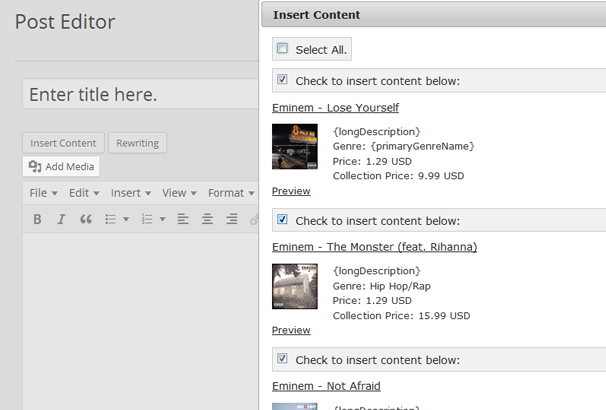
Available content will then be loaded and you can choose what to add to your post.
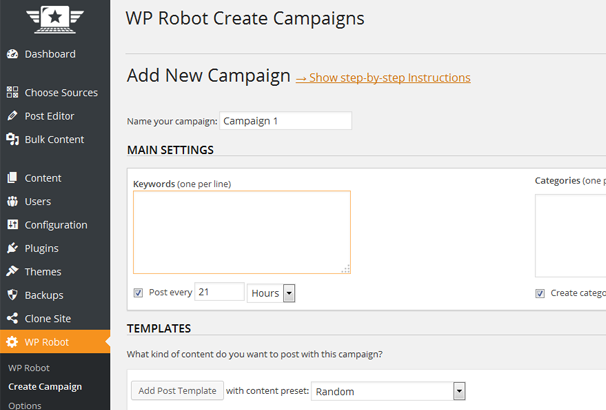
If you want to generate the content automatically and have it posted to any of your sites, you can use the “WP Robot” link where you can setup keywords, sources and a posting schedule.
The value of automated content is debatable nowadays, pulling in lots of affiliate data will be seen as duplicate content and can get your whole domain slapped by Google but there are some good legitimate uses for this area of the service I can see. The CSV / Datafeed option would be good for populating an eCommerce site and pulling in affiliate data could be used to create a price-comparison website for example.
Conclusion
CMS Commander is very easy to use, adding a plugin for each site you want to manage and then being able to control them all from the one place is great. I loved the stats integration and backup options which allow you to use Dropbox and Google Drive. One-click updates and plugin / theme notifications will help you out when new versions are released, something that can be quite a pain to do with larger numbers of websites.
The content posting and automated sources probably aren’t so relevant these days so they are not the reason I would recommend using this service, allthough in a few specific cases I can see them being useful.
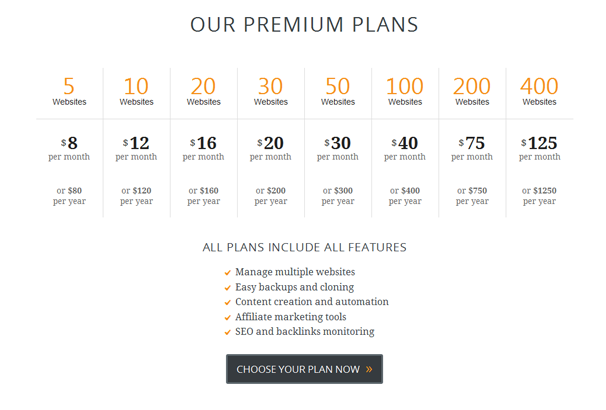
You can signup for free and try the service for 14 days, and then continue to use the service on up to 5 websites. If you need to use it with more websites the pricing structure is quite simple and starts at $ 8 per month :
Disclosure: This page may contain affiliate links for which we will receive compensation if a purchase is made via the link.