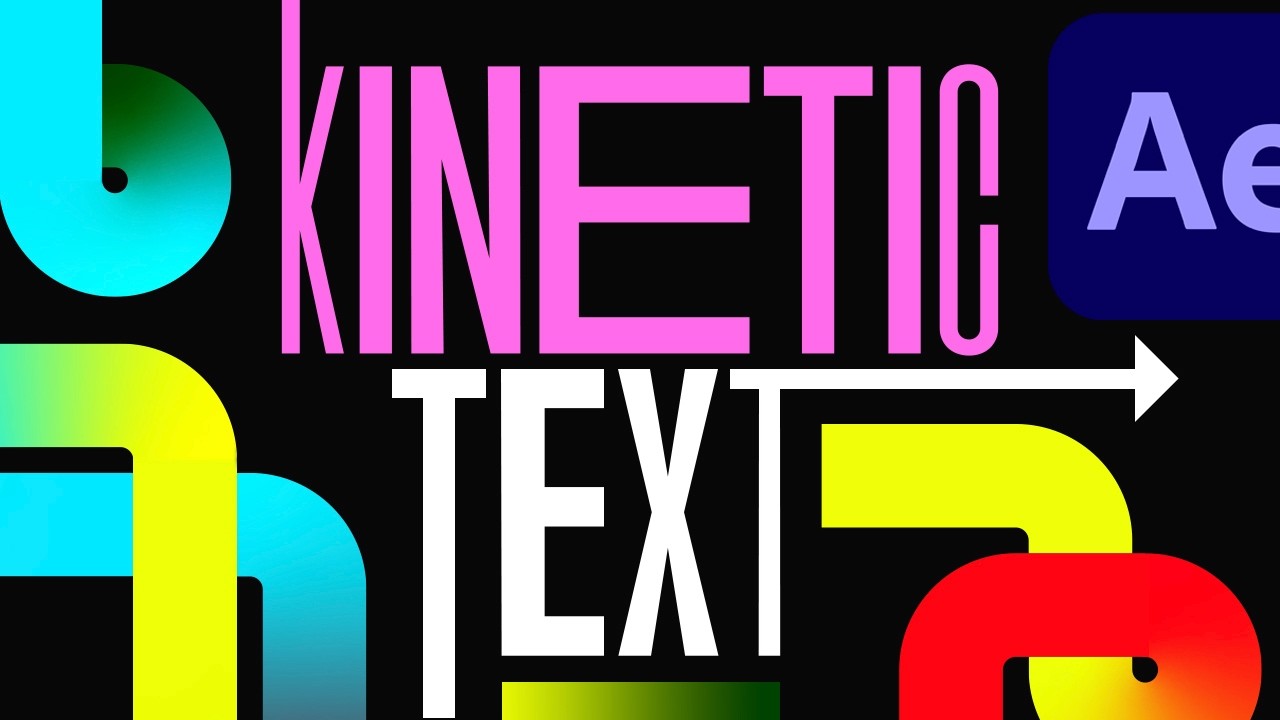
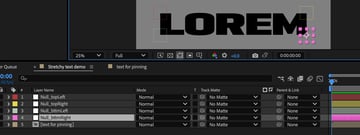
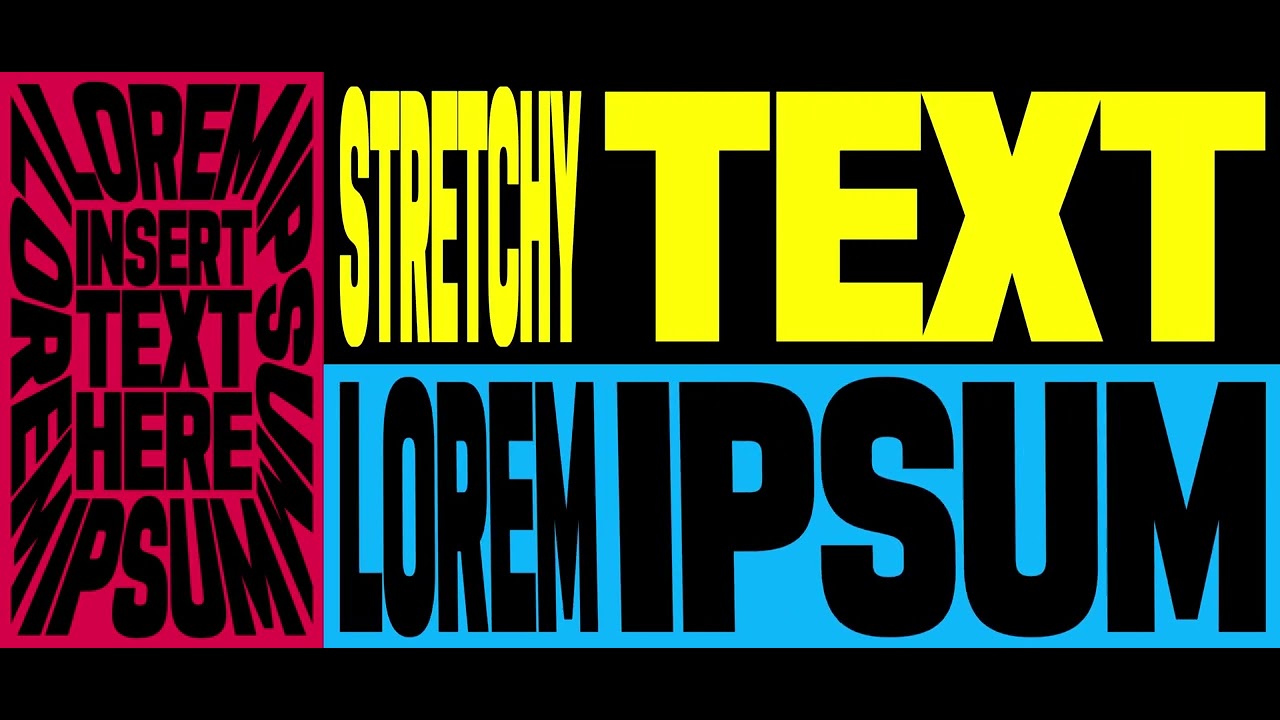
Let’s begin by taking a look at what we’re working towards:

At the core of this technique is the After Effects plugin CC Power Pin. The “CC” means this effect was developed by Cycore, and ships for free with After Effects. It’s an evolved version of the dated “Corner Pin” effect, and has some distortion parameters that will really help us. Let’s dive in!
This tutorial is quite beginner-friendly, but some understanding of After Effects and its terminology will certainly help!
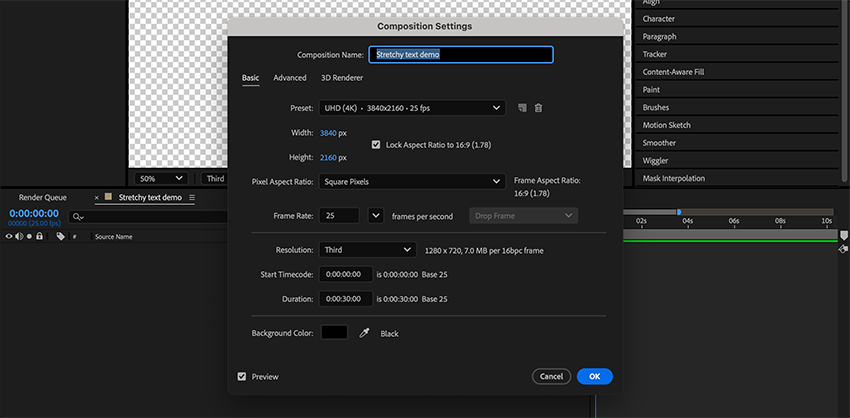
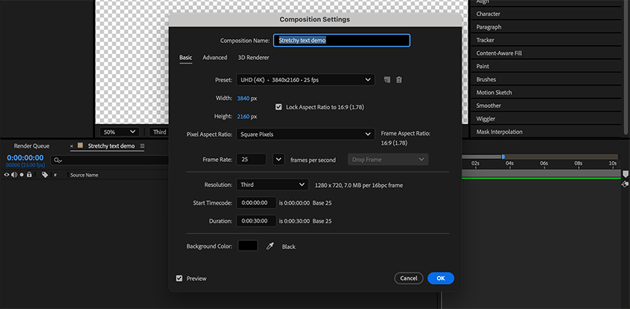
1. Create composition
Open After Effects and set up a comp with about 30 seconds, and dimensions about 2x your intended final output (this will allow us to scale it down later, hiding any ugly rasterised edges).

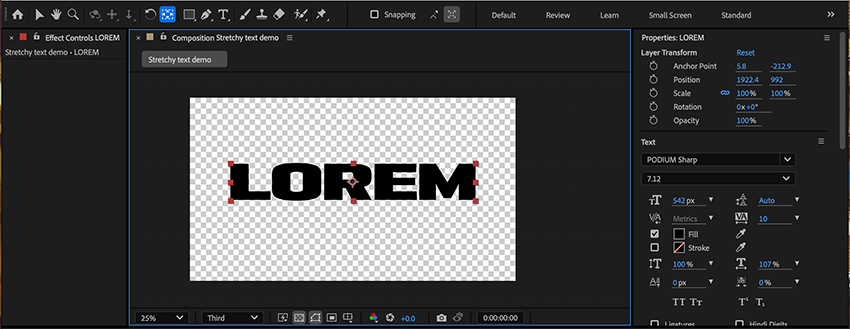
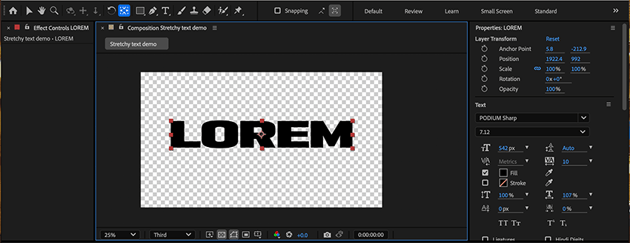
2. Create some text
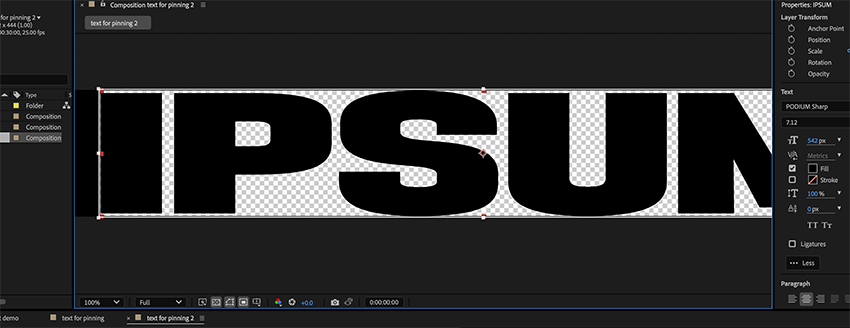
This effect looks best when applied to short pieces of text. I am going to use the Horizontal Type Tool by pressing cmd+T(MAC) ctrl+T(PC) and create a nice, bold single word.
I’m using the PODIUM Sharp font for this exercise, but you can use whatever font you prefer. Something strong and angular will probably work well.
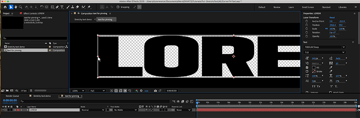
3. Pre-compose the text
For best results, The text we are distorting needs to go right to the edges of its comp, so we need to “precomp” the text by right-clicking it and selecting Pre-Compose, or pressing cmd+shift+C (Mac) or Ctrl+Shift+C (PC).
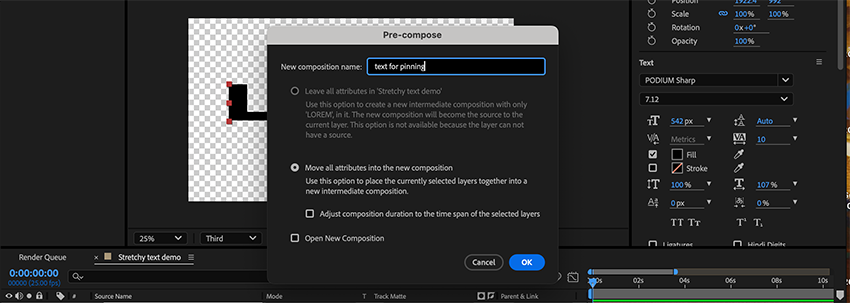
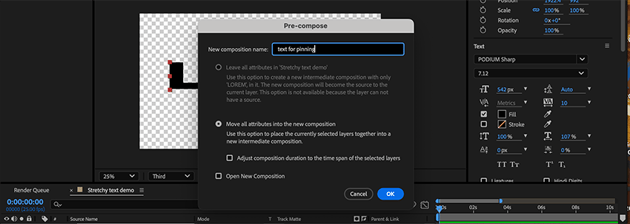

I’m going to call it text for pinning. Open this new comp.
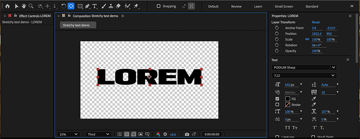
4. Crop the precomp
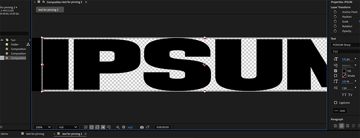
In the text for pinning composition, click Region of Interest (in the bottom widgets of your viewer panel).
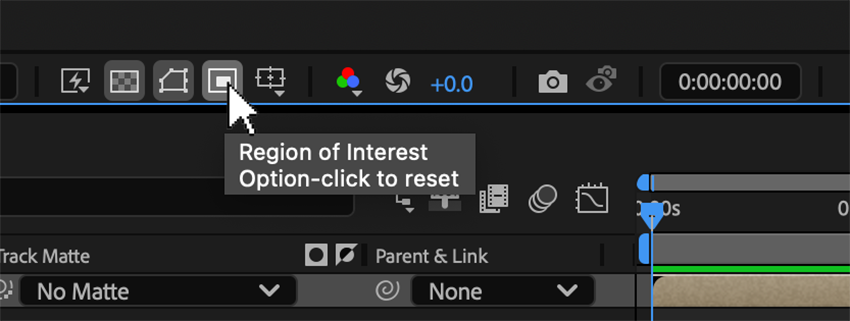
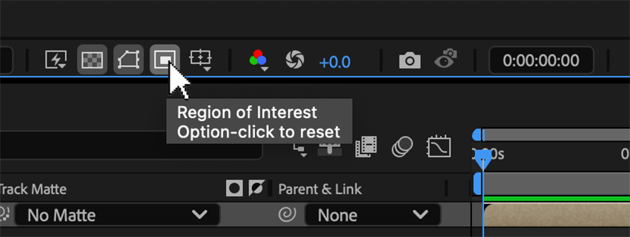

Click+drag anywhere in the viewer to start tightly framing the text. Scale this frame as tightly as possible around your text. Be careful of letters like O or U as their curves sometimes sneak slightly higher than other “flat-topped” characters. Now go to the Composition menu in the top bar, and select Crop Comp to Region of Interest.


5. Apply CC Power Pin effect
Return to the main composition and select your layer text for pinning. From the Effect menu, choose Distort > CC Power Pin.
Straight away, you’ll see controllers at the four corners of your text, which you could start animating with, but to give us more control and versatility, we are going to connect these points to Null layers.
6. Create control nulls
If you’ve had a fiddle with the power pin corner controls (I don’t blame you, its fun!), just click reset on the effect before proceeding.
We need a null in the Comp location of each corner. From the Layer menu, click: New…>Null Object.
A null layer is an invisible layer—an empty object on the stage, which can act as a parent to other layers
Scale the null up a little so it will be easy to select in future. This next thing is optional, but I prefer to center the anchor point on my nulls: Hit the Y key on your keyboard and while holding down cmd(MAC) / ctrl(PC): click and drag the null’s anchor point to its center.
Hold down cmd(MAC) / ctrl(PC) and drag the null so it snaps to the top left corner of the “text for pinning” comp.
Duplicate the null.
Hold cmd(MAC) / ctrl(PC) and drag to the top-right corner, then repeat for the remaining two corners. Rename your nulls to something that will make sense like: Null_topLeft etc.

7. Connect control nulls
We now need to link our nulls to the corner pin controllers.
Select all nulls and hit the P key to show position. For best animation versatility, we should separate X and Y on those position values. Select by holding Shift and clicking each of the position values (click on the word position). Right-click and select Separate Dimensions.
On the “text for pinning” layer, twirl down Effects > CC Power Pin and you’ll see values for each of the corners. It is now time to write some expressions.
For each corner; we need to link our single property to the X and Y values of the corresponding null.
The expression is slightly advanced because we face 2 barriers:
- A) We have separated dimensions of our nulls.
- B) CC Power Pin works in layer space, while nulls exist in comp space. The following expression will get the world Position of the null centers, and convert them to the layer space location.
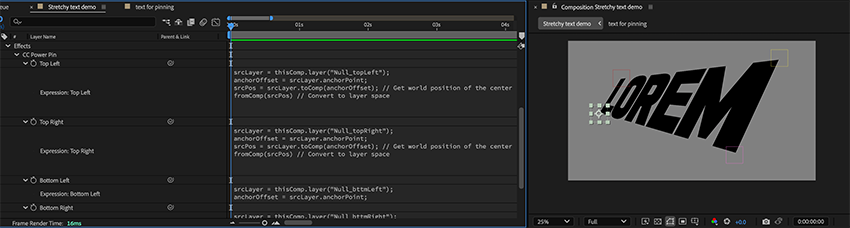
Apply this code to the top-left value of CC power pin by holding opt(MAC) / alt(PC) and clicking on the stopwatch icon next to the value, then pasting this text into the text field which appears in the timeline:
1 |
srcLayer = thisComp.layer("Null_topLeft"); |
2 |
|
3 |
anchorOffset = srcLayer.anchorPoint; |
4 |
|
5 |
srcPos = srcLayer.toComp(anchorOffset); // Get world position of the center |
6 |
|
7 |
fromComp(srcPos) // Convert to layer space |
Repeat this process for the remaining three corner values, changing the layer name in line 1 to the name of the null which the corner needs to be controlled by.
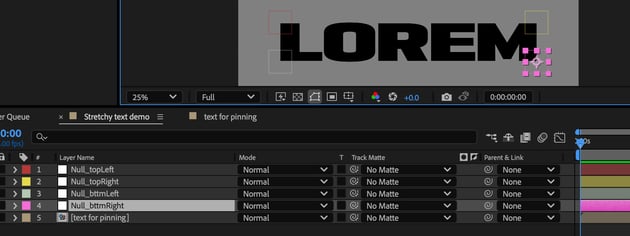
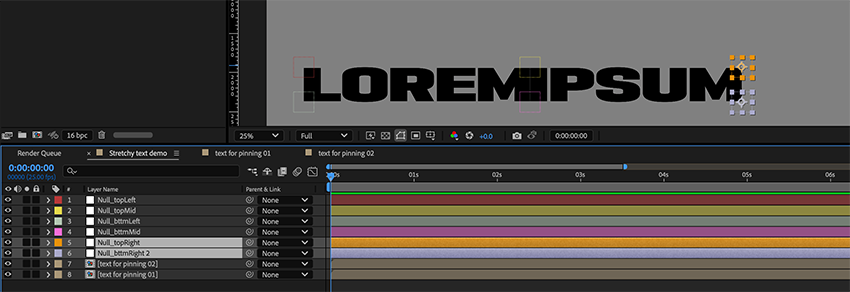
We now have nulls controlling our corners!! After moving some nulls around, It might look something like this:
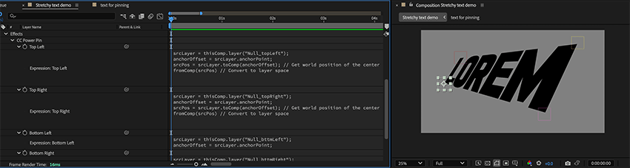
We can keyframe our nulls and create all sorts of fun animations with them, but to achieve some popular looks used by brands like Nike, Spotify & Vice; read on for the next steps.
You can access the expressions on any layer by selecting it and double-tapping the E key
8. CC Power Pin parameters
If we look at the options of the CC Power Pin Effect on our text layer, we can see a few parameters, as mentioned earlier.
- Perspective: exponentially scales the letters making them smaller where the closest pins are close together, and wider where the closest pins are far apart. Depending on your design, this can be helpful. But for most graphic treatments, it looks best set at 0%: essentially turned off (although, under the hood; your processor is actually working harder to counter the natural effect of perspective stretching.)
- Unstretch: This effect essentially distorts your layer in the opposite direction to where your corner pin is. I am yet to find a use for this so I keep it turned off.
- Expansion: Scales your text while still remaining correctly distorted. This is helpful for small tweaks at the polish stage to ensure your work looks right from a graphic design perspective.
OK! Let’s kick it up a notch in these next steps…
9. Duplicate
One puppetted block of text is cool on its own, but when paired with another piece of text this effect can be really dynamic for leading the viewer’s eye from word to word, emphasising two words back and forth between each other, or just achieving something crazy that will guarantee to draw the eye.
In the Project window, duplicate the comp “text for pinning” using cmd+D(MAC) / ctrl+D(PC). Lets add an “01” to the name of the original comp and call this new one “text for pinning 02”.
Open the new duplicate and change the text to another word. Adjust the size of the comp to fit your new text snuggly using Region of interest (refer to step 4).

10. Expand comp to accommodate more text
Just for now, let’s expand our main comp to accommodate the second piece of text.
With the main comp open, pres cmd+K(MAC) ctrl+K(PC) to bring up the Comp settings. In the advanced tab, change the anchor to the middle-left square so any scaling will expand our canvas right. Back in the Basic tab, double the width of your comp by clicking on the number value and adding *2 after it. Hit enter and your comp should be twice the size, with your original text comp sitting in the left half.
11. Add the new text comp
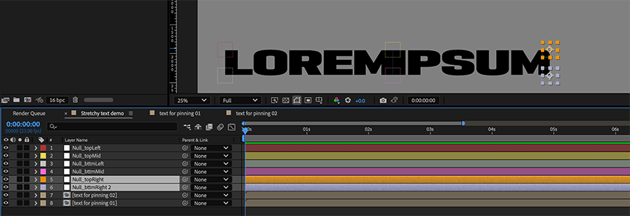
Drop the comp “text for pinning 02” into your main comp. Align it so that its left edge is touching the right edge of “text for pinning 01” by holding cmd(MAC) / ctrl(PC) + dragging the comp (don’t worry about the lack of a space between words, we can fix this later).
12. Rename existing nulls
Rename “Null_topRight” & “Null_bttmRight” as: “Null_topMid” & “Null_bttmMid”. The expressions should auto update and they will still have the same control as before.
13. Create new nulls
Duplicate “Null_topMid” & “Null_bttmMid” by pressing cmd+D(MAC) ctrl+D(PC). Rename them as: “Null_topRight” & “Null_bttmRight”. Drag them to the right-hand side of the new text layer.

14. Add CC Power Pin to the new text
Repeat step 7 on the new layer, being careful to link the right nulls to the corresponding corners.You will now have a fun comp set up where you can move the middle nulls from side to side, to give each word more screen space.
Try parenting Null_bttmMid to Null_topMid, so you only have to animate one null for great effect. You can adjust the Expansion (%) settings on each layers’ CC Power Pin settings to give you a space between the words.


OK, Let’s go Bananas!
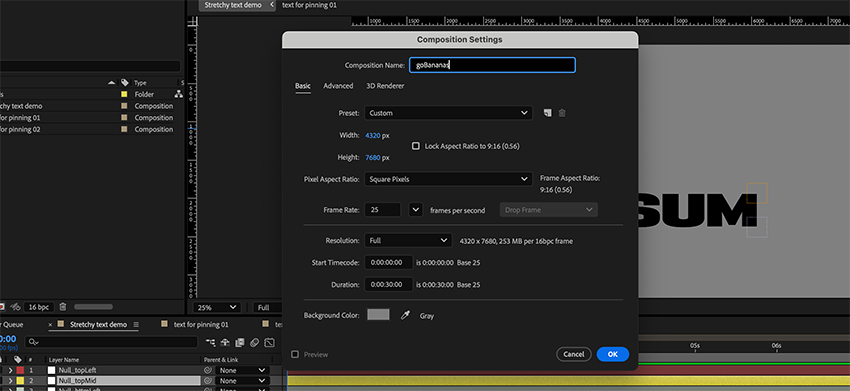
15. Create a new composition
Now that we’ve established the techniques and expressions we need for this effect, we can start really layering things up.
Create a new comp. To make this one social media-friendly, let’s make it 9:16. I’m going to make my comp 4320p x 7680p to guarantee no pixelation in the final export, but if you are on a slower machine; you can start small and use these dimensions: 1080 x 1920.

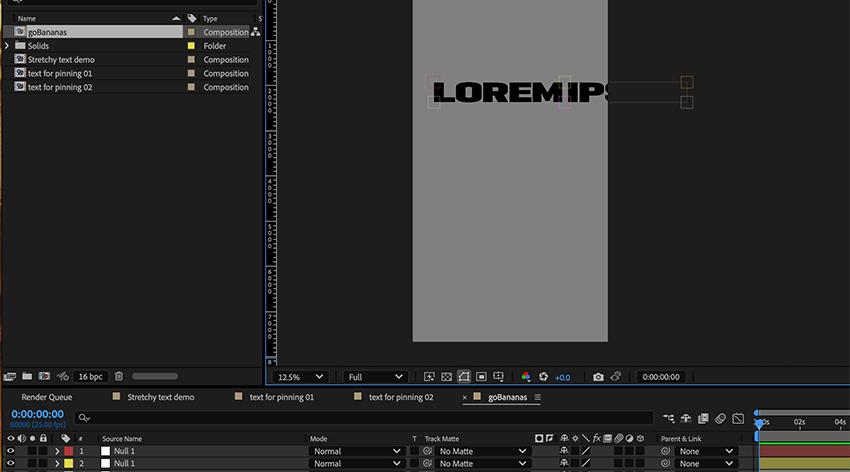
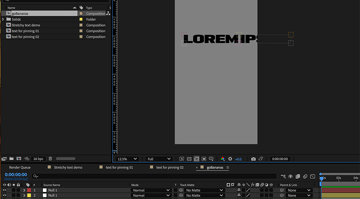
16. Import from first comp
Shift + select everything from our original main comp. Copy and paste into this new one using cmd+C & cmd+V(MAC) / ctrl+C & CTRL+V (PC).

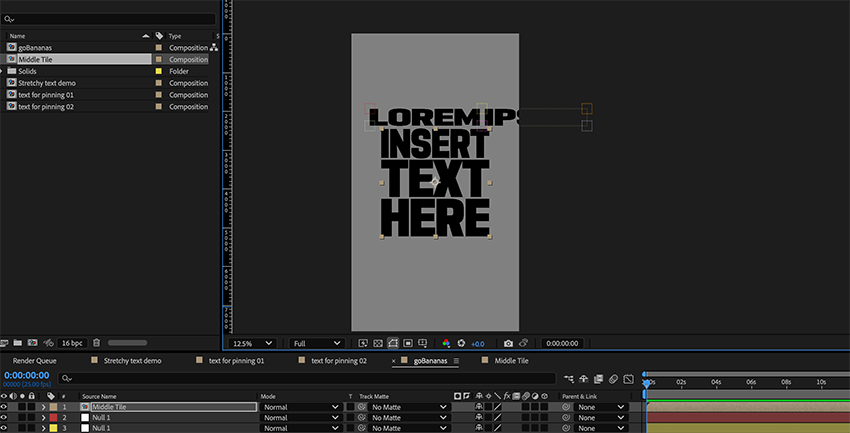
17. Create a “Middle Tile“
Create a new comp called “Middle Tile”, make it square, and about half the size as the “goBananas” comp. Add some text (or maybe a logo) to this comp and insert it into our “goBananas” comp.

18. Reposition anchor points
We are now going to click and drag our null layers (while holding cmd (MAC) / ctrl(PC), so they snap to position) and reposition them so that our original text wraps around the top and right sides of the tile.
We can use the Align panel to align our out nulls to the corners of the Comp.
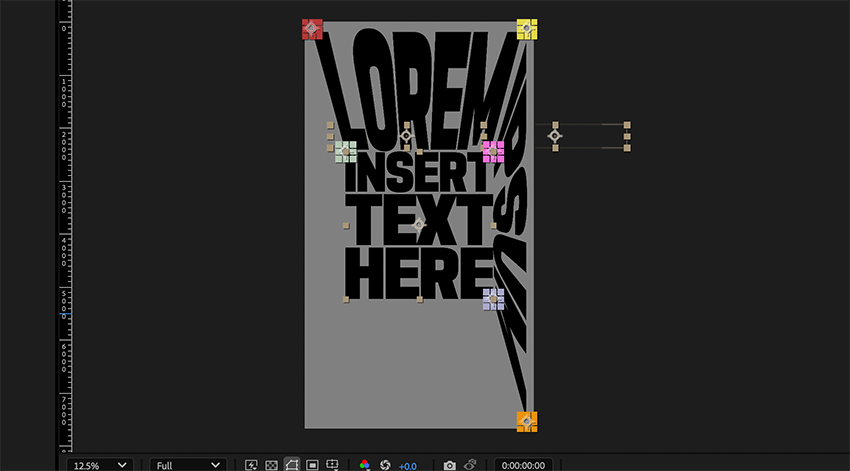

19. Add some more nulls
We’ll need two more nulls to give us all the control we need. Add a new one to the bottom left of the middle tile, and the bottom left of the composition. Now rename the nulls so they make sense to you in their new positions.
Rename your nulls such that there are never two nulls with the same name at one time
I named my nulls as follows:
19. Apply CC Power Pin to the middle tile
Apply the CC Power Pin effect to the “Middle Tile” Layer, and use the expression again from step 7 to link its corners to the corresponding nulls. Be sure to set Perspective to 0% in the CC Power Pin effect.
20. Duplicate the text layers
Duplicate the layers “text for pinning 01” and “text for pinning 02”.
Edit the target nulls in the expressions on these duplicate layers, linking their corners to the corresponding nulls, so that they fill the blank space at the bottom and right of the comp.
Adjust the expansion on each layer, to give a little space around your text.
21. Master control null
Create a single null in the center of the comp and parent the four center nulls to this “Master Control Null” by holding Shift and selecting them all. In their Parent & Link dropdowns, choose the new “Master Control Null”.
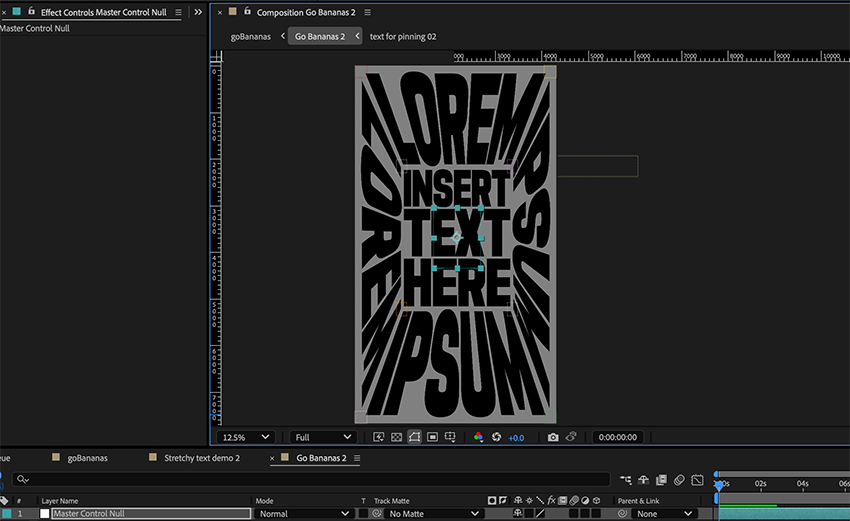
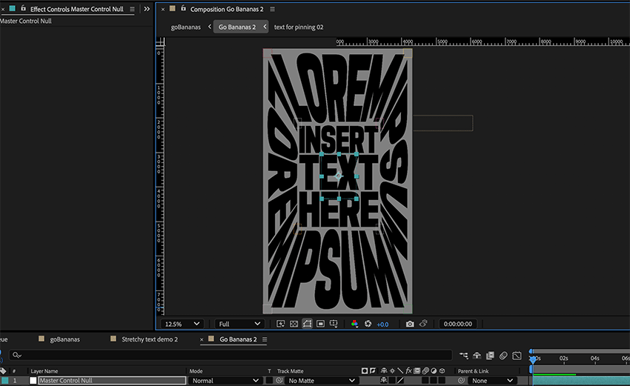

22. Animate!
Set Keyframes on the rotation, position and/or scale properties of the Master Control Null by holding opt(MAC) / Shift+alt(PC) and pressing the P, R and/or S keys.
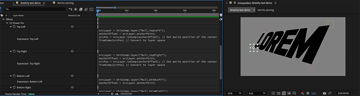
Adjust these values over time, using the time ruler marker in your timeline comp and see what kind of effects you can get from these techniques. Let’s remind ourselves of what we’ve made:
That’s a wrap!
I hope you enjoyed this After Effects tutorial! Kinetic text, stretchy type (however you want to define it) is having a moment right now, so get practicing and see what creative stretching you can do with it! Check out these courses and articles right here at Envato: