Do you need to set up a WordPress development environment? Are you unsure of where to even begin? Learn how in this tutorial!


Setting up a proper space for building or adjusting your WordPress site can be crucial to avoid mishaps. This article will guide you through the steps to establish local and remote WordPress development environments, making the process easier.
Before you know it, your development environment will be set up and ready to go.
Let’s get started!
What is a WordPress Development Environment?


A WordPress development environment is a safe and private space where you can build and edit your WordPress site without affecting the live version.
Local Development Environment
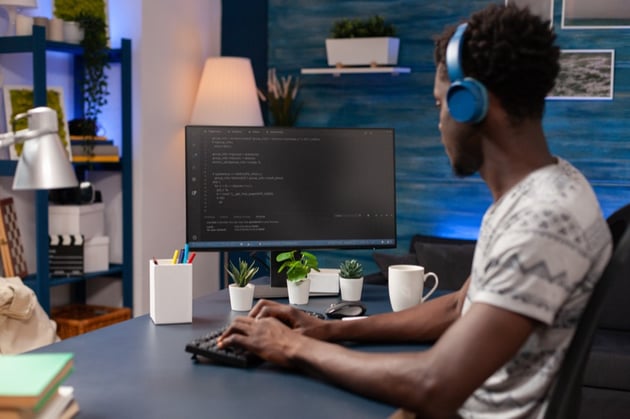
A local WordPress development environment, installed directly on your computer, offers a great advantage. Unlike live websites, it’s completely isolated from internet visitors, ensuring that your tests and mistakes remain private.
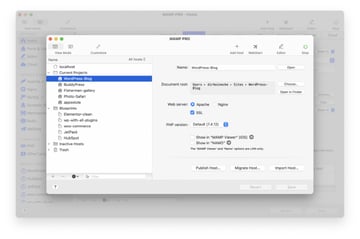
Setting this up requires choosing from certain development environment tools such as Local, DevKinsta, DesktopServer, XAMPP, MAMP, Docker and VCCW.
Remote (Hosted) Development Environment
A remote/hosted development environment for WordPress is a separate hosted version of your WordPress site that is not accessible to unauthorized visitors. This unique setup allows you to work on testing and developing new features or designs without disrupting the live website.
It serves as your private playground where you experiment freely without the fear of breaking something on the main site.
The beauty of this approach is its flexibility—it allows access from anywhere, making it easier than ever to establish integrations with third-party services. Many managed WordPress hosts offer dedicated staging features so you can create a faithful replica of your live site for development purposes. This makes it easier to deploy changes to the live site.
Shared hosting options such as Bluehost, SiteGround, and A2 Hosting are notable for providing such staging options. Even if a dedicated staging feature isn’t available in your package, there’s another option. You can set up a fresh WordPress install on a different domain or subdomain a make that your personal development area.
Setting Up a Local WordPress Development Environment
To set up a local WordPress development environment, you need to choose a local development tool and configure the environment accordingly before creating the actual local WordPress site.
Let’s cover how to do this below.
Choosing a Local Development Tool
Choosing the right local development tool for your WordPress site is essential in setting up a streamlined, efficient workflow. Here are a few great options for your to choose from.
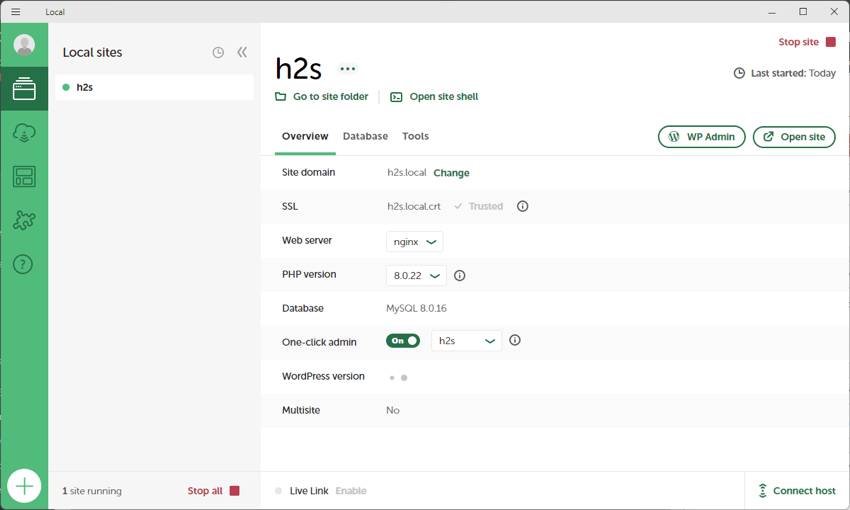
- Local: user-friendly interface and easy to use.
- DevKinsta: offers unique features like one-click WordPress site creation and easy-to-use navigation databases.
- XAMPP: if you’re looking for a simple, lightweight solution that allows you to set up a local web server quickly and easily.
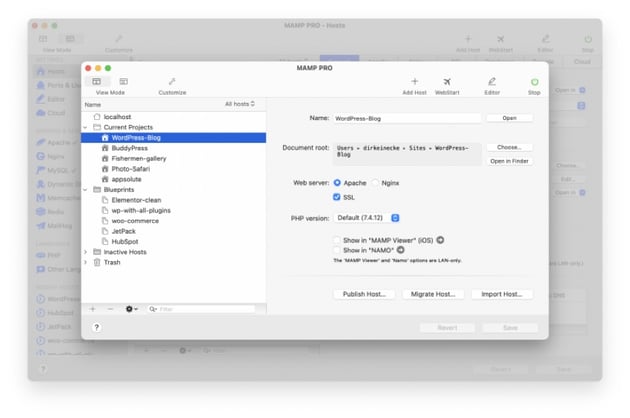
- MAMP: if you primarily work on WordPress and other open-source platforms with Mac computers.
- Docker: if you wish to create isolated environments for each of your projects, ensuring there are no accidental code interferences between them.
- VCCW: it’s specially designed for building WordPress environments rapidly, though it requires some knowledge of Vagrant and VirtualBox.
Configure the Development Environment

Now it’s time to set up your local WordPress development environment
Follow these steps to set up your environment. Each tool that you use may have a slightly different setup process, but many of the steps that we’ll cover will need to be done regardless tool you are using:
Set Up the Local Development Environment
After installing the tool, follow its instructions to configure the local development environment. This may involve specifying a directory for storing your WordPress site files and setting up database credentials.
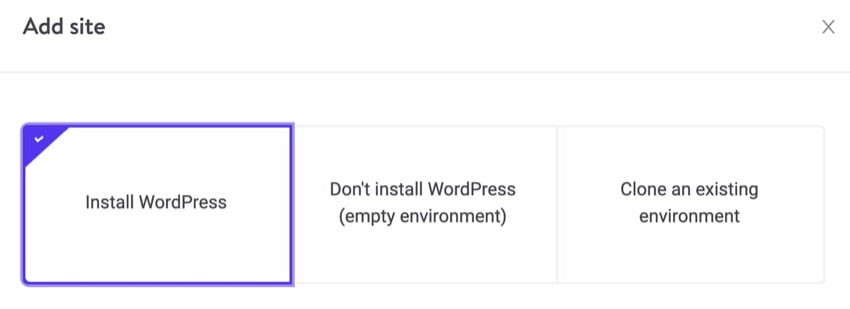
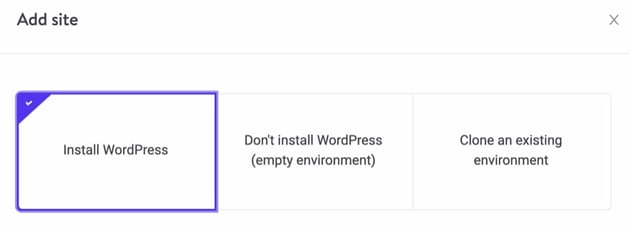
Create the Local WordPress Site
Once configured the local development environment, use the tool’s interface to create a new WordPress site. You may be prompted to provide a site name and other details.
Access Your Local WordPress Site
After creating the site, you can access it through your web browser using a .local domain extension or the URL provided by the local development tool.
Making Your Site Live


Once you have your local WordPress site created, it’s time to push it to your live hosting. This can be done through built-in integrations or by migrating the site manually. By making your site live, you’ll give internet visitors access to view and interact with your website in its final form.
Remember that when making your site live, it’s crucial to test its functionality on different devices and browsers. This ensures a smooth user experience for all visitors.
Regular testing and updates are key factors in maintaining an engaging online presence for users of all kinds.
Setting Up a Remote WordPress Development Environment
Let’s now cover how to set up a remote WordPress development environment.
To set this up, you’ll need to start by setting up the WordPress site and ensuring it is not indexable so that unauthorized visitors cannot access it.
You’ll also want to make the site private and disable caching to prevent any interference during development.
Let’s cover how to do all of this.
Set Up the WordPress Site
To set up your WordPress site, you’ll first want to install WordPress. Download the latest version of WordPress from the official website and install it on your server.
Next, simply choose a theme and you’re ready to go.
Ensure the Site is Not Indexable


To ensure the security and privacy of your remote WordPress development environment, it is essential to make sure that the site is not indexable by search engines. Here’s how you can achieve this:
Use a robots.txt File
Create a robots.txt file in the root directory of your WordPress site and disallow search engine bots from indexing your development environment. This can be done by adding the following lines to your robots.txt file:
1 |
User-agent: * |
2 |
Disallow: / |
Configure Privacy Settings
In the WordPress admin dashboard, go to Settings > Reading. Check the box next to Discourage search engines from indexing this site” option. Although this setting doesn’t guarantee complete exclusion from search engine results, it discourages them from indexing your development site.
Enable Noindex Meta Tags
Install an SEO plugin like RankMath. These plugins allow adding noindex meta tags to prevent search engines from indexing specific pages or entire sections of your site.
Test Indexability
Regularly check if your development site is indexed by manually searching popular search engines using relevant keywords or using online tools like Google Search Console. If you find any indexed pages, investigate and take immediate action to address the issue.
Make the Site Private


To ensure the security of your WordPress development environment, it’s crucial to make the site private. Take the following steps to keep your development work confidential and protected:
- Enable password protection: Set up a strong password only authorized individuals can access. This prevents unauthorized users from stumbling upon your development site.
- Implement user restrictions: Limit access to specific users or roles who need to collaborate on the development process. This ensures that only trusted individuals can view and edit the site.
- Use IP whitelisting: Restrict access to your development environment by whitelisting specific IP addresses or ranges. This adds an extra layer of security and prevents unauthorized access.
- Install a firewall: Implement a reliable firewall plugin or service to safeguard your site against malicious attacks and unauthorized login attempts.
- Regularly update plugins and themes: Keep all plugins and themes up-to-date to patch any vulnerabilities that could compromise the security of your site.
Disable Caching
To ensure smooth development of your WordPress site, disabling caching is also important. Here are some key reasons why you should do so:
- prevents caching issues
- allows for accurate testing
- facilitates debugging
- provides a controlled environment
- enhances collaboration
Make sure to disable any caching plugins, caching from a CDN, or caching from your hosting provider.
Make it Developer-Friendly


To create a remote WordPress development environment that is easy and convenient for developers, there are some steps you can take:
Enable Debugging
By enabling debugging, you can easily identify and fix any errors or issues that may arise during development.
Install Developer Tools
Utilize developer tools such as Git, which helps with version control, and code editors like Visual Studio Code or Sublime Text for efficient coding.
Use a Local Development Tool
Opt for a local development tool like Local, DevKinsta, or XAMPP for faster and smoother development on your computer.
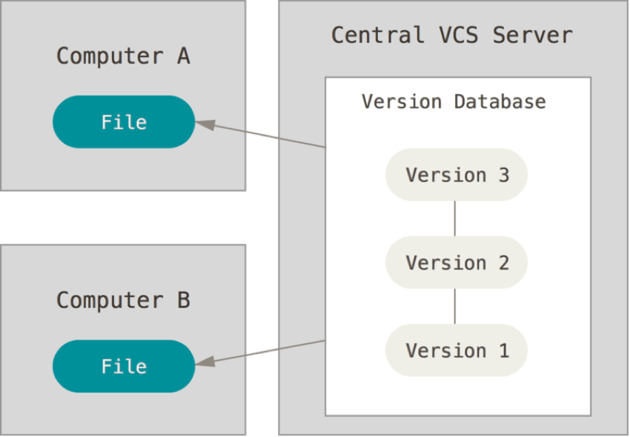
Implement Version Control
Set up a version control system like Git to track changes made to your codebase and collaborate effectively with other developers.
Install Essential Plugins
Install plugins that aid in development tasks such as debugging, code optimization, error handling, and performance monitoring.
Create Custom Post Types
Define custom post types within WordPress to better organize your content and tailor it to your needs.
Configure Development Environment Variables
Use environment variables to manage different configurations between your local development environment and live site settings.
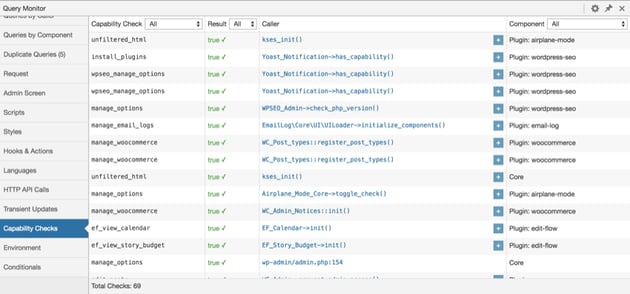
Use Debugging Plugins
Install plugins like Query Monitor or Debug Bar to help troubleshoot performance issues and monitor database queries.


Integrate Live Reload Functionality
Enable live reload functionality using tools like BrowserSync or Gulp so that changes made to CSS or JavaScript files are instantly reflected upon saving.
Follow Naming Conventions
Adhere to naming conventions for files, functions, variables, CSS classes, etc., making it easier for other developers to understand your codebase.
Download High-Quality WordPress Plugins
Looking to take your WordPress site to the next level? WordPress plugins are an invaluable tool for all WordPress site owners. They give your site important features for running a successful site that new WordPress websites don’t have.
Check out the following resources for tons of great plugins that you can download for your WordPress website today!
Create a Secure and Efficient Development Environment
Setting up a WordPress development environment is crucial for site owners who want to make changes and updates without affecting their live site. Whether you choose a local or remote/hosted approach, the key is to select a reliable development tool like Local and configure it properly.
By following the steps outlined in this guide, you’ll be well on your way to creating a secure and efficient WordPress development environment that allows for seamless testing and deployment of your website.
Take control of your WordPress site today!
If you need high quality resources for your WordPress site or your next project, check out Envato Elements. For a low monthly subscription, you can get access to every single resource on Envato Elements.