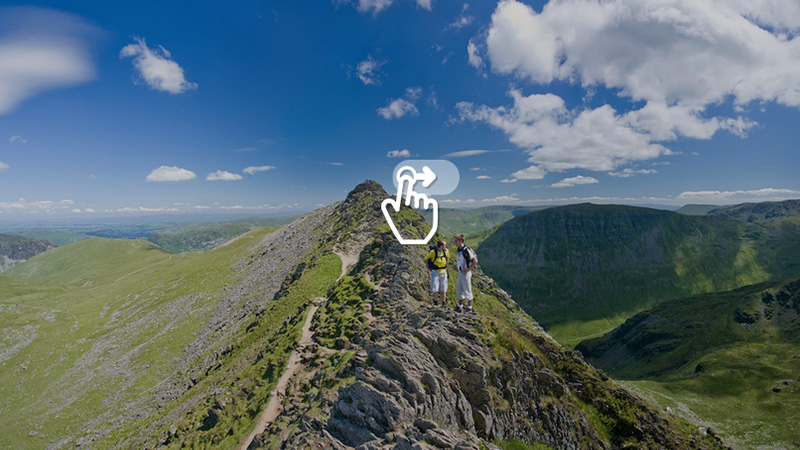
As a traveler and a photographer myself, I have always been disappointed with the way we share our panoramic photos. Most of the time, highly detailed panoramic photos are skewed down so that they fit the website layout, making it impossible to enjoy the photo or as Derek Zoolander once said, “What is this? A Photo for ants?”.
Today, I have developed a very simple plugin that will let you retain the normal width of the panoramic photos while letting your viewer interact and scroll through them. Let me introduce to you, “jQuery Panorama Viewer“.
Note: This plugin has been tested on Chrome, Firefox, Safari, both on desktop and mobile. This has not been tested on IE.

How to Use PanoramaViewer.js
How does this work?
Instead of having a div container with the image that moves around when you drag, I have decided to go with the CSS background approach. The reason behind this is that it allows the user to control the height of the panoramic photo without having to set it explicitly on the function while also retaining the responsiveness. Here’s how this works:
First, Panoramic Viewer will wrap all the photos with a wrapper container so that it can contain the full width of the photo without expanding the layout. Once that is done, the plugin will create another container inside, assign the photo as a background of this container using the CSS background and background-size (or responsive) style and detect a drag action.
While dragging, instead of moving the container, the plugin will move the background-position instead and since everything is being moved through CSS, we can control the animation time and easing behavior without touching the JS part.
Now, several problems arise when we deal with dragging on smartphones. Luckily, the solution provided by Mickey Shine made it much easier for me to translate mouse interaction into touch interaction which solves most of the problems but one, the speed of touch move on Android. On Android’s Chrome browser, the mousemove event is extremely slow to move, which makes scrolling very hard on Android. What I had to do to overcome this was to detect the mobile agent and check if the viewers are running Android. If so, I times all the calculations by 10 to make the speed on par with other platforms, which solves it for the time being.
And that’s how the plugin functions. Now, you will have an interactive panorama photo embeded on your website.
How-Tos
Make sure you’ve included the latest jQuery library available here, jQuery.panorama_viewer.js and panorama_viewer.css which can be found here, in to your document’s <head>.
Now, place your panorama photos in a container like this:
HTML
<body>
 ..
<div class="panorama">
	<img src="your-panorama-1.jpg">
</div>
<div class="panorama">
	<img src="your-panorama-2.jpg">
</div>
 ..
</body>
Make sure that you change the image source to your panorama photos. Now, you can call the function as shown below:
JS
$  (".panorama").panorama_viewer( {
	repeat: false,     direction: "horizontal",      animationTime: 700,       easing: "ease-out",             overlay: true
}
);
That’s all you need to do to add a panoramic photo to your website. Now, let’s dive into all the options available:
- repeat: If you have a perfect 360 panoramic photo and you want the user to be able to spin around without being bound by the photo’s dimensions, set this to true and the background will repeat forever. The default value is false.
- direction: In case you have an awesome vertical 360 panoramic photo, you can set this option to vertical so that the viewer can scroll upward instead of sideward. The default value is horizontal.
- animationTime: You can define how long the easing animation will last with this option. The option accepts values in milliseconds (without the unit ms). Change this to 0 if you want dragging to be instant. The default value is 700.
- easing: You can define your easing option here. This option accepts the usual CSS3 transition timing function. Available options are “ease”, “linear”, “ease-in”, “ease-out”, “ease-in-out”, and “cubic-bezier(…))”. The default value is “ease-out”.
- overlay: In order to make the interaction clear to the user, I have added an overlay to indicate that this is a panoramic photo. If you want to turn this off, toggle this option to false. The default value is true.
Conclusion
There you have it, a very simple to implement panoramic viewer that let you display your beautiful photography the way it is meant to be shown. I hope you like this tutorial and I can’t wait to see this used in the real world. If you have anything to share, or have a question, feel free to ask me in the comments section below.
