Adobe Photoshop CC (and versions before it) is filled with tools, panels, and effects meant to give users as much control as possible over their illustrations, photo editing, designs, and more. Whether you’re a Photoshop ace, in need of brushing up on the latest updates, or the program is completely new to you, this list will serve as a helpful resource, breaking down the toolbar, panels, and many of the effects found within the program. Below you’ll find links to quick tutorials around the site that show the tool or effect in action as well as descriptions to help you become acquainted (or serve as a reminder) with it.
#
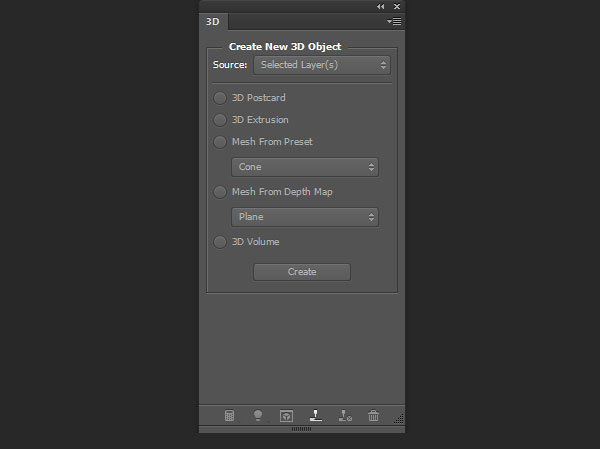
3D Panel: Introduced as a part of Adobe Photoshop Extended, you’ll find it included in Adobe Photoshop CC. The 3D panel shows and allows control over components of the 3D file .
3D Object Rotate Tool (K): A tool that rotates the 3D object you’re working with around the X-Axis.
3D Object Roll Tool (K): This tool rotates the 3D object you’re working with around the Z-Axis.
3D Object Pan Tool (K): A tool that pans the 3D object you’re working with across either the X or Y-Axis.
3D Object Slide Tool (K): This tool slides the object laterally when you click and drag it horizontally within the picture plane. To get it to bring it forward or move it backward, drag the tool vertically across the picture plane.
3D Object Scale Tool (K): This tool, quite simply, scales the object up or down.
3D Rotate Camera Tool (N): This tool rotates the camera around the object, rather than rotating the object itself, along the X or Y-Axis established within the file.
3D Roll Camera Tool (N): Similar to the 3D Rotate Camera Tool, this tool rotates the camera rather than the object, but it’s along the Z-Axis this time.
3D Pan Camera Tool (N): Similar to the 3D Pan Object Tool, this tool moves the camera along the X or Y-Axis within the picture plane.
3D Walk Camera Tool (N): This tool is the camera equivalent to the 3D Object Slide Tool, but instead of sliding the object, it slides the camera horizontally when you flick and drag laterally across the picture plane. Additionally, if you click and drag the tool vertically, you’ll move the camera forward or backward.
3D Zoom Camera Tool (N): This wonderfully helpful tool alters the field of vision so the camera is closer or further away from the object.
A
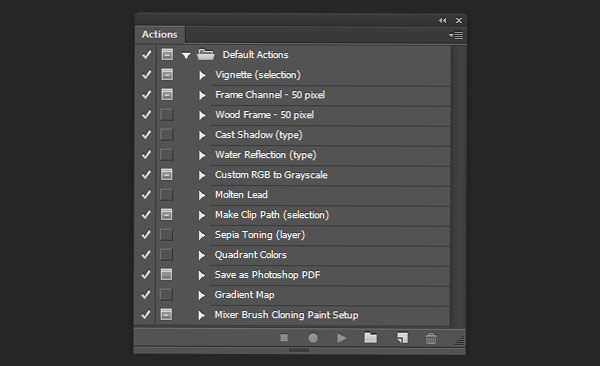
Actions Panel (Alt – F9): Actions are a series of steps you can record and play back for later use. The panel allows you to control, organize, and edit these actions. Especially useful for repetitive tasks and speeding up your workflow.
Adaptive Wide Angle (Alt-Shift-Control-A): A filter that allows the user to correct any lens distortions caused from using wide angle lenses in their photography.
Add Anchor Point Tool: One of the tools used to edit active paths. In this case, you can add an anchor point along the active path in order to manipulate the line further or extend it.
Adjustments Panel: This panel controls all of the color and tonal adjustments you can make to an image.
B
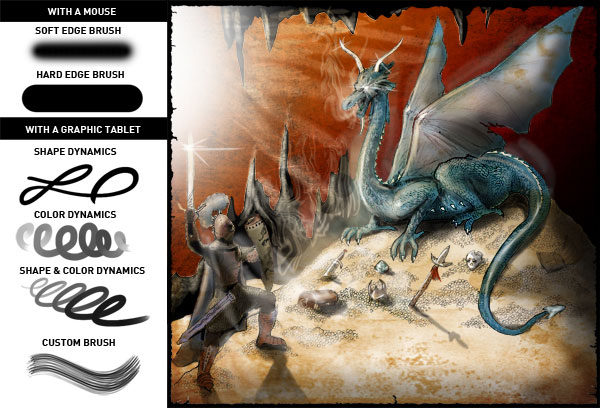
Background Eraser Tool (E): A tool that will erase parts of images to a transparent background as you drag it across a section of an image (doing so immediately changes the background to a layer). You can alter the tool’s settings for Tolerance, Limits, Sample Size, etc.
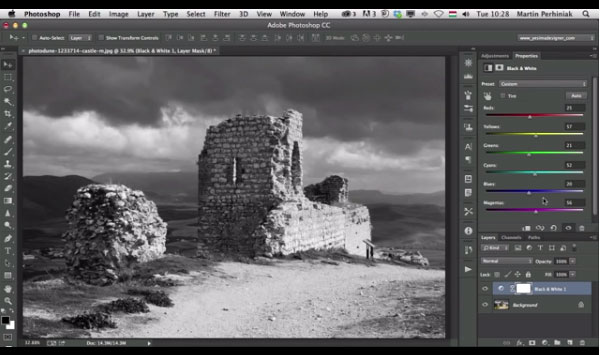
Black & White (Alt-Shift-Control-B): An adjustment setting that allows the user to convert a color image to grayscale while maintaining control over how the colors are converted.
Blur: A selection of filters that soften up an image of selection of an image when applied through smoothing transitions by averaging pixels together. The strength of the blurring filter depends on which one you use.
Blur Tool: This tool softens and blurs hard edges of an images, essentially averaging the pixels together wherever you drag your brush. The more it is used, the stronger the effect.
Brightness/Contrast: Adjustments that can be applied to an image that effect the overall tone by increasing or decreasing highlights (brightness) or increasing or decreasing the overall range of tonal value (contrast).
Brush Panel: This panel houses all of the default and custom brushes you have within your copy of Photoshop. You can add, delete, and edit brushes from this panel.
Brush Presets Panel: This panel allows the user to manage their library of preset brushes. Load or replace brushes ito library files or begin a new one completely. Keeping brush presets at the ready speeds up workflow when painting or editing an image.
Brush Tool (B): Quite simply, this tool is used to paint brush strokes.
Burn Tool (O): This tool increases the exposure to the portion of an image that it’s used on resulting in those areas becoming darker in color.
C
Camera Raw Filter (Shift-Control-A): A filter that allows for non-destructive alterations to be made to an image.
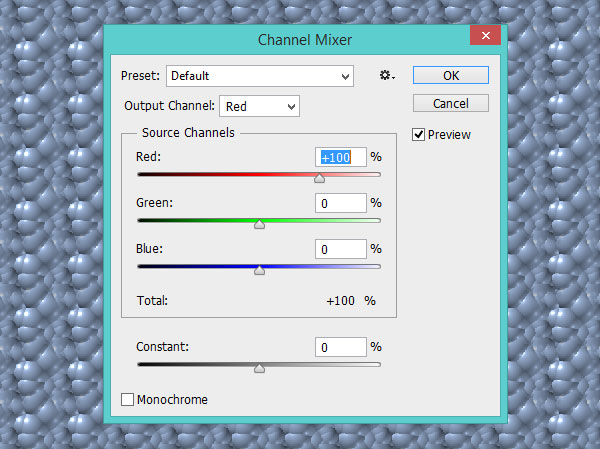
Channel Mixer: An adjustment that allows the user to change an image’s tint, and most often used for adjustments made to black and white images.
Channels Panel: This panel houses color information on grayscale version of the image being edited including: color information, alpha channels, and spot colors.
Character Panel: This panel pertains to settings and attributes for typed characters. Within it you can format individual characters or whole bodies of text by dragging the Horizontal Type Tool or Vertical Type Tool across your type and editing within the panel.
Character Styles Panel: Found in the CS6 and CC versions of Photoshop, this panel is your control center for character styles, attributes and setting you can apply to text, that can be saved for later use.
Clone Stamp Tool (S): This tool allows the user to select a sample from the image in use and paint with the pixels from the selection.
Clone Source Panel: A panel that houses options for the Clone Stamp Tools and Healing Brush Tools.
Color Balance (Control-B): This adjustment changes how an image’s colors are mixed.
Color Lookup: An adjustment layer with options to create specific styles within an image.
Color Panel: This panel shows the user’s current selected foreground and background colors and sliders to choose new colors.
Color Replacement Tool (B): This tool replaced a color that has been selected with another, new color.
Color Sampler Tool (I): A tool to display the color values of 1-4 selected areas.
Content-Aware Move Tool (J): This tool, introduced in CS6, lets the user select a portion of an image and move it without leaving a gaping hole in the image. Instead, it fills in the hole with information gathered from the image itself.
Convert Point Tool: One of the tools used in conjunction with the Pen Tool. This tool changes a point on a path to/from a point to/from a curve.
Count Tool (I): A tool that is used to count the number of objects within an image. Introduced in Photoshop Extended and available in CC.
Crop Tool (C): A rather useful tool for clipping an image. This tool is often used to reconfigure and image’s composition.
Curves (Control – M): An adjustment that allows the user to add points and manipulate the line between those points within a graph that alters the image’s tonal range.
Custom Shape Tool (U): This tool lets the user create a custom vector shape defined within the custom shapes list.
D
Delete Anchor Point Tool: This tool is used in conjunction with the Pen Tool in order to delete anchor points on a path.
Desaturate (Shift-Control-U): This adjustment allows the user to remove the color from an image by converting it to grayscale without changing the color mode.
Direct Selection Tool (A): This tool allows the user to select a segment of an active path that was drawn with the Pen Tool.
Distort: Filters that distort an image, often reshaping it. Effects include Displace, Ripple, ZigZag, Pinch, and more. These effects can be memory intensive.
Dodge Tool (O): This tool decreases the exposure to the portion of an image that it’s used on resulting in those areas becoming lighter in color.
E
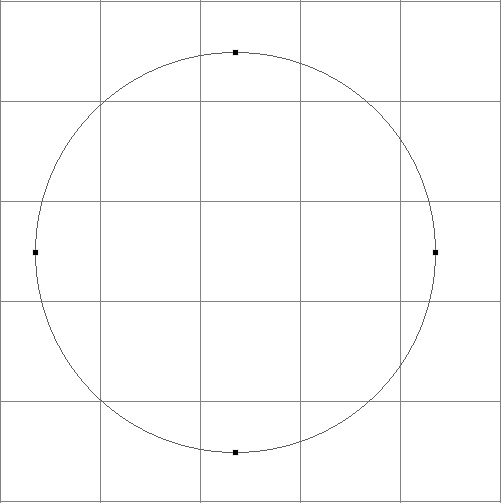
Ellipse Tool (U): A drawing tool used to create elliptical and circular paths.
Elliptical Marquee Tool (M): Used to make elliptical and circular selection paths. Select the tool and drag it across your image to increase or decrease the ellipse’s size. Holding down the Shift key while dragging keeps the selection circular.
Equalize: A command that evens out the brightness of an image by redistributing pixels and setting the brightest values at white, the darkest at black, and the rest to an evenly laid out grayscale.
Eraser Tool (E): This tool either deletes pixels from an image (changing them to transparent) or changes them to the selected background color. Additionally, the tool can change an area to an earlier state selected within the History panel.
Exposure: An adjustment that allows the user to change the settings for an image’s exposure including presets for the adjustment and sliders for the user to alter their settings manually.
Eyedropper Tool (I): This tool samples a selected area’s color putting it into immediate use as either the foreground or background color.
F
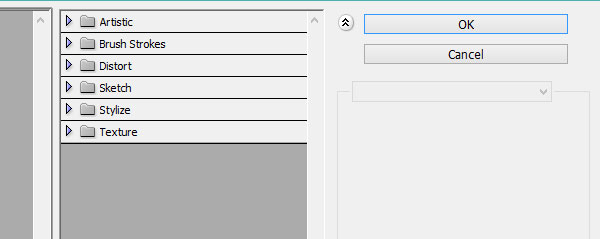
Filter Gallery: This is the hub for applying various filters to an image or selected area of an image within an active, visible layer. The filters that can be applied include various artistic effects, brush stroke styles, distortions, sketch effects, and textures.
Freeform Pen Tool (P): This tool allows users the freedom of the Brush Tool or Pencil Tool but instead of rasterized pixels, it lays down paths with anchor points along it. Similar to the Pen Tool, but not as restricted in movement.
G
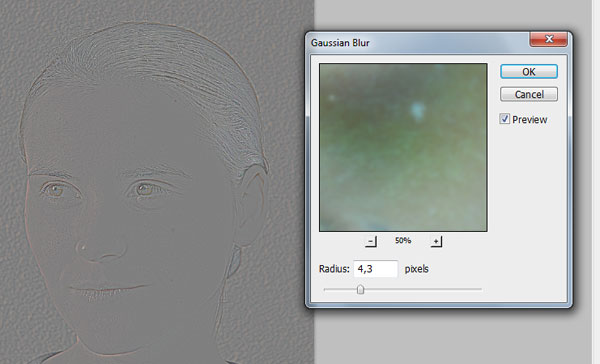
Gaussian Blur: A Blur effect that blurs a selected area by an amount indicated within the effect’s settings.
Gradient Map: An adjustment layer that changes the image to grayscale and places a selected gradient over it.
Gradient Tool (G): This tool allows the user to create linear, radial, angled, and reflected color blends within a selected area.
H
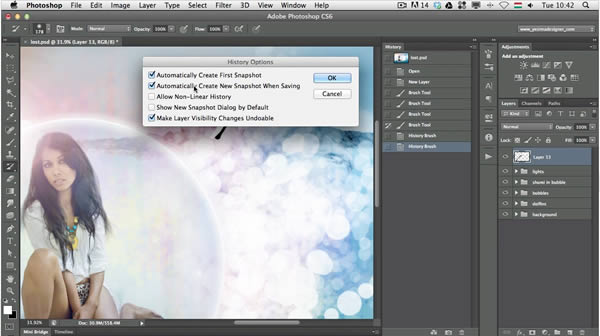
Hand Tool (H): This tool selects the canvas, rather than objects within a layer, and moves it around the user’s window. Especially useful when zoomed in and other portions of the image are obscured by the window’s size.
HDR Toning: This command allows the user to apply HDR contrast and exposure settings to an image.
Healing Brush Tool (J): This tool, similar to the Clone Stamp Tool, uses a sample from an image to repair issues within an image.
Histogram Panel: This panel gives users full access to an image’s histogram, which shows how the pixels within the image are distributed at each color level.
History Panel: This panel allows the user to jump between states created within an image (every time you use a tool, effect, etc).
Horizontal Type Tool (T): This tool allows the user to type on a horizontal path.
Horizontal Type Mask Tool (T): This tool creates a selection border in the shape of whatever has been typed on a horizontal path.
Hue/Saturation (Control-U): Found in the Adjustments panel, this controls the hue, saturation, and lightness of the active image.
I
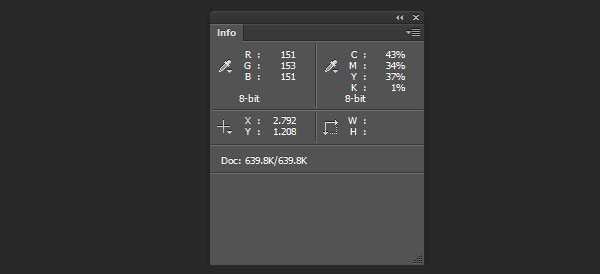
Info Panel: This panel shows the user color information beneath the pointer and other information for whatever tool is in use.
Invert (Control – I): This adjustment filter changes the colors of an image to their inverse values.
J
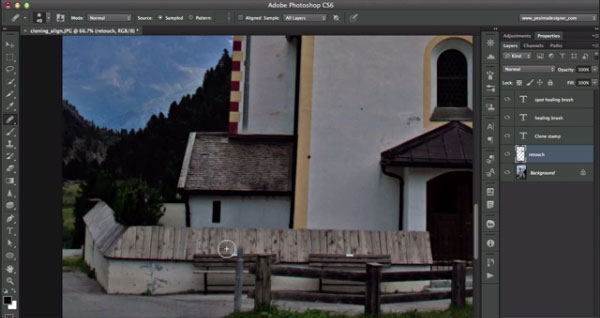
Spot Healing Brush Tool (J): This tool automatically samples colors around it in order to repair imperfections within an image.
K
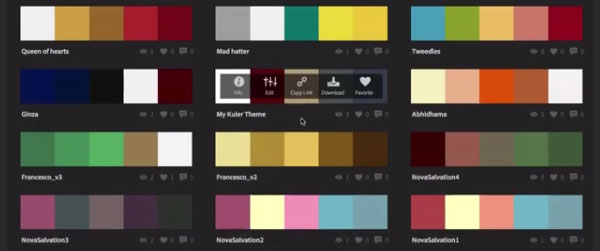
Kuler: The Kuler panel links to a Adobe user’s Kuler account, where you can create, organize, and delete color themes.
L
Lasso Tool (L): This tool allows the user to create freeform selection areas.
Layer Comps Panel: This panel allows users to create compositions of a page to cycle through and display to clients or for the user’s own purposes.
Layers Panel: This panel organizes all of the layers created within a document. Various attributes, blend modes, and effects can be applied or deleted within the panel.
Lens Blur: This filter blurs a portion of an image’s are in order to create a narrower depth of field.
Lens Correction (Shift-Control-R): This filter was updated in CS5, where it allowed for automated process to remove or fix distortion, chromatic aberration and vignetting within an image.
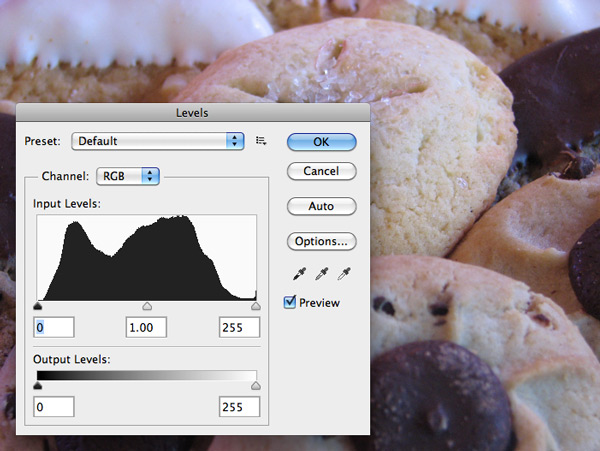
Levels (Control – L): This adjustment allows the user to make tonal corrections and balance color through sliders that alter shadows, midtones, and highlights.
Line Tool (L): One of the shape drawing tools within the toolbar. This one, quite simple, draws straight lines in both shape and rasterized layers.
Liquify (Shift-Control-X): A filter that allows the user to manipulate an image through pushing, pulling, rotating reflecting, bloating, or puckering by using it as a smart filter or painting over the image with distortion tools.
M

Magic Eraser Tool (E): This tool changes pixels similar to those selected to transparent ones or the background color if the layer has locked transparency.
Magic Wand Tool (W): This tool selects pixels with the same or a similar color to those selected. The tool’s options allow for a variety of selection types (New, Add, Subtract From, and Intersect With) and options that define how the selection’s edges react (Tolerance, Anti-aliased, Contiguous, and Sample All Layers).
Magnetic Lasso Tool (L): This selection tool snaps to the edges of areas defined by the image. It has the same selection types as the Magic Wand Tool, as well as Width, Contrast, Frequency, and Stylus Pressure. Each of these options determine how the tool’s snapping will effect the selection being made.
Match Color: This command allows the user to match colors between images, layers, or selections. It also allows for adjustments of luminance, color range, and color cast of an image.
Measurement Log Panel: This panel records the data from measurement tools used within a document. The rows within the log represent a measurement set while the columns represent the data within those measurement sets.
Mixer Brush Tool (B): This painting tool allows the user to blend colors while painting, as though they were doing so with real media. Users can mix the colors on a canvas, mix colors on a brush, and vary the wetness of the brush to simulate the look and feel of a real painting.
Motion Blur: This filter applies a variable amount of blur, as though created by a fast action shot. It’s applied in a set direction chosen by the user within the effect’s options.
Move Tool (V): This tool moves selections, layers, and guides placed within a document. It’s one of the most useful tools for the user to interact with their document.
N

Navigator Panel: This panel shows the current window’s view of the user’s active document and allows the user to quickly move around their document without use of dragging the Hand Tool around the window. It also allows the user to quickly zoom in or out of a document.
Noise: This set of filters allows the user to create noise within an image in a variety of ways. Add Noise creates random set of pixels within an image or selection. Despeckle detects an image’s edge and blurs everything except for the edge thereby removing the harshness of applied noise. Dust & Scratches, Median, and Reduce Noise all tone down the amount of noise within an image in various ways.
Notes Panel: This panel keeps track of notes added to your document with the Note Tool.
Note Tool (I): This tool makes notes that you can attach to portions of your document. Useful for sharing documents with clients, co-workers, or making notes to yourself.
O
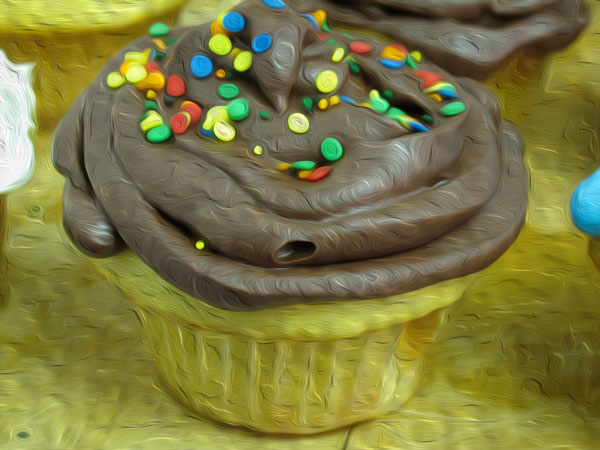
Oil Paint: An artistic filter that allows the user to change the look to that of an oil painting.
P
Paint Bucket Tool (G): Fills in a selection (if the layer is transparent) or similarly colored areas with the foreground color.
Paragraph Panel: This panel allows the user to change the formatting of paragraphs and columns with a document.
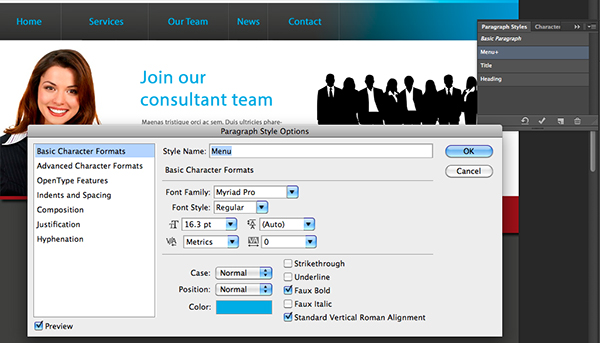
Paragraph Styles Panel: Introduced in version CS6, this panel allows the user to create formatting for paragraphs and characters, save and load said formatting, and edit or delete them.
Patch Tool (J): This tool is used to repair portions of images in a selected area using a sample from the rest of the image or a selected pattern.
Paths Panel: This panel allows the user full control over active and inactive paths within their document. In it you can save or load paths, change a path to a selection, or delete paths.
Path Selection Tool (A): This tool allows the user to select drawn paths for further editing.
Pattern Stamp Tool (S): This tool allows the user to paint with a selected portion of an image in the form of a pattern.
Pen Tool (P): This tool allows the user to draw smooth paths by creating anchor points that can be edited with a variety of tools.
Pencil Tool (B): This tool allows the user to paint strokes of varying sizes and shapes with hard edges.
Photo Filter: An Adjustment that allows the user to apply a variety of color filters (varying tones, hues, etc.) to their image.
Pixelate: A series of filters that create hard-edged images by simplifying the number of colors used in the document. Filters include Color Halftone, which simulates a halftone screen of the image, Crystallize, which minimizes the amount of colors used by creating large polygons across the image, Facet, which is similar to Crystallize, but looks more abstract, Fragment, which makes four copies of the image and offsets them resulting in a blurred though faceted effect, Mezzotint, which converts an image to a random assortment of dots or lines, Mosaic, which is like Crystallize, but it creates squares, and Pointillize, which converts areas of color into dots.
Polygon Tool (U): This tool allows the user to draw polygon shapes by specifying the number of sides.
Polygonal Lasso Tool (L): This selection tool creates a straight-edged shape defined by the user. It’s similar to the Lasso Tool in its use, but far more rigid in execution.
Posterize: This adjustment allows the user to specify the number of tonal levels within an image’s channels.
Properties Panel: This panel gives the user information and control over Adjustment layers.
Q

Quick Selection Tool (W): This selection tool allows the user the ability to paint a selection, as you would with a brush, and render it into a selected area.
R
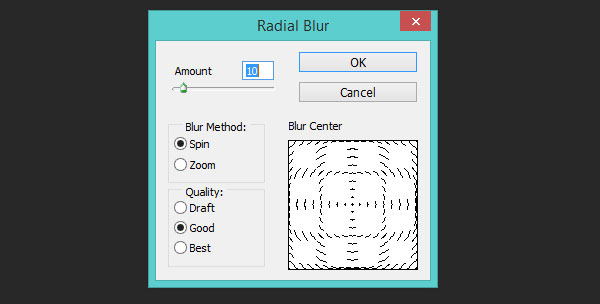
Radial Blur: This filter effect softly simulates the rapid blurring or zooming of a rotating camera. The user can define the intensity of the blur in the effect’s options.
Red Eye Tool (J): This tool removes the redness in the iris of a subject’s eyes caused by a camera’s flash bouncing off the back of the eyes and reflecting blood vessels. Quite a handy tool for keeping your photograph’s subject’s eyes their natural color.
Rectangle Tool (U): One of the shape tools, this one allows the user to create rectangle and square paths that can become filled in, stroked, or selection paths.
Rectangle Marquee Tool (M): This tool selects an area in a rectangular or square shape.
Render: These filters create 3D shapes (like clouds), lighting effects, and patterns within an image or selection.
Replace Color: This dialog box allows the user to select various color ranges and replace them with another within the image. This adjustment does not give the user full control over how the color is replaced, but it is something that can be done quickly versus more comprehensive methods.
Rotate View Tool (R): This tool rotates the canvas within the user’s window without rotating the document itself and altering its pixels.
Rounded Rectangle Tool (U): This tool works in the same manner as the Rectangle Tool, but instead of 90° corners, they’re rounded to a user specified radius.
Ruler Tool (I): This measurement tool aids the user by measuring the distance between selected objects. It’s also useful for measuring angles and locations of objects within an image or document.
S
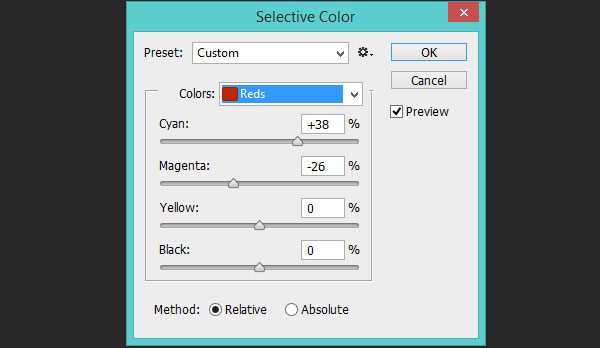
Selective Color: A command that adjusts the amount of process colors that appear within individual color components.
Shadows/Highlights: This command alters the intensity of shadows or highlights.
Sharpen: This filter, and those related to it, sharpens up the edges of an image by enhancing their definition.
Sharpen Tool: This tool sharpens up soft edges and parts of an image, eliminating blur.
Single Column Marquee Tool: This tool selects a vertical selection path.
Single Row Marquee Tool: This tool selects a horizontal selection path.
Slice Tool (C): This tool divides images within a document into separate pieces for web-publishing.
Slice Select Tool (C): This tool selects slices created by the Slice Tool to be edited, copied, converted, or deleted.
Smudge Tool: This retouching tool moved pixels within an image in whatever direction the user clicks and drags the tool icon.
Styles Panel: This panel houses preset styles which can be applied to the layers within an active document. It’s fantastic for organizing layer styles used previously; especially those done for a repetitive task.
Stylize: This series of filters applies various effects to a selected image or layer with a document. Stylizations in the menu include Emboss, which makes an area appear stamped or raised, Extrude, which gives the user control over converting their image into a 3D shape, Glowing Edges, which adds a neon-like glow to the edges of an image or selection, Solarize, which reverses the tone of the image in use making it look like a photographic negative, and more.
Swatches Panel: This panel allows users to organize and edit colors they’ve created, play with color palettes, and save them for later use.
T
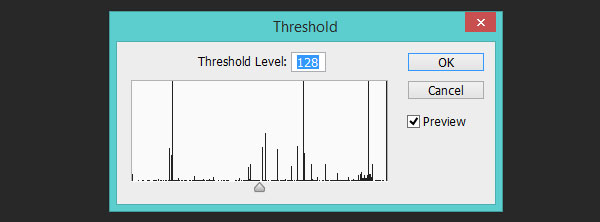
Threshold: This filter converts an image or selection into a high contrast black-and-white image.
Timeline Panel: This panel is used for video and animation within Photoshop. It catalogs the user’s frame and image sequence within a document, allowing them to create, edit, and delete frames as needed.
Tool Presets Panel: This panel allows the user to create, save, and load tool settings. Especially useful for speeding up the user’s workflow as well as altering tools in a non-destructive manner.
U
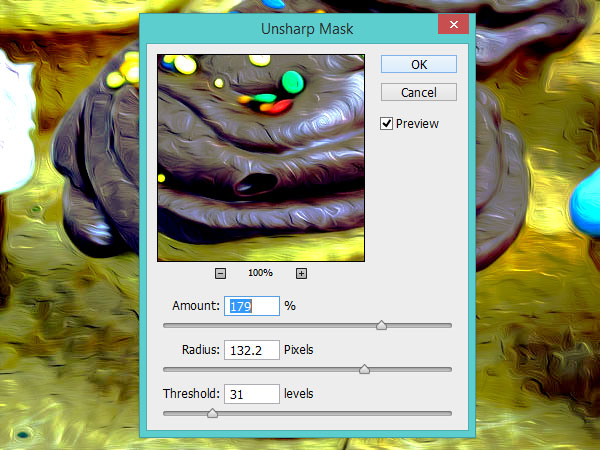
Unsharpen Mask: This filter sharpens up an image around its edges by detecting differences in pixel value based on a user-specified threshold within the filter’s options.
V
Vanishing Point: This command allows the user to edit or create images that have perfect perspective.
Variations: This command lets you see thumbnails of an active image with various color variations applied. It also allows the user to change the contrast and tone of an image. It isn’t an adjustment layer, however, and applies the changes directly to the image layer itself making it difficult to change later.
Vertical Type Tool (T): This tool creates type on a vertical path. It’s quite similar to the Horizontal Type Tool.
Vertical Type Mask (T): This tool creates a selection border in the shape of whatever has been typed on a vertical path.
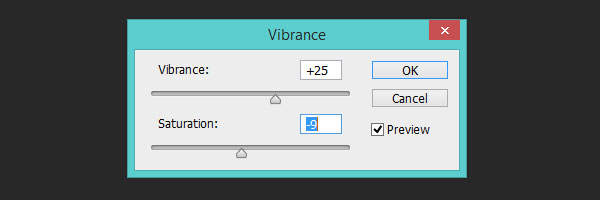
Vibrance: This adjusts the overall color saturation of an active image within a document. Instead of adjusting all of the colors, however, less-saturated colors will be heightened visually.
W
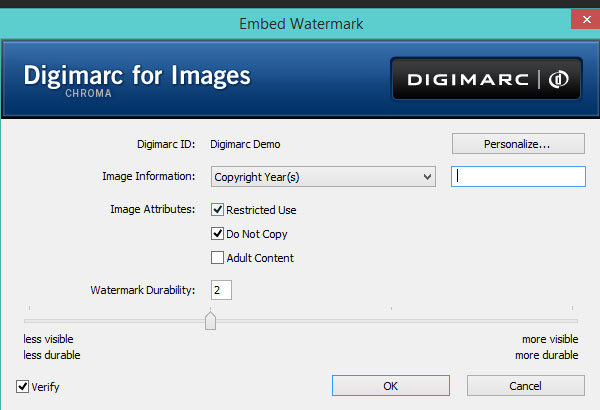
Embed Watermark: One of the Digimarc features in Photoshop, this filter embeds a watermark that’s been registered with the Digimarc Corporation. These registered watermarks are unique user IDs that display the copyright year, use license, and other image attributes.
Read Watermark: This filter allows the user to read digital watermarks placed on an image. It’ll display meta data input with the Embed Watermark filter.
X

Toggle Colors (X) or (Shift-X): Hitting these keys allows the user to toggle foreground and background colors without having reselect in the Swatches or Color panel.
Y
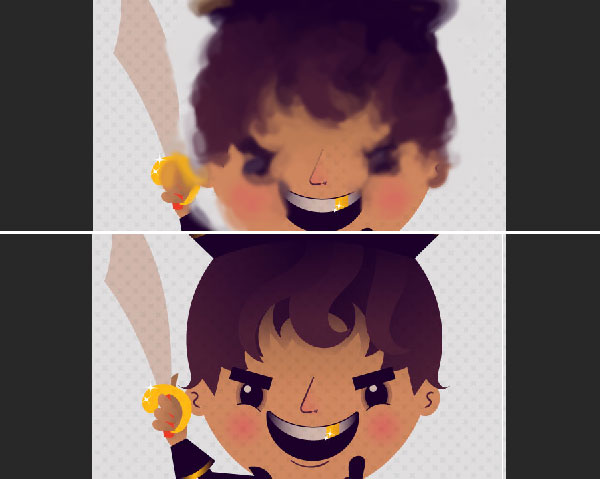
Art History Brush Tool (Y): A rather creative tool that uses the source data from a specified history state of snapshot to create stylized strokes while painting. Similar to the History Brush Tool in that it uses data from another image to create brush stroke content.
History Brush Tool (Y): This tool allows the user to paint a copy of a selected state from the History panel or a snapshot into the current window/onto the active image.
Z
Zoom Tool (Z): This tool works like a magnifying glass, bringing the user’s content within the window closer in their view, or further away so the entire picture plane can be seen.
