From the learners’ point of view, a class or a webinar can be effective as far as they can easily follow through on development, actively participate in it and also collect all the material to share it with their team and network. Most of the participants’ experience depends on the instructor’s communication skills and the beforehand preparation of all materials and the environment.
From these insights, I designed a path for instructors to follow when planning and defining a new class, a workshop or a webinar.
Before starting to prepare an online class, the instructor should gather thoughts, feelings, interests, suggestions from prospective participants. This would help to shape the angle and the development of a given topic. Moreover, including in the presentation, a few things fed back by common people could build empathy and trust, while resonating with participants.
At the beginning of the online session and before each segment, the instructor should show a slide with a well-defined track to let participants follow through the development of the whole online session. It could be visually expressed by a progress bar!
Each class/webinar should consist of:
- an introduction of the instructor
- the definition of the topic and the goal of that online session
and for each segment:
- a “breaking the ice” activity
- a pre-training survey
- an in-depth presentation of the topic
- some interactive training activities
- a Q&A session brainstorming
- the definition of the next steps
and then, as a final wrap-up:
Each webinar/class should start with a short self-introduction of the instructor with credentials, background related to the session focus domain, along with some personal information to build empathy with the audience. Usually, a video instead of a slide or a talking head introduction is very appreciated by participants!
Topic and goals definition
Defining the topic and goals for each session is very important to boost motivation and interests so that participants will pay more attention during the whole session. In this segment, the instructor can also collect the expectations of the participants for fine-tuning or to get some unexpected inputs for future sessions. Moreover, it will be useful to get back to the initial definition of the goals at the end of the session to check and measure the success of the presentation.
“Breaking the ice” and pre-training surveys
There are many ice-breaker activities that help participants get familiar with the platform and with each other. They are for making people feel at ease right from the beginning of the session and encourage the most reticent to experiment and contribute actively. So, a whiteboard, with or without a background image, can come in handy here! The instructor can ask the participants to place a pin on their location or write down their names, for example. Some polls with real-time results, that show on screen while they come in, can be used as an ice-breaker and some “hand-raising” activities are usually very appreciated when the hand-raise action is performed by adding color dots to a chart or also by expressing preferences in the chat. Depending on the number of participants, the instructor might ask them for a brief self-introduction. Some ice-breaking suggestions are collected in an article on Linkedin by Rok Derenčin and they are worth a reading!
In-depth presentation of topics
A class/webinar can be made of many segments and each of them is for presenting one topic in-depth. It can be made with slides, charts, talking head or it can also involve participants by using stories and ask them what would they do in a defined situation, options given.
A deck of slides is the most traditional way to build a presentation. As a rule of thumb, the best option is to present a single idea in a short sentence for each slide so that the participants won’t be distracted from the presenter for too long while reading. it’s suggested to avoid boring templates but also keep a professional look when choosing fonts and a color scheme made of two or three colors total.
A pre-made video or some charts are a concise and straightforward way to communicate. They can give an engaging twist to the presentation.
Interactive training activities
Interactive training activities are crucial to make a class/webinar engaging and effective. Their aim is to measure the participants’ comfort level on a topic, to check for understanding and to set up the next topic in the session.
A good practice is to introduce an audience participatory activity every 8–12 minutes. They might be polls or the “Would you rather game” to get preferences or solve a particular problem. More interactive activities can be useful to give input on questions or also generate ideas. A shared whiteboard and colorful post-it can do the trick!
Training activities that need time to be completed can be annoying for some participants, but, anyhow, an instructor should consider some hold music for those activities that imply a quiet time.
Q&A and session brainstorming
This one can be a good wrap-up practice! Keeping the participants active and involved to the very end of the session can be challenging. Hopefully, they will be happy to tell how they think they would use what they have learned. It also can give insights about the success of the goals initially set.
Definition of the next steps
If applicable, the instructor must define the next steps at the end of the session, before leaving. He should at least encourage participants to share the webinar with their social networks. If more webinars are up to come he can also promote them highlighting possible connections with the topic of the webinar just ended.
Follow-up email
As a last step to complete the learning experience provided to the participants, the instructor should immediately send over a follow-up email. Not just a “thanks for attending message” but the last piece of content made of a short takeaway, a few final considerations, the list of all the links to the resources shared live in the chat along with every interesting attachments like the slides deck.
The instructor could eventually put in an extra session just to review the outputs and encourage feedback while giving the participants the opportunity to build connections and keep in touch with each other.
And now… Let’s set the environment!
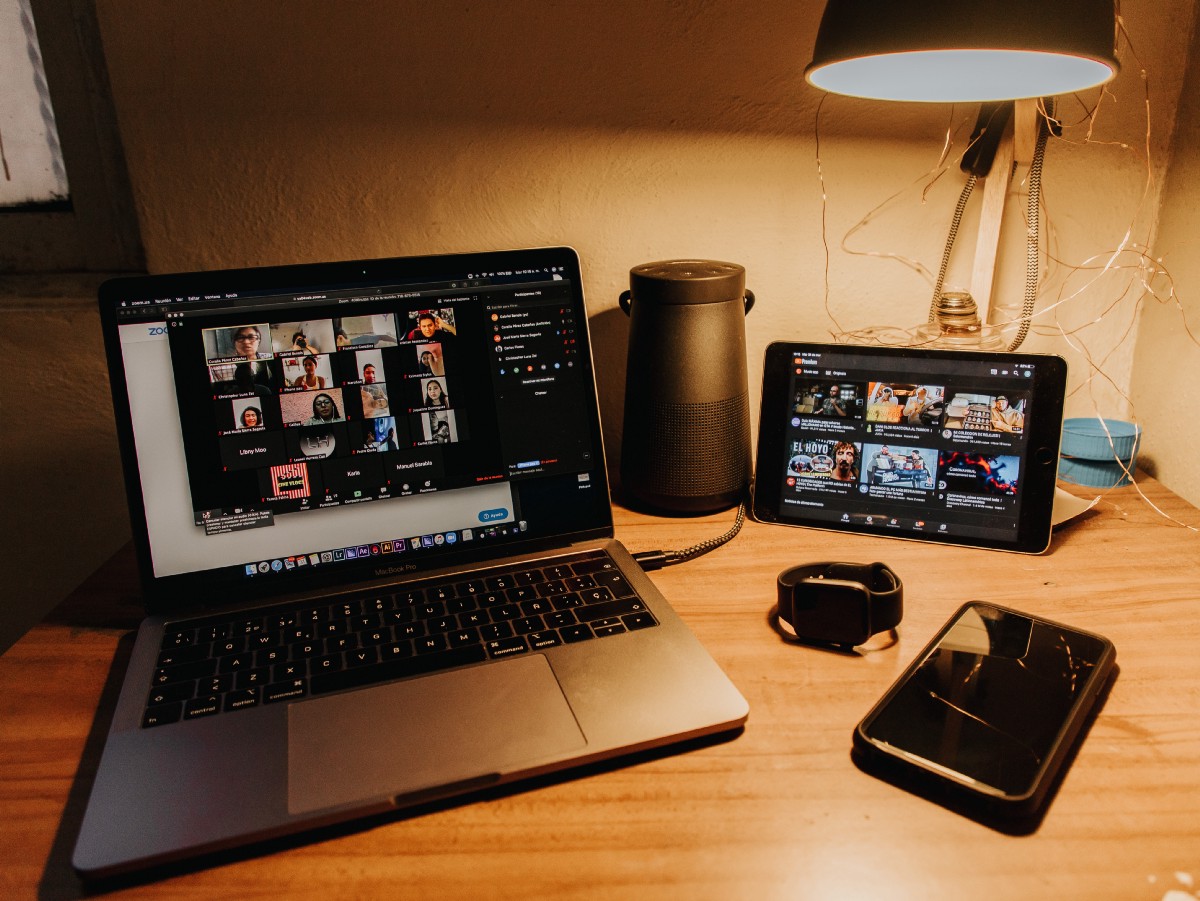
The plan and the content of the class is ready! If you are an instructor or a participant, it’s time to dress up just like you would do if you were joining an IRL meeting, set the lights (a soft big key light, coming from the front and an accented kicker light, from the behind, to highlight the edges of the subject), check if you need to recover you password beforehand to access the class, test the audio/video quality and start by muting the microphone.
Talking of microphones, I want to leave with a bonus tip that everyone will appreciate. The mute/unmute affair it’s an issue that can generate distraction, annoyance or even embarrassment. It’s a good practice for the participants to keep microphones muted during the whole session. There’s no need to fight with pointer on the platform interface to enable it and miss the moment to take part in the debate! Every platform has a keyboard shortcut to quickly enable/disable the microphone (spacebar hold to get unmuted in Zoom or ⌘/Ctrl + d in Google Meet, for example).