Gumroad is an insanely easy way to create customizable products and start selling electronic and physical goods within minutes. It’s not meant to be a replacement for all shopping systems, but it can definitely handle selling your music, art pieces, t-shirts, PDFs, and much more.
Why Gumroad?
I literally think your grandmother could use Gumroad to sell her ugly sweaters. It is that easy. It’s not just easy, it’s good. The system is very well designed to make it simple to upload, customize, and manage orders.
What’s the Trade Off?
Without the API you don’t have a lot of control over what your item detail page looks like. It’s not a big deal because the item detail page looks pretty good. The only other caveat I can think of is that JavaScript carts always feel a bit insecure to me. I’ve heard stories of people changing the prices on items in various JavaScript carts, but to be honest I don’t know if it’s applicapable to Gumroad since it creates an iframe to display your product. So I’m assuming when you click the “I want this!” button that it’s validating on the server.
So, the downfalls are it looks good, it’s extendable with a great API, and it’s probably pretty secure. Wait, those aren’t trade offs! Is Gumroad really this good?
Yes
The creator of Gumroad, Sahil Lavingia, made some really good decisions when he was putting Gumroad together. I think the decisions that make Gumroad work so well were to take control away from the seller; make sure whatever design you force on them looks good; and make everything else drop-dead simple & elegant.
Try it Out
You can’t break anything or accidentally buy anything if you don’t enter your payment information. So go create an account at gumroad.com now and start looking around.
The first thing you’ll notice after logging in is that Gumroad wants you to create products.
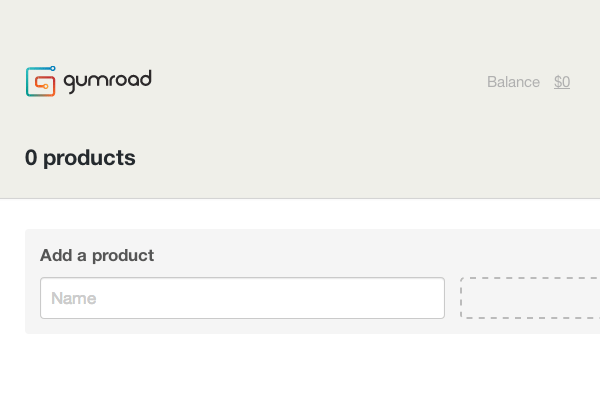
Create a Product
Add a title and upload or link to something. If you’re selling an e-good (PDF, some vector icons, some music) then upload or link to that. If you’re selling a physical good, then it’s pretty common practice to upload or link to a photo.
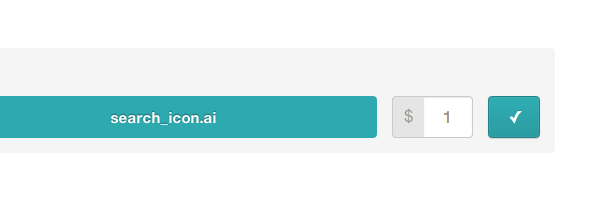
Name your price. Set this to any price you want. If you put a + in the field instead of a number, a textbox will popup and ask you to enter a suggested price. Enter whatever price you think is fair. This will set up a “Pay what you want” system where the buyer can get the item for free, but they’re nudged to actually buy the item.
Upload or link to a 670px cover image. This is the image at the top of your product detail modal. People tend to buy your product more if you have a nice cover image, so actually take time to make one and upload it.
Describe your product. Use all kinds of big, fancy-shmacy, city-boy words.
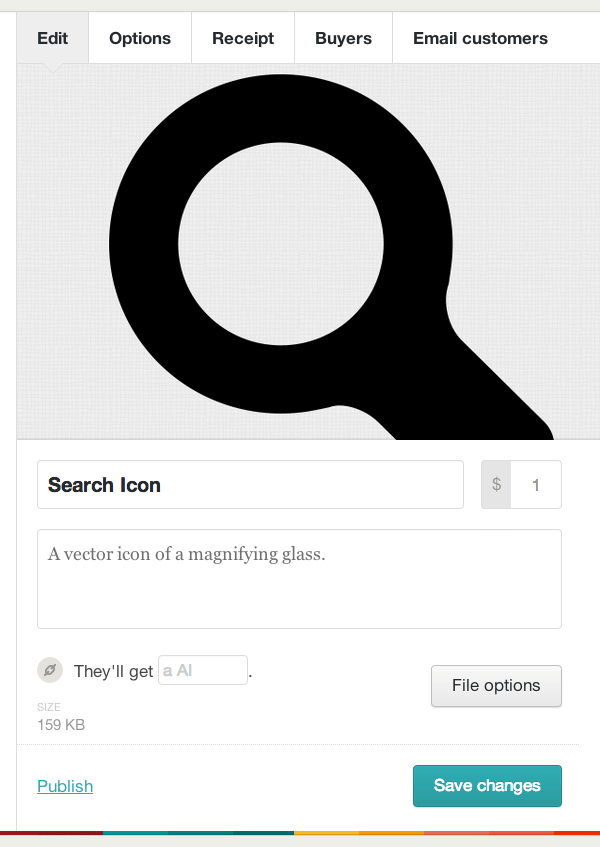
Click the “File Options” button to add any extra files you want. If you forgot to .zip your product, feel free to upload extra files associated with it now.
Save Changes, click publish, and grab your http://gum.co/**** link. Now you can share this link with anyone and they can view your product. They’d be able to buy your project if you filled out your payment information, but let’s look at everything else we can control before you start selling. You might see something you’d like to use.
Inventory, Shipping Rules, Customizable Checkout Forms, Coupons and Variants
The Options tab has a lot of stuff in it considering how compact and clean it looks. You can change the permalink of the item you’re selling (if the permalink hasn’t already been taken – I wonder if http://gum.co/gumroad-tutorial is available, these guys don’t pay me enough! I’m joking – I’ll get back to work now Ian, sir! sniffle)
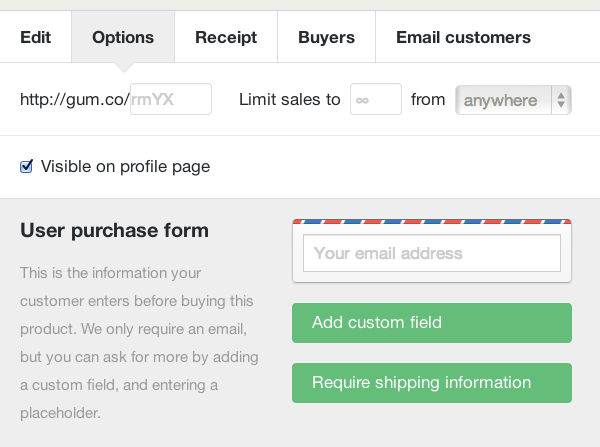
By default you can deliver an unlimited amount of your product. This is fine if you’re selling e-goods, but if you have physical goods you need to ship, you should definitely “Limit sales to” something less than infinity.
If you only want to ship to a certain country, then you can change this as well.
You have a profile page which is at http://gumroad.com/YourUsername. If you go there, you can see some boilerplate profile information, but this will also show off all the items you’re selling. If you specifically don’t want a product to show up on this page then you need to uncheck the “Visible on Profile Page” checkbox.
Below this, you’ll see the User Purchase Form. This form is all the stuff a buyer needs to fill out before checking out. By default your product only requires an e-mail address, but if you’re shipping something, you’ll want to click the “Requires shipping information” button. In this area you can also specify fields you’d like to collect during the checkout process.
Now you can make coupons that the user can either navigate directly to via a URL you give them (something like http://gum.co/****/MyCouponCode), and if you check the “Add offer field to purchase form” checkbox, anyone can use the code during the checkout process. It even has a spot for you to specify the number of coupons available, so you can do something like “The first 100 people to use the coupon code ‘HamburgerSalad’ get $ 10 off their order.”
Finally, you can add some “Variants” to the product. A good example of this would be t-shirts. With variants you could specify the size of the t-shirts, and if you add another category you could specify the color at the same time.
Onwards to the next tab!
Receipts
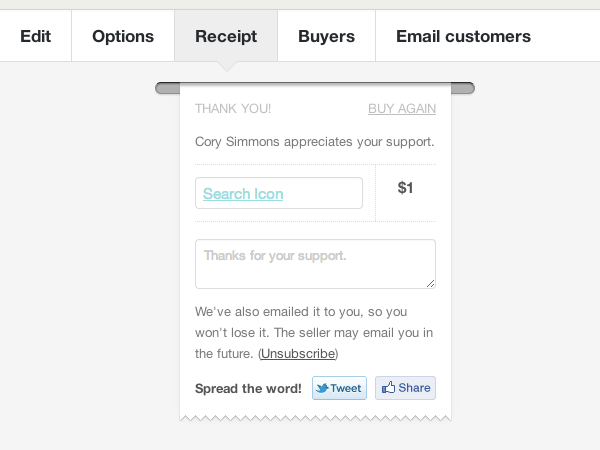
Receipts look nice but they’re pretty boring and self explanatory. Once a product is sold the Buyer will be able to click a link on the receipt to instantly access their file (along with being e-mailed this link). You can write a thank you message in here.
Buyers
I assume this is a list of people who bought the product, but to be honest, I haven’t sold anything with Gumroad yet so I can’t be sure of all the information displayed here. I’m willing to bet the information supplied on the “User purchase form” (under the “Options” tab) is listed here.
Feel free to submit screenshots. I couldn’t find any. :)
Email Customers
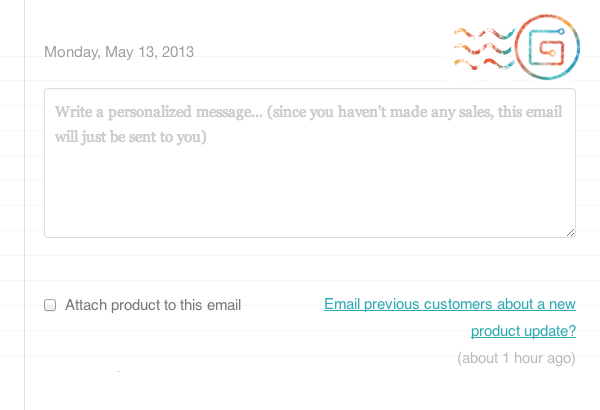
When Buyers purchase a product, both the Buyer and the Seller will be sent an e-mail. The Seller will get a “You sold ProductName” e-mail. The Buyer will get a “You bought a product on Gumroad!” e-mail with a link to their download. You can customize this e-mail here. You can also actually attach the file to this e-mail explicitly by checking the “Attach product to this email”. This is also a good way to send your Buyers an updated file. For instance, new versions of a PDF book you wrote.
Not only that, but if you just want to e-mail your Buyers and to inform them about something you can leave the checkbox unchecked and just send them an e-mail.
Setting up Payment Options
You can start selling your product now, but you won’t be able to actually get paid until you set up your payment options. Click on “Settings” in the top right, then “Payout”. Once you’re on this screen, you will be prompted to enter your bank account information. Do so.
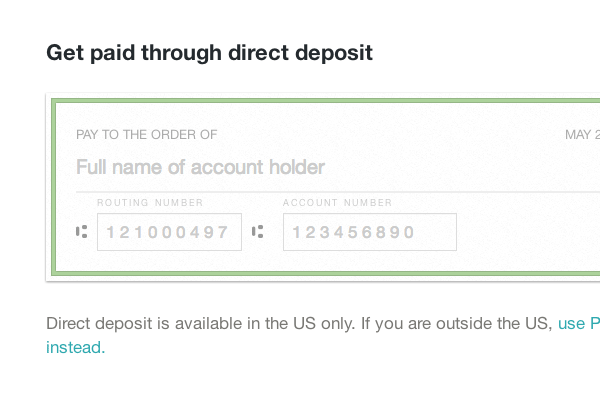
Gumroad will be pay you every other Friday, for all sales up to a week before that date. You have to have at least $ 10 in your account. So you need to sell over $ 10 worth of stuff, and wait for the next Friday to roll around before being paid.
Note: Precisely what additional charges (if any) are incurred through using PayPal are unclear to me at this point.. I would expect normal charges to apply, depending on the type of PayPal account you have, but if you have any experience with Gumroad and PayPal please let us know in the comments!
Selling Your Product
Now that you have configured your product just the way you want, and you’ve connected your bank or PayPal information, you can start selling. Click on your product and “Publish” it if you haven’t done so already. Look on the right sidebar of your product and now you’ll see a “Share to sell” link, “Share on Facebook”, “Tweet”, and “Put on your site”.
Sharing is Caring
Give anyone the “Share to sell” link (something like http://gum.co/****) and they’ll be taken to your product page. If you’d like to see how this looks, just visit the link. You can even customize the background color and the button color of each product page.
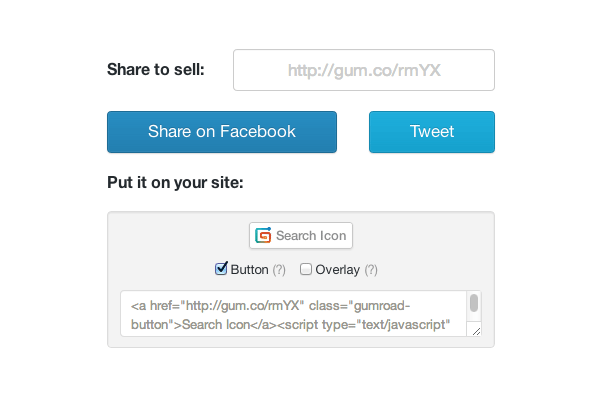
Obviously you can share this on Facebook or Twitter with the links provided.
Adding Products to Your Site
The “Put it on your site” area contains embed code for the link, a button, and an overlay which will create a modal popup when someone clicks on the link. The link obviously just links to your product page. The button and overlay embed codes contain two different JavaScript files that you should put at the bottom of your HTML right before your closing </body> tag.
The button script will turn your http://gum.co/**** links into actual Gumroad branded buttons which is nice if you want to hint at the user that you’re using something they may already be familiar and have an account with.
The overlay script is pretty sweet. Any link to a product (http://gum.co/****) will open in an iframe modal window that looks pretty nice and loads your product detail page. This is how you turn your HTML store into a real store with real items in a few minutes. Just include the overlay script tag at the bottom of the page and fill your anchor tags with links to your product pages. Gumroad does the rest. It doesn’t get any easier than that.
Tracking Your Sales
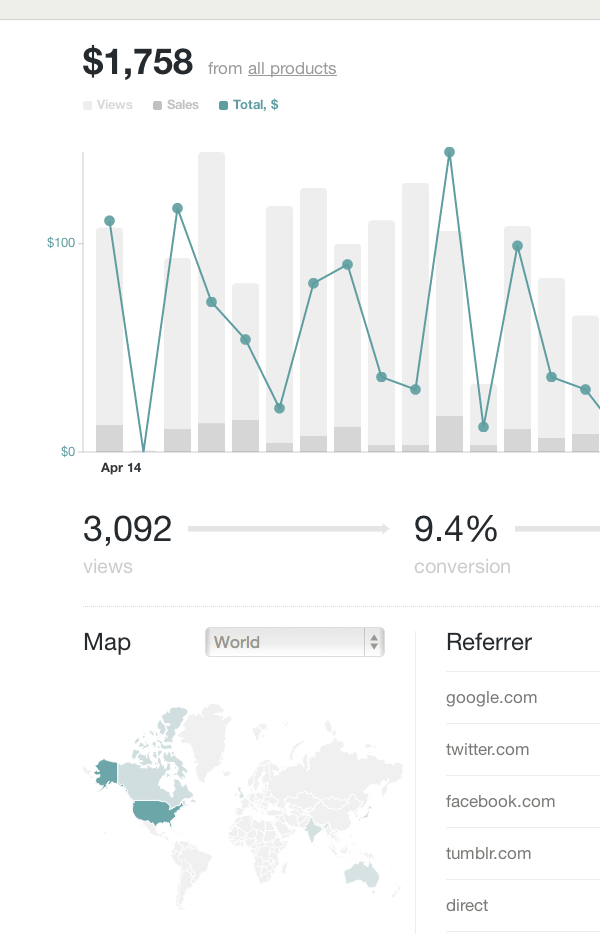
If you’re struggling to make sales or you’re just curious, you might want to check out the “Analytics” link at the top of the page. This will take you to a section where you can view:
- How well you’ve been doing over time (are you losing customers? Maybe it’s time for an upgrade or new product?)
- What your conversion rate is (are people scared off by your cover image, description, or pricing?)
- Where your users are coming from (are you big in Japan? Maybe you should create coupons in Japanese to show your appreciation).
- And finally, some referrer analytics (do you get most of your Buyers from Facebook, Google, or your blog? Find out what serves you best and capitalize on it).
You can also select a specific time range and filter your results by certain products.
Customizing Your Profile
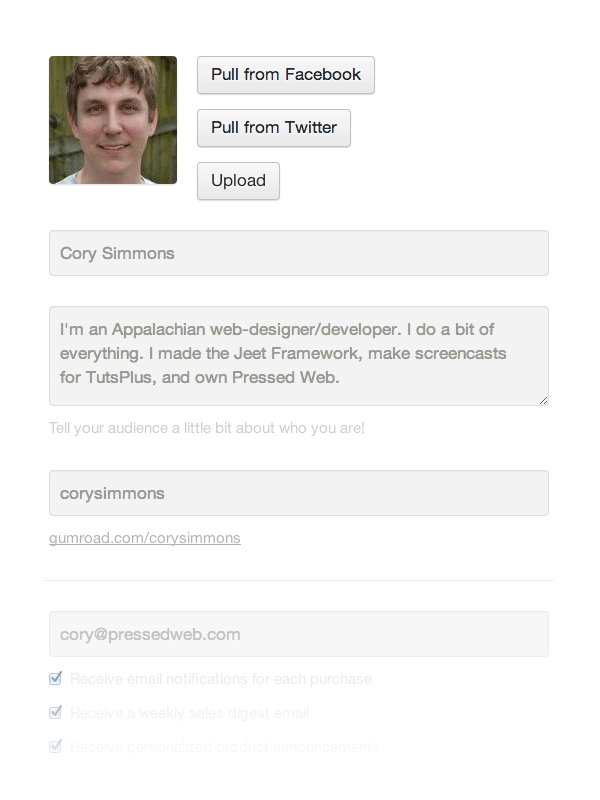
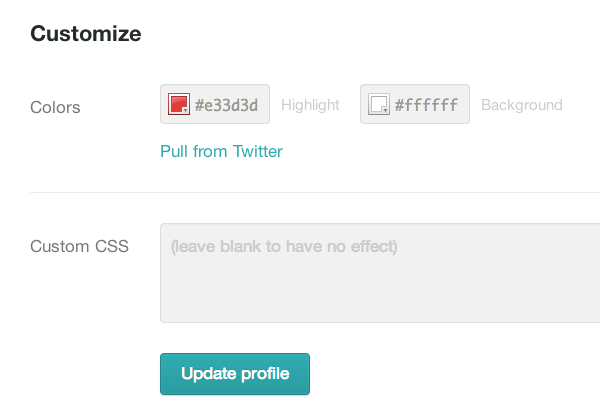
Click on the “Settings” link at the top of the page. Once there you’ll be able to edit generic profile stuff about yourself; add your Google Analytics ID for even more in-depth analytics; and if you click on the “Customize” link, you’ll be able to change how your profile page (http://gumroad.com/YourUsername) feels, and even customize the style of it. The level of customization depends entirely on how good you are at inspecting elements and hacking CSS.
Conclusion
So that’s it. I hope you enjoyed my first written tutorial for Tuts+ and will consider using Gumroad for all those sites where your friend wants you to sell their “artwork” (bleh) but you can’t be bothered with a bulky system like Magento or WooCommerce.
Gumroad is incredibly easy to use and very powerful. It lets you spend less time worrying about your web store and more time creating the things you love (to sell).