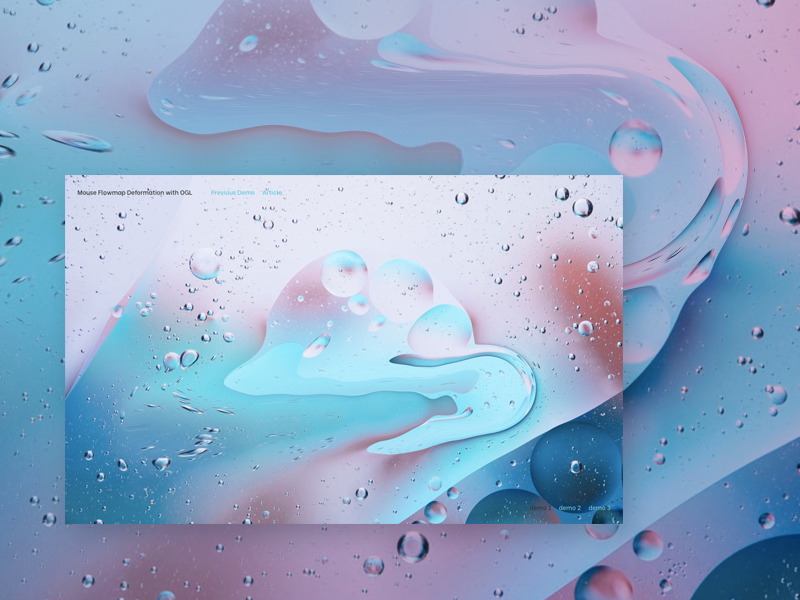
A set of WebGL demos using OGL that show an interactive fluid distortion hover effect.
Following Nathan’s article on how to create mouse trails using his minimal WebGL framework OGL, we’d now like to show some demos based on his mouse flowmap example. The concept of this effect is to deform an image based on the mouse position and velocity.
In this article, we’re not going to explain how to initialise and use OGL. Nathan’s article, Crafting Stylised Mouse Trails With OGL, is covering all of this, so we’ll rather focus on the creation of this effect and assume you already have your OGL setup ready with a renderer and a plane with its texture.
Getting started
In order to deform our image we need to use one of the many extras provided by OGL:
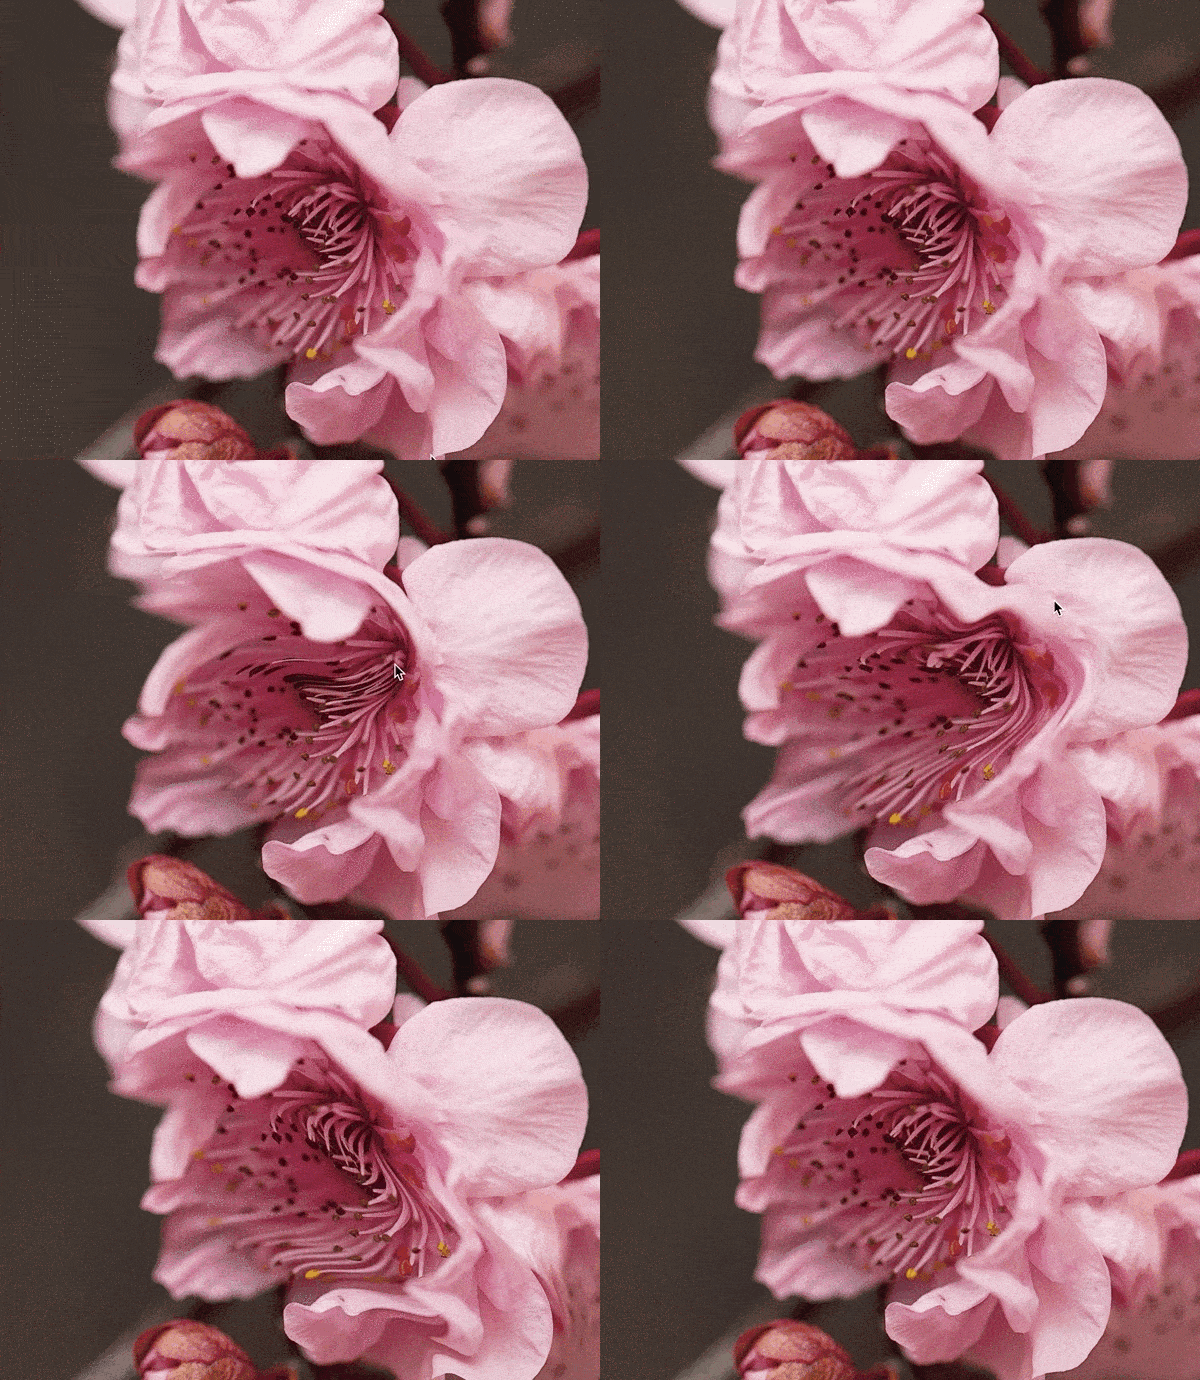
Flowmap: import { Flowmap } from "./src/Extras.js";Once everything is setup according to this example you should be seeing this:

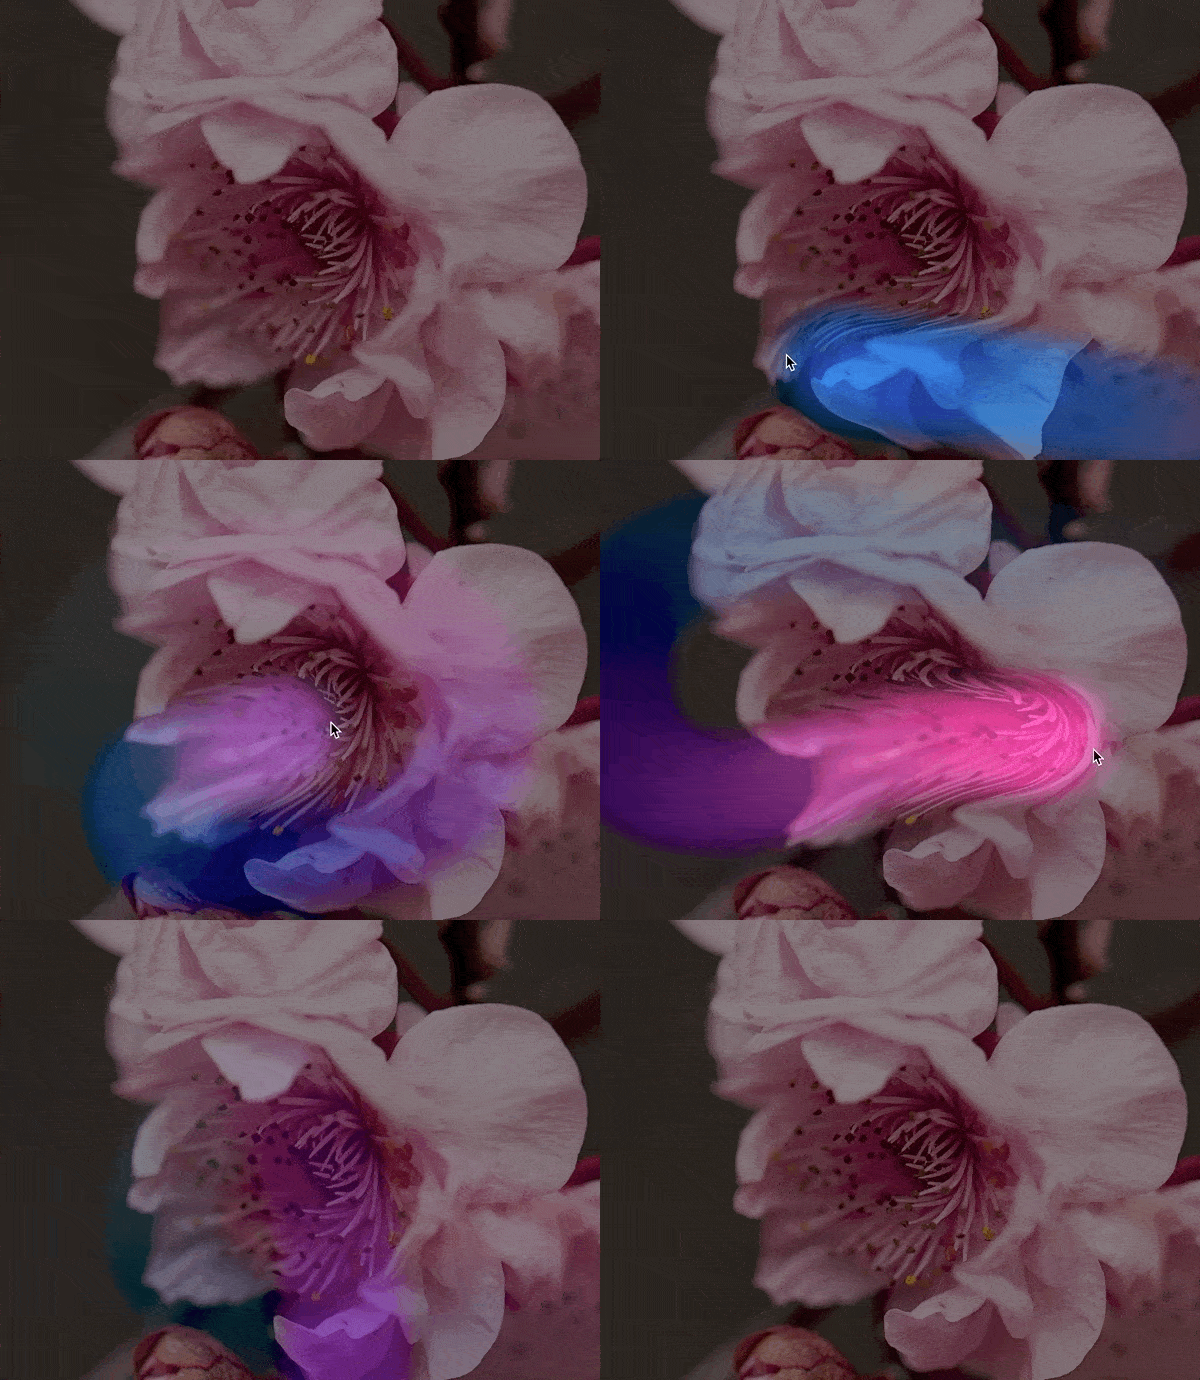
In your shader you can alternate between the two textures to understand the concept behind this effect.
// R and G values are velocity in the x and y direction
// B value is the velocity length
vec3 flow = texture2D(tFlow, vUv).rgb;
// Use flow to adjust the uv lookup of a texture
vec2 uv = gl_FragCoord.xy / 600.0;
uv += flow.xy * 0.05;
vec3 tex = texture2D(tWater, uv).rgb;
gl_FragColor = vec4(tex.rgb, 1.0);
If your replace tex by flow in the last line here’s the ouput:
gl_FragColor = vec4(flow.rgb, 1.0);
Here’s a mix of the two textures to visualize the concept:
Now that you know how to create and use this effect you can play with the different parameters of the flowmap while instantiating it.
Example:
const flowmap = new ogl.Flowmap(gl, { falloff: 0.2, dissipation: 0.9 });Parameters available:
| Name | Default value | Description |
|---|---|---|
| size | 128 | default size of the render targets |
| falloff | 0.3 | size of the stamp, percentage of the size |
| alpha | 1 | opacity of the stamp |
| dissipation | 0.98 | affects the speed that the stamp fades. Closer to 1 is slower |
GitHub link coming soon!
