We’re just about at the end of 2015 and I’m sure you’d all agree it’s been another year jam-packed with new tools for web design and development. While doing my newsletter I’ve come across lots of interesting things, so I thought it would be cool to summarize some of my favorite finds in a year-end post.
Before I begin, I should mention:
- I can’t necessarily vouch for the quality or security of any of these tools.
- Just because I discovered them in 2015, doesn’t mean they were built in 2015 (some of them are much older than that).
- They aren’t in any particular order.
- Not all of these are necessarily “front-end” tools but I’m discussing them in that context.
So let’s get to it!
Let’s start off with one that surely blew many people’s minds when it first came out. This comes from the New York Times Newsroom Developers, and it’s described as:
[A]n open-source script for Adobe Illustrator that converts your Illustrator documents into html and css.
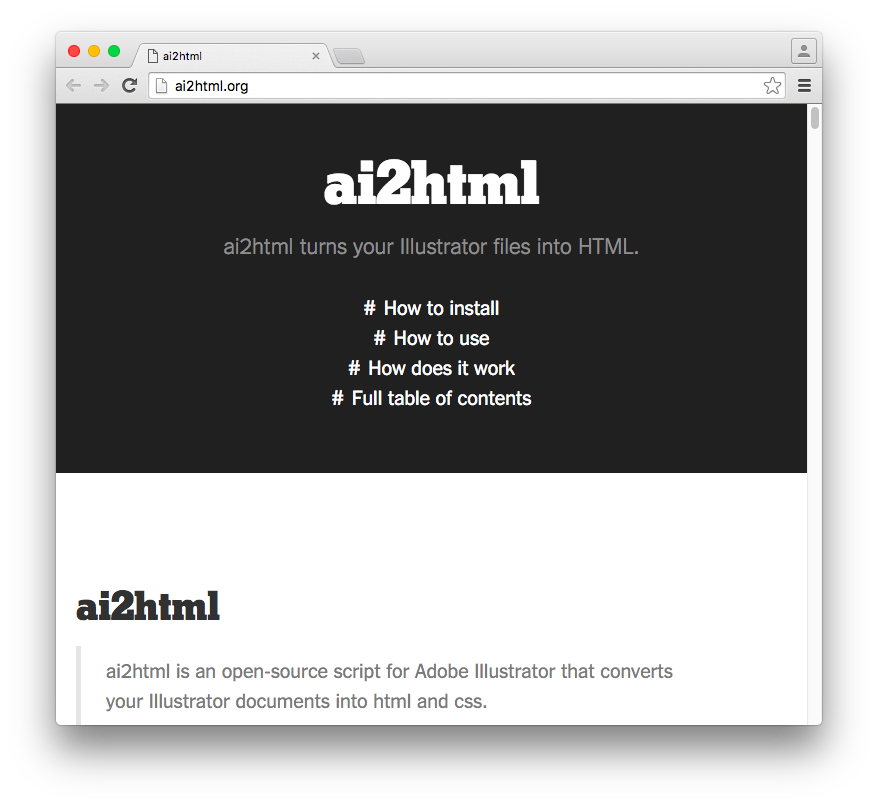
It’s written in JavaScript and it’s added to Illustrator by dropping the .js file into the “Scripts” folder of your Illustrator installation. Once that’s done, you follow these steps:
- Create your Illustrator artwork.
- Size the artboard to the dimensions that you want the div to appear on the web page.
- Make sure your
Document Color Modeis set toRGB.
- Run the script by choosing: File > Scripts > ai2html.
- Go to the folder containing your Illustrator file and find the HTML file(s) located inside the
ai2html-outputfolder.
You can customize the export of image formats, PNG and JPEG quality, page responsiveness, number of HTML files, and lots more. The NYTimes even maintains a collection of examples of how it’s been used from their team as well as others.
This is pretty neat. It’s a command-line tool to help you build stats on your source code. The output by default is just a simple result list but you can switch it to CSV, JSON, or CLI-table format. After installing via npm, you’ll run a command like this:
sloc index.html
I ran the above command on one of my projects that has a very big HTML file and here’s the result:
 ---------- Result ------------
Physical :  9788
Source :  6340
Comment :  645
Single-line comment :  0
Block comment :  645
Mixed :  642
Empty :  3445
Number of files read :  1
------------------------------
Notice the breakdown in comment types
And with the following command, which outputs in JSON format:
sloc --format json index.html
We get the following result:
{
"files": [
{
"path": "index.html",
"stats": {
"total": 9788,
"source": 6340,
"comment": 645,
"single": 0,
"block": 645,
"mixed": 642,
"empty": 3445
},
"badFile": false
}
],
"summary": {
"total": 9788,
"source": 6340,
"comment": 645,
"single": 0,
"block": 645,
"mixed": 642,
"empty": 3445
}
}
You can also use this in a node module, via JavaScript in the browser, or as a Grunt plugin.
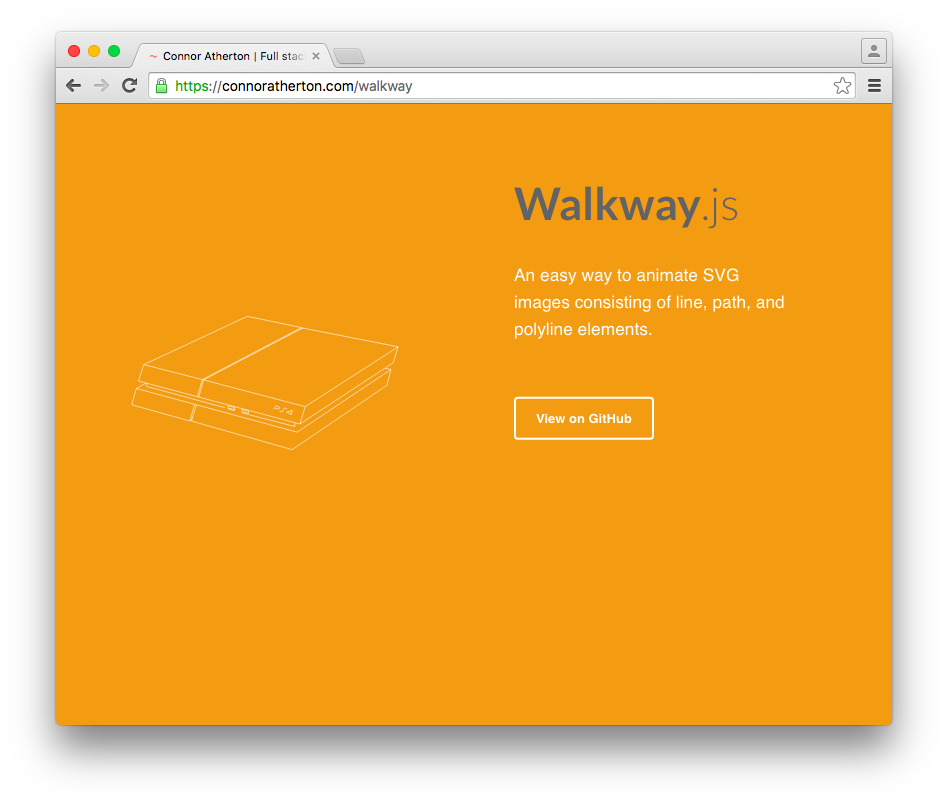
With the explosion of SVG tools and resources of late, it’s only fitting to include some SVG stuff in this post. This one is an “easy way to animate SVG elements”. And I can vouch for its ease of use.

The project’s home page has an example of what you can do with this library.
It supports animation of path, line, and polyline elements and lets you define a duration value and an easing function. I was able to put together the demo below in a few minutes using some public domain SVG art.
See the Pen Walkway.js example SVG animation by SitePoint (@SitePoint) on CodePen.
While it’s true there are more complex SVG animation libraries, I’m a sucker for simplicity. Walkway does one thing really well and it’s easy to implement it.
There are probably lots of different use cases for this library. It’s described as:
A utility library for observing visibility changes of DOM elements. Immediately know when an element becomes hidden, partly visible or fully visible.

The cool thing is, this not applies to doing stuff like display: none and visibility: hidden in your CSS but it also triggers when an element is scrolled off screen. This could come in handy in games or unique scrolling interfaces.
The demo pages have numerous really nice examples. Here’s an example code snippet so you can get an idea of how it’s used:
 var video = $ ('#video');
var visibility = VisSense(video[0], {
 fullyvisible: 0.75
}
);
var visibility_monitor = visibility.monitor( {
 fullyvisible: function() {
 video.play();
 }
 , hidden: function() {
 video.stop();
 }
}
).start();
In this case, we’re telling the browser to play a video only if at least 75 percent of the video is visible on the screen and to stop the video otherwise. The library has a number of methods including hidden(), visible(), fullyVisible(), visibilitychange(), and percentagechange(). You can check out the documentation for details on those and other features.
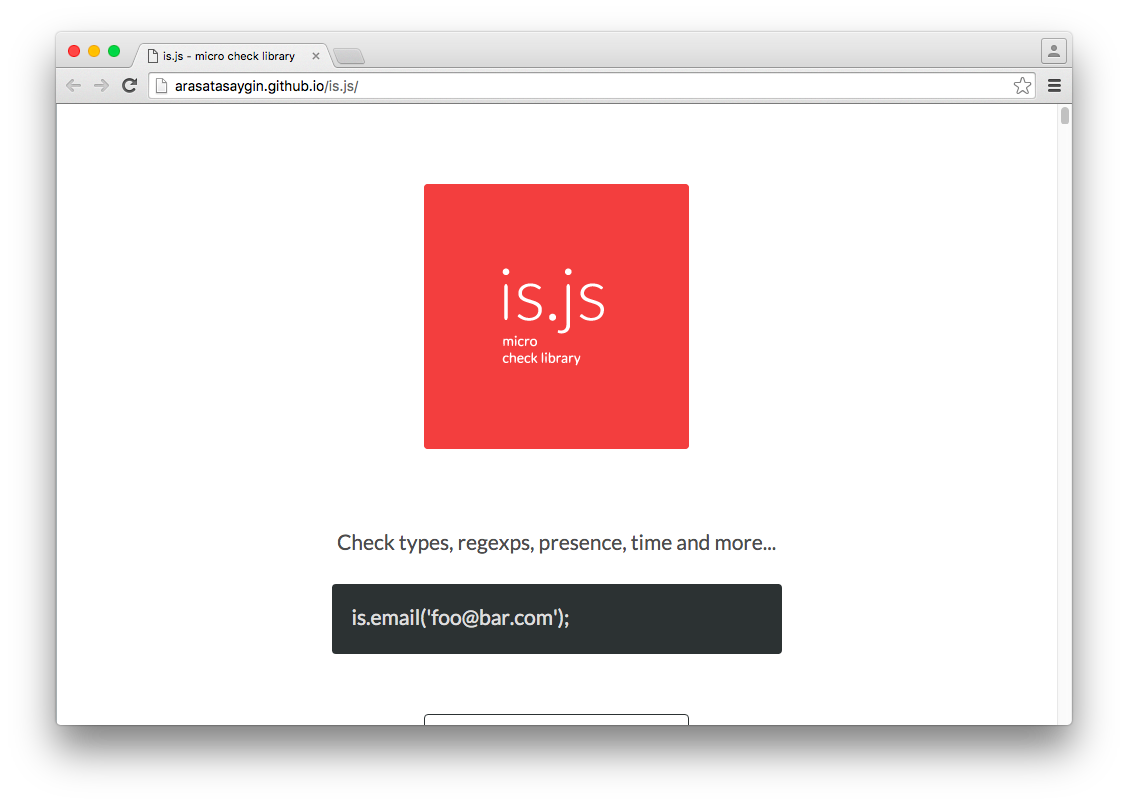
This is described as a “micro check library” and it has a nice API that allows you to do various data checks.
Here are some examples:
is.decimal(41.5); // true is.number('hello'); // false is.regexp(/test/); // true is.usZipCode('90201'); // true is.socialSecurityNumber('017-90-7890'); // true is.hexColor('#333'); // true is.odd(42); // false is.domNode(el); // depends on the value of el is.iphone(); // depends on device is.ipad(); // depends on device is.inNextWeek(myDate); // depends on date value
That’s just a small sampling of what’s available. It should be noted that the documentation lists a slew of “environment” checks (including browser tests, device tests, OSes, and so on), all of which seem to be done via user agent string checking. So I would be cautious of that. But other than that, this is a neat little library that might come in handy as one of your go-to utilities on numerous projects.
As pointed out on the official Sass website, a lot of Sass developers use “partials” in Sass to modularize their Sass code base. For example, a project might include files like _reset.scss, _typography.scss, _mixins.scss, and so on. These are then dropped into your project via the @import directive.
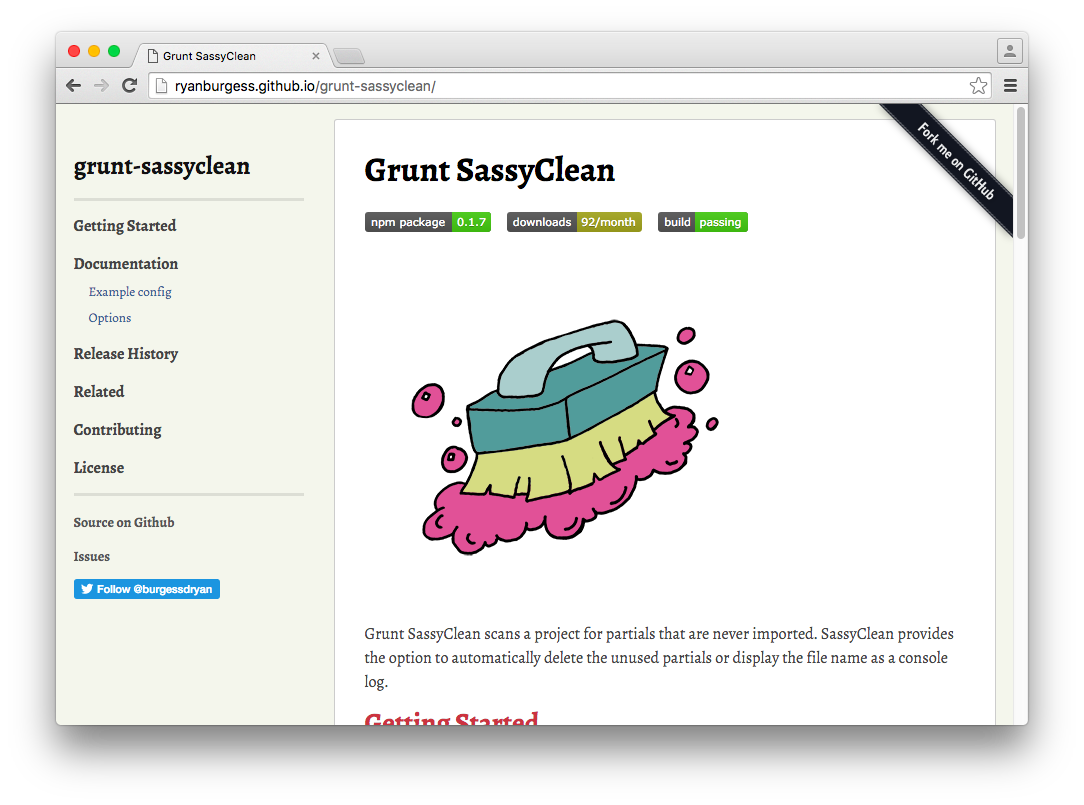
Grunt SassyClean is a Grunt task that allows you to remove any unused partials. That is, you may have them in your folder structure but, for whatever reason, you didn’t actually use them in your project.
In your Gruntfile, you’ll include something like this inside grunt.initConfig():
 sassyclean: {
	options: {
		modules: ['sass/modules/**/*.scss',               'sass/themes/**/*.scss',               'sass/layout/**/*.scss',               'sass/base/**/*.scss'],     buildfiles: ['sass/**/*.scss'],     remove: false,     days: null
	}
	,
}
The buildfiles option lets you select the directory that’s checked where your partials are being imported (or not imported, as the case may be). The default location is sass/ but (as shown above) this can be changed. The modules option lets you define an array of directories where the partials exist. The remove option tells Grunt whether to immediately delete the files or not. If false is chosen, the files will not be deleted and the file name will be logged to the console instead. Finally, the days option lets you remove a partial only if it hasn’t been modified in the number of days specified.
Here’s another neat but simple little Sass tool from Una Kravets that might be useful to you when starting new Sass projects. As mentioned previously, Sass projects will often import many partials. These can be organized into what’s referred to as a manifest file, or main file. Using the contents of your manifest file, Sass Director produces a terminal command that, when executed, will create your project’s directory structure and files automatically.
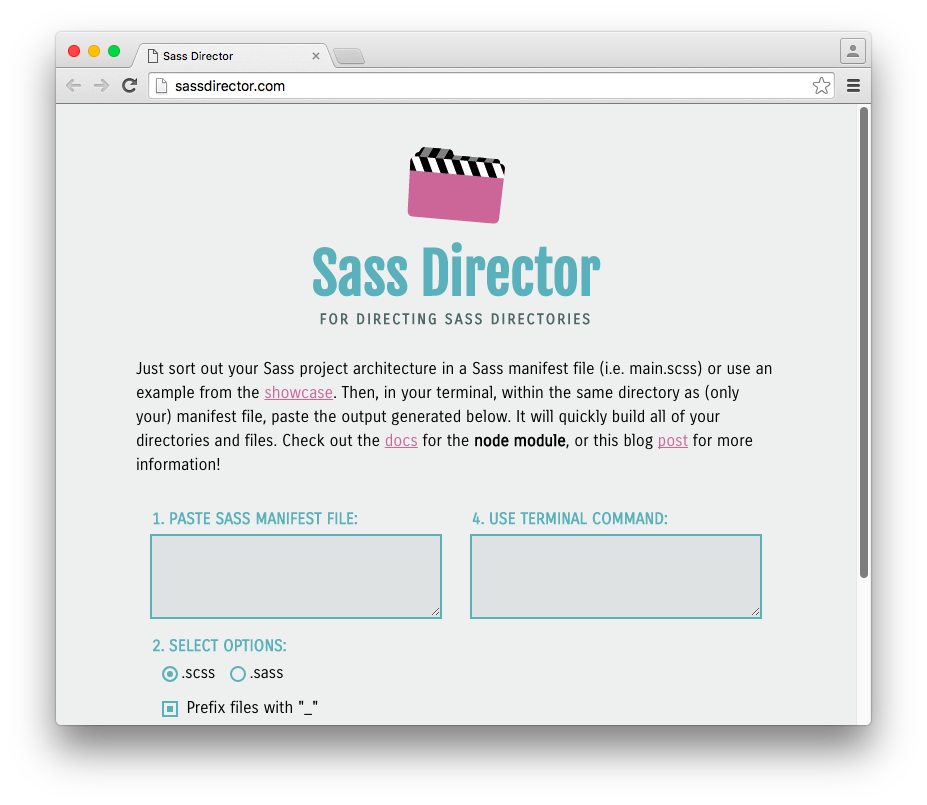
So if your main.scss file looks like this:
 @import "vendors/bootstrap";
@import "vendors/jquery-ui";
@import "utils/variables";
@import "utils/functions";
@import "utils/mixins";
@import "utils/placeholders";
@import "base/reset";
@import "base/typography";
@import "layout/navigation";
@import "layout/grid";
@import "layout/header";
@import "layout/footer";
@import "layout/sidebar";
@import "layout/forms";
@import "components/buttons";
@import "components/carousel";
@import "components/cover";
@import "components/dropdown";
@import "pages/home";
@import "pages/contact";
@import "themes/theme";
@import "themes/admin";
The generated terminal command will look like this:
mkdir vendors;
cd vendors;
touch _bootstrap.scss;
touch _jquery-ui.scss;
cd ../;
mkdir utils;
cd utils;
touch _variables.scss;
touch _functions.scss;
touch _mixins.scss;
touch _placeholders.scss;
cd ../;
mkdir base;
cd base;
touch _reset.scss;
touch _typography.scss;
cd ../;
mkdir layout;
cd layout;
touch _navigation.scss;
touch _grid.scss;
touch _header.scss;
touch _footer.scss;
ouch _sidebar.scss;
touch _forms.scss;
cd ../;
mkdir components;
cd components;
touch _buttons.scss;
touch _carousel.scss;
touch _cover.scss;
touch _dropdown.scss;
cd ../;
mkdir pages;
cd pages;
touch _home.scss;
touch _contact.scss;
cd ../;
mkdir themes;
cd themes;
touch _theme.scss;
touch _admin.scss;
cd ../;
cd ../;
You can try it out online or even install it as a Sublime plugin.
This is Lea Verou’s easy-to-use, dependency-free autocomplete script, which works as a replacement for the very problematic datalist element.
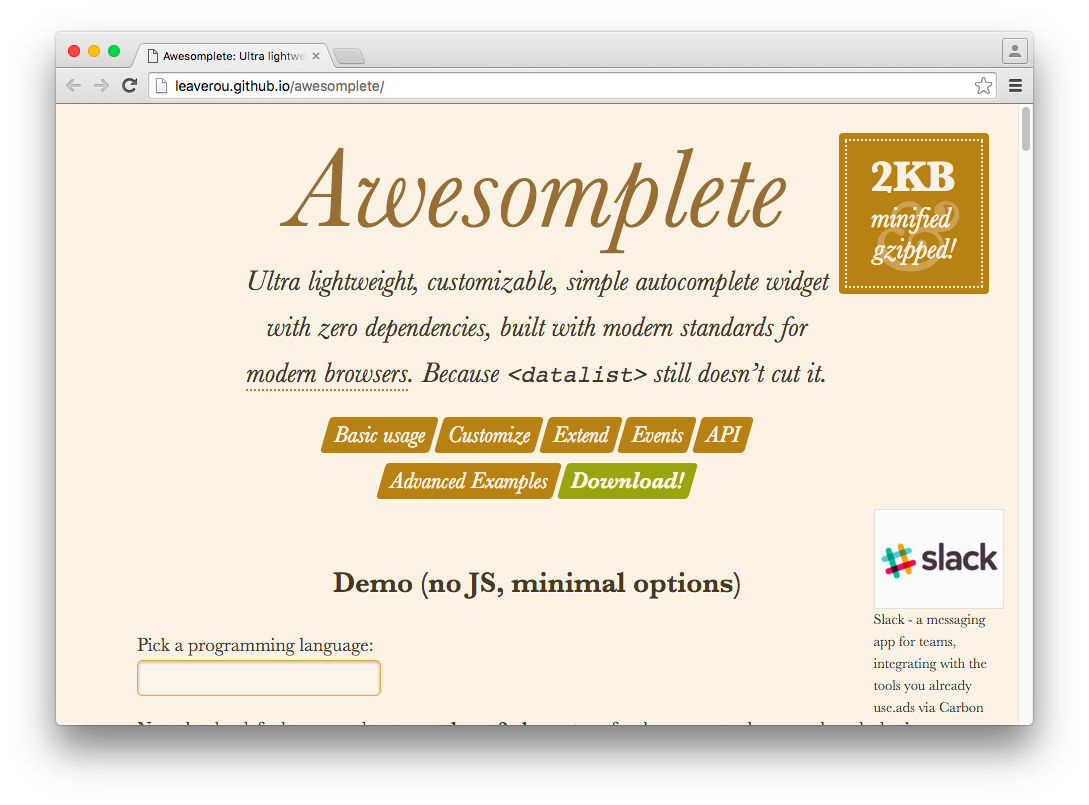
This tool does exactly what all tools should do: Provide an easy way to use it without any extra JavaScript, and offer advanced customization for expert users. For example, after dropping in the script and CSS file, you can do this in your HTML:
<input class="awesomplete" data-list="Cobol, Java, JavaScript, PHP, Python, Ruby" />
Which will produced the following:
See the Pen Awsomplete demo by SitePoint (@SitePoint) on CodePen.
In addition to that simple use, you can customize it by (for example) changing the minimum character count that needs to be typed before the drop-down appears (default is 2), adjusting the maximum number of items to display (default is 10), and whether or not to auto-select the first option that’s displayed.
You can also extend it it by manipulating how items are filtered, sorted, and so on, or use the built-in events or methods to add your own customizations.
This project by Tim Kadlec addresses the topic of performance in a practical way. Performance matters most on mobile and on suboptimal networks so this online tool will let you:
Find out how much it costs for someone to use your site on mobile networks around the world.

The project is powered by WebPagetest and you get results by running a new test or by punching in a WebPagetest ID to get the results of an existing test.
JSCS stands for “JavaScript Code Style”. This is not a new project but it’s something I came across in the past year and I think every JavaScript developer should know it exists.
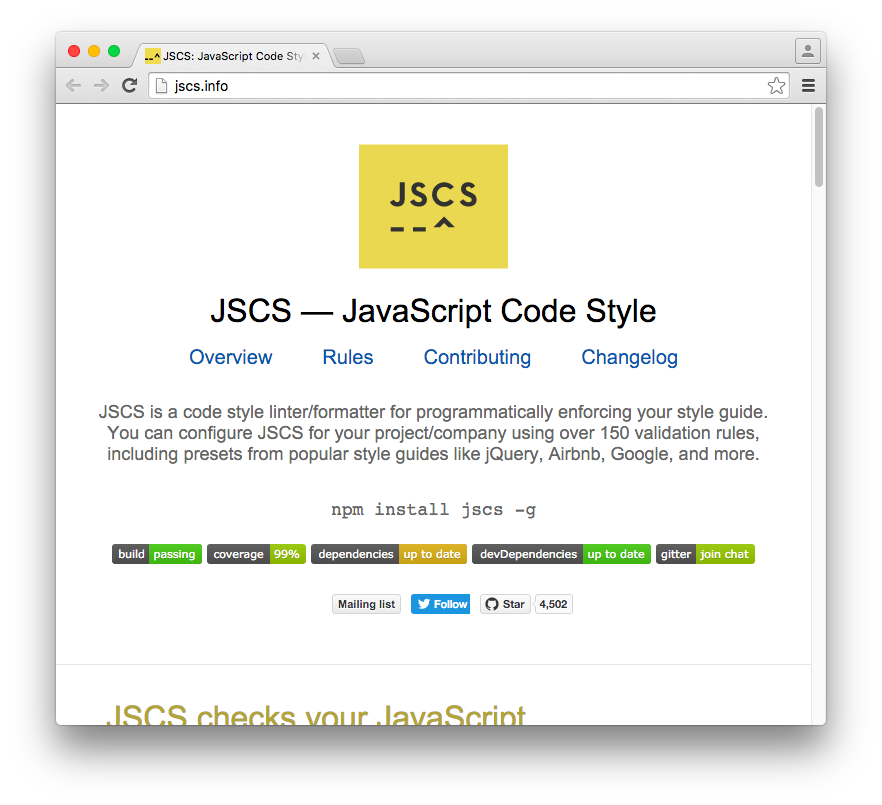
It’s described as:
a code style linter/formatter for programmatically enforcing your style guide. You can configure JSCS for your project/company using over 150 validation rules, including presets from popular style guides like jQuery, Airbnb, Google, and more.
You can use it with one of the packages/plugins available (including Grunt, Sublime, Atom, Brackets, and more) or you can install it via npm and run it manually with a command like this:
jscs file.js --preset=jquery
This will test your code against jQuery’s JavaScript style guide and make recommendations accordingly. You can also choose from a number of other presets as well as a slew of other options.
Here’s an example terminal output when I ran JSCS on one of my JavaScript files:
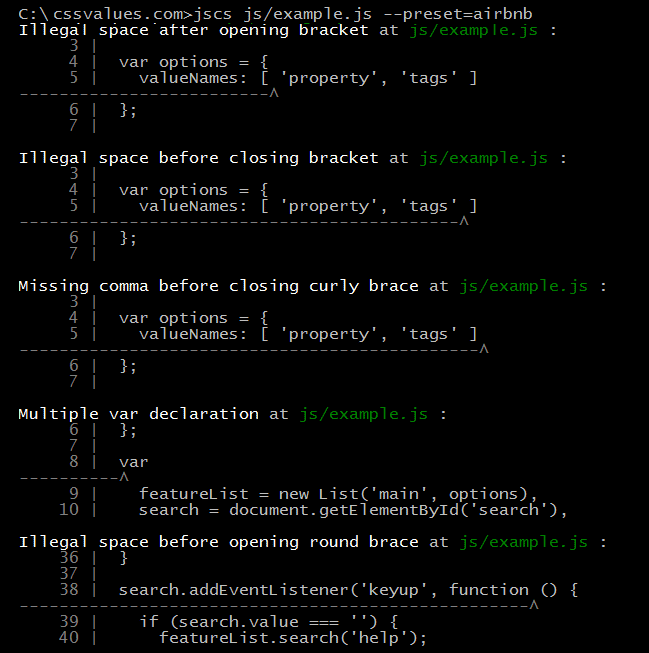
As you can see, this is a pretty powerful tool that you might want to introduce into your own team’s workflow.
So what’s your favorite find of the year in web development tools? Share yours in the comments.