In this post, we’ll take a closer look at the dithering-shader project: a minimal, real-time ordered dithering effect built using GLSL and the Post Processing library.
Rather than just creating a one-off visual effect, the goal was to build something clean, composable, and extendable: a drop-in shader pass that brings pixel-based texture into modern WebGL pipelines.
What It Does
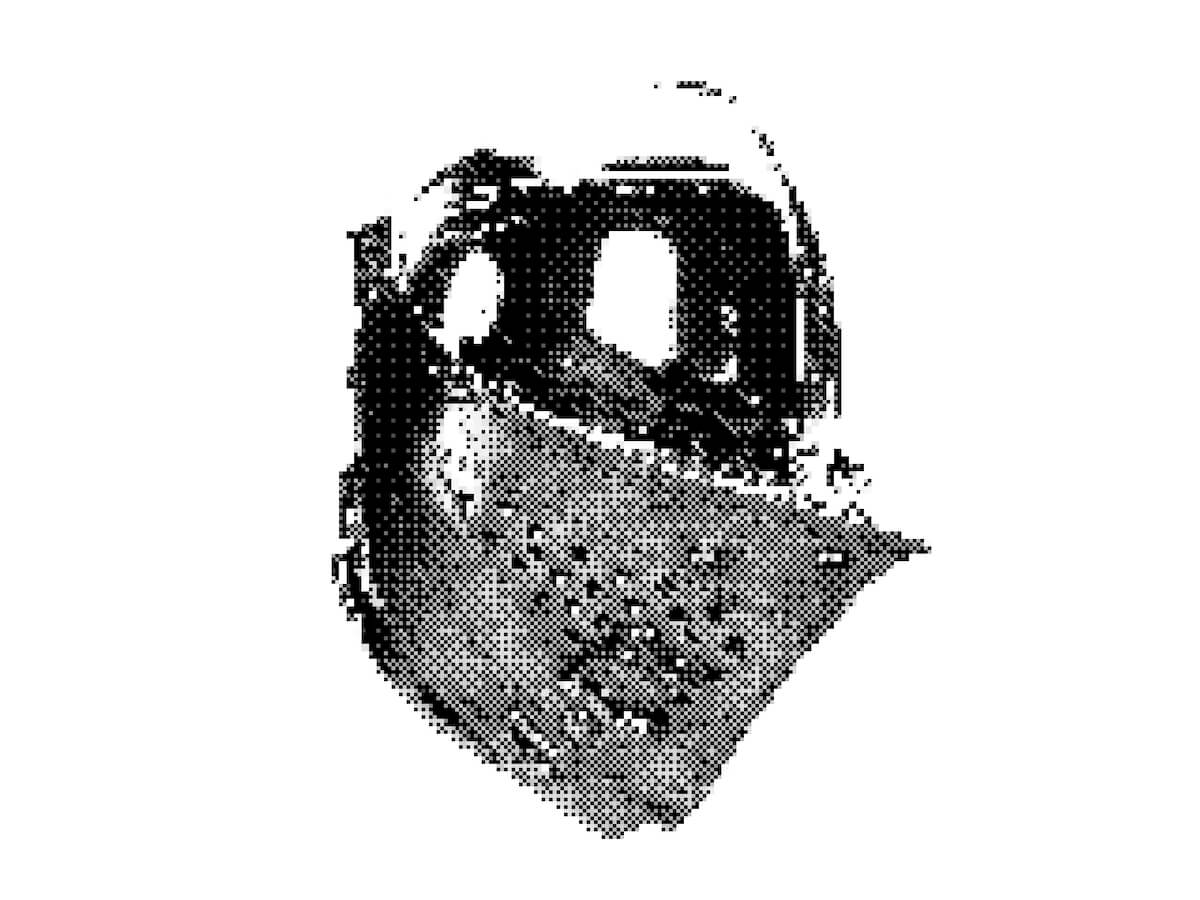
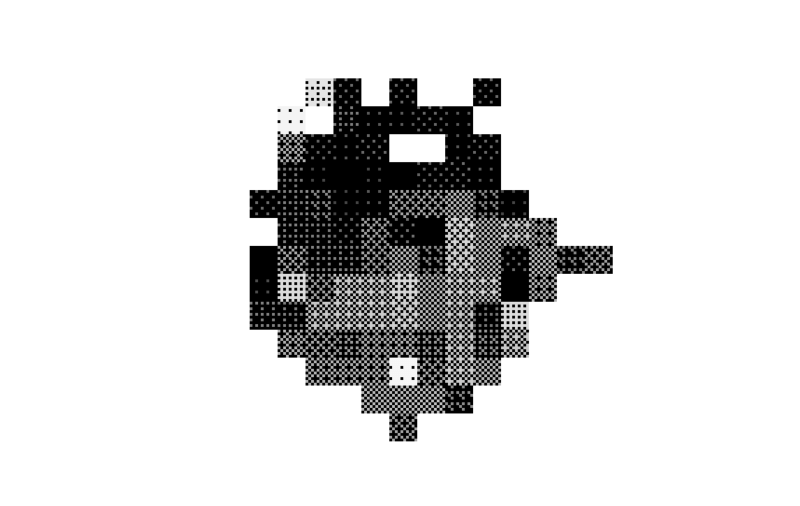
This shader applies ordered dithering as a postprocessing effect. It transforms smooth gradients into stylized, binary (or quantized) pixel patterns, simulating the visual language of early bitmap displays, dot matrix printers, and 8-bit games.
It supports:
- Dynamic resolution via
pixelSize - Optional grayscale mode
- Composability with bloom, blur, or other passes
- Easy integration via
postprocessing‘sEffectclass
Fragment Shader
Our dithering shader implementation consists of two main components:
1. The Core Shader
The heart of the effect lies in the GLSL fragment shader that implements ordered dithering:
bool getValue(float brightness, vec2 pos) {

// Early return for extreme values
if (brightness > 16.0 / 17.0) return false;
if (brightness < 1.0 / 17.0) return true;

// Calculate position in 4x4 dither matrix
vec2 pixel = floor(mod(pos.xy / gridSize, 4.0));
int x = int(pixel.x);
int y = int(pixel.y);

// 4x4 Bayer matrix threshold map
// ... threshold comparisons based on matrix position

}
The getValue function is the core of the dithering algorithm. It:
- Takes brightness and position: Uses the pixel’s luminance value and screen position
- Maps to dither matrix: Calculates which cell of the 4×4 Bayer matrix the pixel belongs to
- Applies threshold: Compares the brightness against a predetermined threshold for that matrix position
- Returns binary decision: Whether the pixel should be black or colored
Key Shader Features
- gridSize: Controls the size of the dithering pattern
- pixelSizeRatio: Adds pixelation effect for enhanced retro feel
- grayscaleOnly: Converts the image to grayscale before dithering
- invertColor: Inverts the final colors for different aesthetic effects
2. Pixelation Integration
float pixelSize = gridSize * pixelSizeRatio;
vec2 pixelatedUV = floor(fragCoord / pixelSize) * pixelSize / resolution;
baseColor = texture2D(inputBuffer, pixelatedUV).rgb;
The shader combines dithering with optional pixelation, creating a compound retro effect that’s perfect for game-like visuals.
Creating a Custom Postprocessing Effect
The shader is wrapped using the Effect base class from the postprocessing library. This abstracts away the boilerplate of managing framebuffers and passes, allowing the shader to be dropped into a scene with minimal setup.
export class DitheringEffect extends Effect {
  uniforms: Map<string, THREE.Uniform<number | THREE.Vector2>>;

  constructor({
    time = 0,
    resolution = new THREE.Vector2(1, 1),
    gridSize = 4.0,
    luminanceMethod = 0,
    invertColor = false,
    pixelSizeRatio = 1,
    grayscaleOnly = false
  }: DitheringEffectOptions = {}) {
    const uniforms = new Map<string, THREE.Uniform<number | THREE.Vector2>>([
      ["time", new THREE.Uniform(time)],
      ["resolution", new THREE.Uniform(resolution)],
      ["gridSize", new THREE.Uniform(gridSize)],
      ["luminanceMethod", new THREE.Uniform(luminanceMethod)],
      ["invertColor", new THREE.Uniform(invertColor ? 1 : 0)],
      ["ditheringEnabled", new THREE.Uniform(1)],
      ["pixelSizeRatio", new THREE.Uniform(pixelSizeRatio)],
      ["grayscaleOnly", new THREE.Uniform(grayscaleOnly ? 1 : 0)]
    ]);

    super("DitheringEffect", ditheringShader, { uniforms });
    this.uniforms = uniforms;
  }

 ...

}
Optional: Integrating with React Three Fiber
Once defined, the effect is registered and applied using @react-three/postprocessing. Here’s a minimal usage example with bloom and dithering:
<Canvas>
  {/* ... your scene ... */}
  <EffectComposer>
    <Bloom intensity={0.5} />
    <Dithering pixelSize={2} grayscale />
  </EffectComposer>
</Canvas>
You can also tweak pixelSize dynamically to scale the effect with resolution, or toggle grayscale mode based on UI controls or scene context.
Extending the Shader
This shader is intentionally kept simple, a foundation rather than a full system. It’s easy to customize or extend. Here are some ideas you can try:
- Add color quantization: convert
color.rgbto indexed palettes - Pack depth-based dither layers for fake shadows
- Animate the pattern for VHS-like shimmer
- Interactive pixelation: use mouse proximity to affect
u_pixelSize
Why Not Use a Texture?
Some dithering shaders rely on threshold maps or pre-baked noise textures. This one doesn’t. The matrix pattern is deterministic and screen-space based, which means:
- No texture loading required
- Fully procedural
- Clean pixel alignment
It’s not meant for photorealism. It’s for styling and flattening. Think more zine than render farm.
Final Thoughts
This project started as a side experiment to explore what it would look like to bring tactile, stylized “non-photorealism” back into postprocessing workflows. But I found it had broader use cases, especially in cases where design direction favors abstraction or controlled distortion.
If you’re building UIs, games, or interactive 3D scenes where “perfect” isn’t the goal, maybe a little pixel grit is exactly what you need.