One minute your website is working. The next, you see an error message that looks like this:
“500 Internal Server Error”
Or:
“This page isn’t working.”
Or:
“HTTP ERROR 500”
Unfortunately, this is one of those error codes that provides no information on the source of the problem. That said, troubleshooting and fixing a 500 internal server error in WordPress is a straightforward process.
This post breaks down 10 steps to resolve this error and get your site back online:
What Is the “HTTP 500 Error”?
When you see the 500 error, it typically means that something has gone wrong at the server level, though that’s not always the case. Sometimes it’s nothing more than your browser or WordPress cache getting stuck.
When a more serious and permanent error occurs, the typical culprits are:
- Plugin or theme conflicts
- Insufficient memory
- Corrupted WordPress files
- Hosting issues
Because the 500 error code doesn’t tell you where the issue is, there’s a process you’ll have to follow to find the error and restore your WordPress website.
10 Steps to Troubleshoot and Fix the 500 Internal Server Error
When troubleshooting the HTTP 500 error, work through these steps from top to bottom:
1. Refresh Your Browser
In the case of a temporary glitch, the 500 error might resolve itself. However, the error page could get stuck in your cache.
The first place to check is your browser. Refresh your screen to see if the error resolves.
If it doesn’t, open either an incognito window in your current browser or open a different browser altogether. If the error doesn’t appear, then the issue is with your browser cache.
Go to your browser’s Settings panel (usually accessible on the right side of the browser). Then locate the section called Clear browsing data. In Brave, for instance, it’s under Privacy and security.


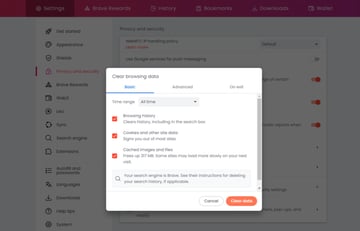
Clear the browsing history, cookies, and cached images and files. Then close and reopen your browser.
If the issue hasn’t been resolved, go to the next step.
2. Clear the WordPress Cache
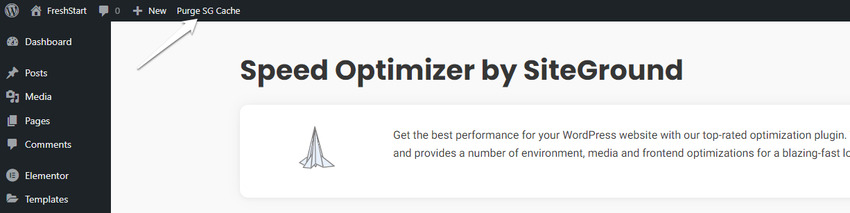
If you’re using a caching or performance plugin, try clearing the cache from inside of WordPress.
Most WordPress optimization plugins add a Purge Cache option to the top toolbar. If you still have access to the WordPress backend, click on it to clear the cache.

If that doesn’t fix the issue or you don’t have access to WordPress, try it from your web hosting account.
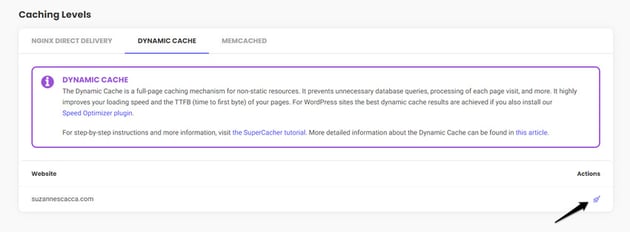
In SiteGround, for instance, you can do this from Site Options. Go to Speed > Cache.
If you have Dynamic Cache and Memcached enabled, you have the ability to flush the cache by clicking on the icon at the far-right of each setting.

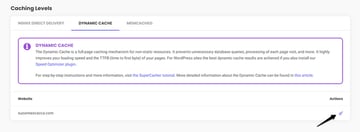
Check your site again. If the error persists, go to the next step.
3. Repair a Corrupted .htaccess File
If your website’s .htaccess file has been corrupted, it can cause the 500 error to show. To check if this is the culprit, you’ll need access to either the FTP or File Manager.
In SiteGround, you’ll find both under your Site settings.
Navigate to your website’s core. The folder is called public_html. Then right-click on the .htaccess file and rename it.
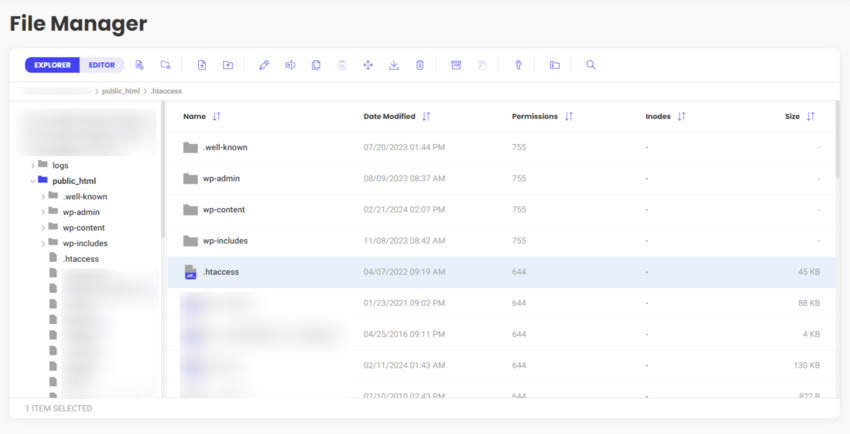

Check your website. If the error is gone, that means the file is corrupted.
Return to WordPress. Then go to Settings > Permalinks.

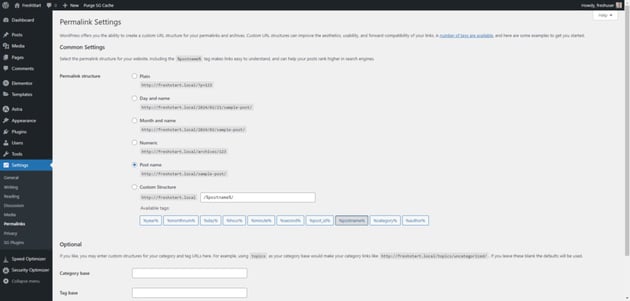
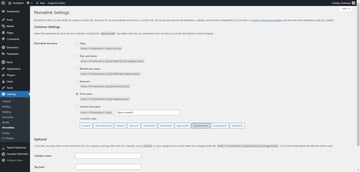
Change the permalinks to a different structure and save your changes. This will automatically reset the .htaccess file.
You can revert your permalinks settings back to what they were before.
4. Deactivate Your Theme
If you continue to see the 500 error, the next possible culprit is your WordPress theme. If it’s conflicting with a recent WordPress core update, one of your plugins, or your PHP version, it could be the source of the problem.
To find out if it is, you need to deactivate the theme.
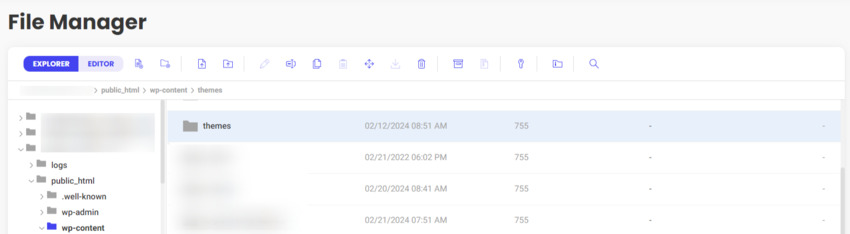
Without access to WordPress, you’ll need to do this from your FTP or File Manager.
Open the wp-content folder. Rename the themes folder to deactivate your current theme and replace it with the default WordPress theme.


If your website is working again, then your theme is the problem.
Since you can’t use the current version of the theme, you’ll need to download and install the previous version of the theme files and use them until the issue has been addressed by the developer.
If they are unable to do so or are unaware of what the problem might be, then find a new WordPress theme.
5. Deactivate Your Plugins
If your theme is okay, then it’s time to check your plugins.
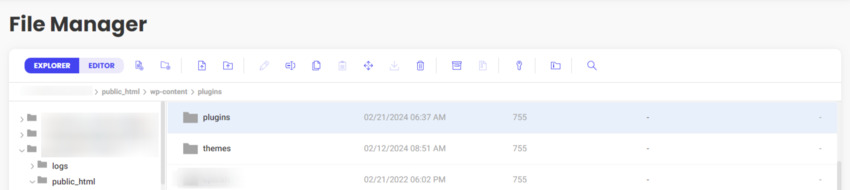
To quickly deactivate all of your plugins, go to wp-content in your FTP or File Manager. Then rename the plugins folder.

If access to your site is restored, then one or more of these plugins are at fault.
In order to determine which one, you’ll need to reinstall them one by one. Return to WordPress and go to the Plugins panel.
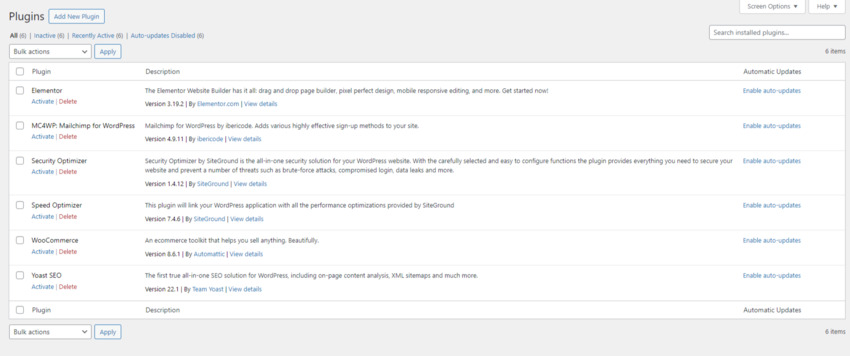
Activate one plugin at a time. If the error doesn’t reappear, then deactivate it and try the next one.
If the issue appears using this method, then the conflict is likely occurring between that plugin and your version of WordPress (since you already ruled out the theme). If this method doesn’t work, try reactivating the plugins in pairs to identify the incompatibility.
If you find the issue, report it to the plugin developer so that it can be fixed. You can either use the previous version of the plugin in the meantime or find a replacement plugin.
6. Increase the PHP Memory
When your PHP memory reaches its limit, the 500 error may appear. To increase the memory, you can modify one of the following files on the server:
- functions.php
- .htaccess
- wp-config.php
Let’s use the wp-config.php file for this example. Open up the file and locate the line that looks like this:
define( 'WP_MEMORY_LIMIT', '64M' );
The value at the end might be different on your end. Edit it so that it reads:
define( 'WP_MEMORY_LIMIT', '786M' );
Save the file and exit.
Check your site once more. If the error is gone, that means some process (like an oversized file upload or resource-intensive request) was exhausting the PHP memory for your site.
7. Update the PHP Version
Just as themes and plugins are compatible with certain versions of WordPress, the same is true for PHP.
For instance, if you take a look at any plugin or theme in the WordPress.org repository, you can see which version of PHP each works with.

If your plugins or theme require a certain version of PHP in order to run, then this could be the issue.
To see if your website is running on an older PHP version, go back to your hosting account. In Siteground, you’ll find it under Devs > PHP Manager.
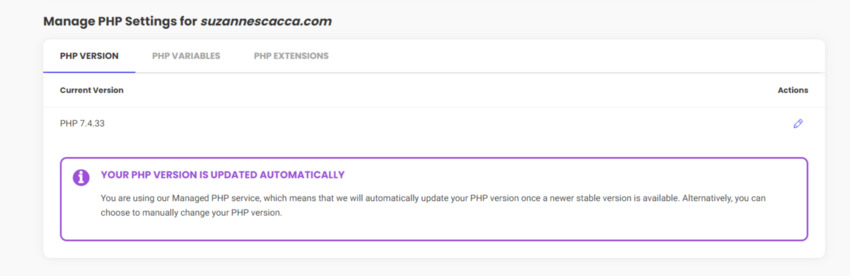
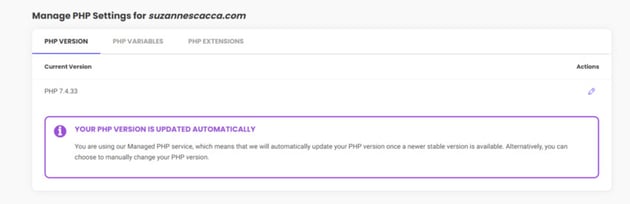

If the PHP version isn’t updated automatically, set it up from this panel so you won’t have to worry about this issue occurring again. You can also manually change the version. Before you make any changes, though, make a backup of your website.
Once the PHP has been updated, check your site for the error. If it still isn’t fixed, try the next step.
8. Enable Debugging
The 500 error page isn’t going to tell you much except that it’s an “internal server error”. However, with debugging enabled, you might be able to get more information.
To enable debugging, go to your wp-config.php file. In it is a line that reads:
// define('WP_DEBUG', false );
Change it to:
// define('WP_DEBUG', true);
Save your changes, return to WordPress, and reload the page. With debugging enabled, you might see a different error message, one with details on which file the error occurred in.
If nothing has changed or debugging gives you no clear insight into the issue, leave it enabled until you’re able to fully resolve the issue. Then go back to the wp-config.php file and change the value to false.
9. Roll Your Site Back to a Previous Version
Some 500 error guides will tell you to reinstall your WordPress core files. With this option, however, you’ll lose your data as well as all the themes and plugins you’ve installed.
The better option is to restore your site to a previous version. Even if you lose recently made content edits, you won’t lose all of your data.
There are a couple of ways you may be able to restore an older version of your site.
If you have access to WordPress, go to your backup plugin. Select the backup from the day you want to restore and retrieve it.


If you don’t have access to WordPress yet or that option doesn’t work, go into your web hosting account. In SiteGround, you’ll find Backups under the Security tab.
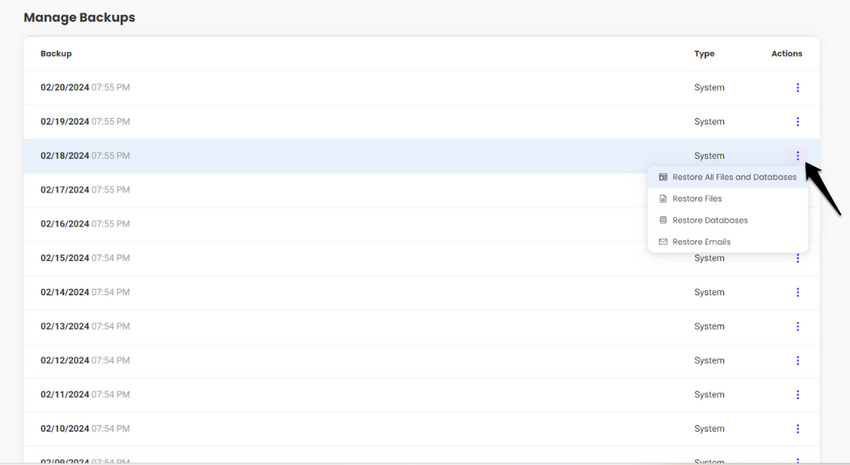
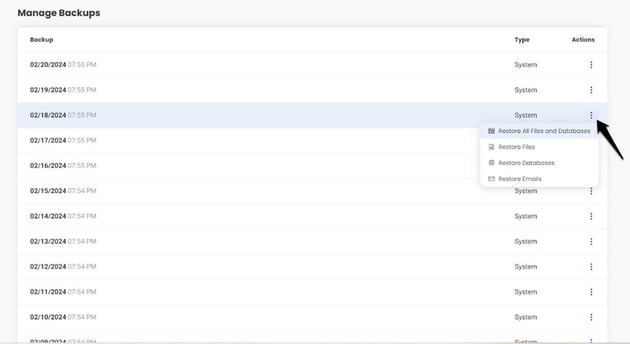
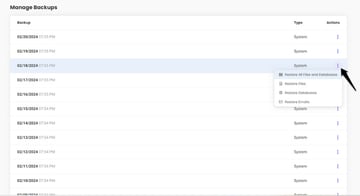
Open the options next to the backup you want to use. Then click Restore All Files and Databases.
Return to your WordPress site one more time. If the error is gone, then something that happened in the last few days caused the error.
So, before rushing to implement any WordPress, plugin, or theme updates going forward, make a backup of your website. Do the same if you’re making any major edits to your site or the server settings.
This way, if the 500 error reappears, you’ll have a reliable restore point to go back to. You’ll also know exactly what caused the issue and can address it with the source (like the plugin developer).
10. Contact Your Web Hosting Company for Support
If nothing has worked at this point, then it’s time to contact your web hosting provider.
Tech support can look behind the scenes to see what recently changed. They should also be able help you resolve the error without interfering too much with the operation of your website.
Final Thoughts
HTTP error codes like the 500 internal server error generally don’t tell us what’s wrong with our WordPress websites. However, we know what the most common causes are: incompatible plugins or themes, insufficient memory, corrupted files, and server issues.
This 10-step troubleshooting process will help you get this internal server error fixed in no time.
Are you experiencing a different issue with your WordPress website? Here are some other common WordPress and server errors you might encounter and how to fix them: