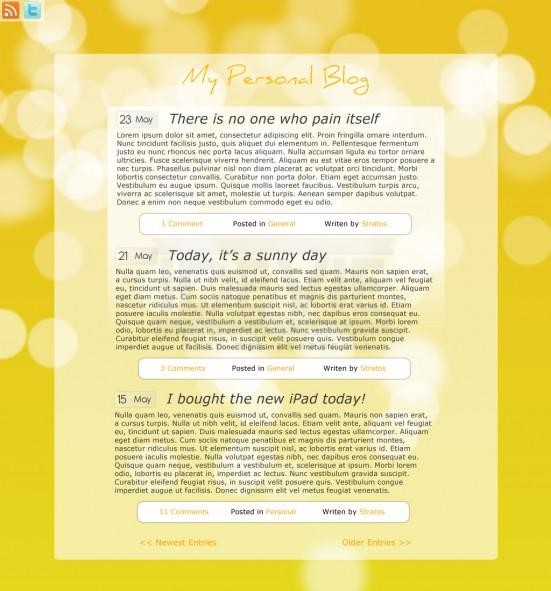
Final Result
Step 1: Create a new document
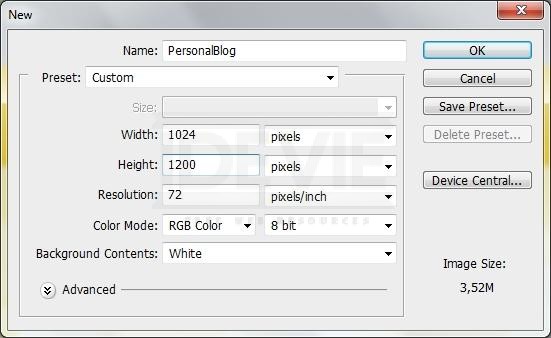
Start by creating a new document in Photoshop with 1024px width and 1200px height.
Step 2: Bokeh Background Image
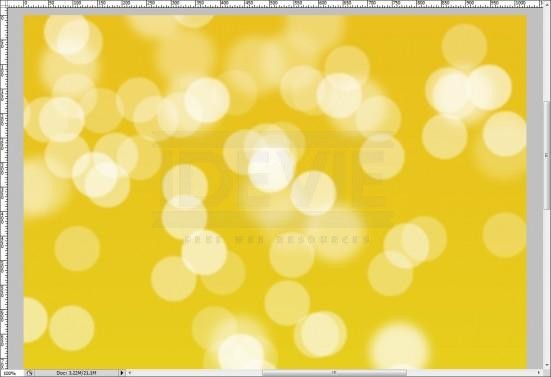
You can download this background image here or you can follow this tutorial to make your own.
Step 3: Drawing the layout
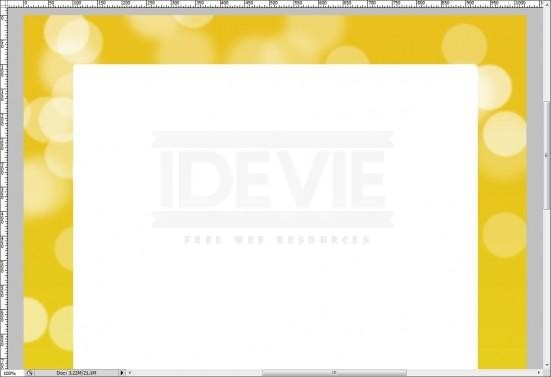
Grab the Rounded Rectangle Tool (Radius: 5px), draw a 825×940 shape in the middle of the document and reduce its Opacity to 60%.

Font used: Daniel)
Then, take the Horizontal Type Tool and write a title for your theme (like My Personal Blog).
Then, take the Horizontal Type Tool and write a title for your theme (like My Personal Blog).
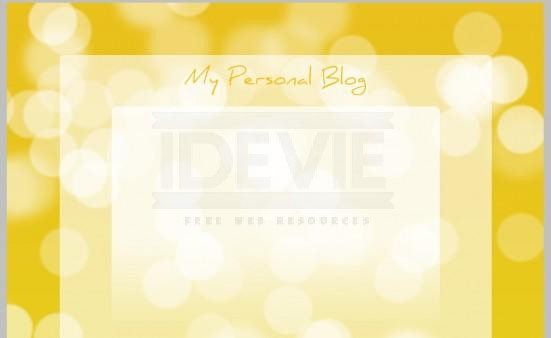
Grab the Rounded Rectangle Tool (Radius: 5px) again, draw a 626×418 shape in the middle of the bigger shape and reduce its Opacity to 75%. Add a Layer Mask, take the Gradient Tool, select the black/white combination and grab it from bottom to top.

Take again the Rounded Rectangle Tool (Radius: 5px) and draw a 81×39 shape on the left top corner. Then, set its Opacity to 50%.

Add some icons (like Rss Feed and Twitter) and set their Opacity to 80%.
Step 4: Drawing the content
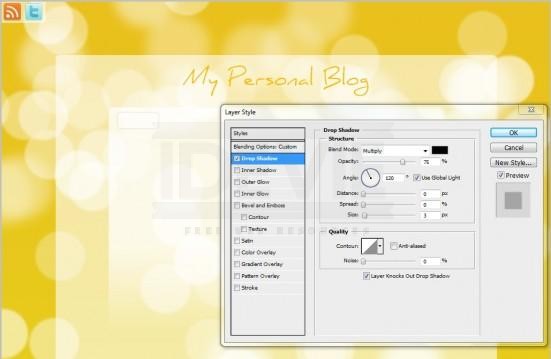
Let’s start from the date of the posts. Grab the Rounded Rectangle Tool (Radius: 5px), draw a76x29 shape and reduce its Opacity to 40%. Go to Layer > Layer Style > Drop Shadow… and use the above settings.

(Colors used: #ffffff – #d4d4d4)
Then, select Gradient Overlap and use these settings.
Then, select Gradient Overlap and use these settings.