Learn how to create your own realistic looking Product Mockup Box in Photoshop with this very easy tutorial
This image was made to help readers create their very own product mockup. To create this, we’ll start by making the boxes. Next, we’ll add some designs to the box. Finally, we’ll finish it up with shadows and highlights to make the work look more realistic. You’ll need Photoshop CS3 or newer to follow this tutorial.
Tutorial Resources
Step 1
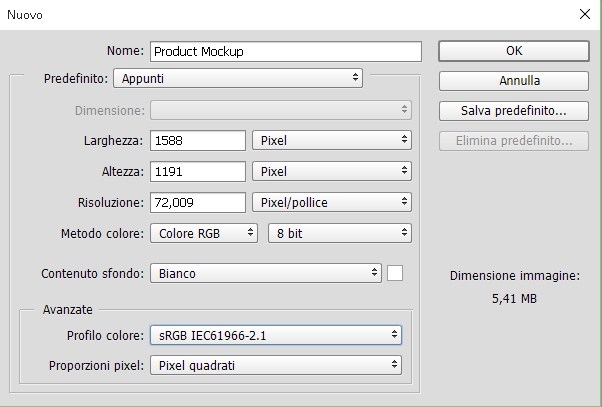
Let’s start by creating a canvas at 1588×1191 pixels big then proceed by changing the background color to #d2d3d5;
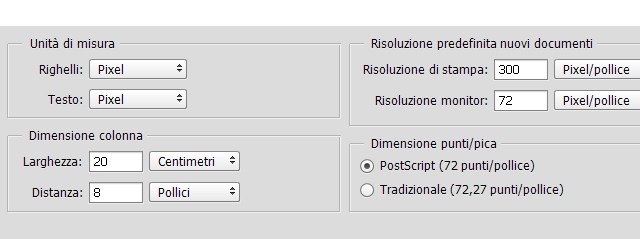
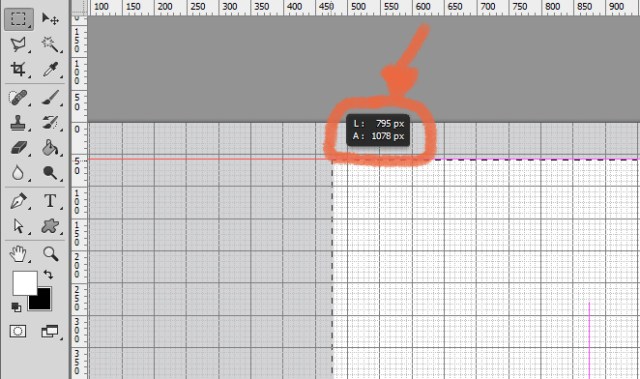
To make this graphic more neat-looking and not disorganized to work with, we need rulers and grids. You can access the rulers by going to View > Rulers (or press Ctrl + R) as for the grids go to View > Show > Grids ( or press Ctrl + , ). Here is my settings for the grids, be sure to change yours the same as mine so that the following steps won’t be confusing.
Step 2
Create a New Group and rename it ‘Right Side’. Create a New Layer and name that as ‘Right Side’ as well. Using the Rectangular Marquee Tool, make a selection that is 795×1078 pixels big. Once you’ve done that fill the selection with a random color. I just filled it with white (#FFFFFF).
Then proceed by making it a smart object, you can do so by right-clicking the layer then selecting ‘Make A Smart Object’. Doing so would let us change everything we want we this layer without actually ‘ruining’ it.
Step 3
Create another Group but this time name it ‘Left Side’. Create a New Layer and name that as ‘Left Side’ as well. Just like what we did before, we need to make a selection and then follow up by filling it with a random color. This time, make a selection that is 483×1078 pixels big. Then just like what we did in the previous step, transform the layer into a smart object.
Step 4
Before actually doing the design part, let’s adjust the layers and transform them into a 3d realistic box. And we’ll start with the Right Side of the box. Select that layer and then press Ctrl + T we need to transform it and we’ll start by actually shrinking it (shrink it by 75%) a bit until it’s only 814~ tall. Be sure that you don’t forget to click on the chain icon when shrinking it. Then Go to Edit > Transform > Perspective and transform it like so: (basically you just want to touch the right side….)
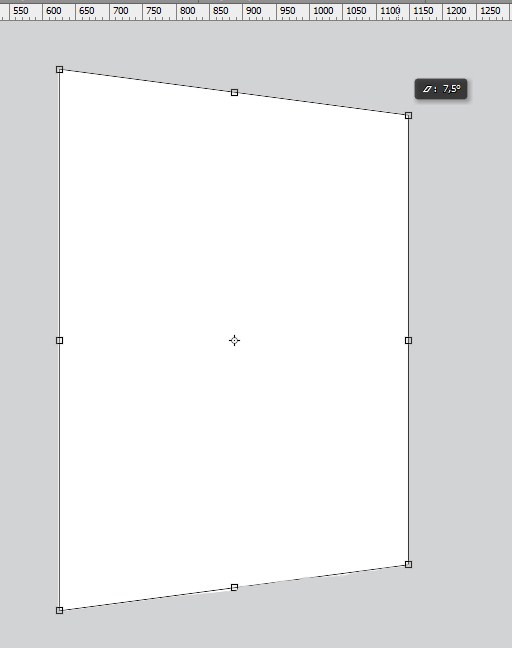
Then Press Ctrl + T, hold the Ctrl key and you want to shrink the right side just a bit to make it look more like a rectangle rather than a fat square.

Step 5
As for the left side of the box we will be doing another thing. First just like what we did before, you want to shrink it by 75%. With this section of the box, you just want to use hold the Ctrl key and transform it until you come up with what looks like a 3d box… make sure that the height of the distorted sides are parallel to the distorted part of the right section, don’t forget to shrink the left section of the box. You’ll have something like this in the end…

Step 6
Now that that’s done, we can finally start doing the design part. We’ll start with the right section of the box so with that being said, select that layer and double-click the smart object to open it. In this part, you can either create your own design or follow whatI’m doing.
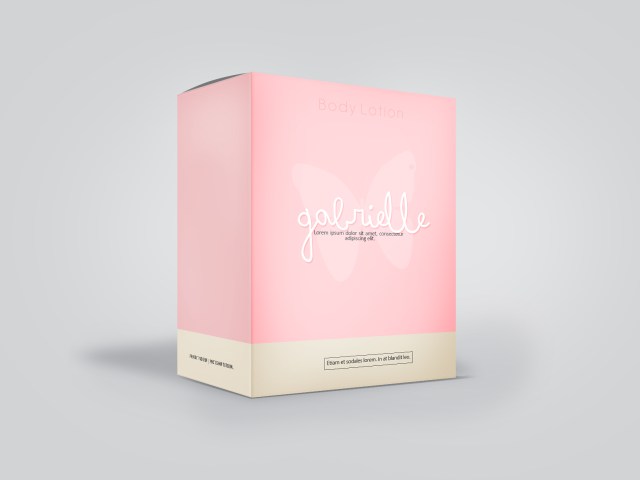
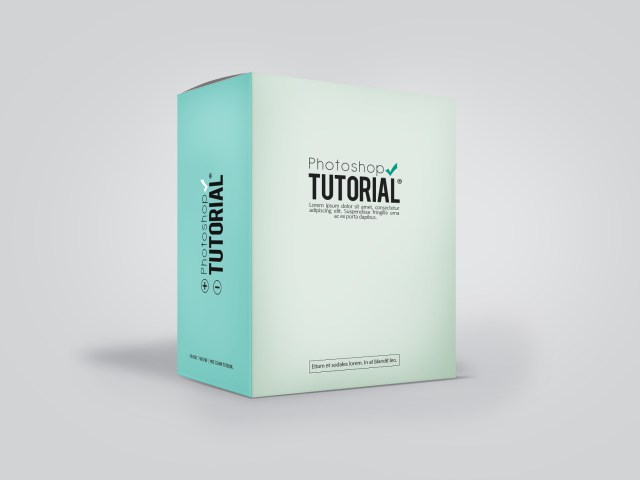
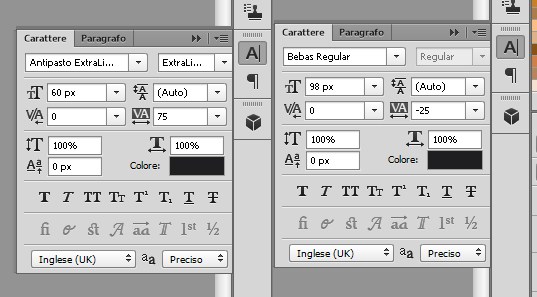
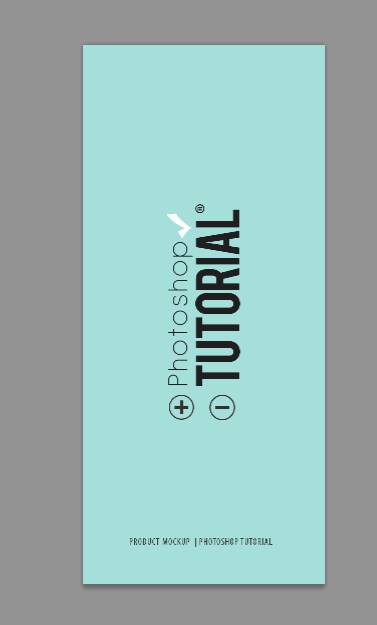
For the design I did, I used a sky blue color scheme for the box. So if you want to follow the design I did, start by changing the background color to #e1ebe4; mine is actually just a simple one. After the background let’s proceed by doing the title (placed on the top-center of the design..). I used the following fonts for the title (I used the color #1f1f20;) :
To add more detail, I added a check (#009a81;) and a registered symbol using the Custom Shape Tool.
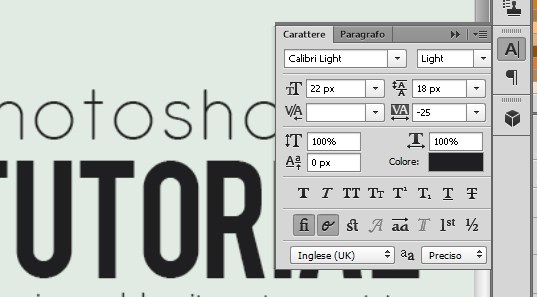
Then to proceed I added a random text under the title using the Paragraph Tool (this can be accessed by selecting and dragging randomly with the Text Tool). I used the following settings for it:
I ended by adding another text on the bottom center then had a box highlight it using the shape tool.
Step 7
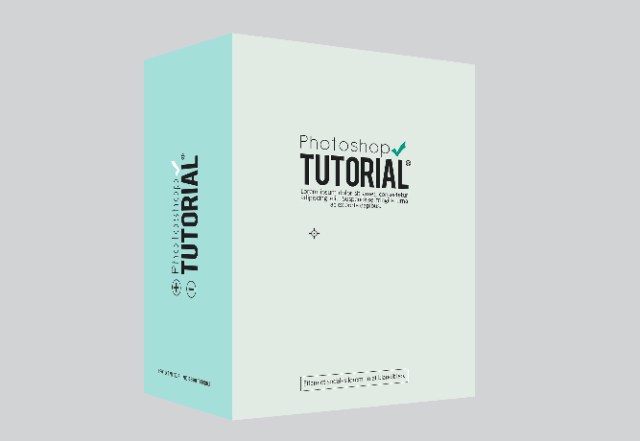
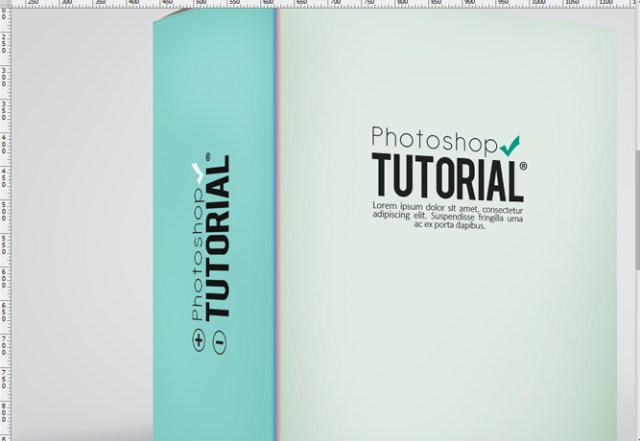
Once you’ve done your design save it and as soon as you save it you’ll see that the design you just made will show up on our original canvas. Now let’s proceed with the left section… so just like before, select the left section and double-click the smart object icon to open it and then create your design for that section. For those who decided to follow the design I did, change the background color to #a5dfda; then just copy and place the title we did on the right section of the box but tilt the text. Change the color of the check symbol to white and add more symbols (all the symbols I used can be found on the Custom Shape Tool).
Then just like before, add random text on the bottom part of the design.
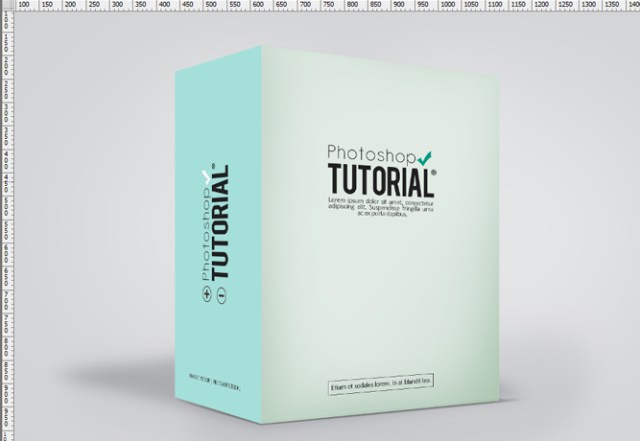
Once you’re happy with your design, save it. Here is what it looks like right now:
Step 8
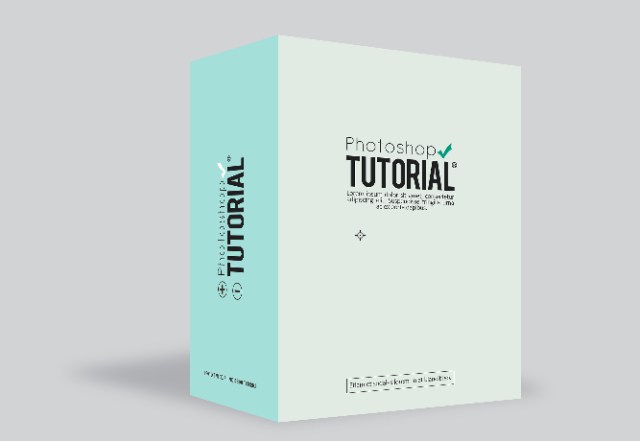
Now that we are done with our design, we’ll proceed by adding shadows to make it look more realistic. Let’s start by creating a new group and this time name it ‘Shadows’. Create a new layer and name it ‘Back’. Proceed by making a selection that is as big as our box and then fill it with black. Once you’ve done that proceed by distorting it by holding the Ctrl key and make it distorted as shown below. Once you’re done gaussian blur the layer then change the blend mode to soft light.
Step 9
Create a New Layer and name it ‘Bottom’. Change your foreground color to #000000; and using the brush tool (brush at a relatively big size, hardness at 0%) brush randomly at the bottom part of the box then change the blend mode to soft light and the layer’s opacity to 85%
Step 10
Create a new layer and this time name it ‘Light’. Change your background color to #ffffff; make your brush size bigger and brush three times at the center of the box. Change the blend mode to soft light.

Step 11
Create a new layer and name it ‘Bottom 2’. Then select the brush tool and change it like so.
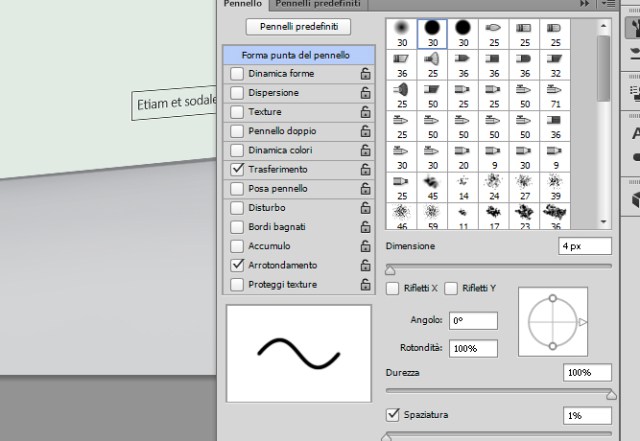
Select the Pen Tool and make a path around the bottom part of the box and then right-click> stroke path and make sure that the box that says Stimulate Preassure is ticked. Follow by changing the opacity and fill respectively to 50% and 55%

Step 12
Open the ‘Right SIde’ Group, create two new layers and name them ‘Shadows’ and ‘Shadows 2′ and make sure that they are both clipped to the design layer. Use a soft brush with the hardness at 0%. Set both layers’ blend mode to soft light. With the first ‘shadow’ layer, make a big U shape around the box. With the second one, use the same brush but with a lighter opacity and brush around the text part of the design to give it more depth and emphasis.
Step 13
Create two new layers and name them ‘details:shadows’ and ‘details:highlights’. In this step you just want to repeat step 11. Use #ffffff; for the highlights and #000000; for the shadows. Make a path just above and below the box
Step 14
Repeat the last two steps with the left section of the box
Step 15
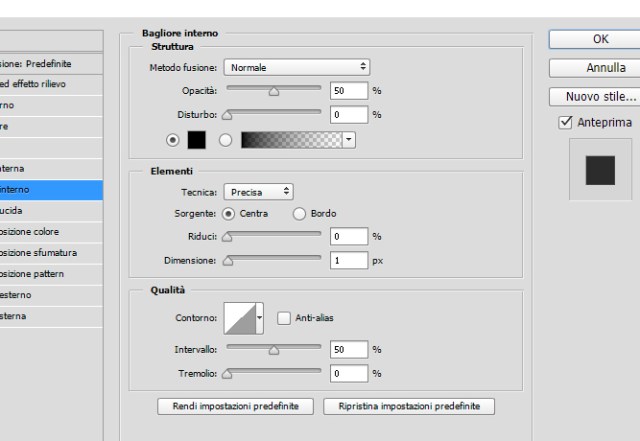
Create a new group and name it ‘Details’. Follow by creating a new layer and naming it ‘Left Flap’. Using the Pen Tool, you want to create a triangle -like shape but with a really flat center. Then right-click and fill it with #767676; Next you want to add an Inner Shadow to it…
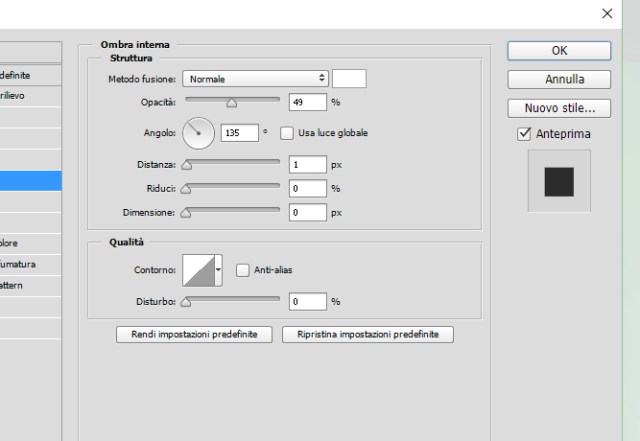
Then some Inner Glow..
Step 16
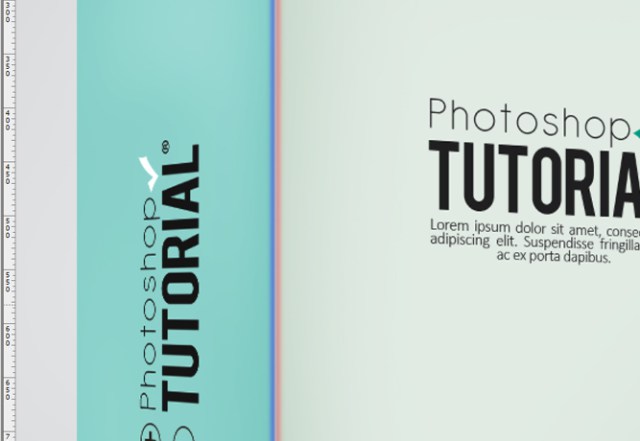
Create a New layer and name it ‘Shadow’. You want to re-do step 11 but with a slightly bigger brush size (size 4-6px), create a line next to the side that divides the left and right section of the box(place it more to the right side). then blur it with gaussian blur and change the blend mode to soft light (it is indicated as a red line below)
Step 17
Repeat the previous step but this time name the layer ‘highlights’ and use #ffffff; as your color and place it more to the left side like so (it is the blue line)
Step 18
Create another layer and name it ‘line’ and using the line tool create a line (atleast 2-3px big) on the side that divides the left and right section at #000000; change it’s blend mode to soft light. (it is indicated as the white line)
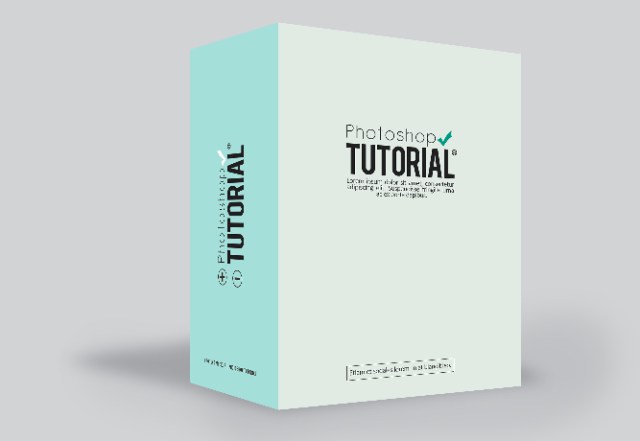
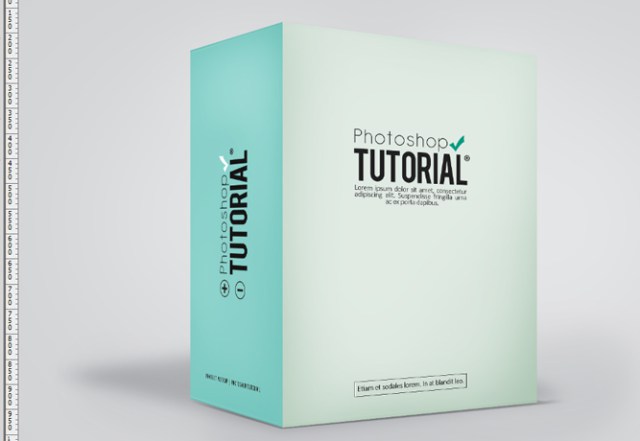
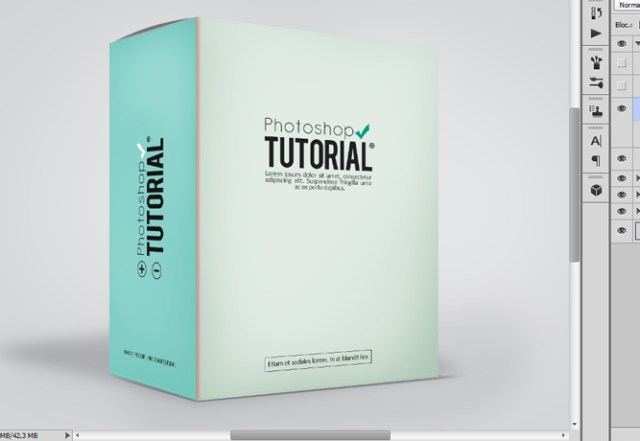
Final Results