In this tutorial, we’ll not only create a polaroid effect Photoshop template using photo filters and shapes, but we’ll also create animated photo effects with standard Photoshop tools.
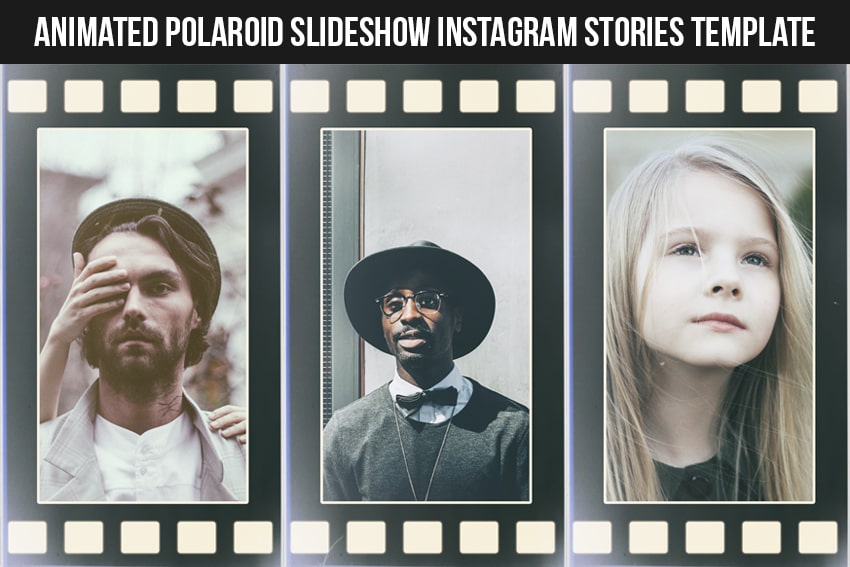
I created Animated Polaroid Slideshow Instagram Stories Template using the same methods for my GraphicRiver portfolio.

Tutorial Assets
The following assets were used during the production of this tutorial:
1. How to Prepare the Document
Step 1
Use Control-N to create a new document and use the following settings:

Step 2
Go to File > Place and put the first image inside the document.
Step 3
Resize your image to the borders of the document and click Enter.
Step 4
After that, place the second image as we did before.
Step 5
Click M to activate the Rectangular Marquee Tool and select the whole canvas of the document.
Step 6
Select both layers and then go to Image > Crop to delete the parts of the photo outside the canvas.
Step 7
Right-Click on the first layer and then click Convert to Smart Object.
Step 8
After that, convert the second image into a smart object, as we did before.
Step 9
Rename the layers to “Placeholder 01” and “Placeholder 02”.
Step 10
Create duplicates of your smart objects using Right-Click > Duplicate.
Step 11
Make the placeholders Invisible.
Step 12
Move the placeholders to the top of the Layers panel.
Step 13
Now we need to resize the photos. Select the “Photo 01” layer and then hit Control-T and change the Width and Height to 85%.

Step 14
Resize the second layer as we just did before.
Step 15
Select the background layer and then hit Shift-F5 and use the following settings:
- Contents: Color
-
Color:
#141414
Step 16
Double-Click on the first photo layer and select the Stroke parameter. Use the following settings:
- Size: 10 px
- Position: Outside
-
Color:
#fef3d5
Step 17
Add the same stroke parameter to the second image in the Layer Style panel.
2. How to Create the Polaroid Stripes
Step 1
Now let’s create the first element of our stripe. Hit U to create Rectangle Shape and use the following settings:
Step 2
Select the shape and move it 20 px down and 15 px to the right from the top-left corner.
Step 3
Create a duplicate of the shape and move it 200 px to the right while holding Shift.
Step 4
Now we need to create 18 more duplicates of the shapes and place them the same distance from each other.
Step 5
Select all the shapes while holding Shift in the Layers panel and then Right Click > Merge Shapes.
Step 6
After that, create a duplicate of your new shape and move it 1800 px down while holding Shift.
Step 7
Now we need to merge our new shape into one, as we did before, and then Double Click on the layer and select the Color Overlay parameter. Use the following settings:
- Blend Mode:
-
Normal Color:
#fef1cf
Step 8
Go to Outer Glow and choose the following settings:
- Blend mode: Screen
- Opacity: 100%
-
Color:
#fef1cf - Spread: 10%
- Size: 10 px
3. How to Create a Vintage Photo Photoshop Effect
Step 1
To create a vintage photo effect, let’s add color correction to our document using the curves image filter. Go to Layer > New Adjustment Layer > Curves.
Step 2
Create a duplicate of the curves layer.
Step 3
Double click on the first curves layer icon in the Layers panel and use the following settings:
Step 4
After that, choose the following settings for the second curves layer:
Step 5
Change the Opacity of the first curves layer to 25%.
Step 6
Change the Opacity of the second curves layer to 50%.
This is how our image will look after adding all the Photoshop effects listed above:
4. How to Create an Animated Polaroid Effect in Photoshop
Step 1
Select the first two photos and move them 1010 px to the right while holding Shift, so that they go outside the canvas of the document.
Step 2
Go to Window > Timeline and click on Create Video Timeline.
Step 3
Now you need to create the first keyframe. Select the first photo and then click on the Keyframe icon near Transform to create the first Keyframe.
Step 4
Move the Time Indicator to 0:00:01:00 and then move the photo 1010 px to the left while holding Shift.
Step 5
Move the Time Indicator to 0:00:02:00 and hit the Keyframe icon to create another keyframe.
Step 6
Move the Time Indicator to 0:00:03:00 and then move the photo 1010 px to the left while holding Shift.
Step 7
Select the second photo, and then move the Time Indicator to 0:00:02:00 and hit the Keyframe icon to create the first keyframe for our second image.
Step 8
Move the Time Indicator to 0:00:03:00 and then move the second photo 1010 px to the left while holding Shift.
Step 9
Move the Time Indicator to 0:00:04:00 and hit the Keyframe icon to create the first keyframe for our second image.
Step 10
Move the Time Indicator to 0:00:05:00, and then move the second photo 1010 px to the left while holding Shift.
Step 11
Now let’s create the animation for our shapes. Select the shape layer and then Right-Click > Convert to Smart Object.
Step 12
Hit Control-T and change the Width to 94.45%.
Step 13
Select the shape layer and move the Time Indicator to 0:00:01:00. Then click on the Keyframe icon.

Step 14
Move the Time Indicator to 0:00:01:00 and then move the shape 755 px to the left while holding Shift.
Step 15
Move the Time Indicator to 0:00:02:00 and hit the Keyframe icon.
Step 16
Move the Time Indicator to 0:00:03:00 and then move the shape 755 px to the left while holding Shift.
Step 17
Move the Time Indicator to 0:00:04:00 and click on the Keyframe icon.
Step 18
Move the Time Indicator to 0:00:05:00 and then move the shape 755 px to the left while holding Shift.
Step 19
Our animation is almost ready, so now let’s create a fade in/fade out effect to make it look smoother. Create a new layer using Shift-Control-N and then Fill it with any color.
Step 20
Change the Fill option of the layer to 0%.
Step 21
Go to the timeline panel and hit the Transitions button. After that, drag and drop the Fade With Black transition to the start and end of the layer.
Step 22
Right-Click on the transitions and change the duration to 0.5.
5. How to Render the Animation for Instagram
Step 1
To save your animation for Instagram, you need to click on the icon in the upper right corner and select Render Video.
Step 2
Set the following settings in the Render Video panel:
- Format: H.264
- Size: Document Size
- Range: All Frames
6. How to Replace the Image Used in the Template
Step 1
If you want to change the images used for your animation, Right Click on one of the “Placeholder” layers that we created first, and choose Edit Contents.
Step 2
Place your new image above the old one, press Alt-F4 to close the placeholder, and then select Save.
Awesome Work, You’re Now Done!
In this way, we can create an animated polaroid effect in Photoshop using smart objects, shapes, and image filters.
I hope you’ve enjoyed this tutorial, and feel free to contact me for any help with the tutorial. You can also check my Animated Polaroid Slideshow Instagram Stories Template with a similar effect and an awesome vintage video overlay in my portfolio on GraphicRiver.