
In this tutorial, I will show you the process used to Create Fiery Dragon Ravaging Mountain Village Scene in Photoshop. We will use a photo of a metal dragon display in a museum and make it alive and breath fire. We will also create a mountain village scene from several stock images. Have a try!
Note: The Photoshop tutorial is done in Photoshop CC – therefore some screenshot may have slighting different layout as in the earlier version. Some brushes are exclusive to Photoshop CS6.
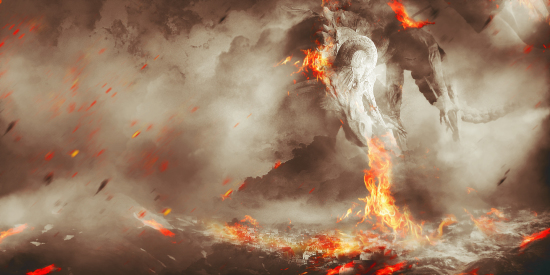
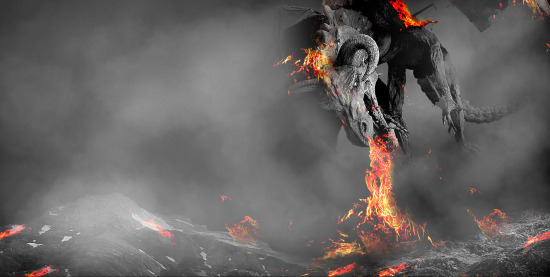
Here is a preview of the final effect I have for this tutorial: (click to enlarge)
OK Let’s get started!
To complete this tutorial, you will need the following stocks:
Step 1
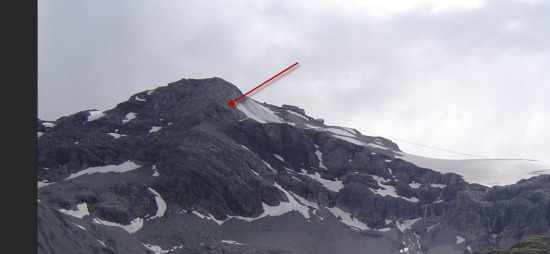
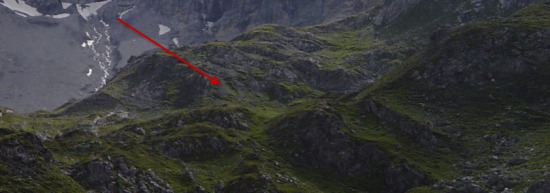
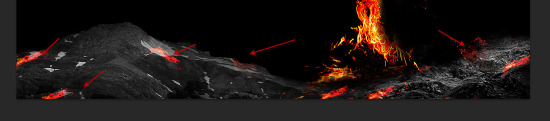
Create a new document sized 1440px * 720px with black background. Load the mountain stock image into Photoshop and select the top left side of the mountain indicated below:
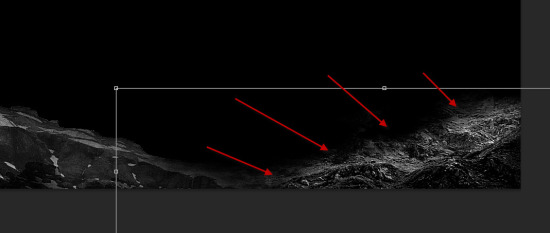
Copy and paste the selection to our document. Adjust its layer size with the free transform tool to fit the size of our canvas, then use a soft eraser to fade the edges as shown below:
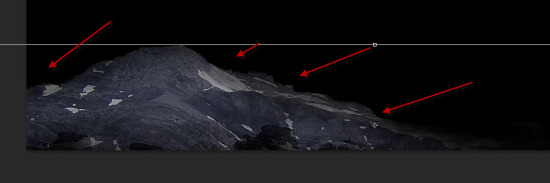
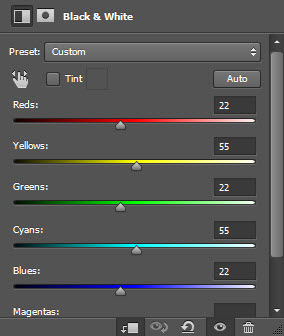
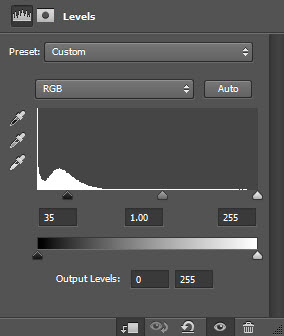
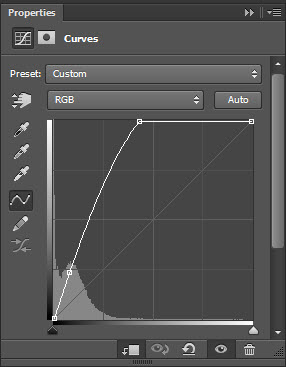
Apply the following adjustment layers as clipping masks to this mountain layer:
Black and White
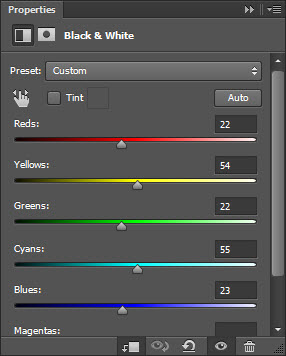
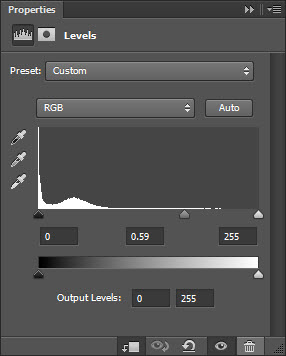
Levels
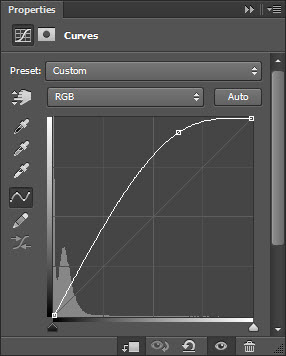
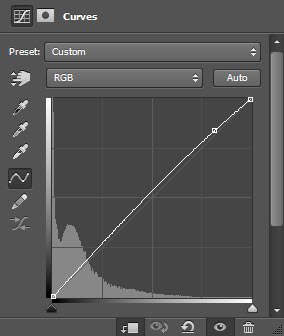
Curves
and here is the effect so far:

Step 2
We will add another piece of the mountain stock onto our canvas. Select this piece shown below from the right side of the mountain stock image:
Copy and paste the selection to our document. Place the layer on the right and reduce its size. Then use a soft eraser to fade the top edges:
Add the following adjustment layer as clipping masks for this new mountain layer:
Black and white
Levels
Curves
and here is the effect so far:

Step 3
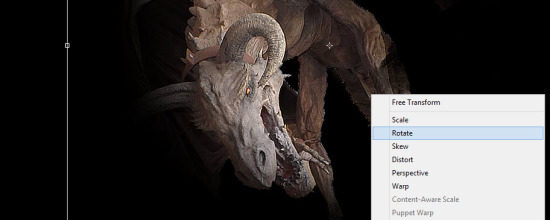
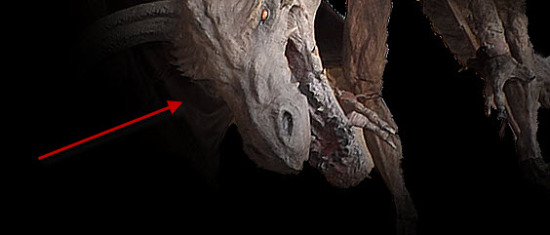
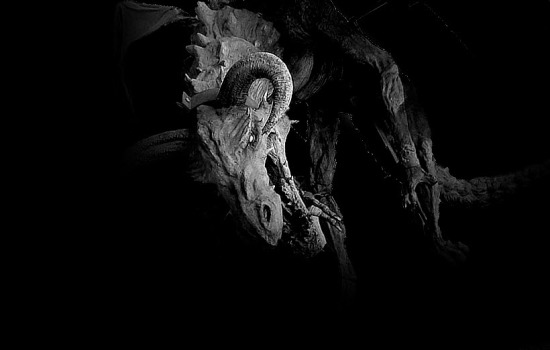
We will start working on the dragon in this step. Load the dragon stock image into Photoshop and select the dragon:

Copy and paste the selection to our document. Reduce its layer size and rotate it a bit counter clockwise. This will make the dragon look like it’s descending from the sky:
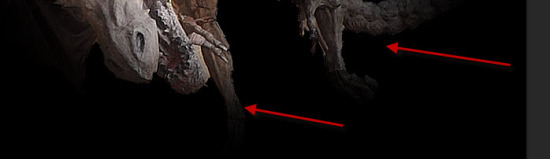
Use a big soft eraser to fade the head of the dragon, and its claws:
Add the following adjustment layers as clipping masks to this dragon layer:
Black and White
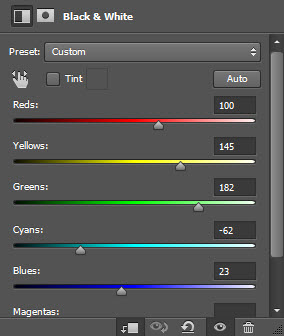
Levels
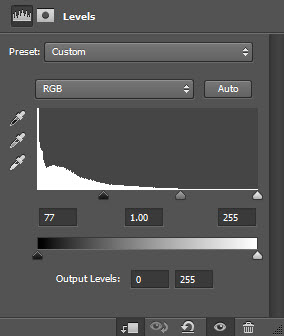
Curves
and here is the effect so far:
Step 4
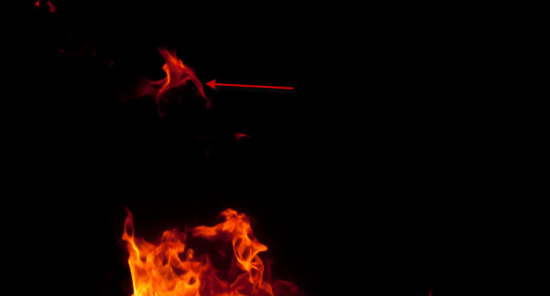
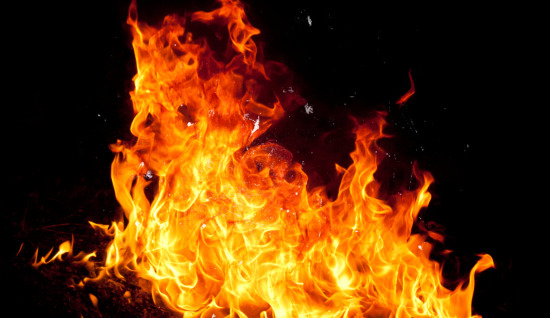
We will add fire to the dragon in this step. Load the fire stock image into Photoshop and select the fire:
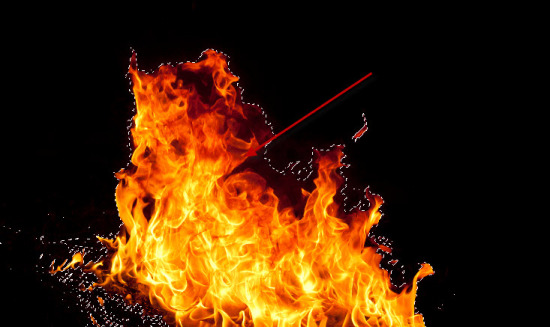
Copy and paste the selection to our document and reduce its size. Use the Warp Tool to compress it a bit and fit it to the dragon’s mouth:
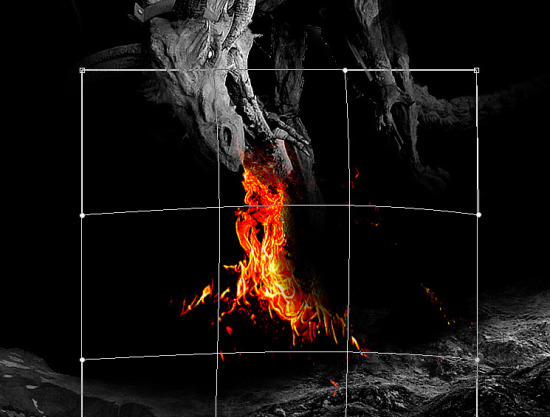
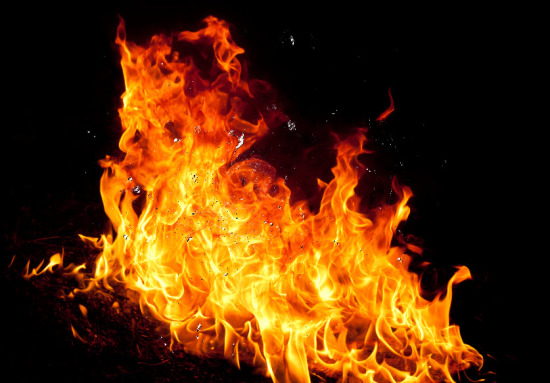
Select some smaller fire particles from the fire stock image:
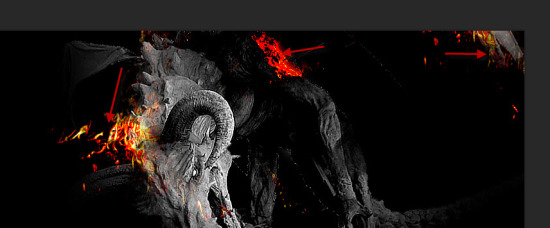
Copy and paste the selection to our document, set its layer blending mode to “Color Dodge”:
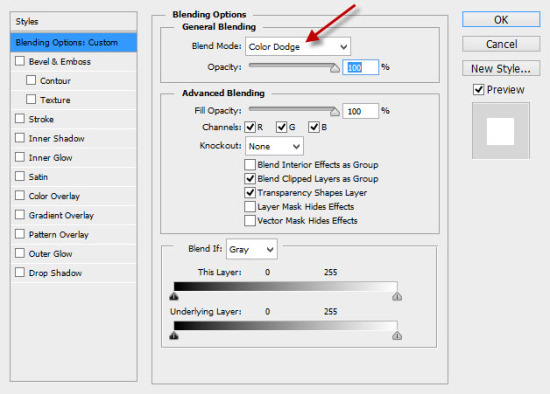
Duplicate this small fire layer a few times and scatter them around the canvas, make sure you adjust the size of each duplicated layer to ensure variety:
Step 5
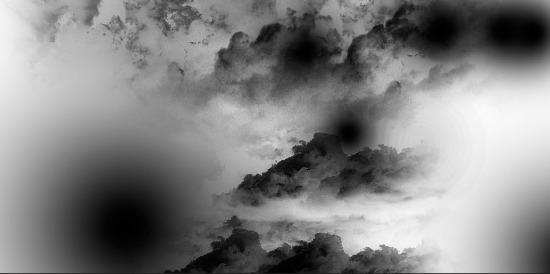
Use a combination of cloud brush and cloud filter, add some cloud overlay for our image: (Make sure you set the opacity and flow of the brush to around 40%, so you don’t over-paint the canvas)
Paint some cloud around the dragon as well:

Step 6
We will add some flying fire particles around the canvas to make our design more epic. Go back to the fire stock image, create a new layer and use a particle brush to paint on the new layer:
Select this newly painted particle layer:
Go back to the background layer, and Ctrl + C to copy the selection:
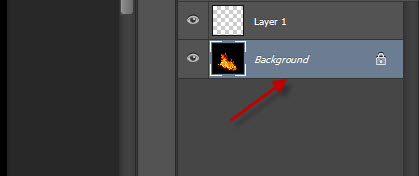
Paste the selection to our document, then apply the following motion blur filter:
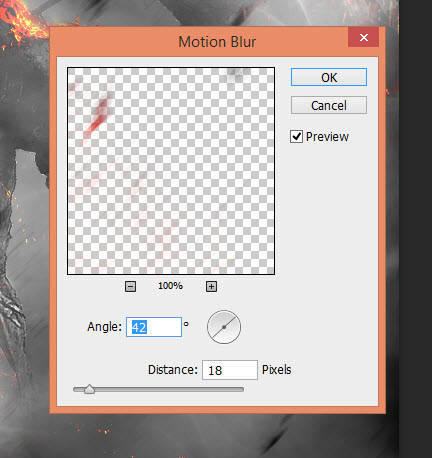
and you will have some flying particle effect like this:

Step 7
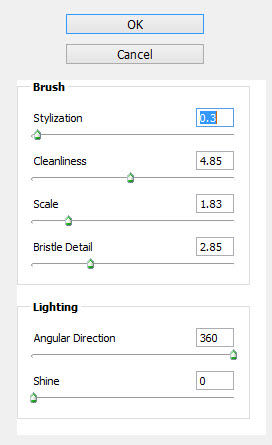
We’re almost done! For final touches, we can flatten the image, duplicate the background layer, and use apply the following Oil Paint (Photoshop CS6 or above) filter:
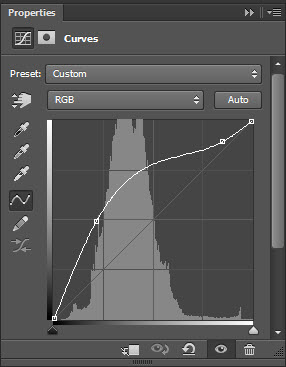
Add the following adjustment layer on top to fine-tune its colour and contrast:
Curves
Layer mask on the curves adjustment layer:
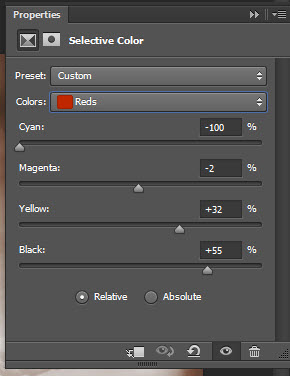
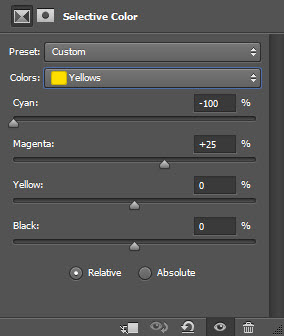
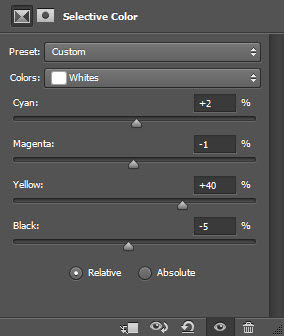
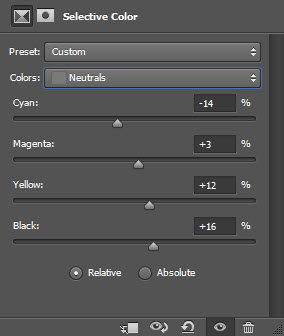
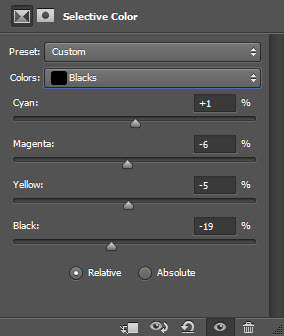
Selective Color
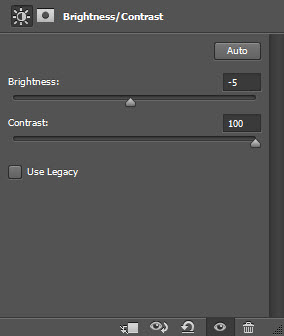
Brightness and Contrast
and here is my final effect: (click to enlarge)

That’s it for this tutorial! Hope you enjoy it and find it useful. Till next time, have a great day!