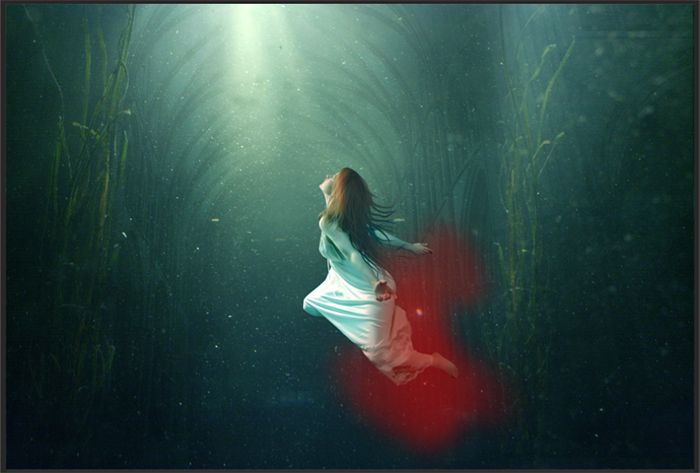

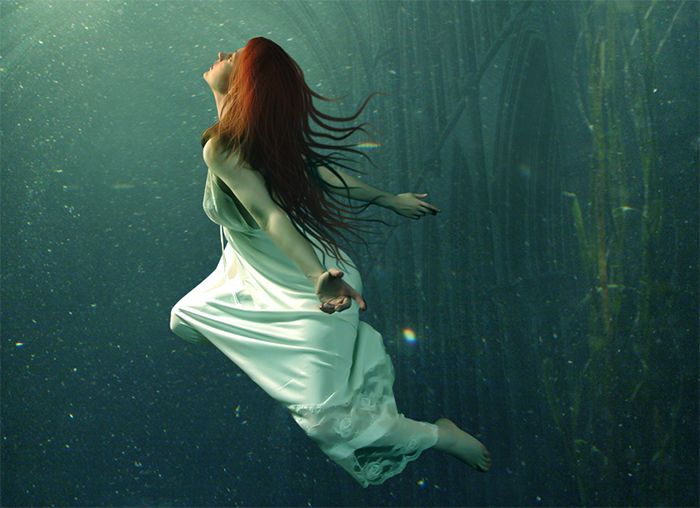
Learn how to emotional photo manipulation of an underwater dreamscape with Photoshop. In this tutorial, you’ll learn how to create a fantasy underwater scene, place a girl in the dreamscape, then complete it with some bubbles. Throughout the tutorial, you’ll learn techniques that will help you create better matte paintings and photo manipulations.
What you’ll be creating
On this tutorial we will create an emotional scene of a girl in an emotional underwater dreamscape. We will use some essential techniques in doing photo manipulation. We will use masking, brush tool, some filter, color adjustments and textures all through the steps in this tutorial. Use Adobe Photoshop CC to fully follow this tutorial. Some filter used in this tutorial will not be available in photoshop CS. Don’t forget a glass of coffee and optionally a pack of cigarette for your companion. Ready..?
Tutorial Resources
Step 1
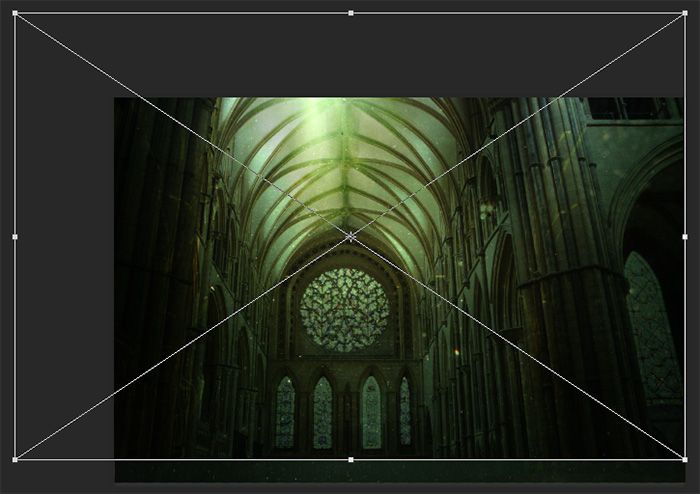
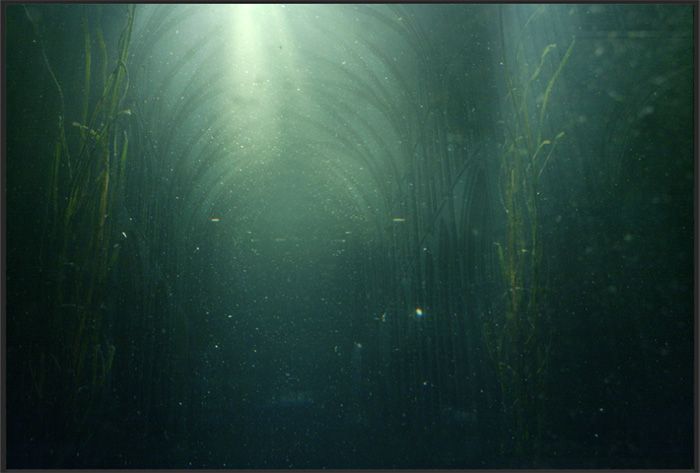
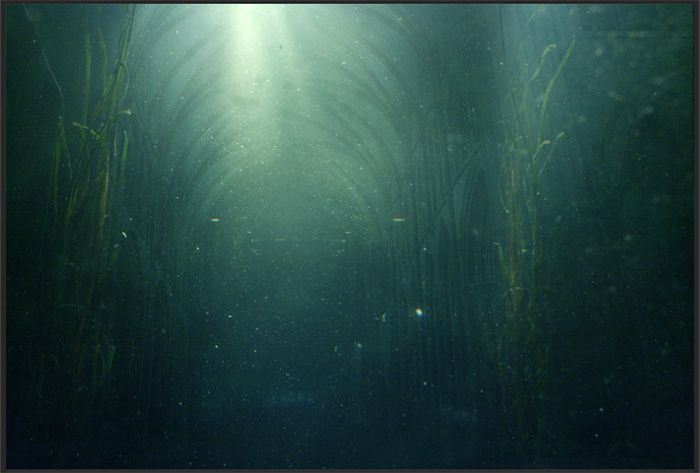
Let’s start by creating a document by opening the underwater image in photoshop (Ctrl+O). This image will be background layer in the document on which we will create the scene.

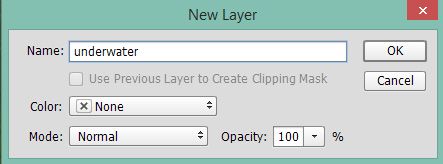
Change this background layer into a new layer by double clicking the background thumbnail to show the new layer pop up window. Name this layer, say, underwater.
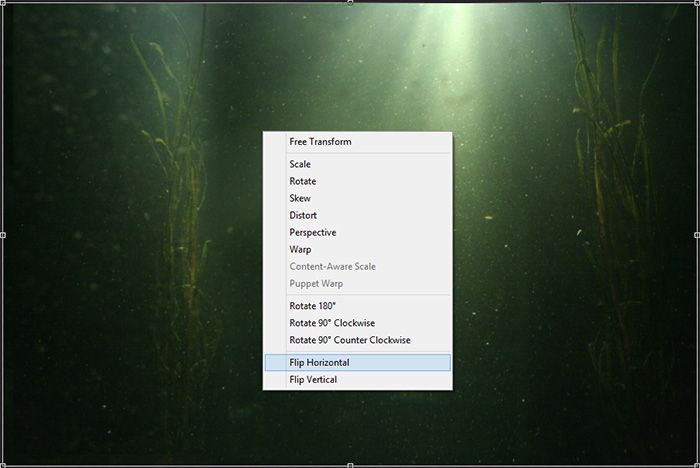
We need to alter the direction of the image by positioning the light rays on the left side. To do this, hit Ctrl+T to activate the free transform tool. Right click on the image to show free transform option box. Choose flip horizontal.
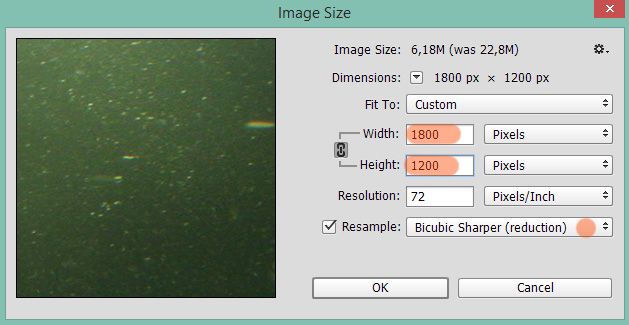
Finally, go to image > image size. Alter its size to 1800 pixels wide and 1200 pixels high.
Step 2
Add the cathedral image into the document by hold-clicking and dragging the image from the folder in our PC where we have saved it to the open document in photoshop.
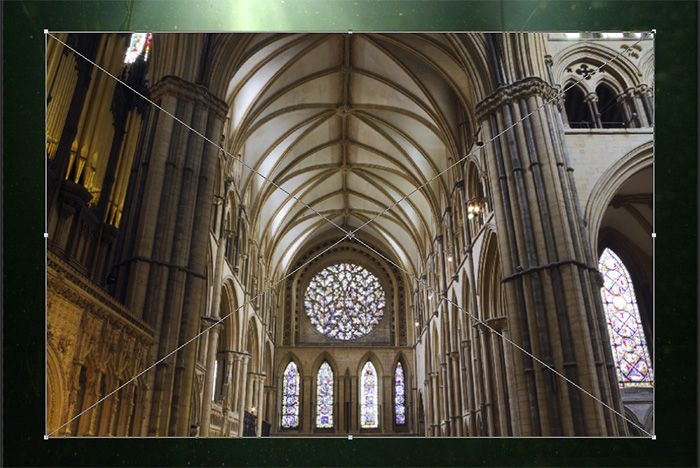
Change this cathedral layer to overlay blending mode. Scale its size to the size needed and move it to the position where the ceiling is on the light rays.
Finally, set the opacity of this layer to about 20%.
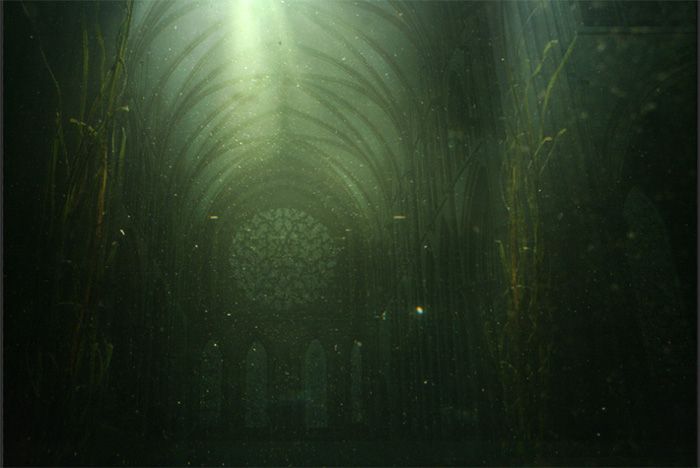
We need to hide some parts of the cathedral image. We will give this layer a layer mask. Go to layer > layer mask > reveal all to give it a layer mask. Take brush tool (B) and choose a very soft round brush (0% hardness) set to about 15-20% opacity. With black color, stroke the brush on areas around the window, lower parts and left side of the building, and the ceiling a bit as well to mask them. The red highlighted parts are area covered with mask.
Here is the result after being masked:
Step 3
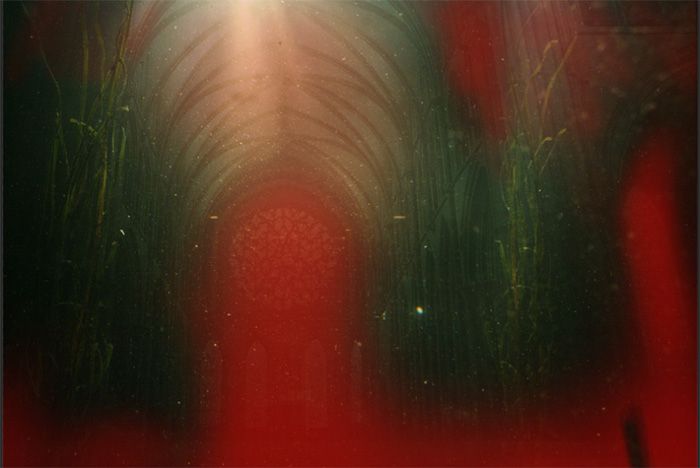
Now we will alter the color of the underwater by giving it a bit blue tone. Create a new layer above the cathedral layer (Shift+Ctrl+N). Name this new layer, say, gradient. Set the foreground layer to #abd9f1 and background color to #3d87cb. Activate gradient tool (G) and choose foreground to background linier gradient. On this new layer, hold-click and drag the tool from the middle top point downward to the bottom to create gradient.
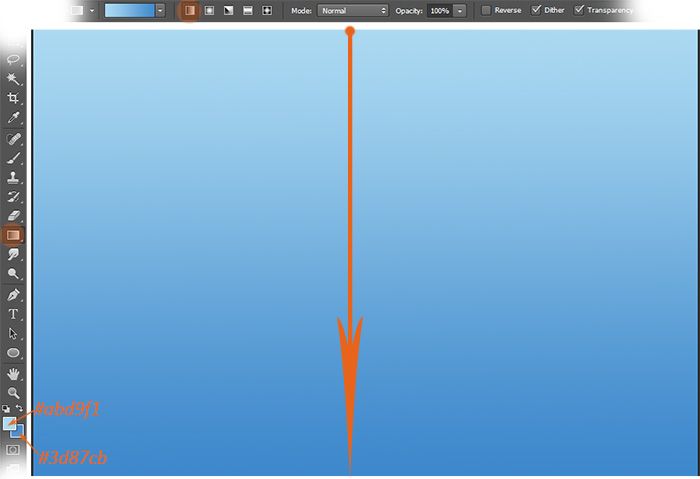
Set this gradient layer to soft light blending at 75% opacity.
Step 4
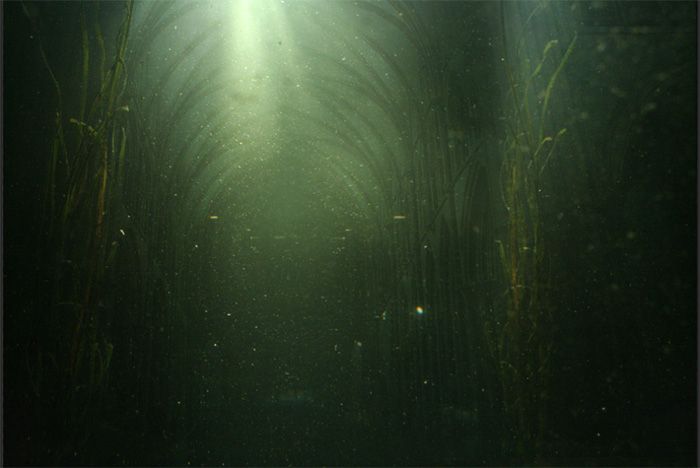
Next we will add water texture to the scene. Create a new layer above the gradient layer. Name this layer, say, texture. Set the foreground color to blue #155ea5 and background color to #a0d2ec. Go to filter > render > cloud to fill this layer with cloud.
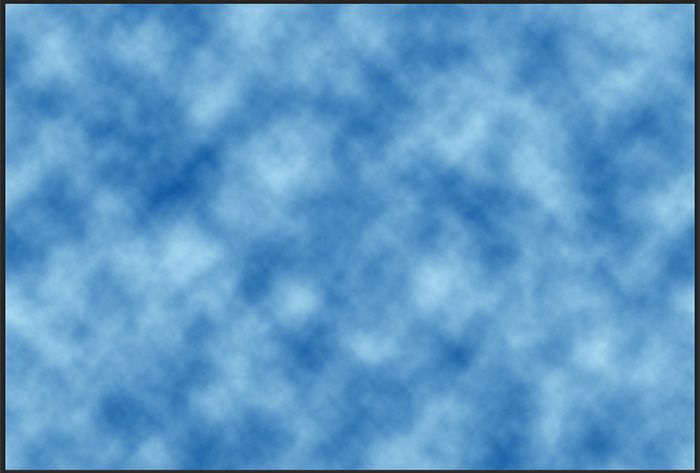
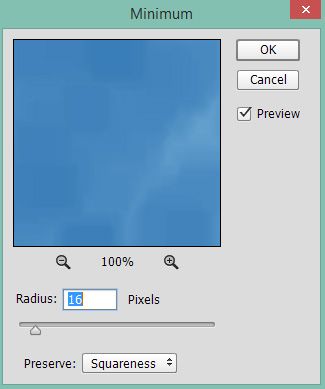
Go again to filter > other > minimum to give this layer minimum filter.
Set this layer to soft light blending at low opacity 0f 20%.
Step 5
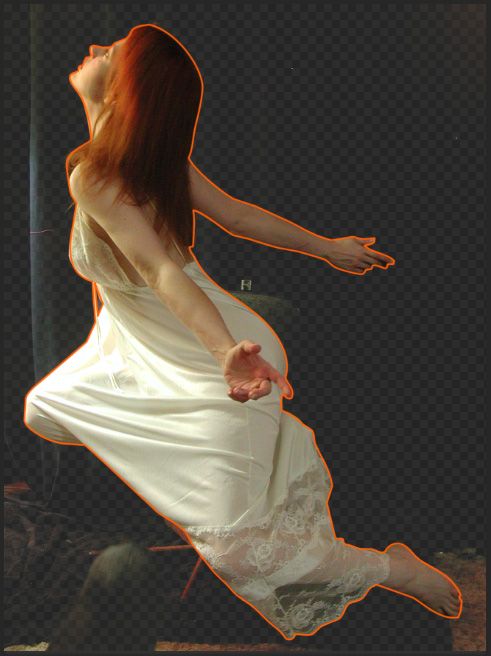
Proceed to add a model to the scene. Open the model image. Take the pen tool (P). With the tool, cut out the model from the image.
Step 6
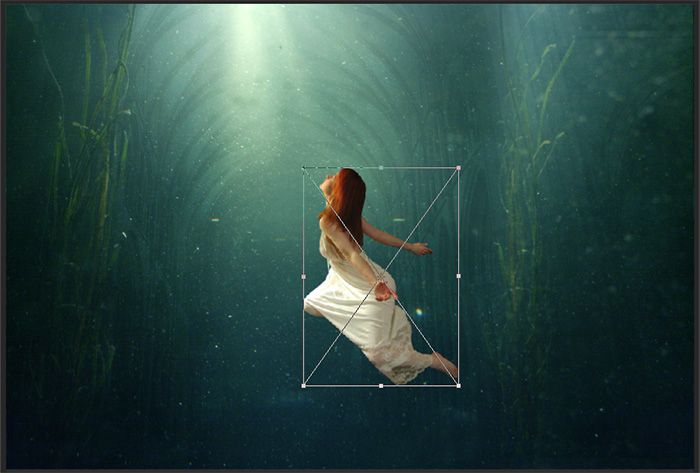
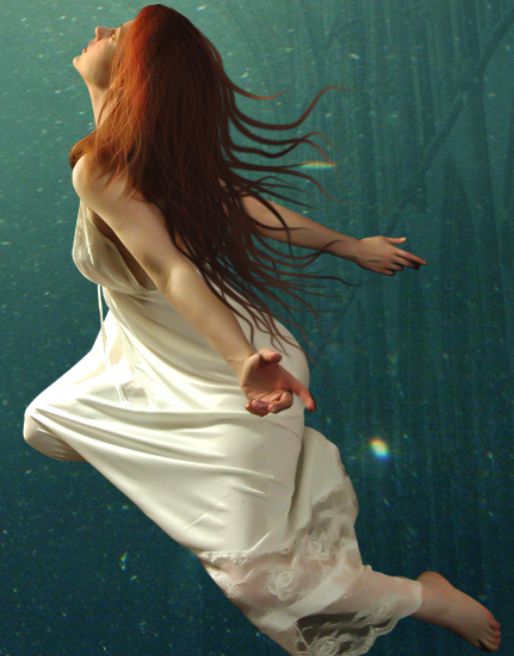
Add the cut out to the main scene. Scale its size to the size as much as it is proper. Position the model in the middle of the scene under the light rays.
Step 7
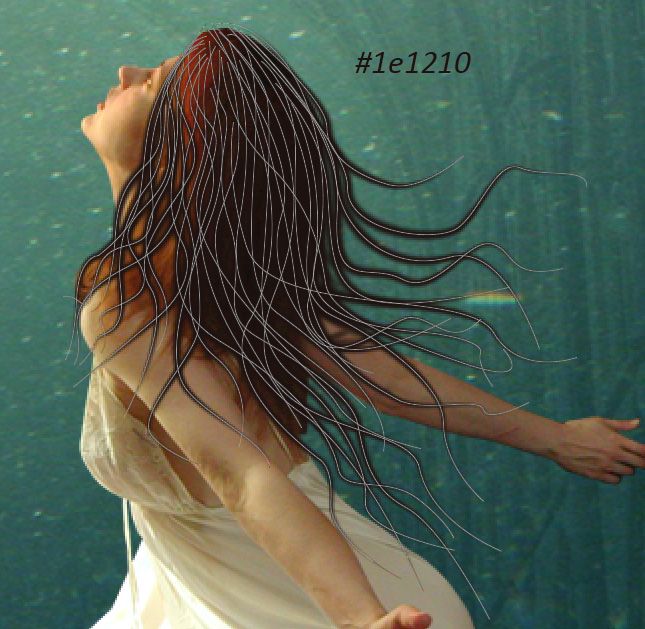
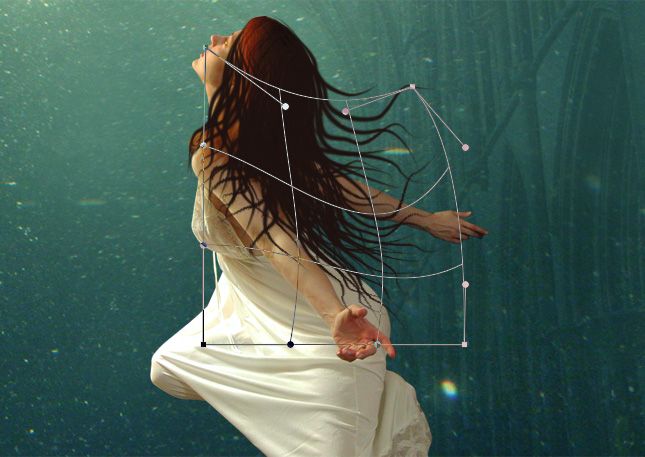
In the next several steps we will create hair to the model. Firstly, take pen tool (P) and create paths. The paths given in the screenshot is just example, so we might not exactly create the same paths as given example.

After creating paths, be active in path panel (window > path). Open the path menu, and choose save path.
Now we have path saved as path 1. We need to save this path to re-use it in the next steps.
Create a new layer (Shift+Ctrl+N) above the model layer on which we will paint the hair. Name this layer, say, hair 1. Make sure to set the brush tool (B) to round brush with size of about 7 pxls at 0% hardness and 100% opacity. Set the shape dynamics of the brush to Pen Pressure control in the brush panel (F5). Set the foreground color to #1e1210. Now open the path menu and choose stroke path. Use brush tool to stroke the paths and check simulate pressure.

Duplicate the hair 1 layer. Move the duplicate to the lower position at the model’s back. Take free transform tool (CtrlT) and warp the duplicate layer to alter its shape.
Select the original hair 1 layer and give it a layer mask (layer > Layer mask > reveal all). Mask some hair in red highlight.
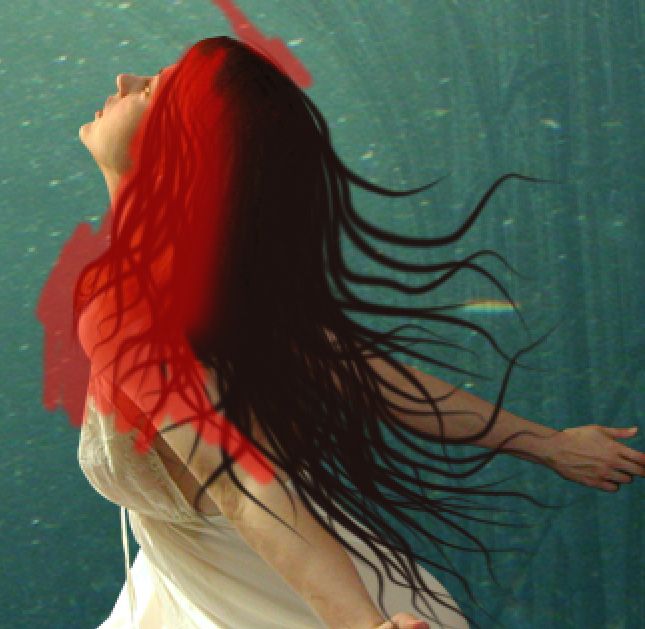
Mask the duplicate layer as well to hide the hair on the left arm.
Step 8
Create another new layer (Shift+Ctrl+N) between the original hair1 and duplicate layer. Name this layer, say, hair 2. Using given paths, paint highlight of the hair by stroking the paths. Use the color of #8e2c10.
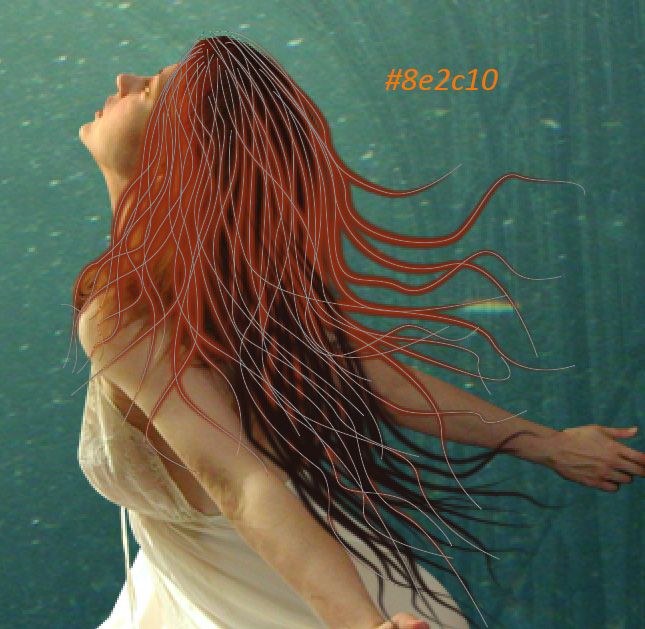
Set this layer to normal at about 8-10% opacity. This will give reddish brown highlight to the hair.

Step 9
Now create again a new layer above all the other hair layers. Name this layer, say, hair 3. With smaller brush with size of 3-4 pxls and color #662f16, stroke the path to paint more highlight.
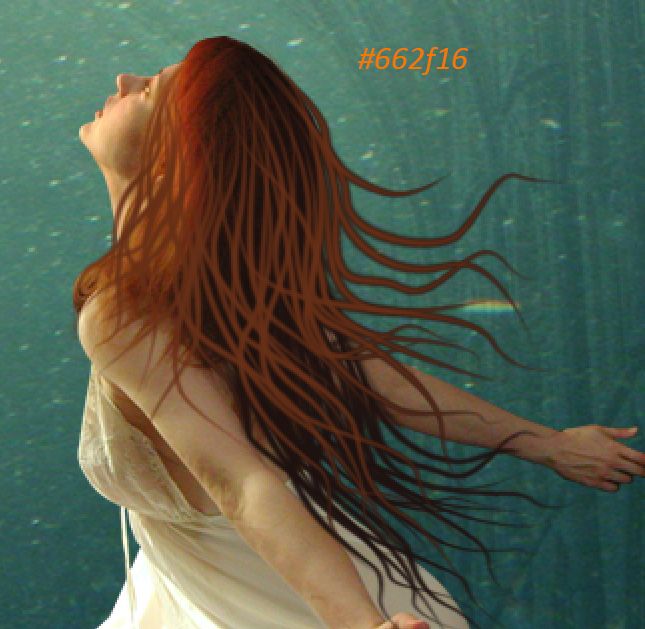
Given this amount of color, set this layer to normal at 5-7% opacity. This will give more highlight to the hair.
Step 10
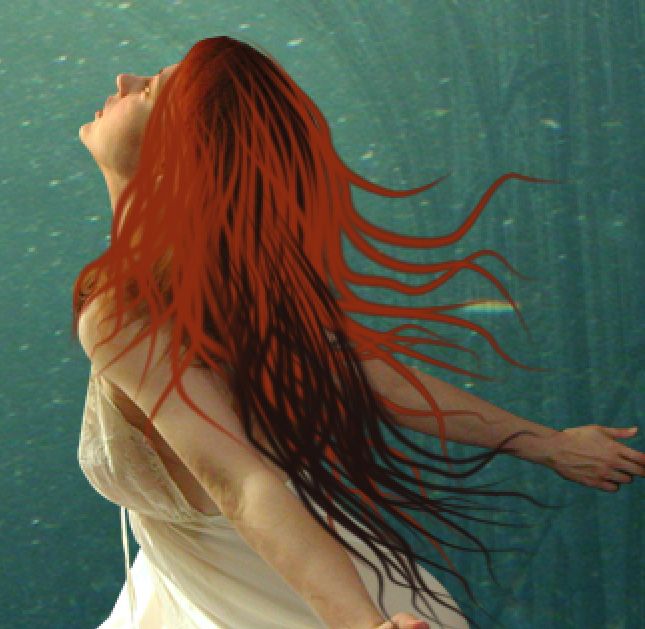
Finally, create another new layer above the hair 3 layer. On this layer, stroke the same paths with smaller brush of 1 pxls with lighter brown color.
Given this amount of color, set this layer to normal at about 15% opacity.

With the similar way, create more hair strands to the model.
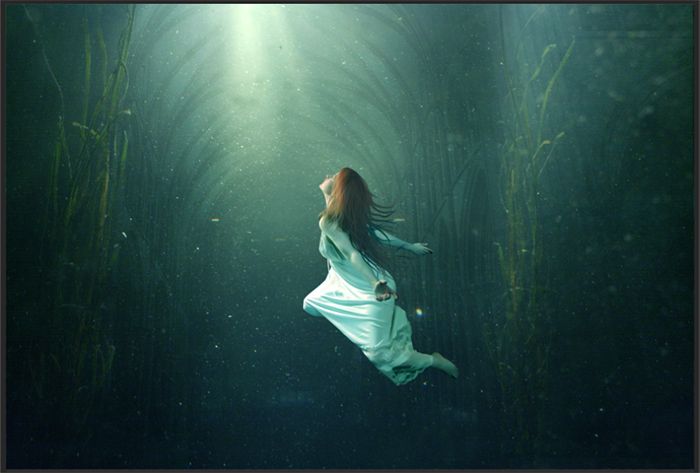
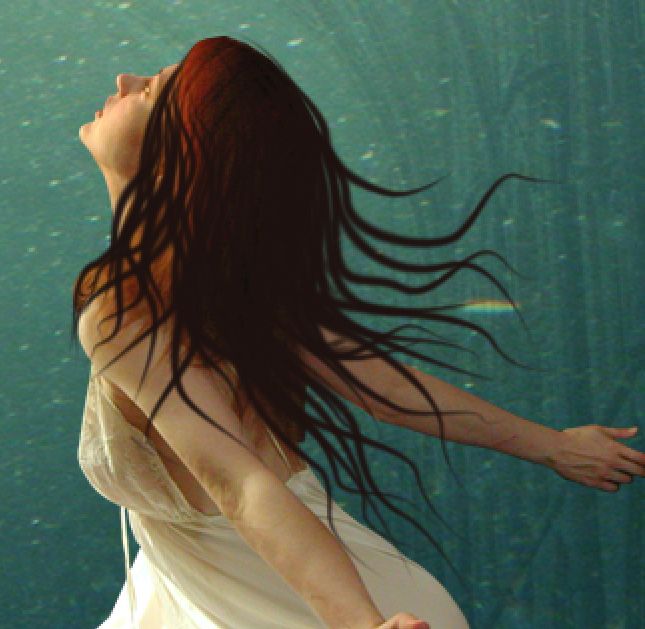
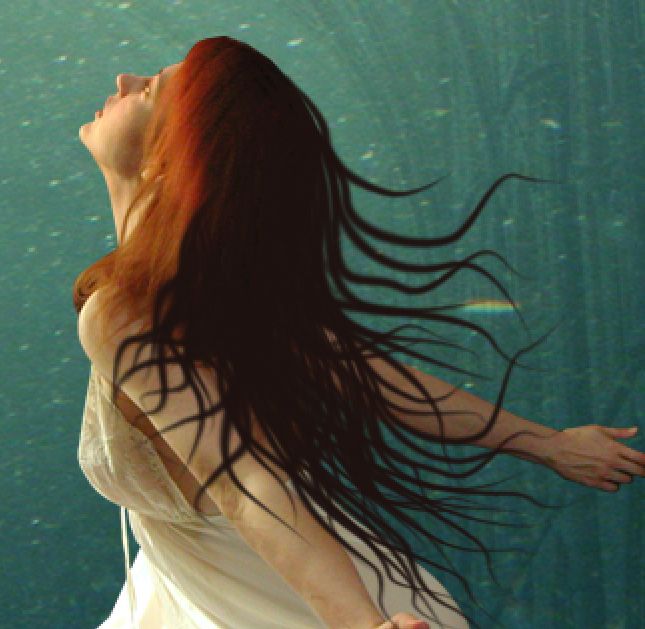
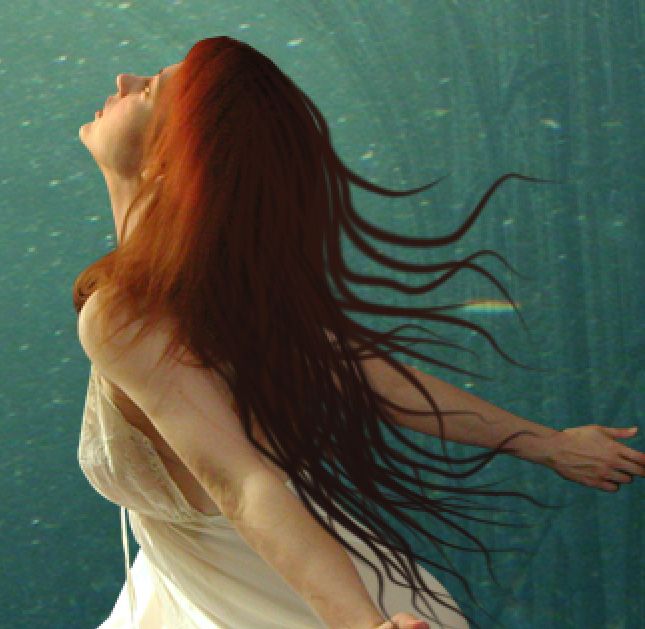
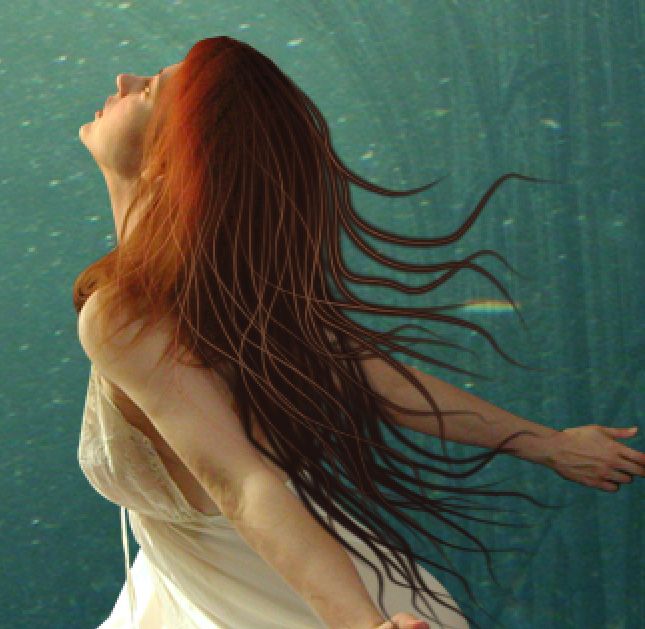
Here is the result so far. Select the model and all the hair layers. Hit Ctrl+E to merge them into a single layer. Name this new layer, say, model.
Step 11
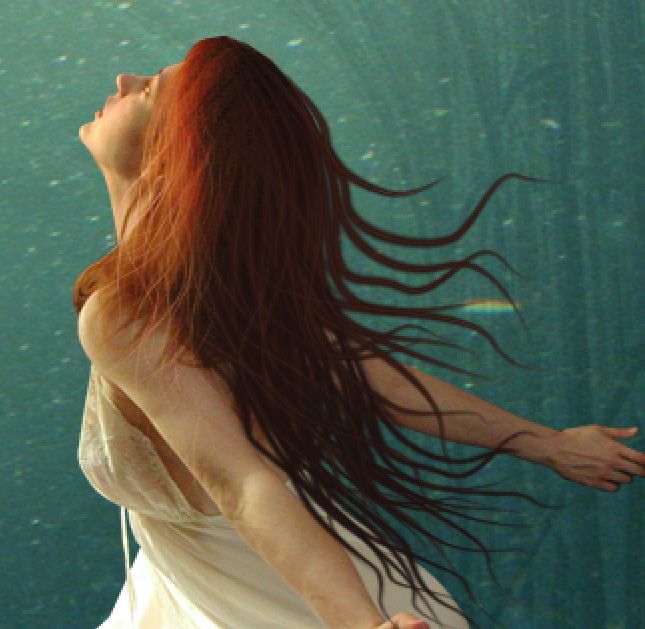
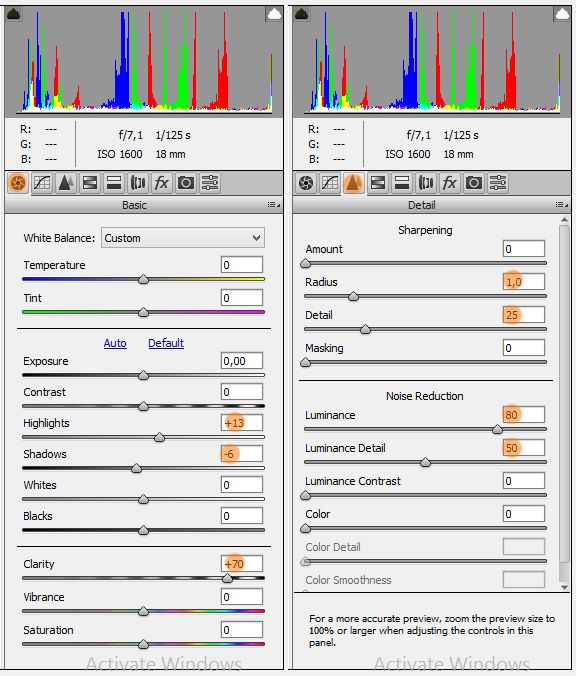
Proceed to give this model some retouching on the skin and dress. Go to filter > camera raw. Prior giving it the filter, convert this layer into smart object by going to layer > smart objects > convert to smart object. Use the value below:
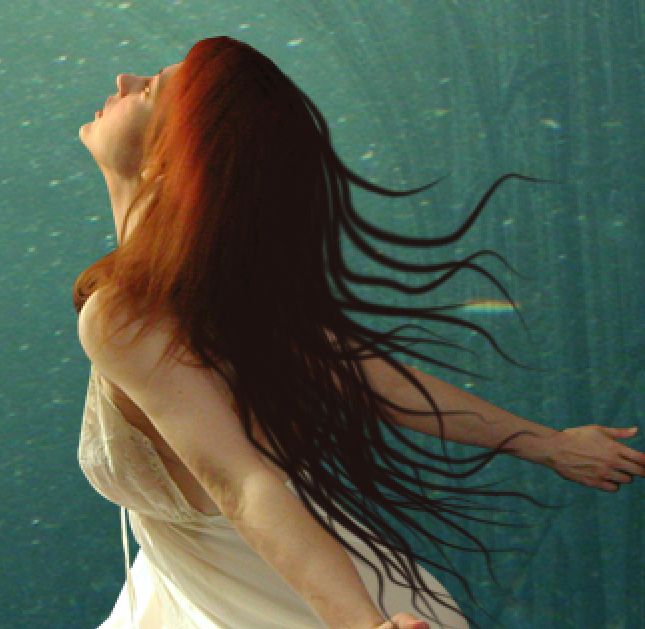
Given this values, the result should be like this:

Hide the effect of this filter on areas around the hair by masking the filter.
Step 12
Now we will do some color adjustment to the model to make it be well blended with the whole scene. Firstly, we give it a new fill layer with a clipping mask. Go to layer > new fill layer > solid color. Use color of #01848c.
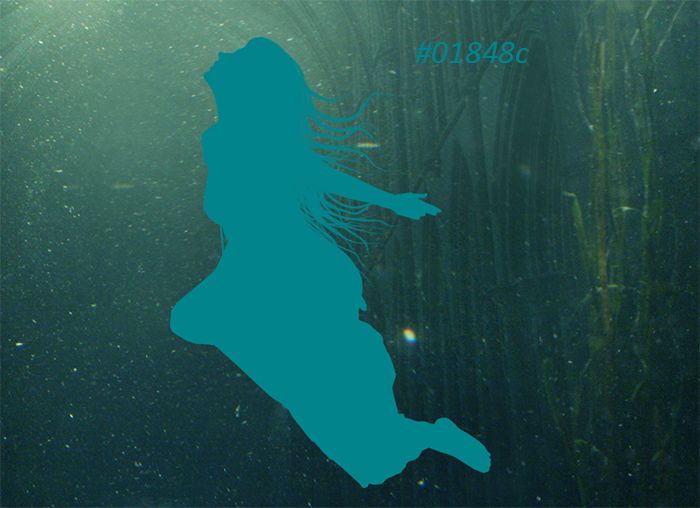
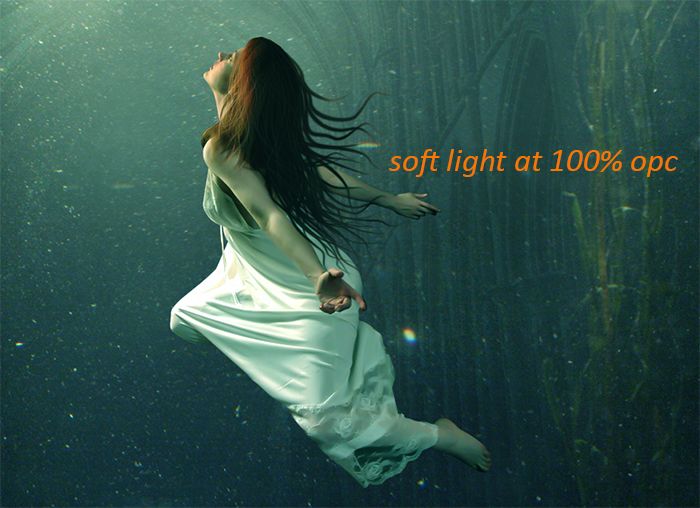
Set this solid color layer to soft light at 100% opacity.
Mask this layer on areas around the hair. Use a very soft round brush (B) set to about 20% opacity with 0% hardness.
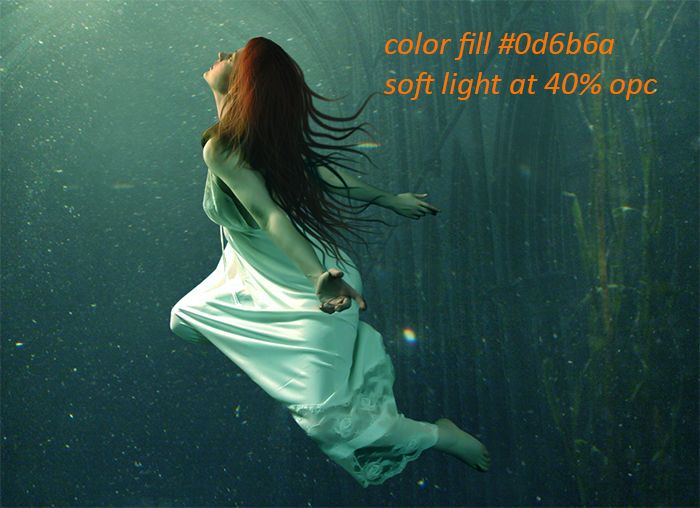
Step 13
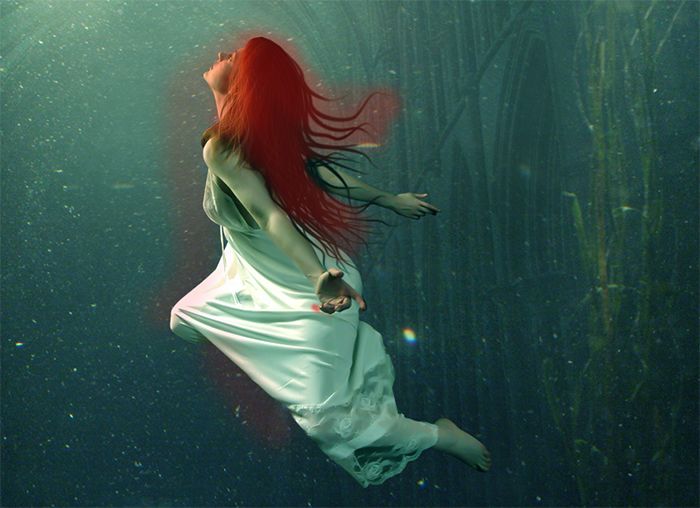
Give another color fill layer with a clipping mask. Use color of #0d6b6a. set this layer to soft light at about 40% opacity.
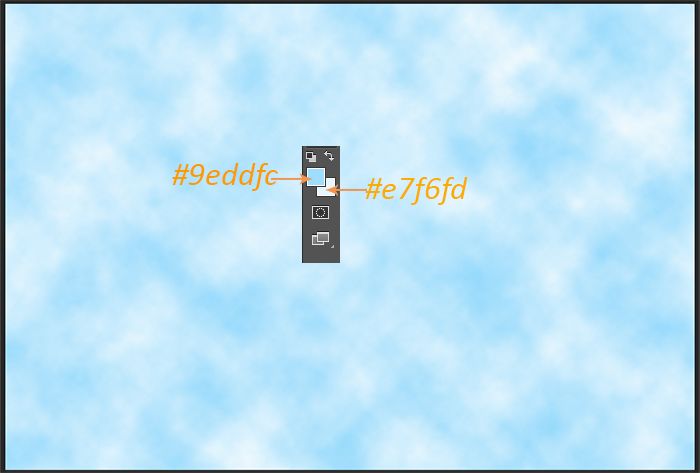
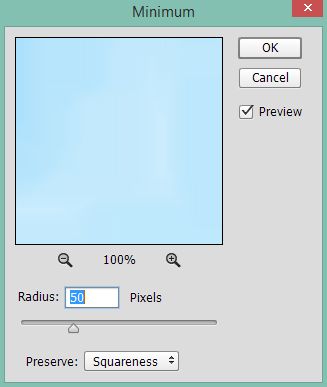
Step 14
Next, create a new layer with a clipping mask above the two color fill layers. Name this layer, say, texture 2. Give this layer cloud filter (filter > render > cloud). Use the color as given in the screenshot.
Give this cloud layer another filter: minimum (filter > others > minimum)
Mask some part of this layer on areas in red highlight.