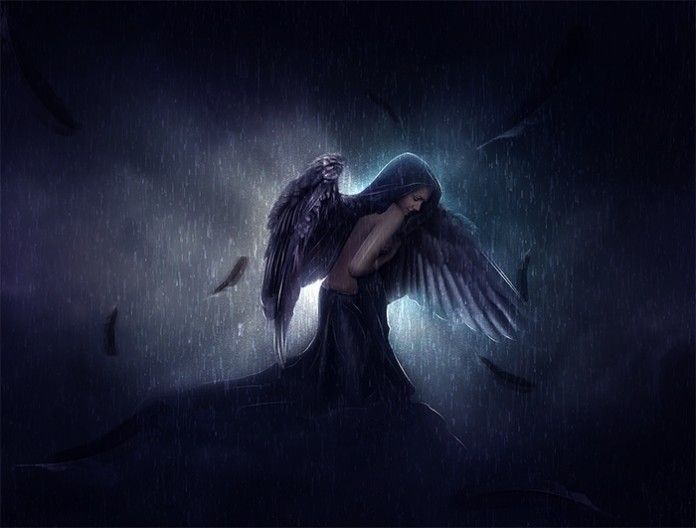

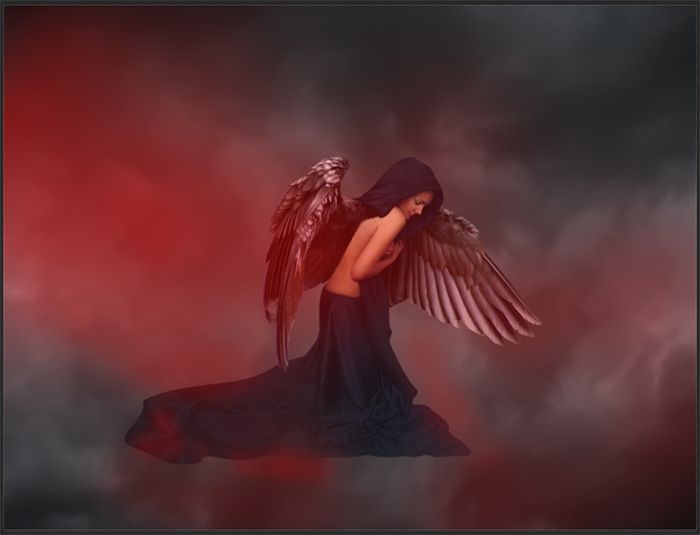
Learn how to create a fantasy photo manipulation of a desperate angel in sorrow and bleak rainy scene with Photoshop. In this tutorial, you’ll learn how to create your winged angel with ordinary stock images, do some retouch and enchantment on the angel with shadows and lighting, then complete it with rain and subtle rays of light . Throughout the tutorial, you’ll learn techniques that will help you create better photo manipulations.
What you’ll be creating
On this tutorial we will create an emotional scene of a sad angel in gloomy and cold atmospheric dreamscape with rain. We will use some essential techniques in doing photo manipulation. We will use masking, brush tool, some filter, color adjustments and textures all through the steps in this tutorial. Use Adobe Photoshop CC to fully follow this tutorial. Some filter used in this tutorial will not be available in photoshop CS. Don’t forget a glass of coffee and optionally a pack of cigarette for your companion. Ready..?
Tutorial Resources
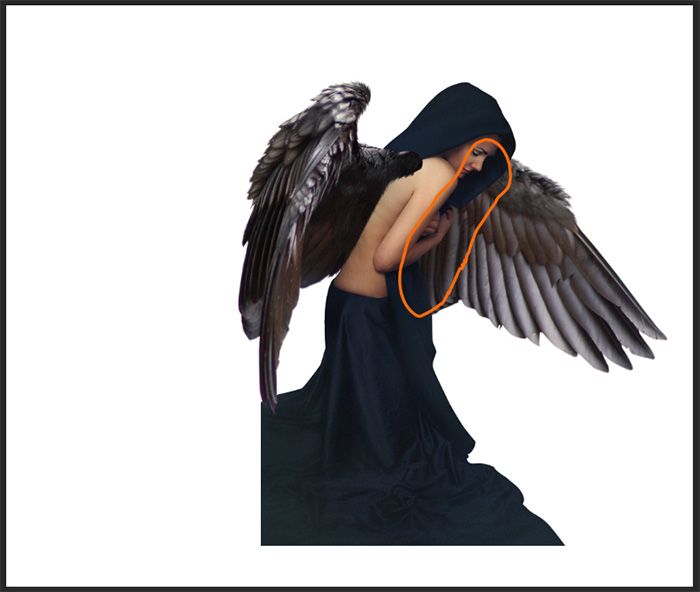
Step 1
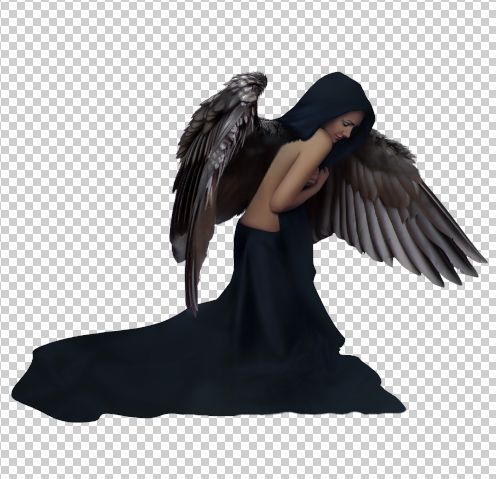
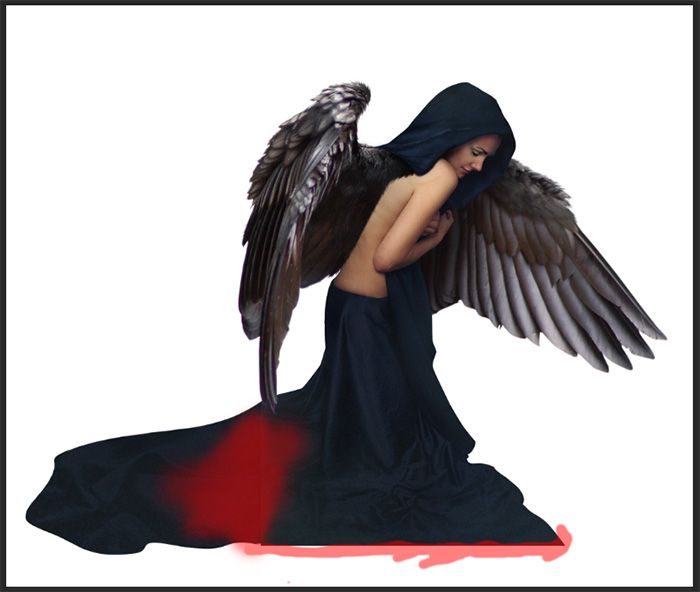
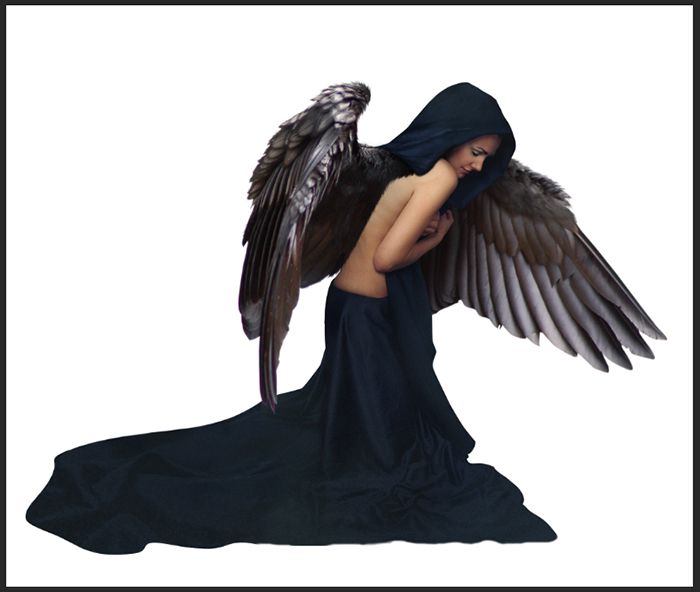
In first several step of this tutorial, we are going to create a figure of angel. Start by opening the girl image in photoshop. We will cut out the girl. Take pen tool (P). With the tool, trace the girl to create path as indicated in orange outline.
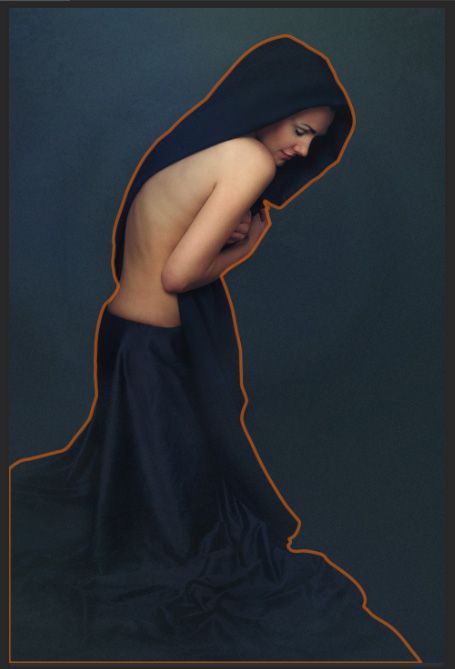
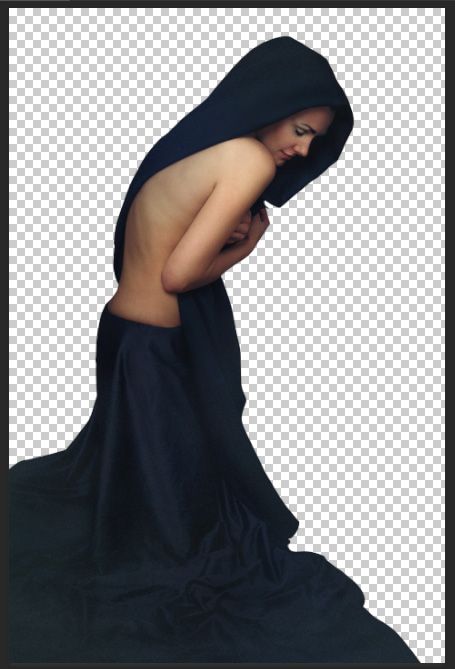
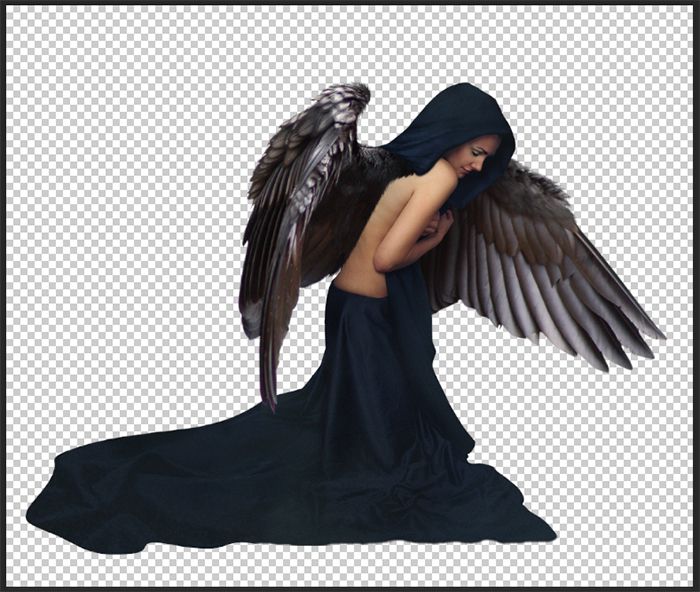
Cut out the girl from its background.
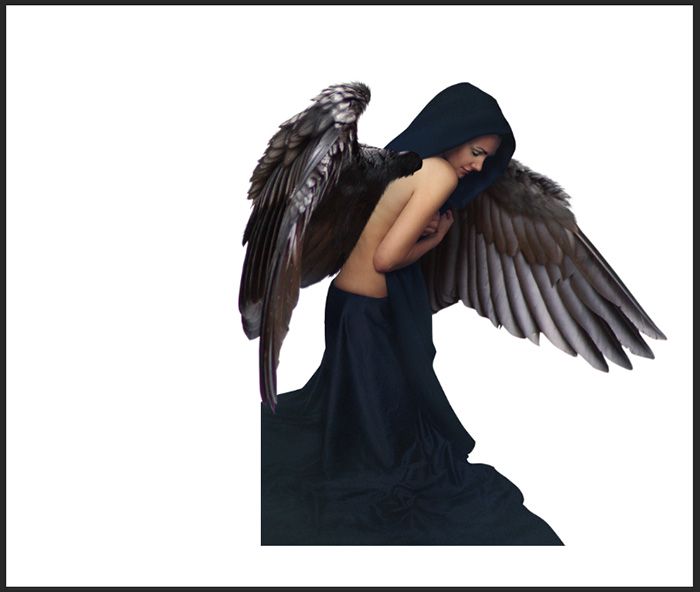
Step 2
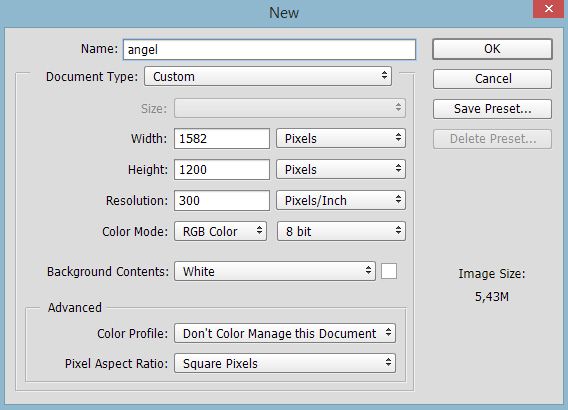
Create a new document (Ctrl+N). Name this new document, say, broken angel. In this document we will create the figure of angel.
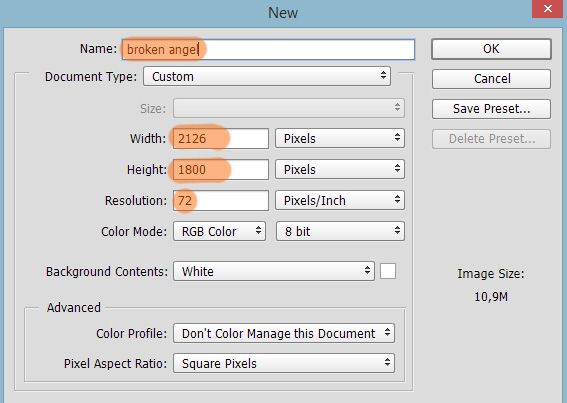
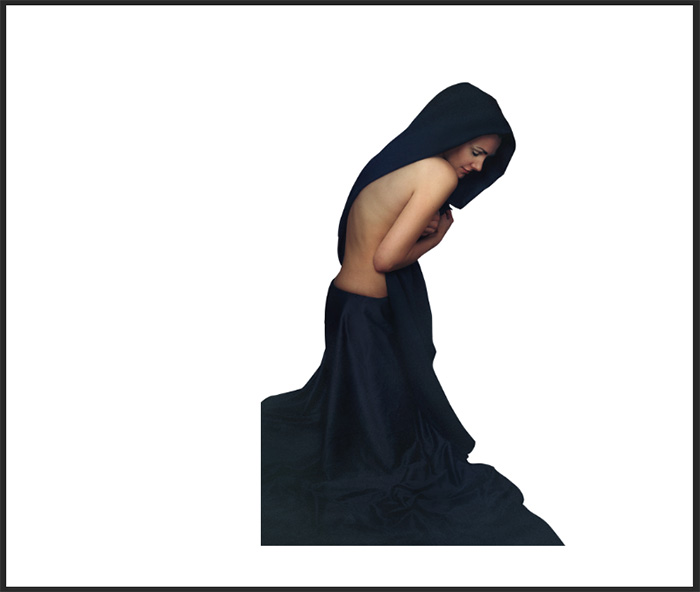
Next, add the girls to the document. Take free transform tool (Ctrl+T). Scale its size to fit the size of the document properly.
Step 3
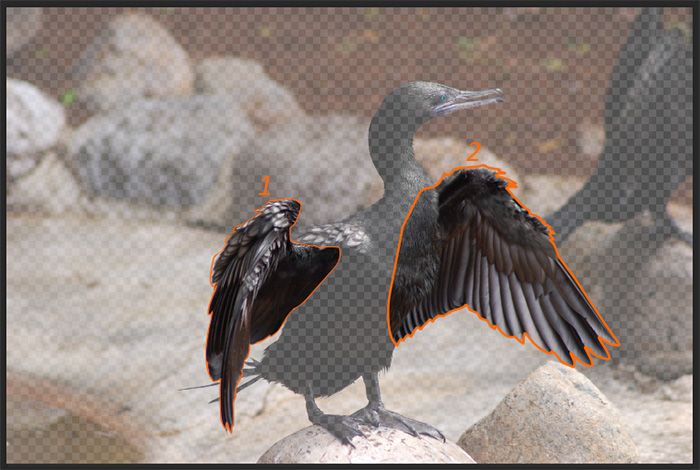
Then open the bird image, we will use the bird’s wings for the angel. Take pen tool (P) and cut out the wings of the bird.
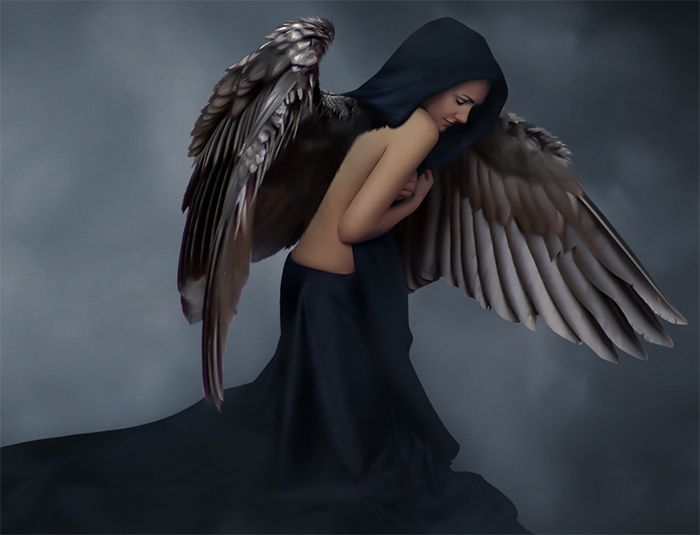
Add the first wing to the broken angel document. Place it above the angel layer. With free transform tool (Ctrl+T), scale its size to the one needed and move (V) to the position where needed.
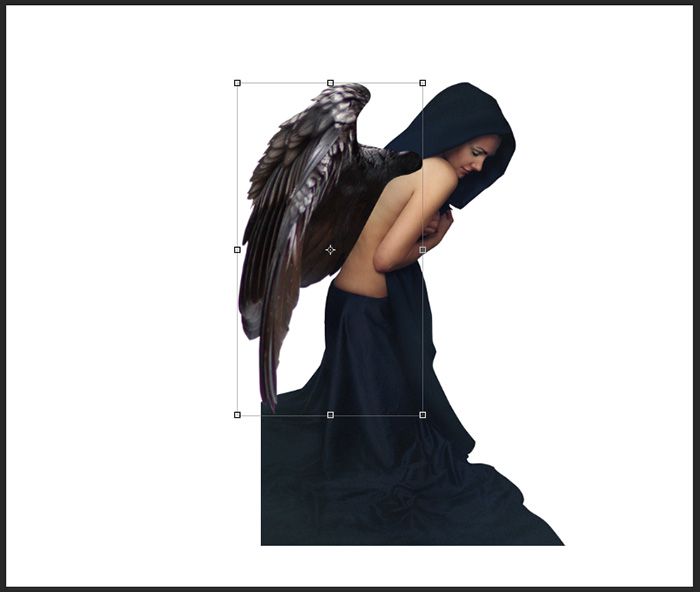
Finally add the second wing. Place it below the angel layer.

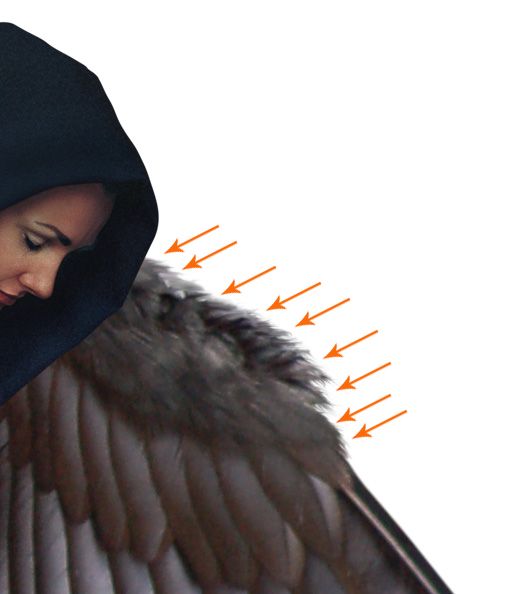
Step 4
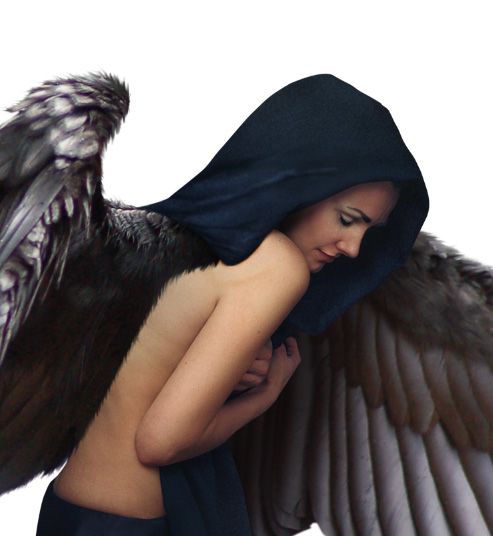
Now we will do some refinement on the edges of the wings. To do this, take smudge tool on the tool panel. Choose a very soft round brush (0% hardness) set to about 4pxl size with strength set to about 70%.
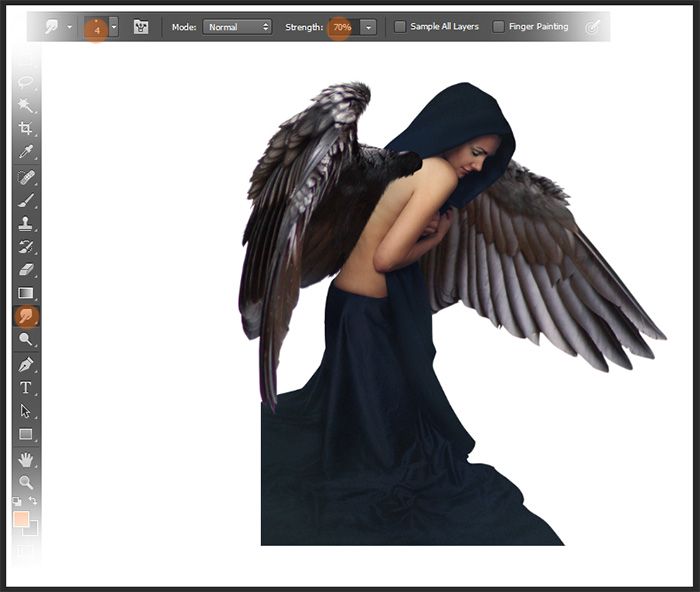
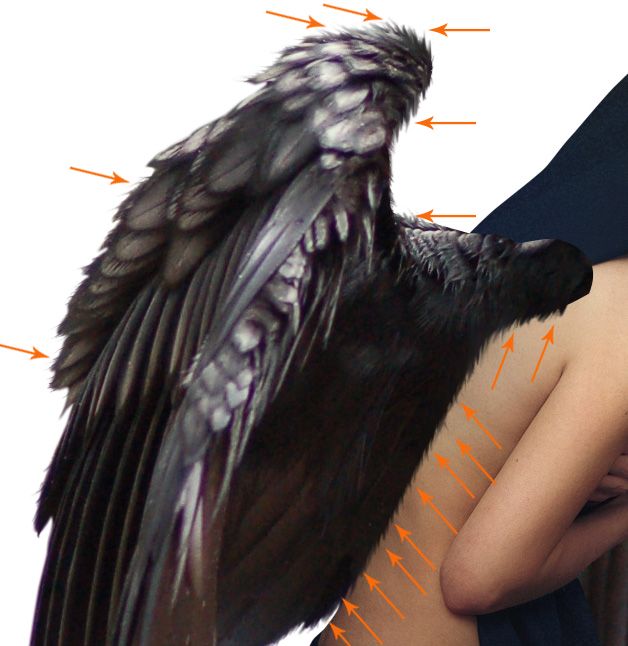
Be active on the wing 1. Now stroke the brush on the edges of the wing to create subtle feathers.
Do the same way to the other wing.
Step 5
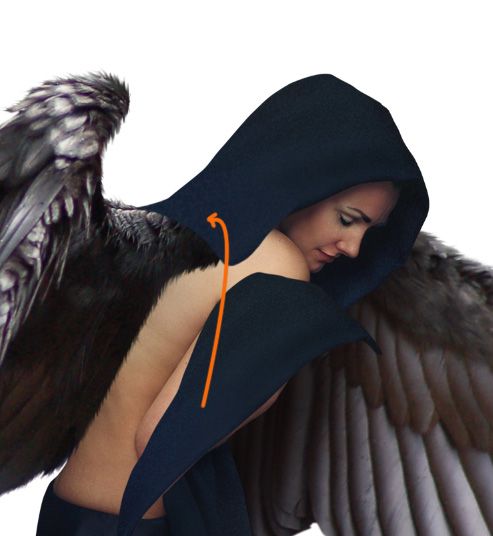
Next, we will add some shading on the wing 2 on area behind the angel as outlined in orange color.
Create a new layer (Shift +Ctrl+N) with a clipping mask above the wing 2 layer. Take a very soft round brush (0% hardness) set to about 12-15% opacity. With black color, stroke the brush to paint some shading.
Step 6
In this step, we will add cloth addition to the angel’s robe to cover the starting point of the wing 1. To do this, create a new layer (Shift+Ctrl+N) above the wing 1 layer. Take pen tool (P). On this layer, create shape as the one shown in screenshot and fill (Shift+F5) the shape with any color we want. Dark blue color is the one given as example.

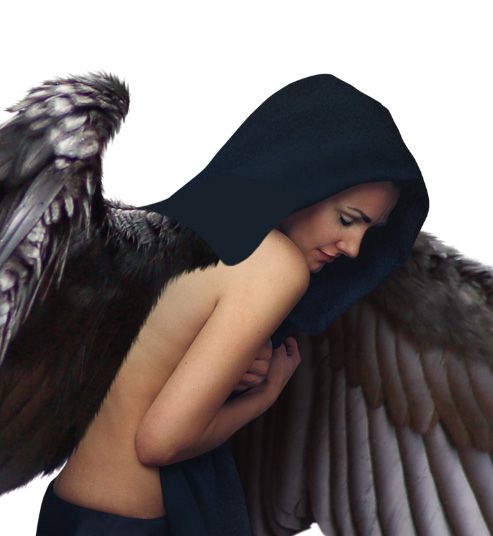
Cut out the robe of the angel into a single layer. We will use this cut out as the texture for the shape created before. Place the cut out above the shape layer and clip it with a clipping mask. This cut out will cover the shape. Move (V) the cut out to the position needed to get desired result.
Step 7
Now we will add some highlight and shadow to the robe with the addition cloth to define some rumpled lines. To do this, create a new layer above the texture layer. Fill (Shift+F5) this layer with 50% grey (#808080). Take dodge tool (o). Choose a very soft round small brush set to about 10% exposure with highlight range. On this new layer, stroke the brush on area around the robe to paint highlight.

Then, take burn tool set to midtones range at about 10% exposure. With a very soft round brush, stroke the tool on areas where needed to paint shadow.

Keep using the combination of dodge and burn tool to paint more highlight and shadow to define more rumpled lines.
Step 8
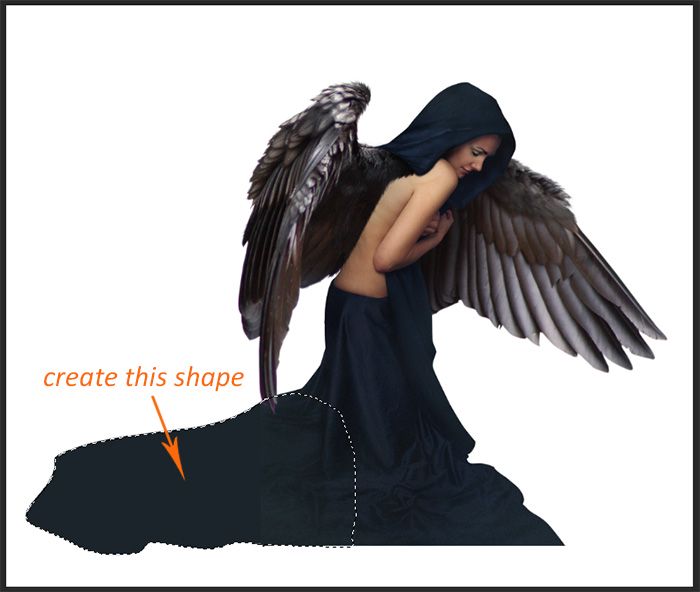
Proceed to create additional cloth on the lower angel’s cloth. Create a new layer (Shift+Ctrl+N) below the angel layer. Create a shape filled with any color we want. Dark blue is the given example.
Cut out the lower cloth of the angel into a single layer. Place this layer above the shape with a clipping mask to give it cloth texture.
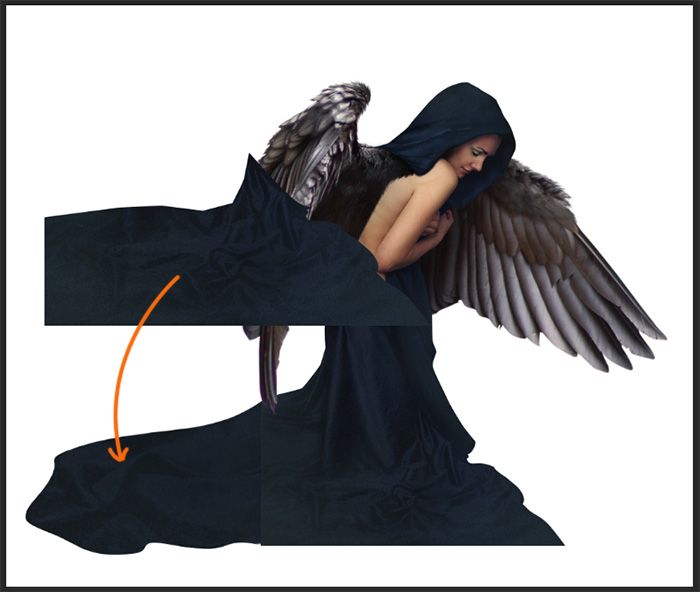
Finally, be active on the angel layer. Then, go to layer > layer mask > reveal all. This will give the angel layer a layer mask. Take a very soft round brush (B). Mask the edge of the lower cloth to make it well blended with the additional cloth.
Select all the angel layers and hit Ctrl+E to merge them into a single layer.
Step 9
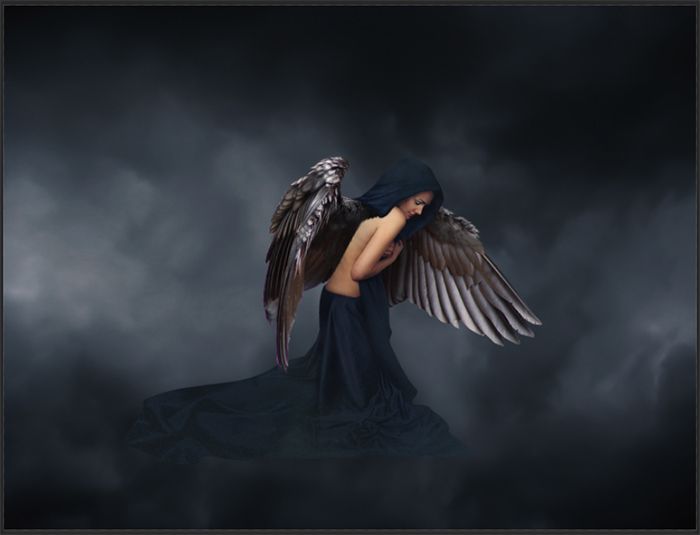
Now we come to the second phase of this tutorial. In the next steps we will create the main scene on a new document. Create a new document (Ctrl+N).
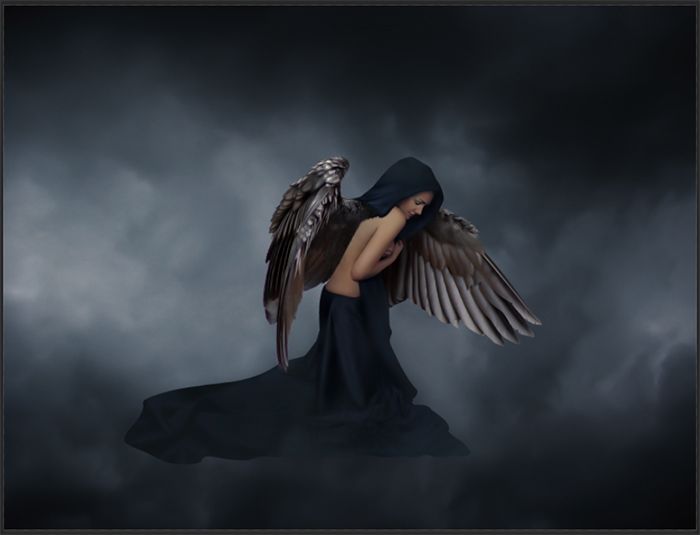
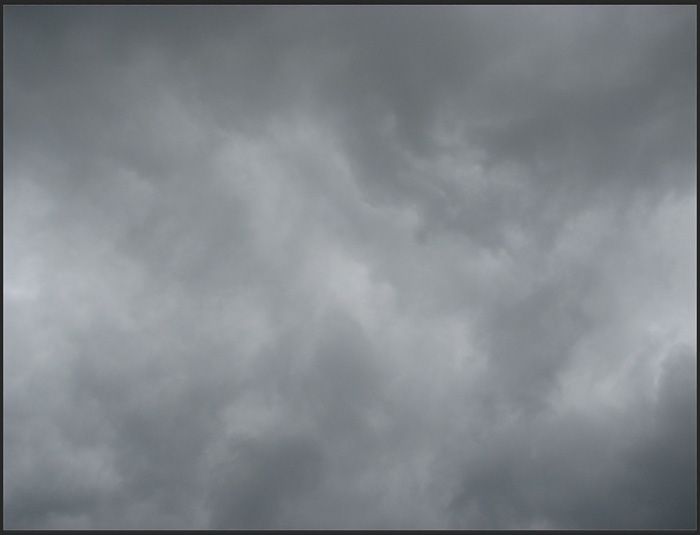
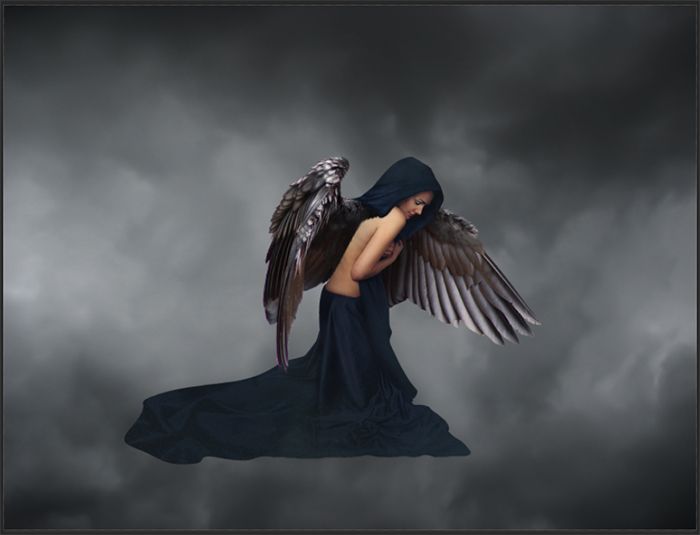
Open the cloud image on the document. With free transform tool, flip the image horizontally to alter its direction. Scale its size to fit and cover the document properly.
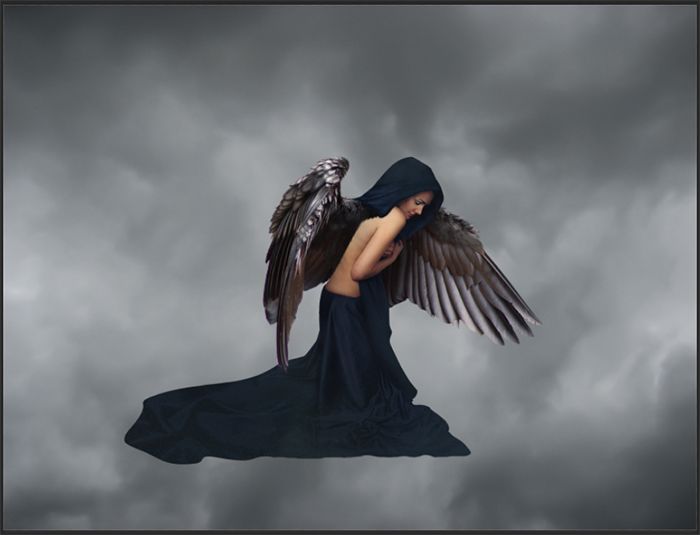
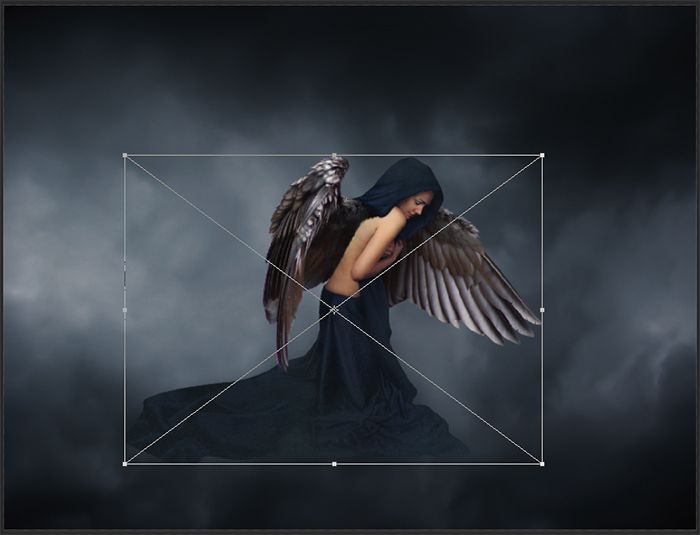
Add the angel as well. Position it in the middle of the cloud. Go to layer > smart object > convert to smart object to convert this layer into a smart object layer.
Step 10
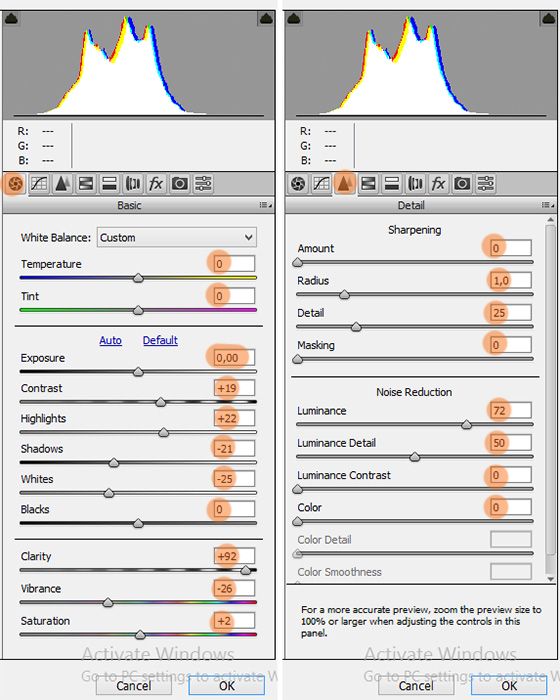
Be active on the cloud layer. Give this layer camera raw filter. Hit Shift+Ctrl+A to open the filter. Set the Basic and Detail of this filter.
Step 11
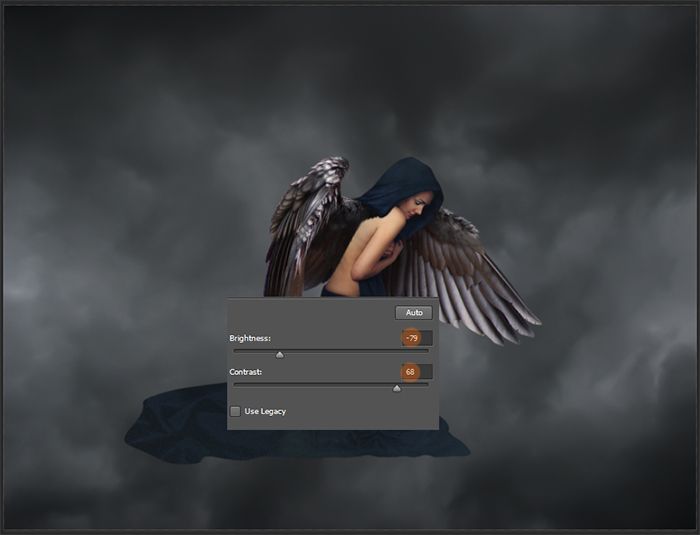
Now we will alter the color of the cloud texture by giving it color adjustments. Go to layer > new adjustment layers > brightness/contrast. Make sure to position this layer between the cloud and angel layer.
With a very soft round brush set to low opacity of about 15%, mask some areas around the cloud as highlighted in red.
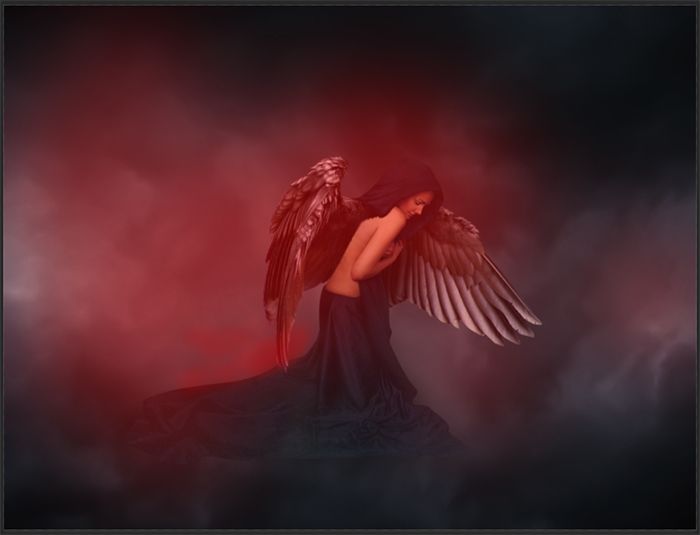
Step 12
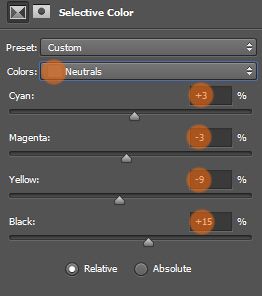
Give another adjustment layer. Go again to layer > new adjustment layer > selective color.
Step 13
Create a new layer (Shift+Ctrl+N) above the two adjustment layers. Fill (Shift+F5) this layer with solid color of #0c0301.
Set this solid color layer to soft light at about 60% opacity.
Give this layer a layer mask (layer > layer mask > reveal all). Mask on areas around the cloud as indicated in red highlight.
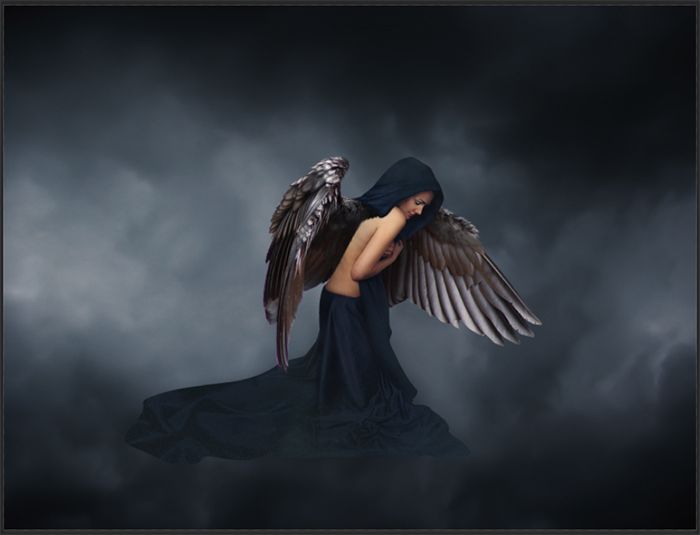
Step 14
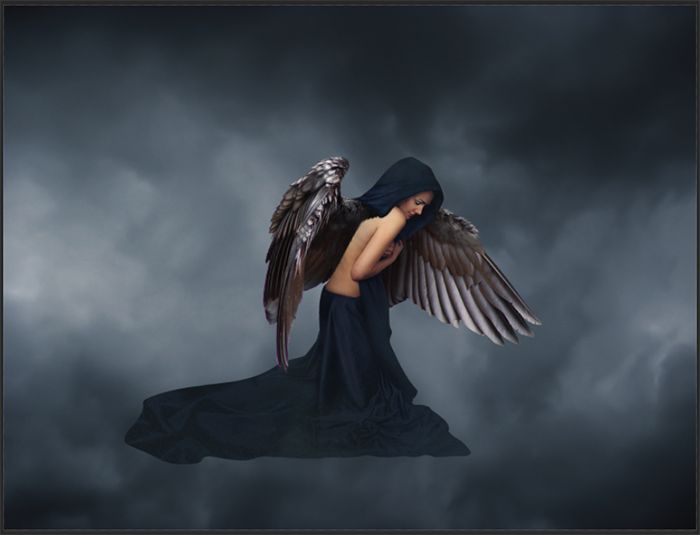
In this step we give filter to the angel. Go select the angel layer to be active on it. Hit Shift+Ctrl+A to give this smart object layer camera raw filter. Set it Basic, Tone Curve and Detail.

The result should be like below: