Today we are going to learn how to animate a character turning his head. You’ll find that you will be animating head turns a lot when you do character animation. A head turn is challenging to animate because the mass and shape need to be consistent, as do the elements of the head such as the eyes, nose, and mouth.
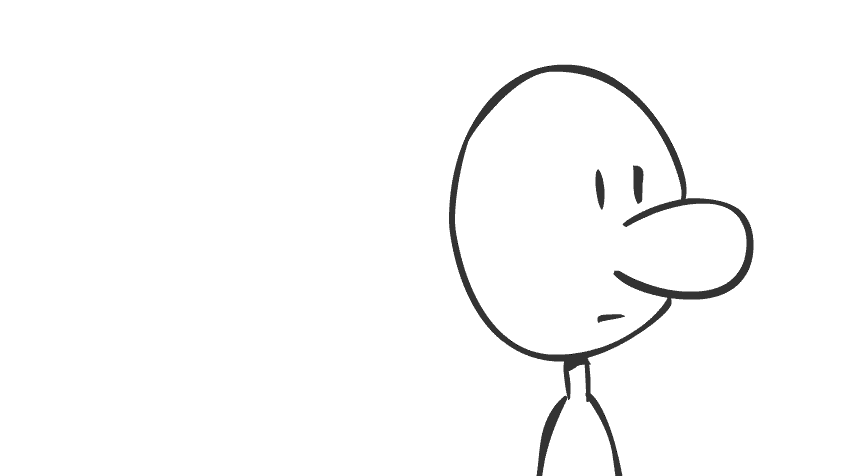
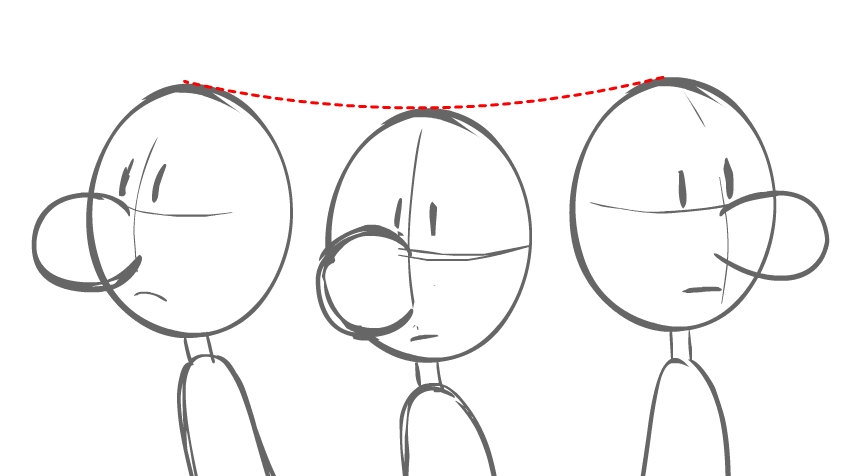
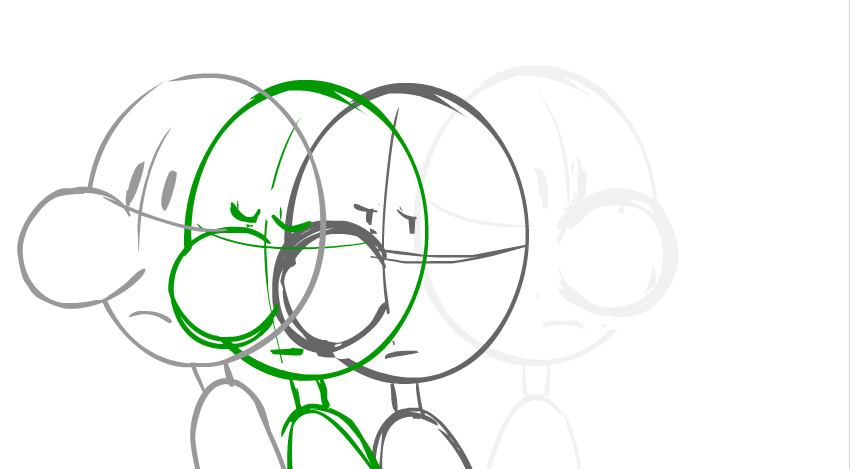
Take a look at this preliminary animation of a head turn that I did. I started off with a character looking east (our right), and then he turns west (our left). I put in green guide lines to make sure the height of the head stays consistent.
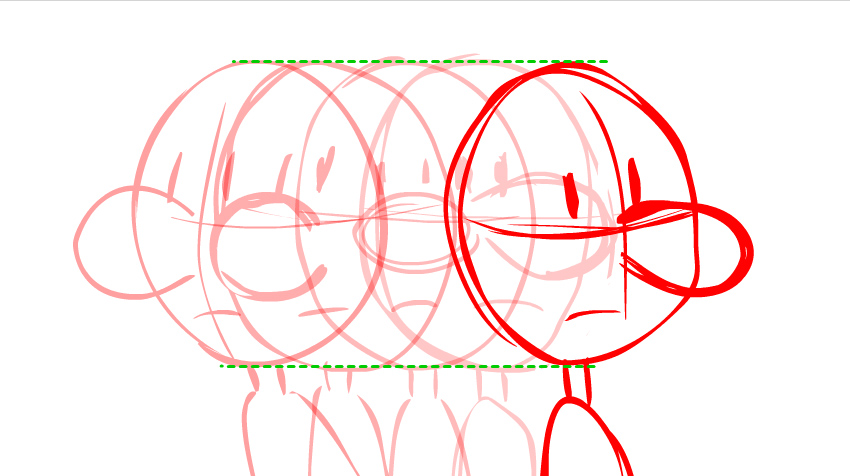
Let’s preview it. That looks okay, but take a look in the mirror and try turning your head from one side to the other. Rarely does your head turn in a perfect straight line.
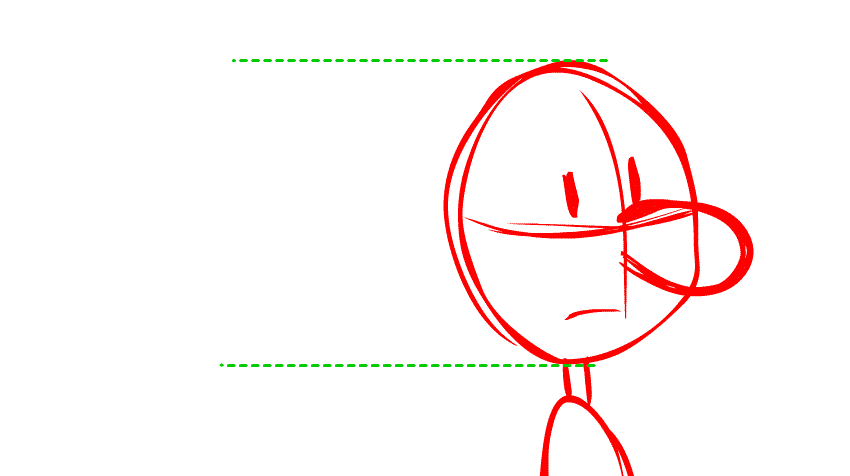
It is more natural to have the head turning and creating a soft arc.
For this tutorial I will be drawing the main poses first. Those are called the extremes. The drawings that smooth out the action between the extremes are called the in-betweens. I will work rough, and then we will tighten up our drawings later. Let’s go!
1. Draw the Key Poses
Step 1
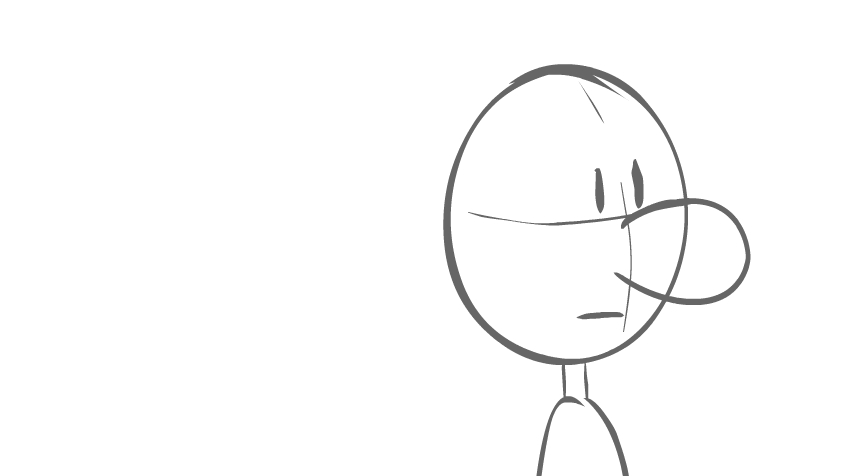
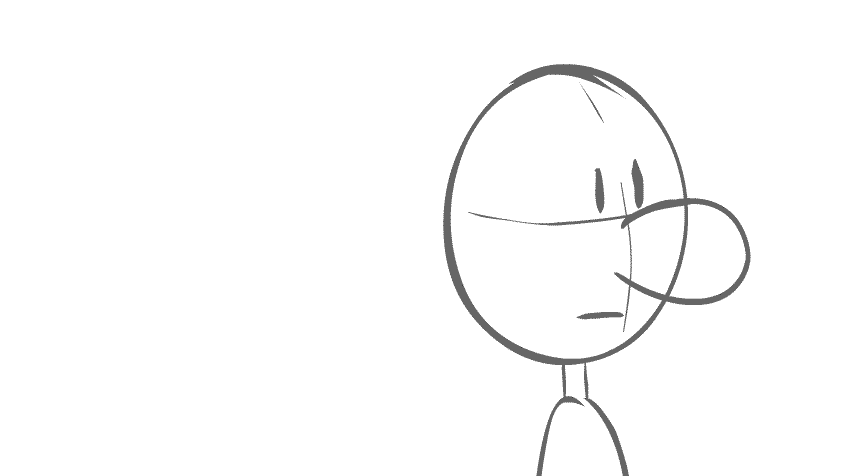
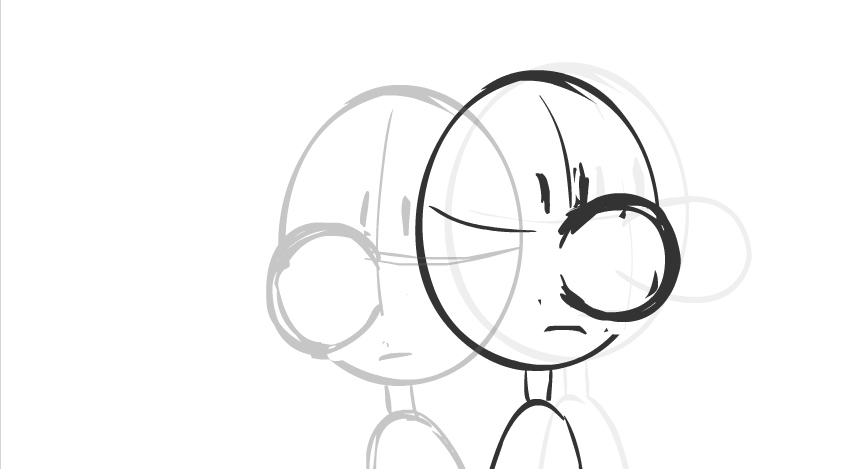
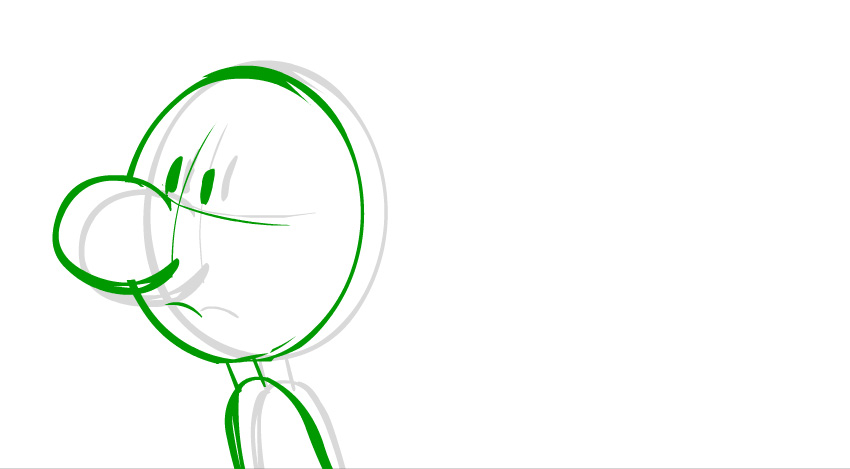
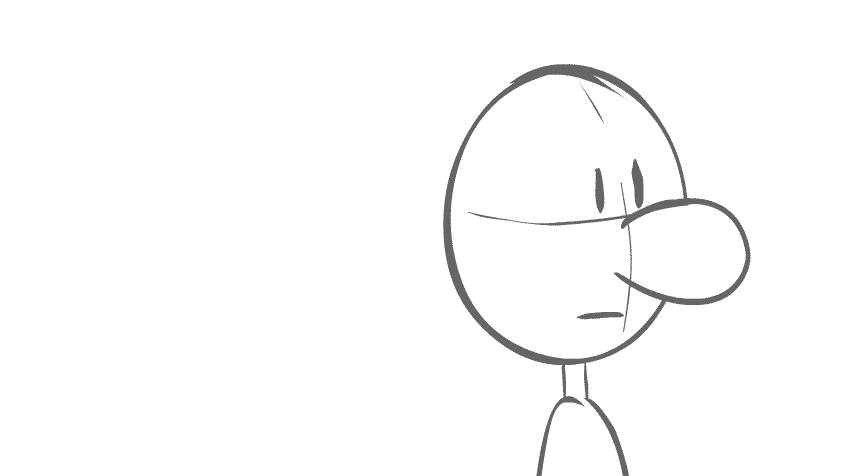
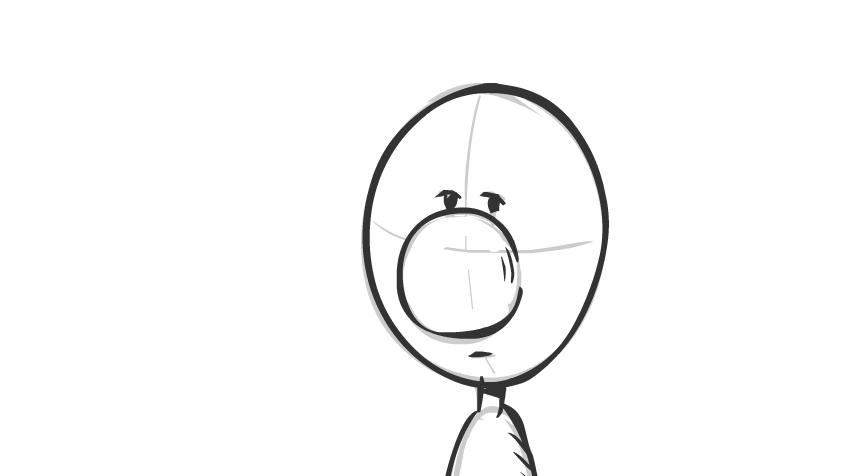
Draw our first extreme. My first extreme is of the character facing east. Notice that the nose and eyes are closer to the east facing side of the head. I sketched in guide lines vertically and horizontally on the head to help me figure out where the eyes and nose are. The eyes more or less rest on the horizontal guide line, and the nose rests in the middle of the head on the vertical guide line. Since the head is facing east, the vertical line favors that side.
Step 2
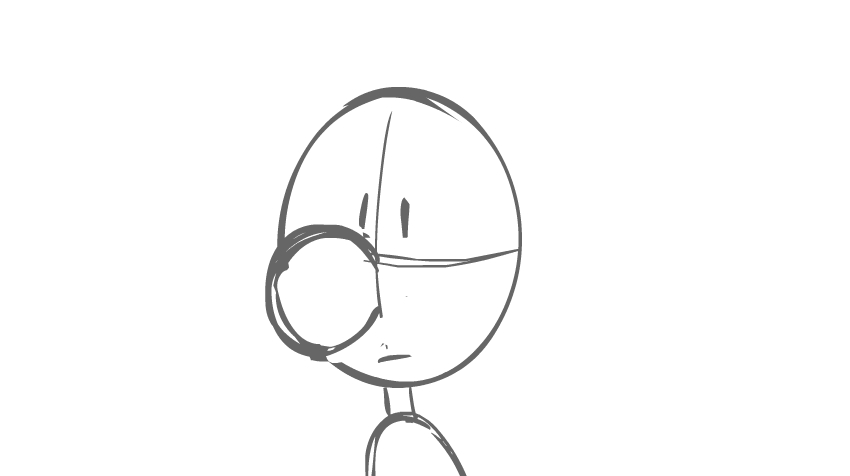
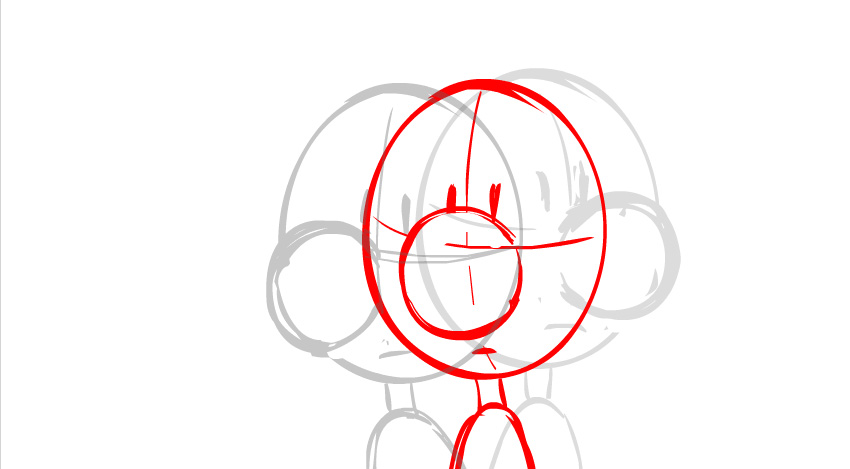
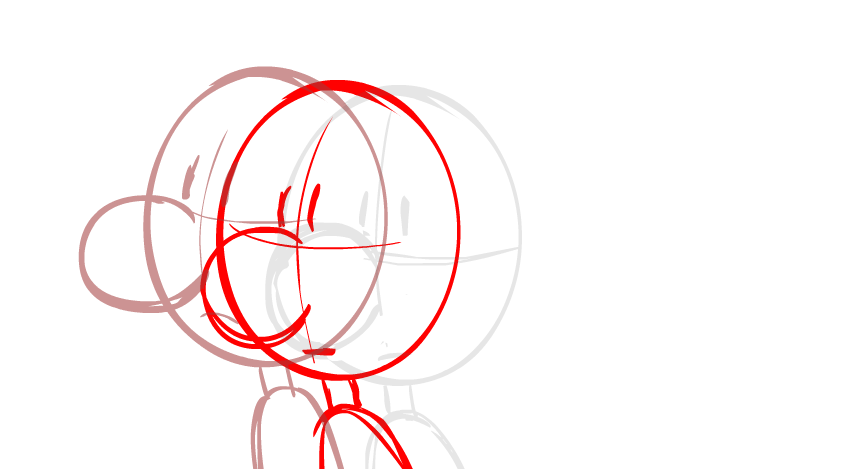
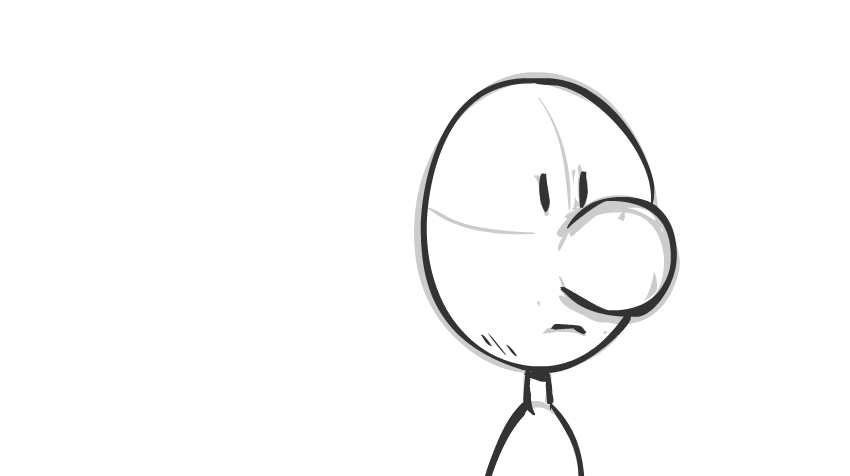
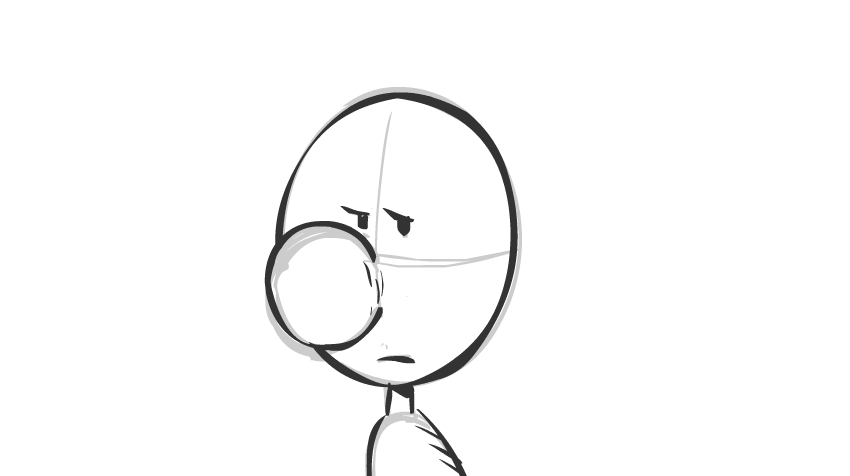
Let’s draw our second extreme. The character is starting to turn toward the west. Remember to keep the head mass and shape consistent. Notice that as the character is facing us more, his nose is foreshortened more, so his nose becomes fatter.
In this extreme, the character is already facing the west a little. I like to favor the direction that I am animating toward. Notice that the eyes and nose are closer to the center of the head because he is facing us more as he turns.
Step 3
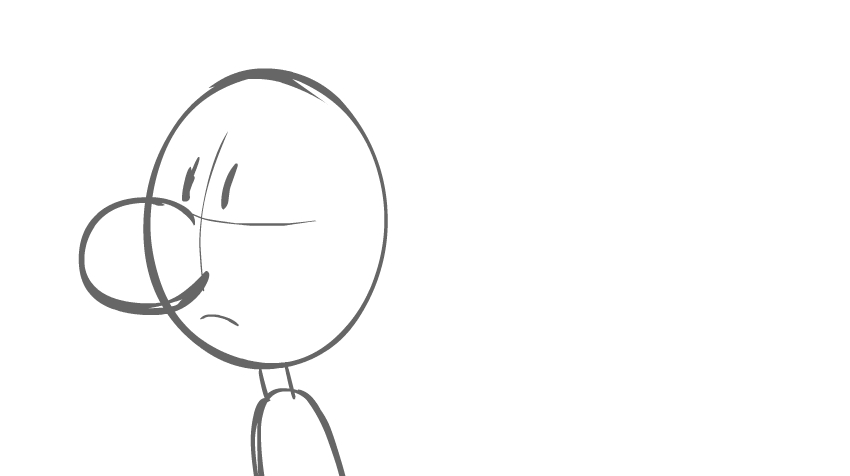
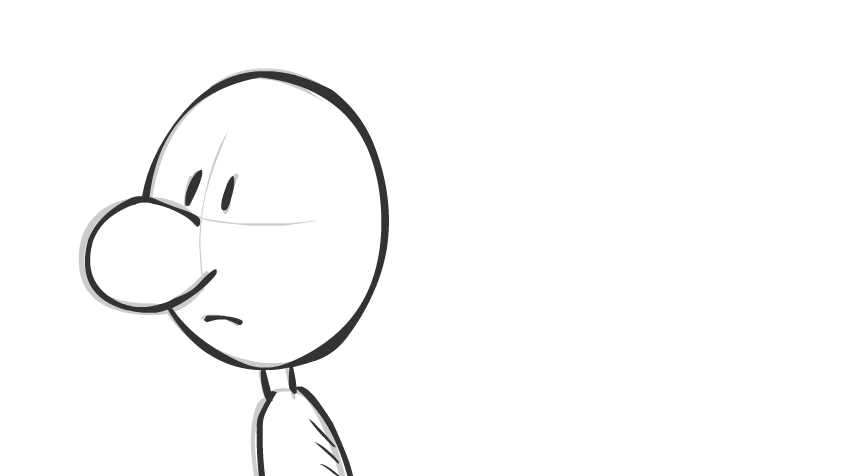
In the last extreme, the character is facing all the way west. I wonder what he sees?
Let’s preview. That looks really good! It could use some smoothing out of the action, so let’s add some in-betweens!
2. Smooth Out the Action
Step 1
Let’s smooth out the action and draw our in-between between our first and second extreme.
Step 2
Let’s smooth it out even more. Add an in-between between our first extreme and the first in-between that we just created. I left my new drawing in red so you can see it clearly.
Step 3
Let’s add an in-between between our last drawing and the in-between that we just created. Animation is a lot of trial and error. Adding an in-between is optional; it depends on how smooth you want your animation to be.
Let’s take a look! Now that looks much smoother! Looking really good! Notice the soft arc, so the head is not turning in a perfectly straight line.

You could stop there, or you could…
Step 4
… Add a cushion! We have the character turning his head. He comes to a dead stop when he is finished turning his head. If you look at most actions, whether it be throwing a ball, coming to a stop after running, or jumping into place, the character stops, moves forward a little bit, and then moves back into the stop position. The momentum of the movement keeps the character moving forward even just a little after he stops. Our last extreme is in light grey, and the cushion is in green.
Step 5
Let’s add a blink while we’re at it! When a character blinks into a turn, it gives the character a little life. I like to have the eyes blink completely closed in the middle pose.
Let’s take a look! That looks really nice! Good work sweetening our animation!
3. Tidy It Up!
Step 1
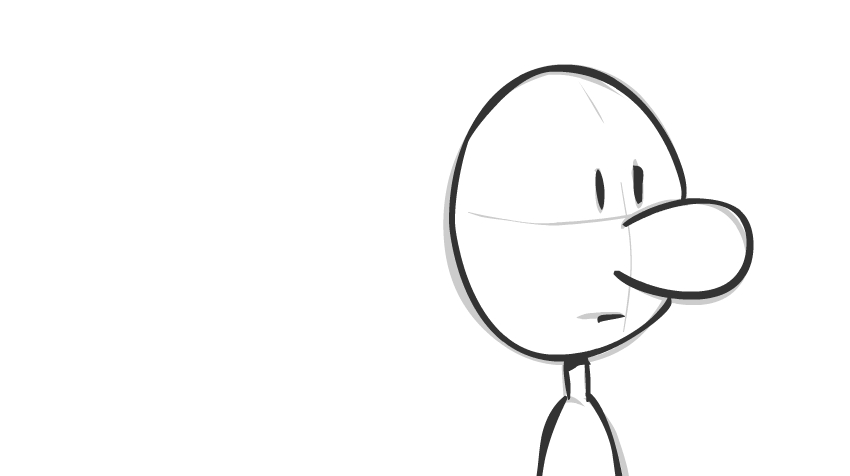
I’m using a medium brush line to clean up my art. I left my rough drawing underneath in light grey. This way you can see our clean-up line in comparison to our rough line.
Let’s clean up our second drawing. I’m not even working super tight. Keep a loose brush line with a nice feel to it.
Step 2
Step 3
Keep going—that’s looking really good! Clean up that third drawing!
Step 4
Keep going! It’s looking good! It’s not a perfect line—it’s by hand, so it has a nice, loose quality to it.
Step 5
Looking good! Now clean up the rest of your drawings. Almost done!
Let’s take a look at our animation!
Congratulations! Really Nice Work!
Head turns are tricky because you have to keep the head looking consistent throughout or it won’t be a convincing head turn. And the elements of the head have to remain consistent too, such as the nose, eyes, etc.
For the character that I used as an example, I worked super rough—he doesn’t even have ears. Other head turns can be harder with characters that have more detail. As long as you remember to keep the same volume and mass as the head turns, you’ll do just fine. And remember, keep animating!
