Over it’s 20+ year history, Photoshop has proved itself useful for a great many things. One of the primary applications is photo manipulation. In fact, it’s photo manipulation that is meant by the colloquial term “to Photoshop”. Yet pulling off a successful photo manipulation isn’t quite as easy as it sounds.
So whether you are new to the game or an experienced photo retoucher, there’s always room to learn and grow. I’ve compiled a list of ten tips for making sure your photo manipulation skills are a cut above the rest.
1. It’s All About the Resolution
When it comes to working with an image, think of pixels as the raw material of the medium. They are like the tubes of paint for a portrait artist or bolts of fabric for a seamstress. Any craftsman of their field will tell you that it’s a mistake to skimp on the raw materials. Photo manipulation is no different. Pixels tend to get stretched, squashed, skewed and otherwise abused. The more there are to work with, the easier the task will be and the better the end result.
So how much do you need? A good rule of thumb is to work at 150-200% the size of the final piece, and then resample the finished image down. Knowing the intended medium of delivery is crucial. Print media requires much more resolution than screen displays do. Most print work requires a resolution of 300 dpi, while screen displays can be as low at 72 dpi. That’s a big difference.
To learn more about print resolution, consider this course from Chamira Young on From Pixel-Perfect to Print Ready in Photoshop.
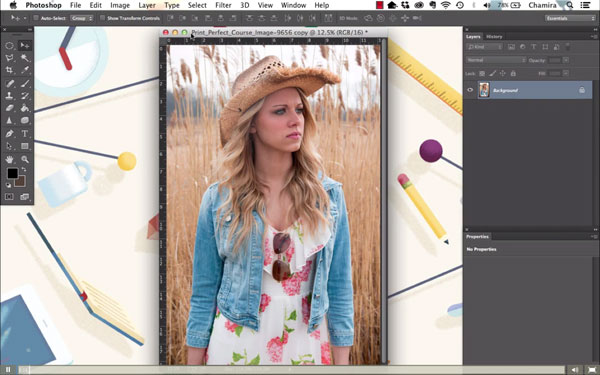
The risk of not using high enough resolution images is that the final piece can appear distorted, pixelated or blurry. This problem is compounded when using photos from several different sources. Always try to make sure the images you choose for your photo manipulation project are all of similar resolution. Otherwise, start with the lowest resolution image and bring the other images down to it.

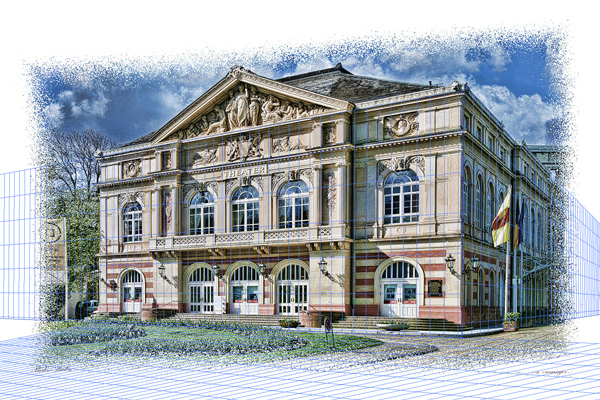
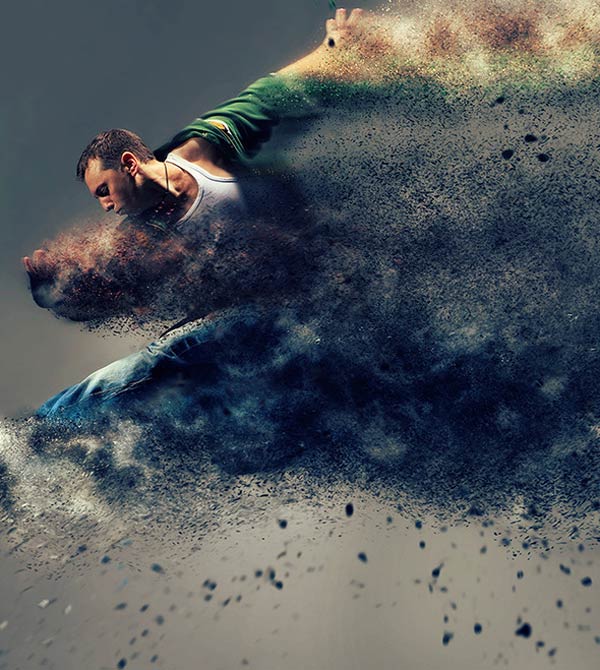
In this image the entire scene is built using eight different images, all of good resolution so that the final piece appears seamless. Looking for a source of high-quality stock images? Take a look through the selection of stock images available on Envato Market.
2. Light and Shadow
One of the most important tasks in creating a believable photo composite is that the lighting is consistent. If any element in the scene has obviously different lighting, and therefore different shadows, that element will never appear to fit in with its surroundings. This is commonly known as the “green screen effect” due to the frequent occurrence in TV and film where the composited background has much different lighting than the actors and actresses on screen.
The best way to make sure the lighting and shadows for your photo manipulation are on point is to have a solid understanding of how light and shadows work in the real world. Light is a 3D element and casts a shadow in 3D space. To learn more about understanding how light and shadow work, check out this excellent tutorial by Monica Zagrobelna, Improve Your Artwork by Learning to See Light and Shadow.
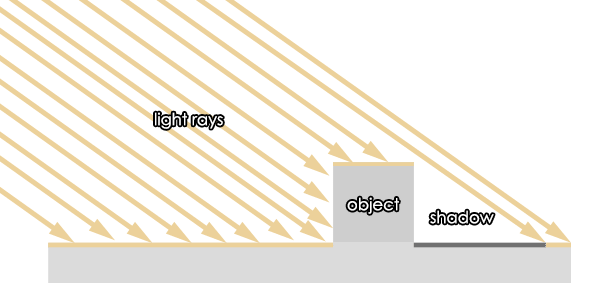
Once you figure out the primary light source for your scene, make sure every surface is illuminated or shadowed from that light source. Then follow through in doing this for every source of light in the scene. It sounds like a lot of work, but it’s not difficult, and once you understand the visual geometry behind it, the task becomes much faster.
For even more instruction on creating convincing lighting and shadows in Photoshop, take a look at these courses:

3. Put It in Perspective
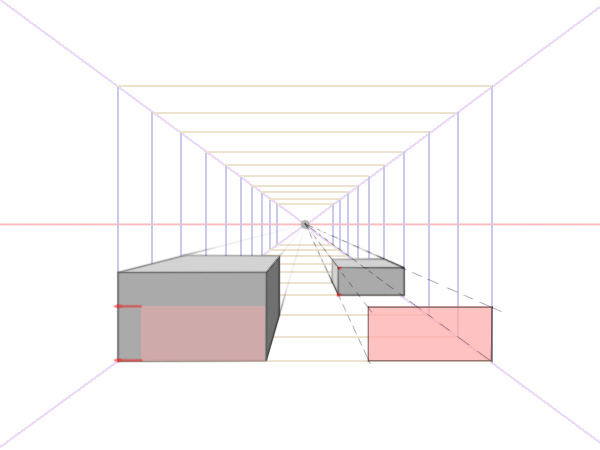
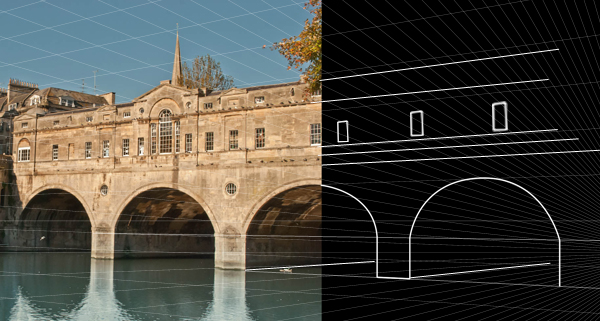
Second only to light and shadow, the most telling element of a poor photo manipulation is improper scale. Sometimes exaggerated sizing is intentional, and often that’s the point of the piece. But when the elements are inconsistent in scale, it can create a strange sense of something just being “off”. When that happens, it breaks the suspension of disbelief, and the viewer instinctively knows the image is visually untrustworthy.
The best method for ensuring all the elements are in proper scale agreement is to think through the perspective of an image. Identify the horizon and vanishing points, and then make sure your elements align with these. Usually these concepts are associated with illustration and drawing, but they have very clear application to photo manipulation as well. If you are not familiar with how to work with perspective, take a look at these tutorials and courses.
4. Dodge and Burn
A good photo manipulation doesn’t always need to look photo-realistic. Often a piece is more successful when it appears to be stylized, with extra vibrant colors, super bright highlights and deep, deep shadow areas. This look often contributes to the fun and fantasy mood of a photo manipulation.
A major part of creating that stylized look is using a technique to dodge and burn the image by hand. Every photo manipulation artist has a favored technique, but a popular one is to use a layer filled with 50% gray that is set to the Overlay blending mode. The gray is rendered completely invisible, but the marks from the Dodge and Burn Tools will be visible.

5.
Use Realistic Textures
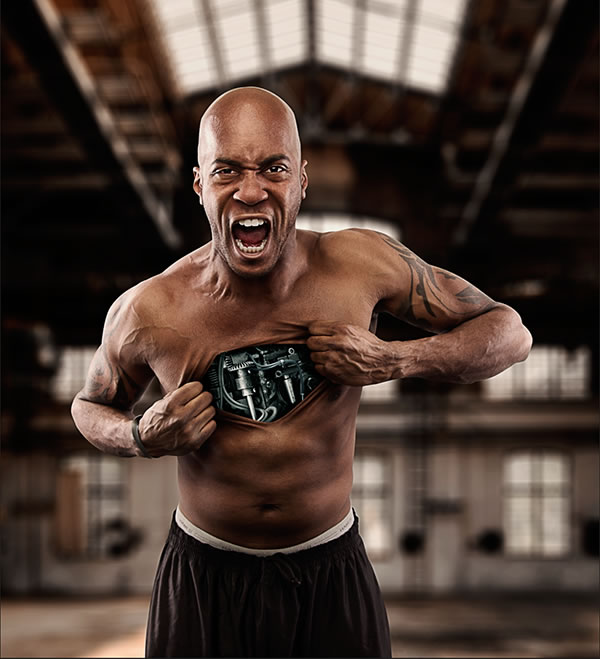
Adding textures to a photo manipulation project is a fast way to create the depth of detail that we see in real life. In fact, using textures created from real life is one of the fastest ways to accomplish that. Instead of trying to meticulously paint in every wrinkle of a piece of leather for a book, it is much easier and more convincing to use a texture instead.

It’s the use of high-quality textures that ultimately provides the required level of detail that makes the surfaces in a manipulated photo believable.

6. Use Custom Brushes
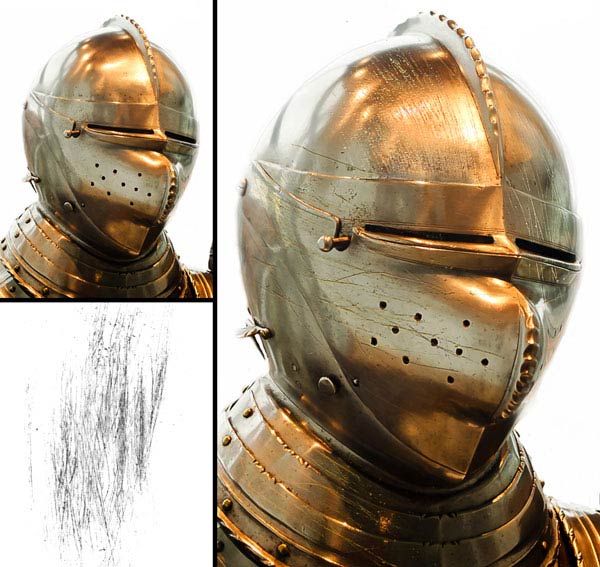
Just like realistic textures, brushes are a great way to quickly add realistic effects to a piece with ultimate control. Photoshop’s brushes are great! But they are all pretty well known and somewhat limited in their application for hand-painted effects.
That’s where custom brushes come into play. You can create your own brushes for very specific effects, like creating rust and scratches for adding weathering effects to pieces of metal.
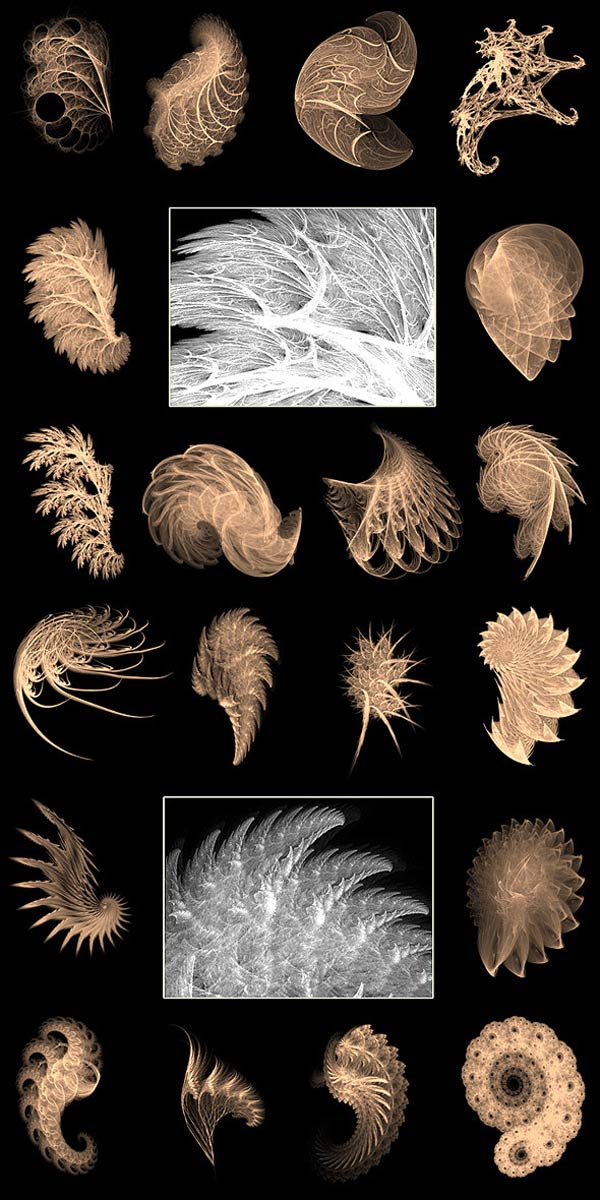
Or consider the variety of custom brushes available on Envato Market.
7. Consider Using Actions
Actions? Yes, actions. In one sense, Photoshop actions can greatly speed up your workflow by automating tasks that tend to be repetitive and time-consuming otherwise. Yet there’s another excellent application. Actions can be used to create a very complex effect much more quickly than by creating that effect manually. With some clever recording of filters and layer operations, actions can perform an effect in moments, saving valuable time for other tasks that would require a more personal touch.
To learn more about creating complex photo effects with actions, check out the course on Building Your Own Actions in Adobe Photoshop.
8. Know the Transform and Warp Options
The “manipulation” aspect of photo manipulation involves crafting a photographic element into something different. There are several ways to do that in Photoshop, and each technique has its own set of benefits and drawbacks. That’s why it is important to master as many of them as possible so you can make an educated decision about which feature is the best choice for each situation.
Changing the basic shape of an element can be done with basic transformations, custom warps, puppet warps, or liquify. To see a great tutorial explaining the differences of each of these, check out Adobe Photoshop for Kids: Funny faces!

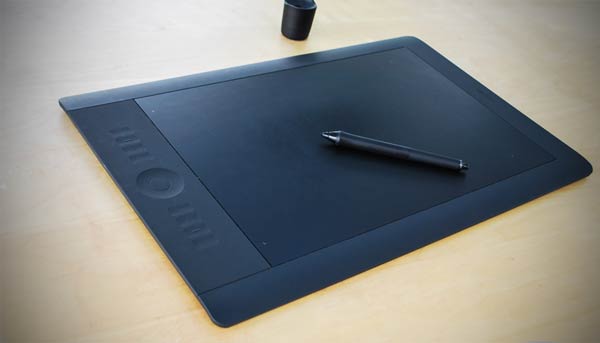
9. Learn the Tablet
Are you still using a mouse or trackpad to work in Photoshop? Have you considered a better input device? Something like a graphics tablet?
Yes, usually these tablets are used for digital drawing and painting, but they are also immensely useful for photo manipulation work. You see, every tool in Photoshop that uses the brush engine (dodge, burn, clone stamp, painted masks, etc.) is also receptive to the pressure inputs of a graphics tablet.
A mouse has exactly two levels of pressure, button down and button up. That’s it, completely binary input. A good-quality graphics tablet has 2,048 levels of pressure sensitivity or more! Add sensitivity for pen angle, speed and barrel rotation (on some models) and you have yourself an input device that makes the mouse feel like trying to draw with a soap-on-a-rope!
In fact, if you have just a minute, here’s a 60-second guide to using the Wacom tablet in Photoshop.
If you want more in-depth instruction on using the Wacom tablet with Photoshop, take a peek at the course Mastering the Wacom Tablet in Photoshop.
10. Stay Inspired and Keep Practicing!
As with anything that’s worth doing, photo manipulation takes practice and dedication to build up superior skills. One of the best ways to keep yourself interested and motivated is to keep an Inspiration folder and collect examples of photo manipulation and digital artwork that inspires you.
Browse sites like dribbble.com and deviantart.com. Also take a look at the library of tutorials and courses available here at Envato Tuts+ designed to help you enhance your photo manipulation skills.


Want More?
I hope these tips have inspired you to push your photo manipulation skills even further. If you’d like to see some of my own work with photo manipulation projects, custom brushes, and even more Photoshop fun, check out my profile here at Envato Tuts+.