
In this tutorial, I would like to show you how to draw a soft, dreamy profile composition using a mechanical pencil and colors added with color pencils. With only a few steps, you can have it completed with full colors.
Grab you tools now, it’s time to draw!
Tools

- Pencil (I used a mechanical pencil)
- Faber Castell Classic Color Pencils No: 370 – Lime, 330 – Base Skin Color, 309 – Royal Yellow, 361 – Turquoise, 353 – Royal Blue, 362 – Dark Green
- Eraser
- Paper type: Double A
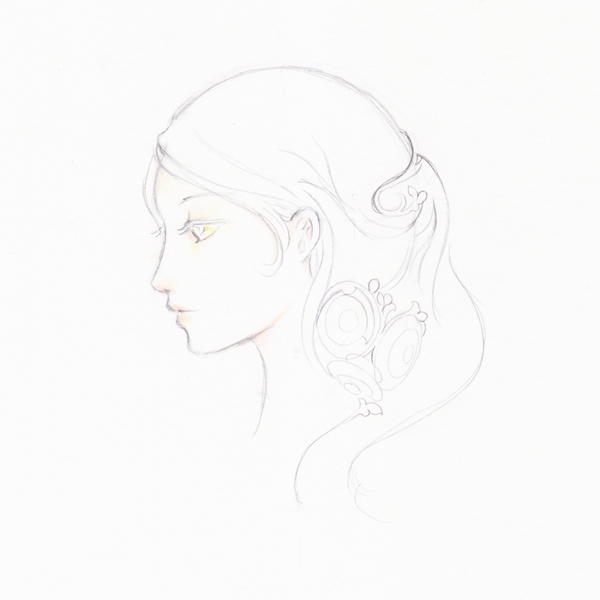
1. Draw the Profile of the Girl
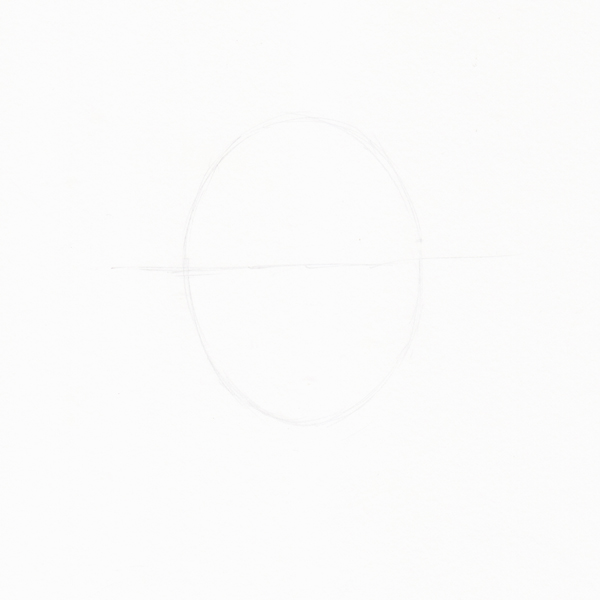
Step 1
Draw an ellipse for the head. Divide the ellipse in half by using a line. Don’t press the pencil too hard because we will erase it later, softer lines are much easier to erase.
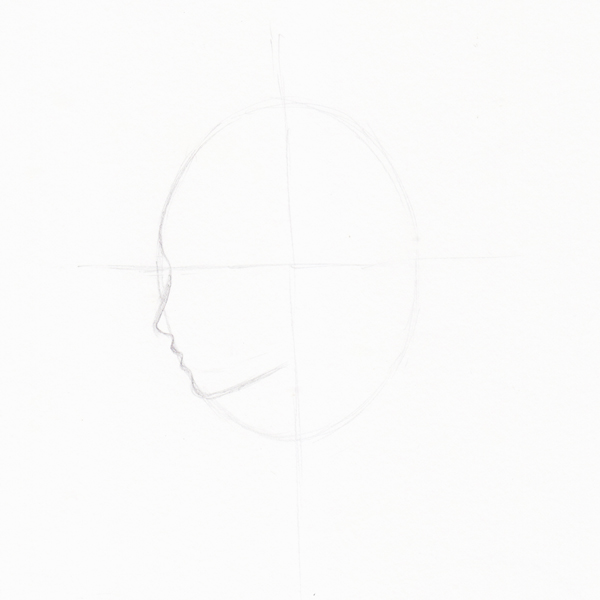
Step 2
Draw a straight line from top to bottom, divine the ellipse to four quarters.
We start to draw the profile, following the edge of the ellipse. The horizontal line is a place where you will draw the eye. The chin is in the bottom left.
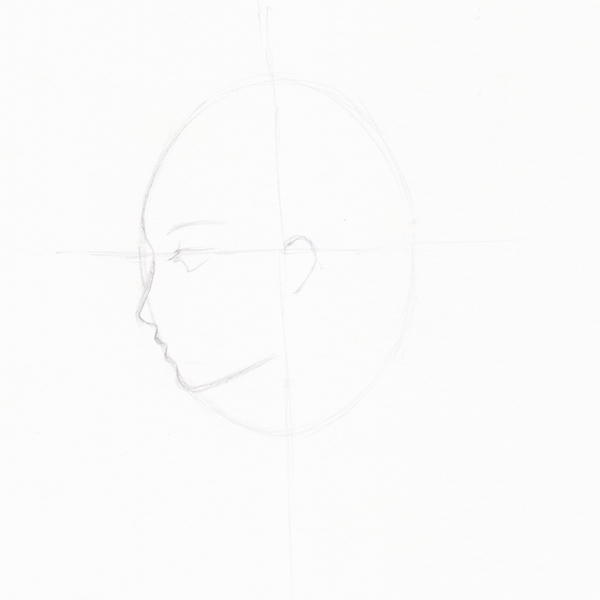
Step 3
We start to draw eye and the ear. The lash line for the eye will be drawn along the horizontal divide and the ear begins where both lines meet in the middle.
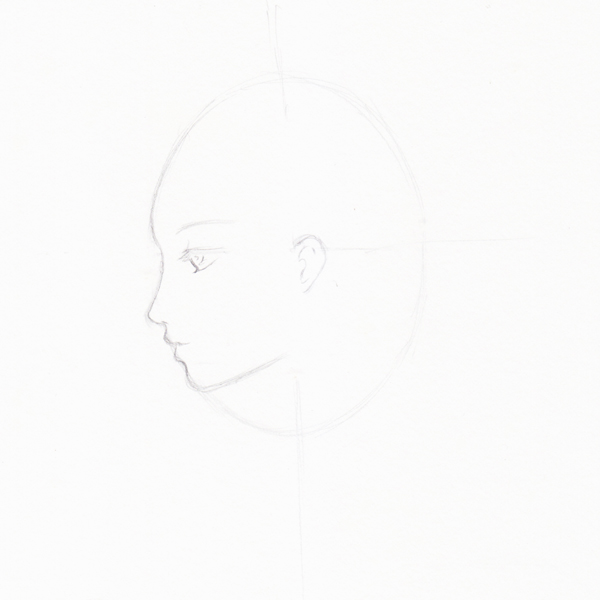
Step 4
Now to add more detail to the eyeball and the ear.
Step 5
Start to add little details like eye lashes (also add eye lashes for the other eye as this is the only part of it which will be visible in profile).
Add a little contrast by adding lines to a few areas to make it stand out; areas such as the parting of the lips, eyes, eyebrow and ear.
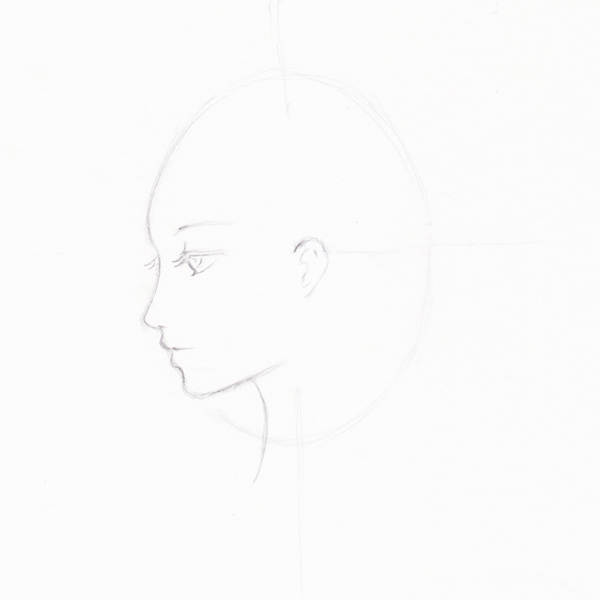
Step 6
I still need more contrast therefore I give another layer of pencil to buil this up. Layer soft strokes of pencil rather than applying pressure as this will give an uneven texture to the drawing.

Step 7
Now we start to draw her hair. Using curve lines, draw as freely as you can to create a soft look. Draw wisps of hair to the side, around her ear and a basic outline of the overall hair shape.
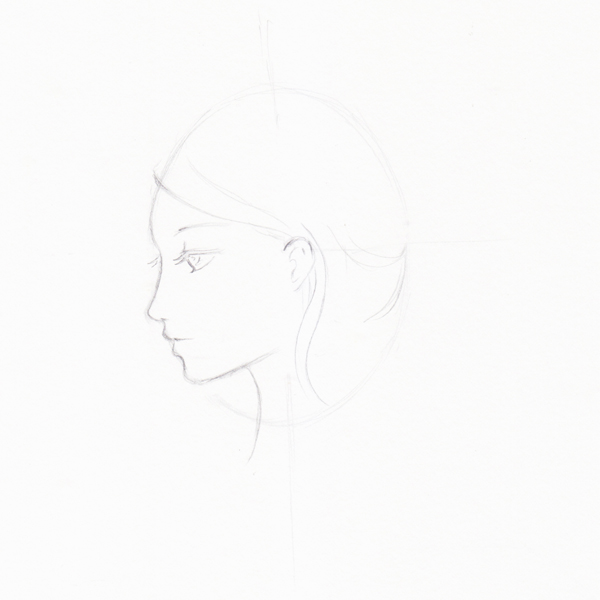
Step 8
We will add accessories in her hair, otherwise it will look a bit empty. So we add some circles in her hair as base shapes to work from.
Step 9
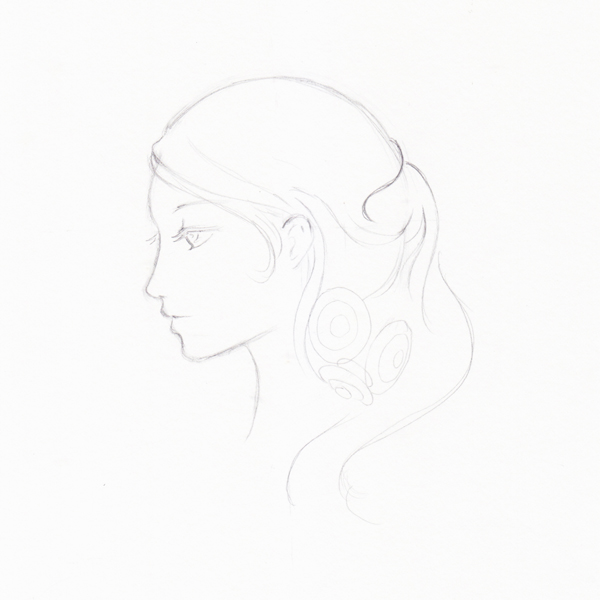
We add another curved line over the ellipse for the hair. Add a few more lines at the back head to create further depth.
Step 10
Erase the original ellipse line of the head and add more detailing to the hair.
There is an extra dark line which I press a bit more, which will be used for accessories in her hair.
Step 11
Draw details for the all accessories we planned at first. Add hair on her forehead, otherwise it will look a bit empty.
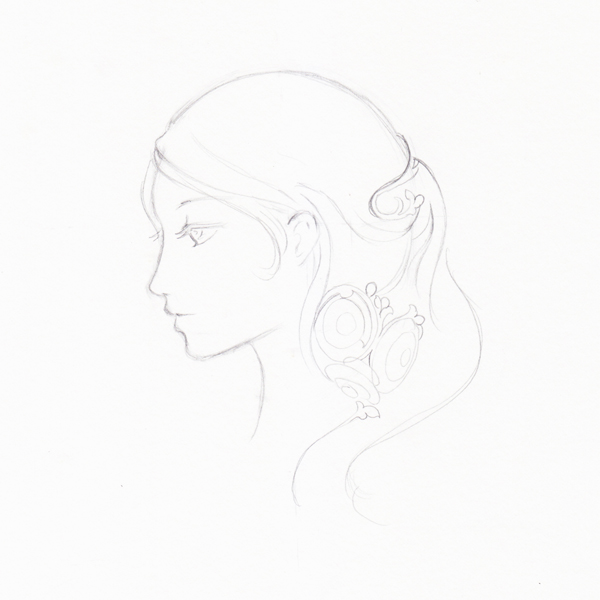
Step 12
More lines are added to the hair, this will help build up the shadows.
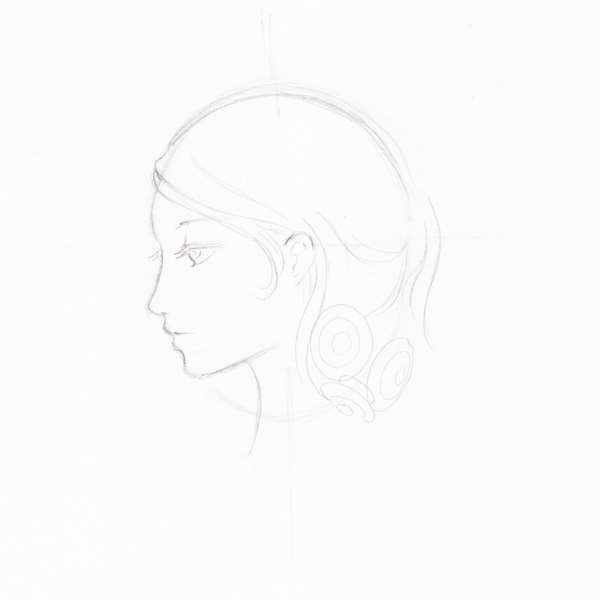
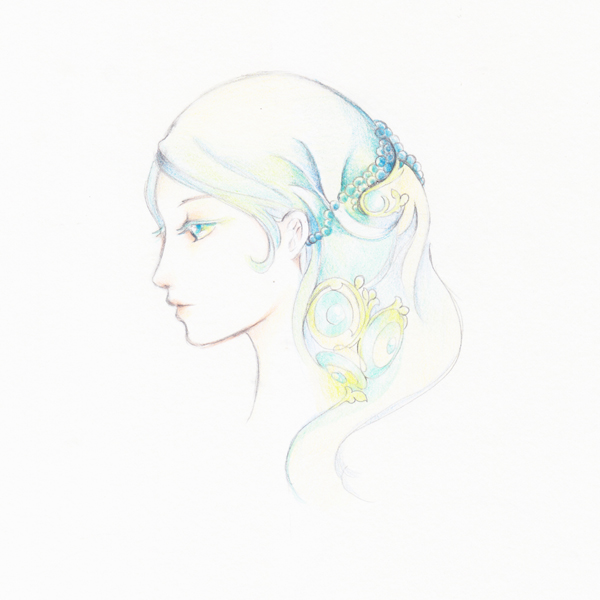
2. Add Color to the Design
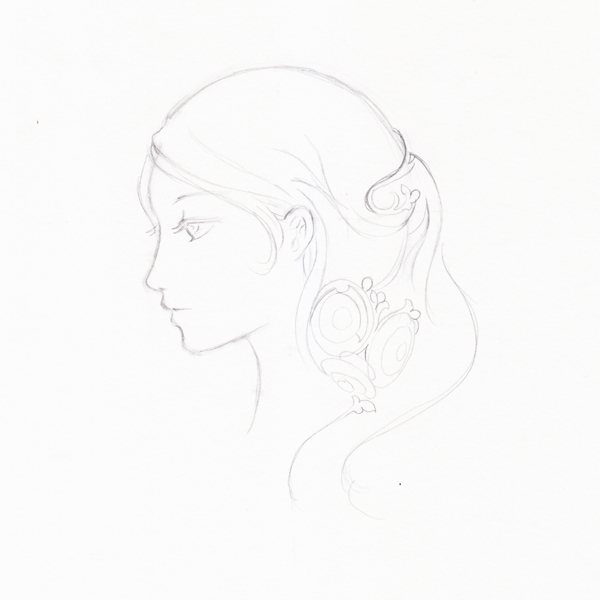
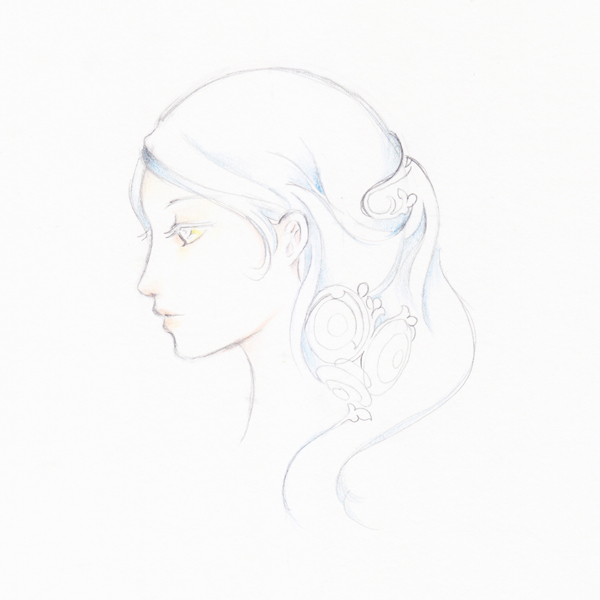
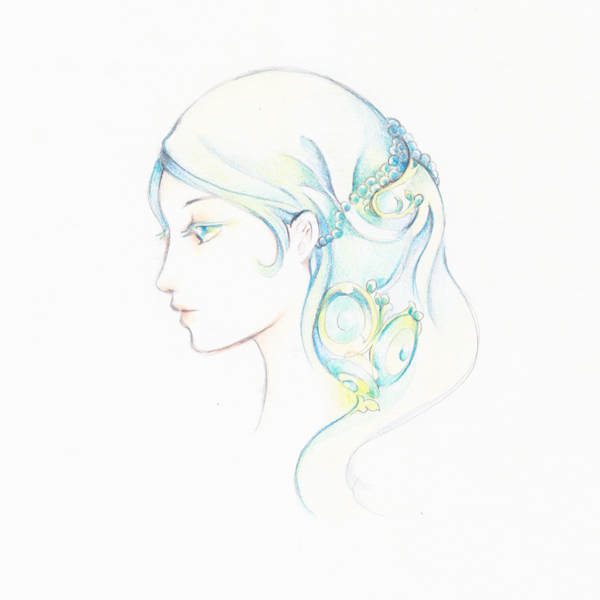
Step 1
Color No: 330 – Basic Skin Color
I start to add the basic skin color on the face. Put the colors in all areas which we will know they will be shadow, for example the eyes, nose, lips, neck, some of the forehead, under the hair area and the ear.
Press the color pencil lightly. If you want the color looks darker, just build up the layers of color. Always maintain the same level of pressure throughout.
Step 2
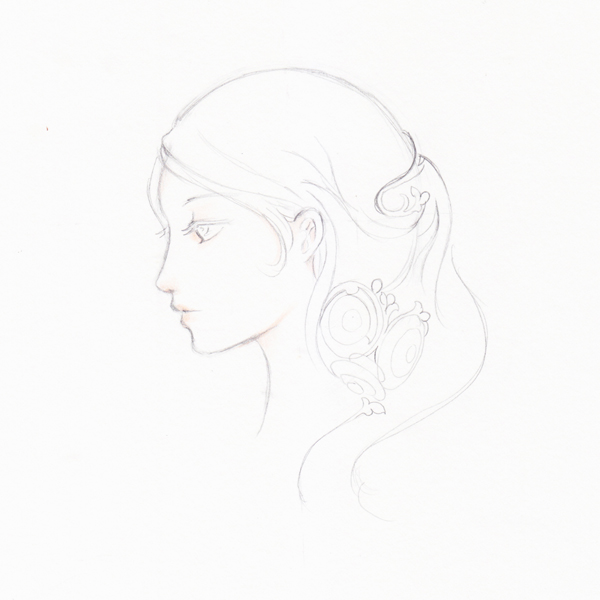
Color No: 309 – Royal Yellow
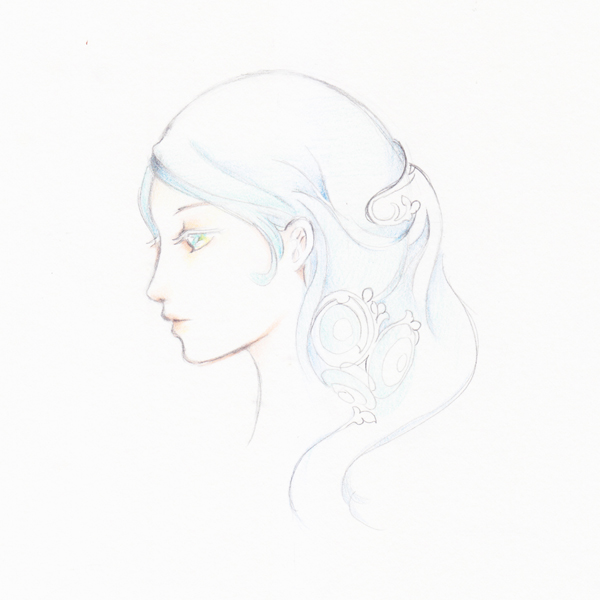
Touch up with the yellow on her forehead and under the lips. More of this color is used for her eye and little around the eye area.
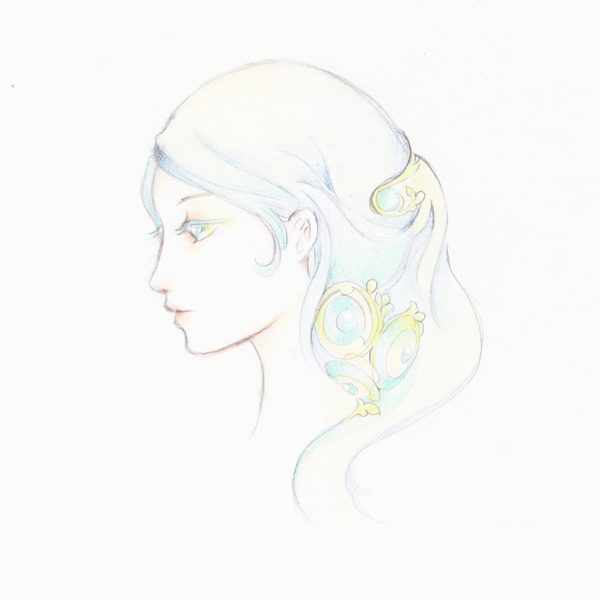
Step 3
Color No: 353 – Royal Blue
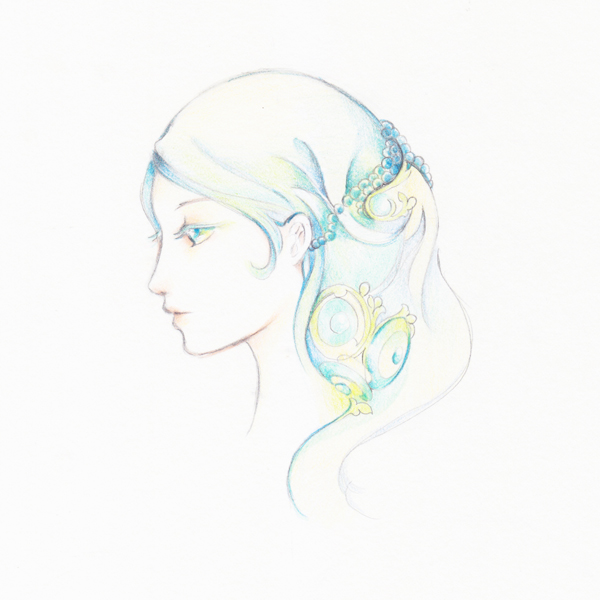
Add blue to some of the hair area, like in the picture below. It’s placement is where the hair is in shadow and around the areas where the lines are curved.
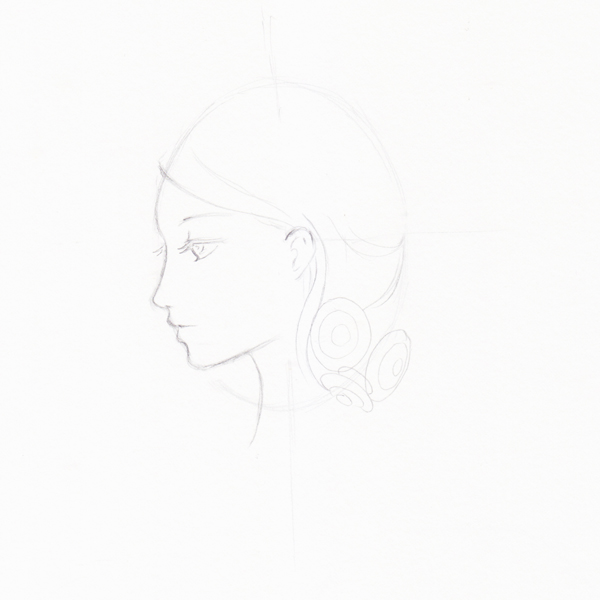
Step 4
As we can see, the head is a little wide, so I draw another line over the old head line to make the head a bit larger and rounder. After that, I erase the old line.
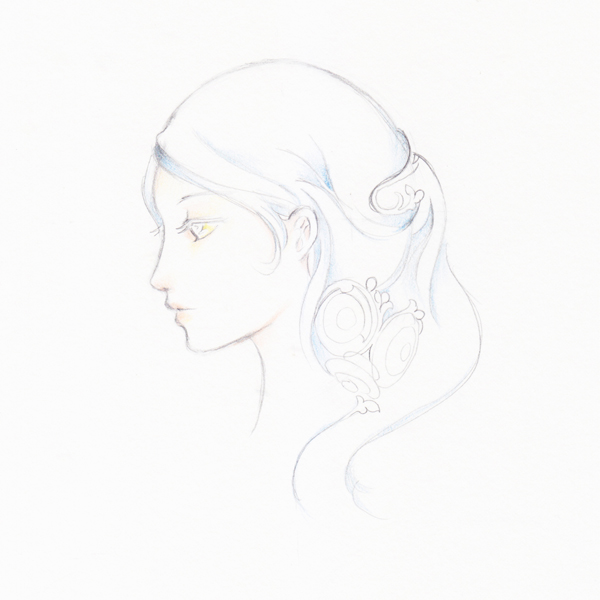
Step 5
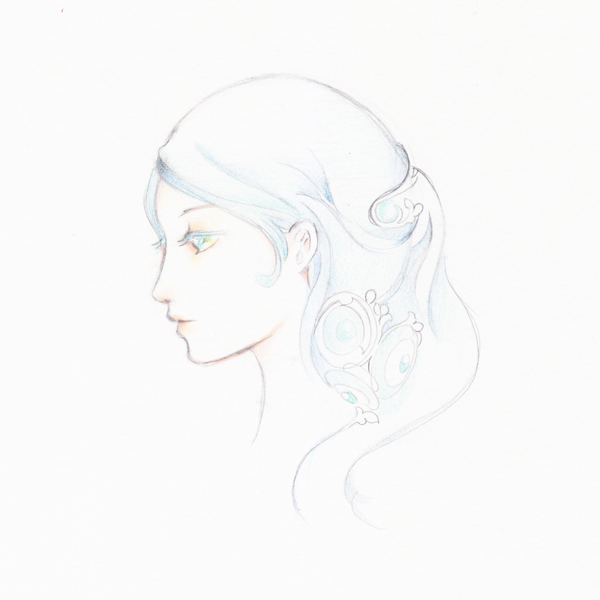
Color No: 361 – Turquoise
Add turquoise almost all over the hair area except for the top of the head and a few hair areas.
Also, add this color to her eye, it will mix to a hint of yellow due to the colors we’ve used previously.
Step 6
Color No: 330 – Basic Skin Color
Use the base skin color which we use at first to add extra layers on the shadow areas: eye, eyelashes, ear (and behind), nose, lips and chin.
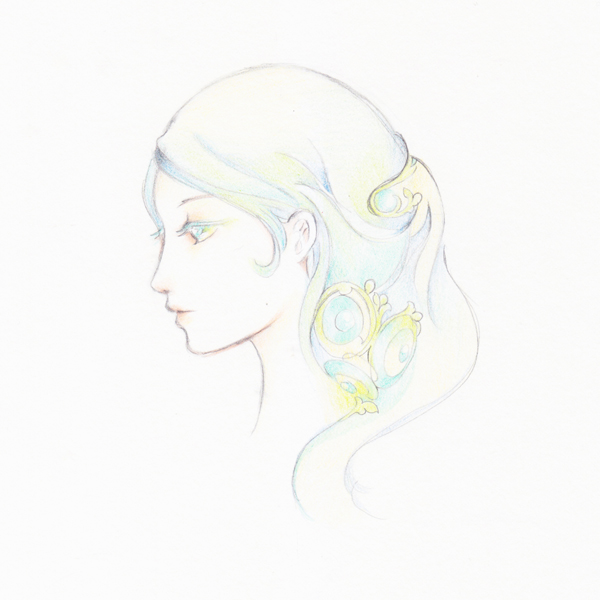
Step 7
Color No: 361 – Turquoise
Add turquoise to the inner circles of the accessories on the lower portion of the hair.
Step 8
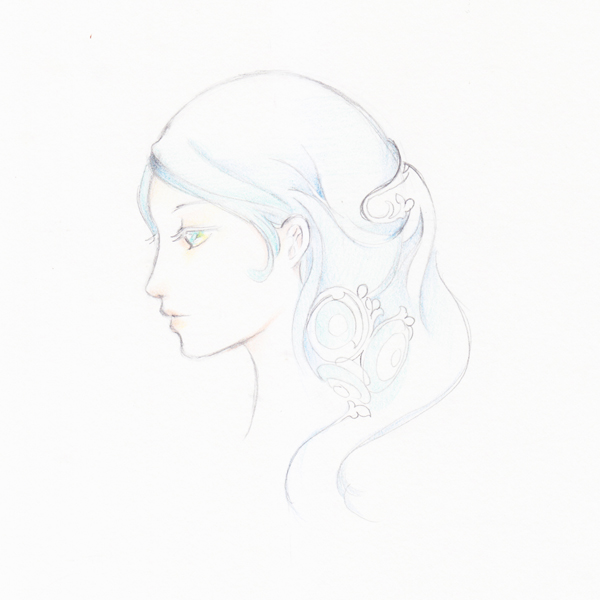
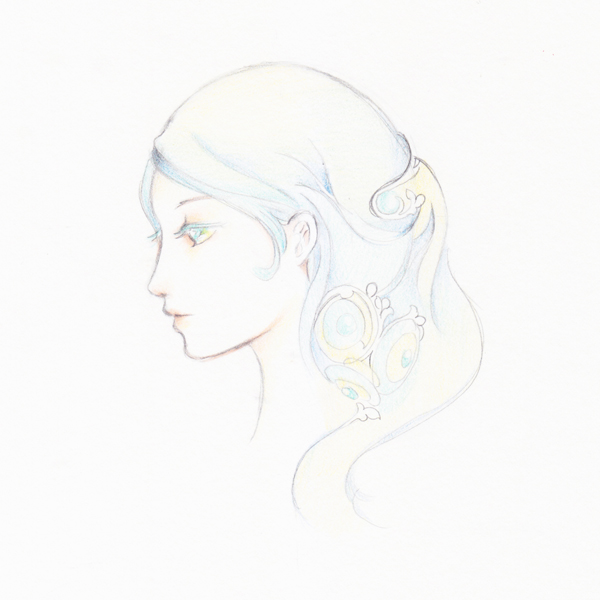
Color No: 309 – Royal Yellow
Use yellow to cover the remainder of the hair and some of the accessories. At the back of the hair, I add two layers of this color to make the color bolder.
Step 9
Color No: 370 – Lime
Add this color to the tips of her eye and hair ornaments.
Step 10
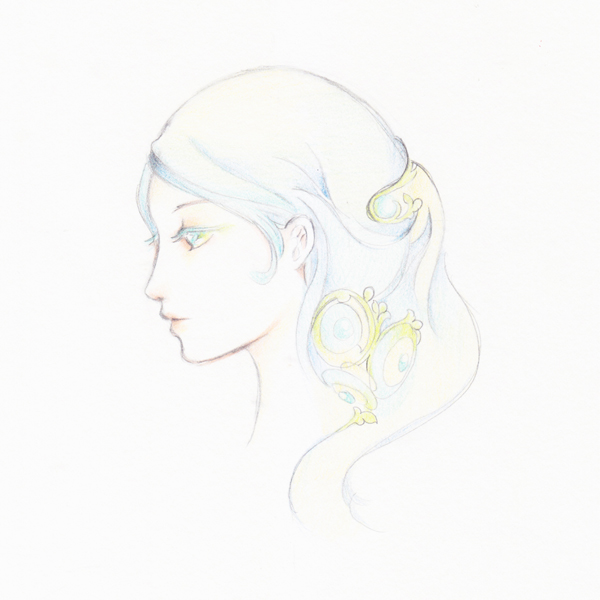
Color No: 361 – Turquoise
Add shadow by using this color for the lower hair and accessories.
Step 11
Color No: 370 – Lime
Use the lime to help blend the colors from the yellow in the hair to the blue. This will help create a smooth transition in color.
Step 12
I feel her hair is a bit empty so decide to add a few more little details here. I’ve drawn a series of pearls for her hair in pencil.
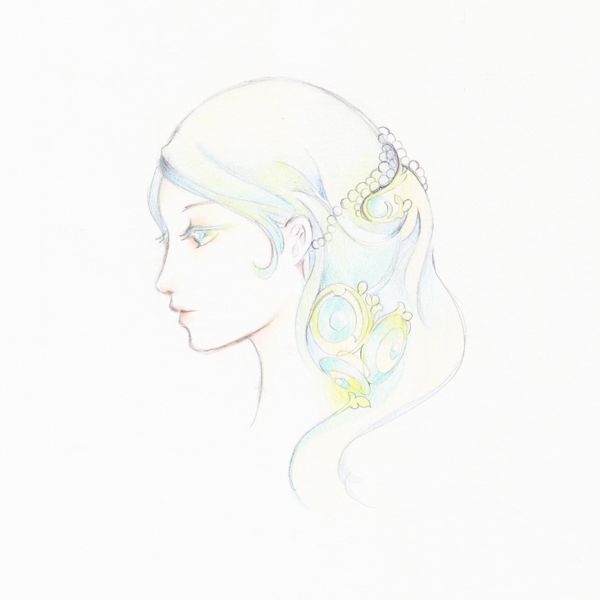
Step 13
Color No: 362 – Dark Green
Use this color to fill the shapes for the pearls, but don’t carry on the color to the lines of the pearls.

Step 14
Color No: 362 – Dark Green
Continue to add this color to highlight and also add contrast for her eyes, hair.
Use your mechanical pencil to add darker lines for her eyes, so it adds more depth.
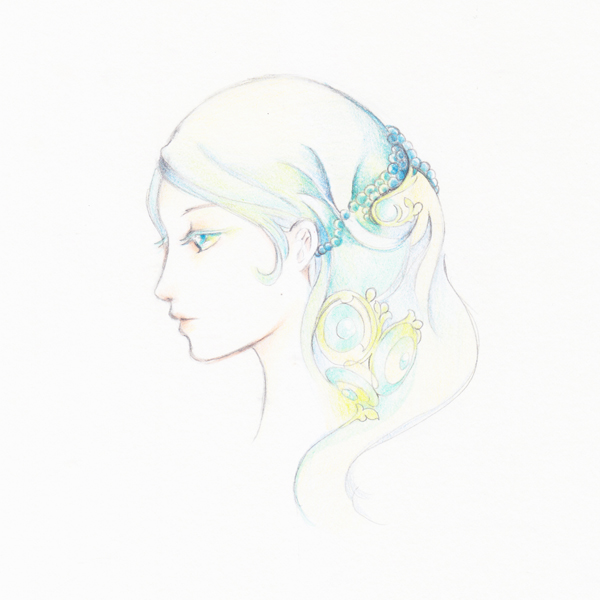
Step 15
Color No: 353 – Royal Blue
With the royal blue, add to the hair towards her forehead, her eyelashes, darker areas of the hair and her hair accessories. This will increase the contrast in the design.
Step 16
Color No: 362 – Dark Green or No: 361 – Turquoise
You can use one or both of these colors to add highlights to her accessories and hair. If you want to make her hair looks a bit darker then use Dark Green, if lighter then other color, 361: turquoise.
Step 17
Finally, use the pencils to add more depth to the smaller features, such as the eyes, eyebrows and parting in the lips.
Great Work, You’re Now Done!
Playing with color pencils is a lot of fun. Learning to mix and blend them can help create some unique colors and textures. Remember to never press firmly on a color. Opt for layering colors to create bolder and darker shades, otherwise you could distort the texture and quality of your design.
Until next time, have a lot of fun creating your own portrait with a soft dreamy look.
